Hey there, fellow toilet troubleshooters!
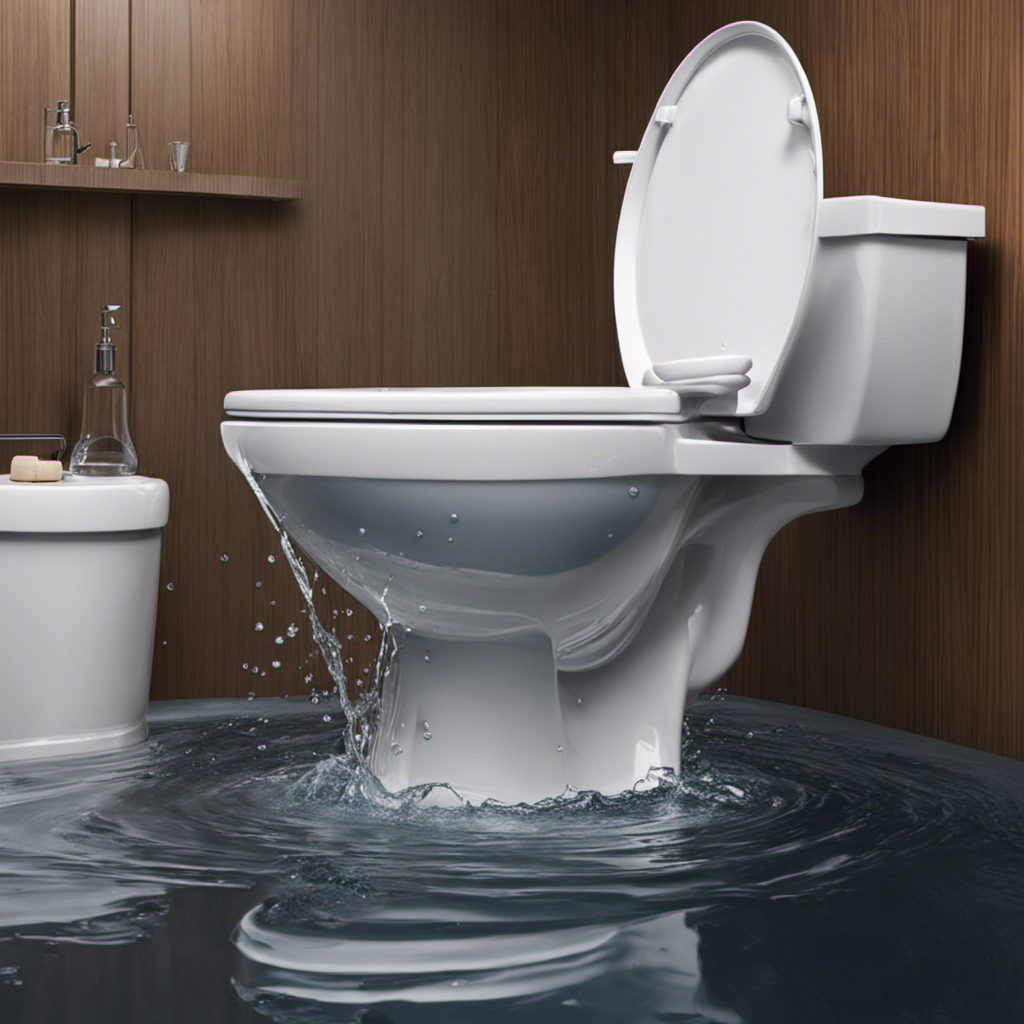
Ever had that annoying problem of a running toilet that just won’t quit? Well, fret no more because I’ve got the fix for you.
In this handy guide, I’ll walk you through the steps to stop that relentless running and save you from wasting gallons of water (and money!).
So grab your tools and let’s dive into the world of toilet repair, where we’ll tackle the problem head-on and restore peace and quiet to your bathroom.
Key Takeaways
- Regularly inspect the flapper for signs of wear or damage and replace it if necessary.
- Check and maintain the flush valve to prevent leaks and ensure proper flushing.
- Turn off the water supply and adjust or replace the fill valve to prevent running toilets and leaks.
- Address water supply issues, such as checking the shut-off valve and inspecting the water line, to troubleshoot persistent running and conserve water.
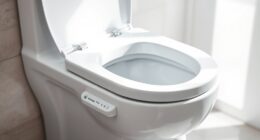
Identifying the Problem
You can start by checking if the flapper is properly sealing the tank. If the flapper is worn out or damaged, it may not create a tight seal, leading to water leakage.
To troubleshoot leaks, first, turn off the water supply to the toilet. Then, flush the toilet and observe the flapper. If it doesn’t close completely or if there are visible signs of wear and tear, it’s time to replace it.
Fortunately, finding replacement parts for toilets is relatively easy. Most hardware stores carry a variety of flappers that are compatible with different toilet models. Additionally, you can check online retailers for even more options.
Now, let’s move on to checking the flush valve and addressing any issues there.
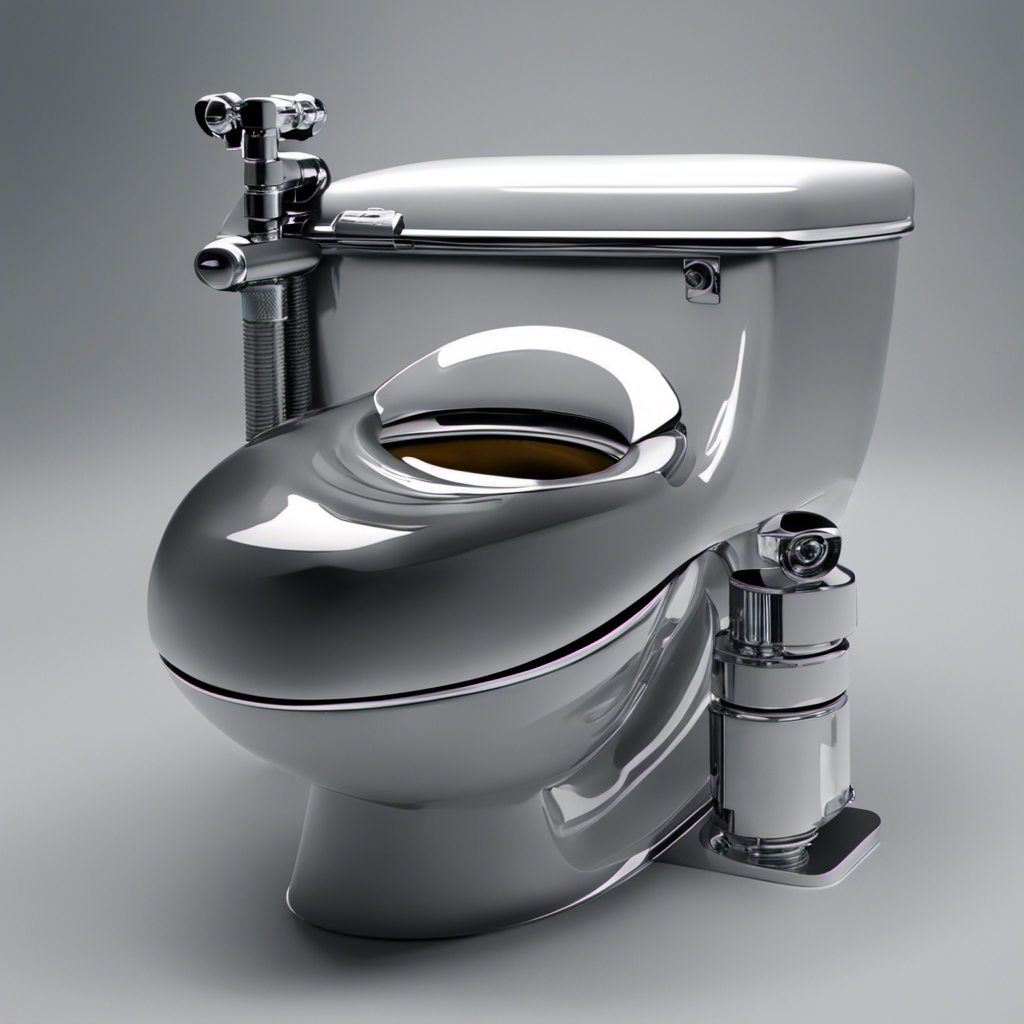
Checking the Flush Valve
Before checking the flush valve, make sure the water supply to the toilet is turned off. This step is crucial for safety and preventing water damage. Once the water supply is off, follow these steps to troubleshoot flush valve leaks and perform maintenance:
- Remove the toilet tank lid and set it aside.
- Inspect the flush valve for damage or debris.
- Clean the flush valve with a soft cloth or brush to remove buildup.
- Check the flush valve seal and replace it if necessary.
Regularly maintaining the flush valve prevents leaks and ensures proper flushing of your toilet.
Now that you’ve checked the flush valve, let’s move on to adjusting the fill valve to further troubleshoot the running toilet issue.
Adjusting the Fill Valve
After checking the flush valve, it’s time to move on to adjusting the fill valve to address any remaining issues with the toilet. The fill valve is responsible for refilling the tank after each flush, and if it is not functioning properly, it can lead to a running toilet or even leaks. Troubleshooting fill valve leaks involves a few simple steps. First, turn off the water supply to the toilet by closing the shut-off valve. Then, remove the fill valve cap and adjust the water level using the adjustment screw. If the fill valve is old or damaged, it may need to be replaced. It’s important to follow the manufacturer’s instructions for fill valve replacement to ensure proper installation.
| Steps | Actions |
|---|---|
| 1 | Turn off the water supply to the toilet |
| 2 | Remove the fill valve cap |
| 3 | Adjust the water level using the adjustment screw |
| 4 | If necessary, replace the fill valve following manufacturer’s instructions |
Cleaning or Replacing the Flapper
When it comes to maintaining the flapper in your toilet, there are a few key tips to keep in mind.
Regularly inspecting the flapper for signs of damage or wear is important to prevent potential leaks or running toilets.
If you do notice any issues with the flapper, don’t worry – replacing it is a simple DIY project that can be done with just a few basic tools and steps.
Flapper Maintenance Tips
To prevent the toilet from running, you should regularly check and replace the flapper if necessary. Here are some maintenance tips to ensure your flapper is functioning properly:
-
Inspect the flapper: Lift the toilet tank lid and visually inspect the flapper for any signs of wear or damage. Look for cracks, tears, or discoloration.
-
Clean the flapper: If the flapper appears dirty or has mineral deposits, remove it and clean it with water and a mild detergent. Avoid using harsh chemicals that could damage the flapper.
-
Adjust the flapper chain: Ensure that the flapper chain is properly adjusted. It should have some slack but not be too loose. A chain that is too tight can prevent the flapper from fully closing, causing the toilet to run.
-
Test for leaks: To test if the flapper is sealing properly, place a few drops of food coloring in the toilet tank. Wait for a few minutes without flushing. If the colored water appears in the toilet bowl, it indicates a leak and the flapper may need to be replaced.
Signs of Flapper Damage
In the previous subtopic, I discussed some maintenance tips for the flapper in your toilet tank. Now, let’s take a look at the signs of flapper damage that may indicate the need for repair or replacement.
One common sign of flapper damage is a toilet that constantly runs or leaks. If you notice that the water in the tank is constantly draining into the bowl, it is likely that the flapper is not sealing properly.
Another sign is a flapper that is visibly worn or deteriorated. Over time, the rubber material can become brittle or warped, causing leaks and inefficiency.
If you experience any of these signs, it’s important to address them promptly to prevent water waste and potential damage to your toilet. Depending on the severity of the damage, you may need to either repair or replace the flapper.
DIY Flapper Replacement
Replacing the flapper yourself can save you money and prevent further damage to your toilet. Here are four simple steps to successfully install a new flapper:
-
Turn off the water supply: Locate the shut-off valve behind your toilet and turn it clockwise to shut off the water supply.
-
Remove the old flapper: Lift the lid of the toilet tank and carefully remove the old flapper by unhooking it from the chain and sliding it off the overflow pipe.
-
Install the new flapper: Attach the new flapper to the chain and slide it onto the overflow pipe, ensuring a secure fit.
-
Test for leaks: Turn on the water supply and let the tank fill. Check for any leaks or running water. Adjust the chain length if necessary.
By following these DIY flapper installation steps, you can effectively resolve toilet issues and save on repair costs.
Now, let’s move on to inspecting the float.
Inspecting the Float
When it comes to inspecting the float in a toilet, there are a few key points to consider.
Float adjustment techniques involve making sure the float is properly aligned and adjusted to control the water level in the tank.
Common float problems can include a malfunctioning float, a stuck or damaged float arm, or a float that is not properly attached to the fill valve.
Float Adjustment Techniques
To stop the toilet from running, you can try adjusting the float. The float is a small mechanism that controls the water level in the toilet tank. If it is not properly adjusted, it can cause the toilet to continuously run, wasting water and potentially causing damage.
Here are some troubleshooting techniques for float repair:
-
Check the water level: Ensure that the water level in the tank is not too high or too low. Adjust the float accordingly to achieve the desired water level.
-
Clean the float: Over time, the float can accumulate debris or mineral deposits, affecting its functionality. Clean the float with a mild detergent and a soft brush.
-
Adjust the float arm: The float arm is connected to the float and determines when the water stops flowing into the tank. Adjust the arm to ensure it is properly aligned with the valve.
-
Replace the float: If the float is damaged or worn out, it may need to be replaced. Consult the manufacturer’s instructions or seek professional assistance for float replacement.
By following these troubleshooting techniques, you can effectively repair and adjust the float to stop the toilet from running.
Now, let’s explore some common float problems and their solutions.
Common Float Problems
One common issue with the float is that it may become stuck in the up position, causing the water to continuously flow into the tank. This can lead to a running toilet and waste water.
To fix this problem, you can try float repair or troubleshooting techniques. First, check if the float arm is bent or damaged. If so, straighten it or replace it if necessary.
Next, ensure that the float ball is not filled with water or debris, as this can prevent it from floating properly. Clean or replace the float ball if needed.
Additionally, check if the float valve is functioning correctly and adjust it if necessary.
By addressing these float problems, you can stop the toilet from running and conserve water.
Now, let’s move on to addressing water supply issues.
Addressing Water Supply Issues
If the water supply is not the issue, you may need to check the flapper valve for any damage. Water supply maintenance is crucial for proper toilet functioning.
Here are some steps to troubleshoot water pressure issues:
-
Check the shut-off valve: Ensure that the valve supplying water to the toilet is fully open. If it’s partially closed, it can affect the water pressure.
-
Clean the fill valve: Sediment buildup can restrict water flow. Remove the fill valve cap and clean any debris or mineral deposits.
-
Inspect the water line: Check for any kinks or leaks in the water line connecting the toilet to the supply valve. Repair or replace if necessary.
-
Test the pressure regulator: If you have low water pressure throughout your home, it could be due to a faulty pressure regulator. Consult a professional plumber to inspect and adjust it if needed.
Troubleshooting Persistent Running
By checking for leaks or mineral deposits in the fill valve, you can troubleshoot persistent running in the toilet.
When faced with this issue, it is important to address it promptly to conserve water and prevent further damage.
To start, inspect the fill valve for any leaks. Look for signs of water pooling around the valve or a continuous flow of water into the tank. If a leak is detected, tighten any loose connections or replace the fill valve if necessary.
Additionally, mineral deposits can cause the fill valve to malfunction. To fix this, remove the valve and soak it in vinegar overnight to dissolve the deposits.
After cleaning or replacing the fill valve, check the toilet seals to ensure they are properly sealed.
Troubleshooting leaks and fixing toilet seals are essential steps in stopping the toilet from running and maintaining its efficient operation.
Frequently Asked Questions
Can a Running Toilet Lead to an Increase in Water Bills?
Yes, a running toilet can lead to higher water bills. It is important to troubleshoot a running toilet to prevent unnecessary water wastage and ensure that your bills are not inflated.
How Can I Determine if the Fill Valve Is the Cause of the Running Toilet?
To troubleshoot a running toilet, I first check if the fill valve is the cause. I can do this by listening for water running or inspecting the valve for any leaks. If needed, I can replace the fill valve to fix the issue.
What Are Some Common Signs That the Flapper Needs to Be Replaced?
Some common signs that the flapper needs to be replaced include a constantly running toilet, high water bills, and the fill valve being the cause of the running toilet.
Is It Possible for a Toilet to Continue Running Even After Adjusting the Fill Valve?
Yes, it’s absolutely possible for a toilet to keep running even after adjusting the fill valve. This can be caused by various factors, such as a faulty flapper or a problem with the flush valve. Troubleshooting toilets can be challenging, but with the right knowledge and tools, you can successfully repair it.
What Should I Do if the Toilet Continues to Run After Trying All the Troubleshooting Steps Mentioned in the Article?
If the toilet continues to run after trying all troubleshooting steps, I would consider alternative solutions like replacing the flapper or calling a plumber for professional assistance.
Conclusion
In conclusion, by following the steps outlined in this article, you can easily stop your toilet from running and save water in the process.
Did you know that a running toilet can waste up to 200 gallons of water per day? By fixing the issue promptly, you can not only prevent water wastage but also save money on your water bill.
Remember, regular maintenance and addressing any issues promptly is key to keeping your toilet running efficiently.

Liam’s journey with us started as a consumer. Having faced challenges while setting up his own modern bathroom, he delved deep into research.
Recognizing his knack for simplifying complex information and his authentic writing style, we were thrilled to welcome him aboard. Liam’s articles often merge practicality with style, ensuring readers find the perfect fit for their homes. Liam is an avid hiker off-duty and often jokes about finding the best “natural toilets” Mother Earth has to offer.