
I’ve had my fair share of frustrating experiences with a running toilet, and I know just how irritating it can be.
But fear not, because I’ve got you covered with this step-by-step guide on how to stop your toilet from running.
From checking the flapper valve to adjusting the float mechanism, we’ll dive into the nitty-gritty details of troubleshooting and fixing the issue.
So, let’s roll up our sleeves and put an end to that incessant running water once and for all!
Key Takeaways
- Check the flapper and water level in the tank to understand why your toilet is running.
- Regularly inspect and maintain the flapper valve to prevent issues with sealing and deterioration over time.
- Properly adjust the float mechanism to ensure proper water levels in the tank.
- Inspect and maintain the fill valve to ensure it is functioning properly and not causing leaks or blockages.
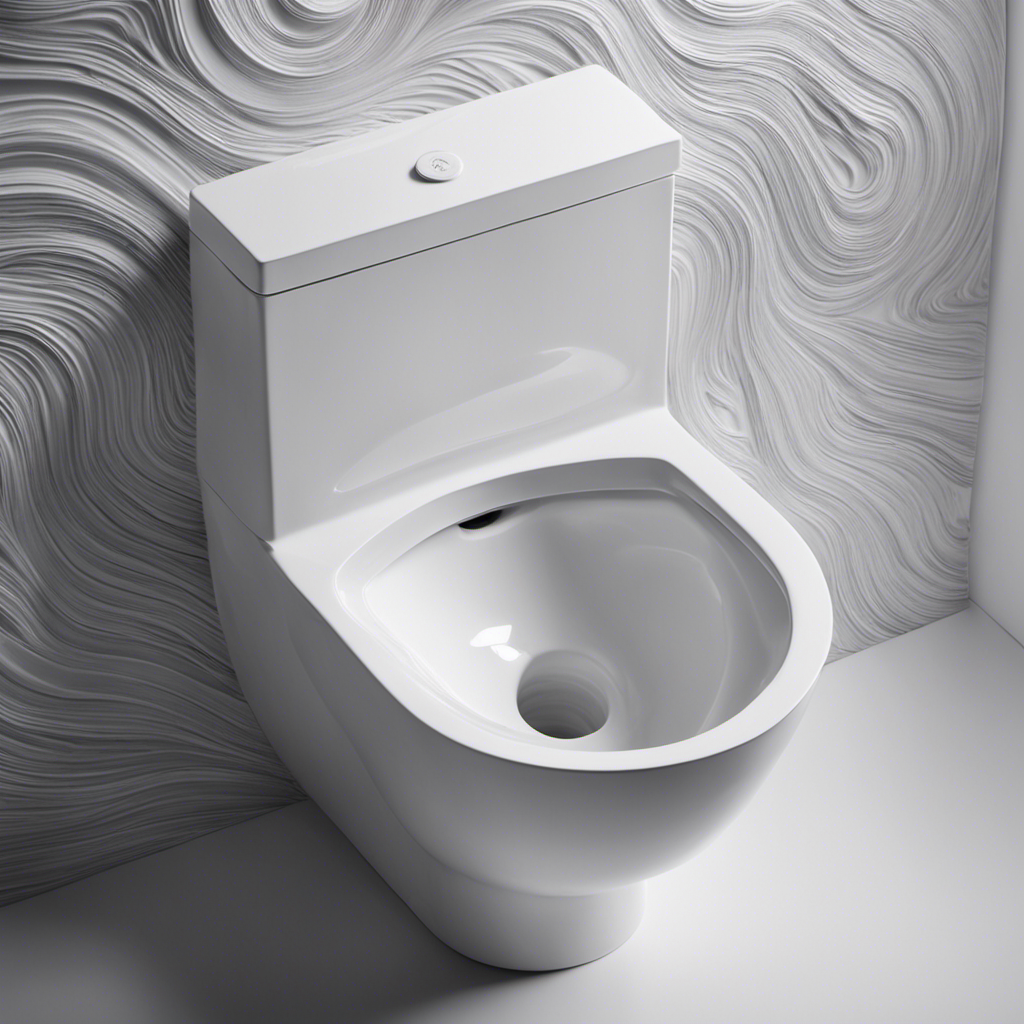
Understanding the Issue
To understand why your toilet is running, you’ll need to check the flapper and the water level in the tank.
Troubleshooting water pressure issues and identifying plumbing leaks are essential steps in solving this problem.
First, examine the flapper, which is a rubber valve that seals the tank’s bottom. If it’s worn out or damaged, it won’t create a proper seal, causing water to continuously flow. Replace the flapper if necessary.
Next, check the water level in the tank. If it’s too high, water may overflow into the overflow tube, causing the toilet to run. Adjust the water level by adjusting the float or adjusting the fill valve.
Checking the Flapper Valve
First, make sure you’ve checked the flapper valve to troubleshoot the issue. The flapper valve is an essential component of your toilet’s flushing mechanism, and it can sometimes malfunction, causing your toilet to run continuously.
To properly maintain your flapper valve, follow these steps:
- Inspect the flapper valve for any signs of wear or damage.
- Clean the flapper valve and the surrounding area to remove any debris or buildup.
- Adjust the chain length to ensure the flapper valve closes properly after flushing.
Common flapper valve problems include:
- Flapper valve not sealing properly, leading to water leakage.
- Flapper valve getting stuck in the open position, causing continuous flushing.
- Flapper valve deteriorating over time, resulting in a weak or incomplete flush.
Regular flapper valve maintenance is crucial to prevent these issues and keep your toilet running smoothly.
Adjusting the Float Mechanism
Once you’ve checked the flapper valve, it’s important to also adjust the float mechanism to ensure proper water levels in the toilet tank.
The float mechanism is responsible for controlling the water flow into the tank and shutting it off when it reaches the desired level. If you’re experiencing issues with your toilet running constantly or not filling up properly, it’s likely due to problems with the float mechanism.
Troubleshooting common float mechanism problems involves checking for any obstructions or damage to the float arm, ensuring that the float ball is not filled with water, and adjusting the water level by bending the float arm or adjusting the screw on the fill valve.
The steps to adjust the float mechanism may vary depending on the type of toilet you have, so it’s important to consult the manufacturer’s instructions or seek professional assistance if needed.
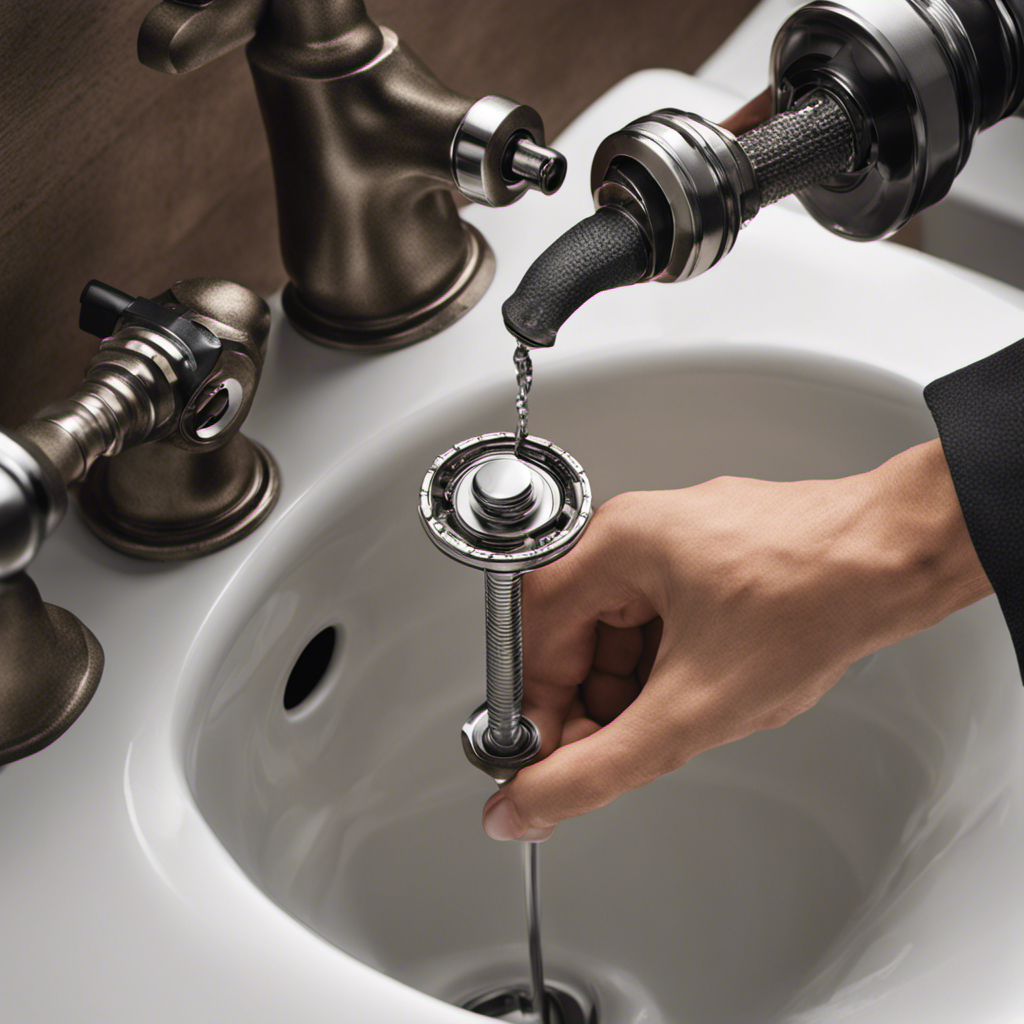
Inspecting the Fill Valve
Make sure you inspect the fill valve for any signs of damage or blockage. The fill valve is responsible for regulating the water level in your toilet tank, so any problems with it can cause your toilet to run continuously.
Here are some common fill valve problems to watch out for:
-
Leaking: Check for any signs of water leakage around the fill valve. This could indicate a faulty seal or a crack in the valve itself.
-
Clogging: If your toilet is not filling up properly, there may be debris or sediment blocking the fill valve. Clean it out or consider replacing the valve if the blockage persists.
If you find any issues with the fill valve that cannot be fixed, replacing it is often the best solution.
Fixing a Faulty Chain
When it comes to fixing a faulty chain in your toilet, there are a few key points to consider.
First, you may need to adjust the length of the chain to ensure proper flushing.
Secondly, if the chain is beyond repair, you have various replacement options available.
Lastly, proper chain positioning is crucial to prevent any further issues with your toilet’s functionality.
Let’s dive into these points in more detail to get your toilet back in working order.
Chain Length Adjustment
To adjust the chain length on your toilet, simply reach down and grab the chain. The chain tension plays a crucial role in preventing your toilet from running continuously.
Here are a couple of tips to help you with chain length adjustment:
- Make sure there is enough slack in the chain to allow the flapper to fully close after each flush. This will prevent water from continuously flowing into the bowl.
- Avoid having too much slack in the chain, as it can cause the flapper to close prematurely, resulting in an incomplete flush.
Chain Replacement Options
If you’re experiencing ongoing issues despite adjusting the chain length, you might want to explore different options for replacing the chain.
There are several benefits to replacing a worn-out chain. First, it ensures smooth and efficient operation of your toilet. A new chain will prevent any unnecessary leaks or running water, saving you money on your water bill. Secondly, a replacement chain will provide greater durability and longevity, reducing the need for frequent repairs.
The chain replacement process is relatively simple. Start by turning off the water supply to the toilet. Then, disconnect the old chain from the flush lever and the flapper. Finally, attach the new chain, making sure it has the proper length and tension.
By replacing your chain, you can maintain a properly functioning toilet and avoid further issues down the line.
Now, let’s move on to the next section about proper chain positioning.
Proper Chain Positioning
Ensure that the chain is positioned correctly to prevent any issues with the flush lever and flapper. Proper chain tension and maintenance are crucial for the smooth operation of your toilet. Here are some important points to keep in mind:
-
Positioning the chain: Make sure the chain is not too loose or too tight. It should have enough slack to allow the flapper to close completely after flushing.
-
Adjusting the chain length: If the chain is too long, it may get tangled or caught under the flapper, causing the toilet to run continuously. Shorten the chain if necessary.
-
Checking for interference: Ensure that the chain does not interfere with the flush lever or any other components in the toilet tank.
-
Chain maintenance: Regularly inspect the chain for any signs of wear or damage. Replace it if it is rusted, corroded, or broken. Lubricate the chain occasionally to ensure smooth movement.
Cleaning or Replacing the Flush Valve
When it comes to fixing a running toilet, there are a few key points to consider. First, cleaning the flush valve involves removing any debris or mineral build-up that may be causing the valve to malfunction. If cleaning doesn’t solve the issue, replacing the flush valve may be necessary to ensure proper functioning. Ultimately, by addressing these key points, you can effectively stop your toilet from running and restore its functionality.
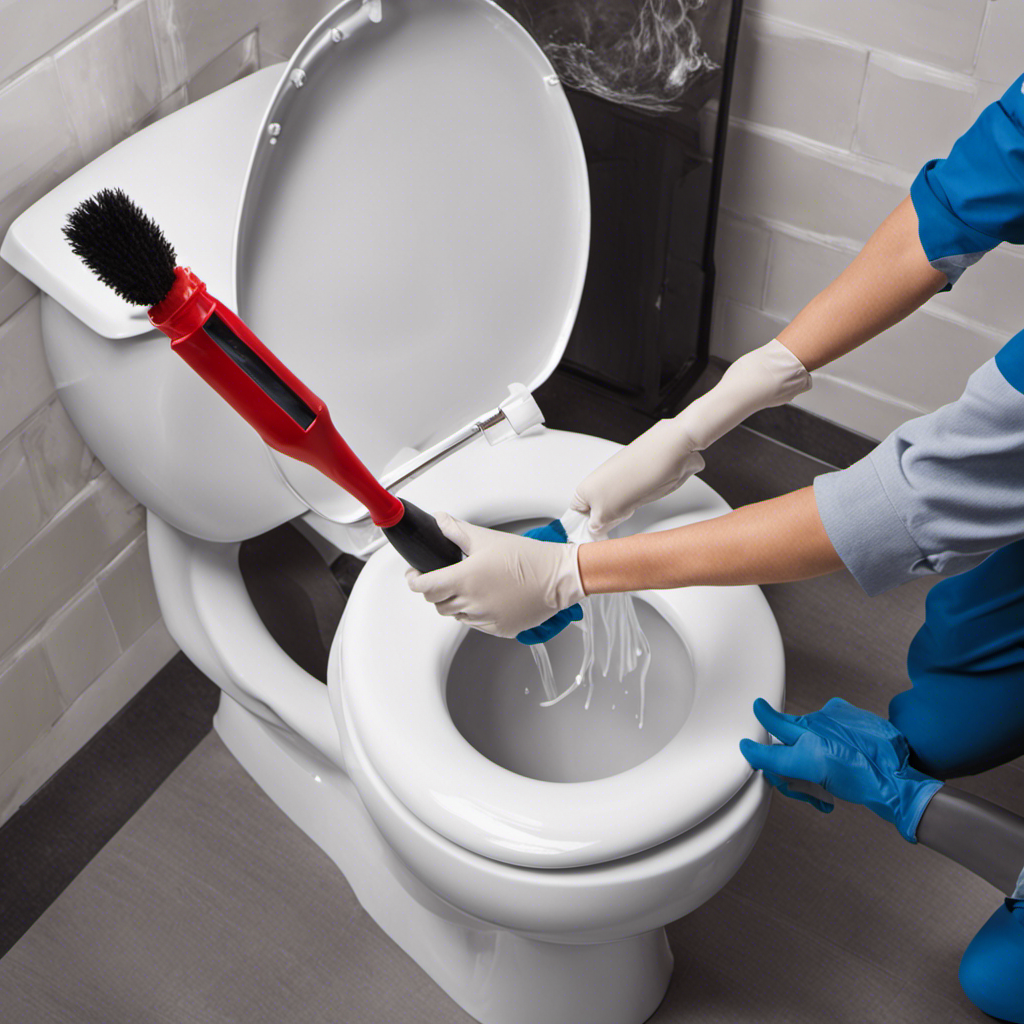
Cleaning Flush Valve
To prevent the toilet from running, you should regularly clean the flush valve. This is an essential part of toilet maintenance and can help ensure proper functioning. Cleaning the flush valve involves removing any mineral deposits or debris that might be causing the valve to stick open.
Here are some steps to clean the flush valve effectively:
- Turn off the water supply to the toilet.
- Flush the toilet to empty the tank.
- Remove the lid of the tank and locate the flush valve.
- Use a brush or sponge to scrub away any buildup on the valve.
- If necessary, soak the valve in a mixture of vinegar and water to dissolve stubborn deposits.
- Rinse the valve thoroughly and reinstall it.
Regularly cleaning the flush valve will not only prevent the toilet from running but also contribute to a clean toilet bowl and help avoid clogs in the future.
Replacing Flush Valve
Replacing the flush valve is a necessary step for maintaining a properly functioning toilet. The flush valve is a key component that ensures efficient flushing and prevents leaks. Troubleshooting common problems with the flush valve can include issues such as water continuously running, weak flushes, or incomplete flushing.
To replace the flush valve, follow these steps:
- Shut off the water supply to the toilet.
- Drain the water from the tank.
- Remove the old flush valve by unscrewing it from the bottom of the tank.
- Install the new flush valve by screwing it into place.
- Reconnect the water supply and test for any leaks.
Stop Toilet From Running
If you hear a continuous sound coming from the tank, it’s likely that the flapper valve needs to be replaced. The flapper valve is responsible for sealing the flush valve and preventing water from continuously flowing into the toilet bowl.
To stop your toilet from running and conserve water, follow these steps:
- Turn off the water supply by shutting off the valve located behind the toilet.
- Flush the toilet to drain the water from the tank.
- Remove the old flapper valve by disconnecting it from the flush chain and lifting it off the flush valve.
- Install the new flapper valve by placing it over the flush valve and connecting it to the flush chain.
- Turn on the water supply and test the toilet to ensure it’s no longer running.
Troubleshooting Other Possible Causes
Check the fill valve to see if it is properly adjusted or if it needs to be replaced. Troubleshooting a running toilet involves checking various components to identify the cause. In addition to the fill valve, you should also troubleshoot water pressure and check the water supply line. Start by ensuring that the water supply valve is fully open. If the water pressure is low, it may be necessary to adjust or replace the fill valve. To check the water supply line, turn off the water supply valve and disconnect the line. Inspect for any clogs or damage and clean or replace the line if necessary. Here is a table summarizing the troubleshooting steps:
| Step | Action | Result |
|---|---|---|
| 1 | Check fill valve | Proper adjustment or replacement |
| 2 | Troubleshoot water pressure | Identify low pressure issues |
| 3 | Check water supply line | Inspect for clogs or damage |
Conclusion
In conclusion, taking the time to fix a running toilet is like tending to the delicate balance of life.
Just as we adjust the float mechanism to maintain equilibrium, we must also inspect the fill valve to ensure a steady flow.
The flapper valve acts as a gatekeeper, preventing water from escaping like a guardian of the night.
And let us not forget the faulty chain, which, when fixed, brings harmony to the flushing process.
So, my friends, remember to clean or replace the flush valve, for in doing so, you restore order to the chaos of a running toilet.

Liam’s journey with us started as a consumer. Having faced challenges while setting up his own modern bathroom, he delved deep into research.
Recognizing his knack for simplifying complex information and his authentic writing style, we were thrilled to welcome him aboard. Liam’s articles often merge practicality with style, ensuring readers find the perfect fit for their homes. Liam is an avid hiker off-duty and often jokes about finding the best “natural toilets” Mother Earth has to offer.