Are you tired of a wobbly, unsteady toilet that creaks and leaks? Well, worry no more!
In this informative article, we will guide you through the step-by-step process of tightening your toilet for a sturdy and secure fit.
By following our precise instructions and utilizing a few simple tools, you can ensure that your toilet remains in place, preventing any potential disasters.
So, let’s dive into the world of toilet tightening and bid farewell to those annoying bathroom woes!
Key Takeaways
- Choose the correct size wrench based on the diameter of the nuts on the toilet base.
- Shut off the water supply by locating and turning the shut-off valve clockwise.
- Properly align and tighten the toilet seat and lid using a screwdriver.
- Inspect and gently tighten the toilet bolts on each side of the base to maintain stability and prevent leaks.
Gather the Necessary Tools and Materials
Before you can start tightening a toilet, you’ll need to gather the necessary tools and materials.
First, you’ll need to choose the right size wrench. This is crucial because using the wrong size can damage the toilet’s bolts or nuts. To determine the correct size, measure the diameter of the nuts on the toilet base. Common sizes include ½ inch and 7/16 inch.
Once you have the right wrench, it’s also important to use a level. A level ensures that the toilet is properly aligned and prevents any rocking or instability. This step is crucial for the toilet’s stability and longevity.
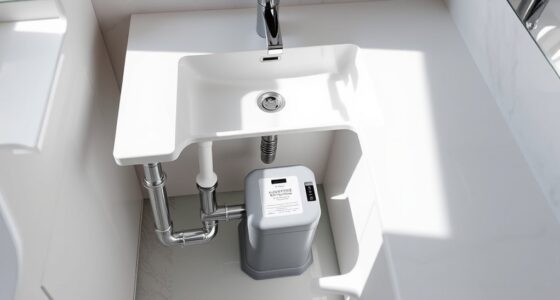
Shut off the Water Supply to the Toilet
To prevent any water leaks, you’ll need to shut off the water supply to the toilet. This is an important step when replacing the toilet handle or fixing a leaking toilet. By turning off the water supply, you ensure that no water will flow into the toilet while you work on it. To shut off the water supply, locate the shut-off valve, which is usually located near the base of the toilet or on the wall behind it. Turn the valve clockwise to close it and stop the water flow. To help you understand the process better, here’s a table outlining the steps:
| Step | Action |
|---|---|
| 1 | Locate the shut-off valve |
| 2 | Turn the valve clockwise |
| 3 | Confirm that the water supply is shut off |
Remove the Toilet Seat and Lid
To ensure proper seat installation and securely tighten the screws, there are a few key points to keep in mind.
Firstly, make sure to align the seat with the toilet bowl and ensure that it sits evenly on the surface.
Secondly, use a screwdriver to tighten the screws firmly, but be cautious not to overtighten as it can damage the seat or the toilet bowl.
Lastly, double-check the tightness periodically to prevent any potential wobbling or loosening of the seat over time.
Proper Seat Installation
The first step in properly installing a toilet seat is making sure it is securely tightened. This ensures proper alignment and seat stability. Follow these steps to ensure a secure installation:
- Start by placing the seat on the toilet bowl, making sure it is centered and aligned with the bowl.
- Locate the mounting holes on the toilet bowl and insert the bolts through them.
- Secure the bolts with the nuts provided, using a wrench to tighten them. Be careful not to overtighten, as this can damage the toilet bowl.
- Finally, check the stability of the seat by gently rocking it back and forth. If it feels loose, tighten the bolts a little more until it is secure.
By ensuring proper alignment and seat stability, you can prevent any wobbling or shifting of the toilet seat.
Now, let’s move on to the next step of tightening the screws securely.
Tightening Screws Securely
Once the bolts are inserted through the mounting holes, you can use a wrench to securely tighten them with the provided nuts. Proper screw tightening techniques are crucial for ensuring the stability of your toilet.
When tightening the screws, it is important to apply equal pressure to both sides to prevent any wobbling or loosening over time. Make sure not to overtighten, as this can damage the toilet or crack the porcelain.
Regular maintenance is essential for toilet screws to prevent any potential issues. Over time, screws can become loose due to regular usage and vibrations. Periodically checking and tightening the screws will help maintain the toilet’s stability and prevent any potential leaks or damage.
Taking the time to properly tighten and maintain your toilet screws will ensure a secure and functional bathroom fixture.
Inspect and Tighten the Toilet Bolts
Start by checking and tightening the toilet bolts to ensure a secure installation. Inspecting the toilet bowl and adjusting the toilet flange are crucial steps in this process. Here’s what you need to do:
-
Inspect the toilet bowl: Carefully examine the base of the toilet bowl for any cracks or damage. If you notice any issues, it’s important to address them before tightening the bolts.
-
Adjust the toilet flange: The toilet flange is the piece that connects the toilet to the floor. Make sure it is securely in place and properly aligned. If it’s loose or misaligned, use a wrench to tighten the bolts and adjust the flange accordingly.
-
Tighten the toilet bolts: With a wrench, gently tighten the bolts on each side of the toilet base. Be careful not to overtighten, as this can cause damage. Aim for a snug fit that ensures stability.
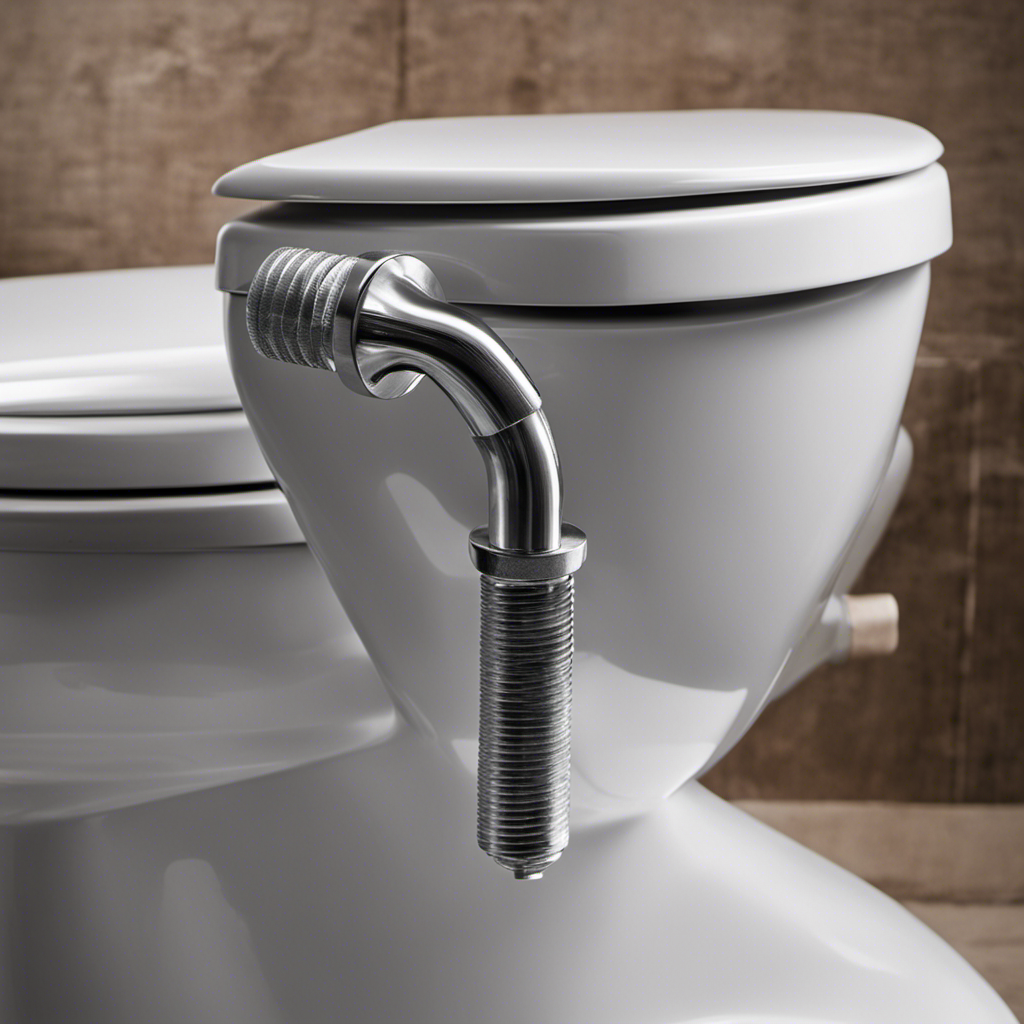
Check and Tighten the Tank Bolts
To check and tighten the tank bolts, carefully examine the tank for any signs of looseness or damage. Inspecting toilet tank bolts is essential to ensuring the stability of your toilet. Start by visually inspecting the bolts and the area around them. Look for any signs of rust, corrosion, or loose connections. If you notice any damage, it’s important to replace the bolts immediately. To tighten the bolts, use a wrench to gently tighten them in a clockwise direction. Be careful not to overtighten, as this can cause damage to the tank or the bolts. Once you’ve tightened the bolts, check the stability of the tank by gently pushing and pulling on it. If it feels secure, you can be confident that your toilet is properly tightened and ready for use.
| Bolt Location | Tightness |
|---|---|
| Front Left | Secure |
| Front Right | Secure |
| Back Left | Secure |
| Back Right | Secure |
Secure the Wax Ring and Reassemble the Toilet
After inspecting and tightening the tank bolts, move on to securing the wax ring and reassembling the toilet. This step is crucial in preventing leaks and ensuring the proper functioning of your toilet. Here’s what you need to do:
-
Remove the old wax ring: Carefully lift the toilet and scrape off the old wax ring from the toilet flange.
-
Clean the toilet flange: Use a putty knife to remove any residue or debris from the flange.
-
Install the new wax ring: Place the new wax ring on the flange, making sure it is centered and properly aligned.
-
Reassemble the toilet: Lower the toilet bowl onto the wax ring, aligning it with the floor bolts. Gently press down to create a secure seal.
Turn the Water Supply Back on and Test for Leaks
Once you have finished securing the wax ring and reassembling the toilet, it’s time to turn the water supply back on and test for any potential leaks. This step is crucial to ensure that everything is functioning properly before you start using the toilet again.
To perform the leak test, follow these steps:
-
Begin by repositioning the water supply. Locate the shut-off valve near the base of the toilet and turn it counterclockwise to reopen the water flow.
-
Slowly turn the valve clockwise to increase the water pressure. Keep an eye out for any leaks around the base of the toilet or any dripping sounds.
-
Check the connections between the water supply line and the toilet tank. Make sure they are tight and secure.
-
Monitor the toilet for a few minutes while the tank refills. Look for any signs of water leakage or dripping.
Conclusion
So there you have it, my friend. You’ve successfully tightened your toilet and saved yourself from any potential leaks or wobbles.
Now, you can confidently sit upon your throne without any worry. Remember, a tight toilet is a happy toilet!
So go forth and spread the word of your newfound tightening skills. Your friends and family will surely be impressed, and maybe, just maybe, they’ll ask you to tighten their toilets too.
Happy tightening!