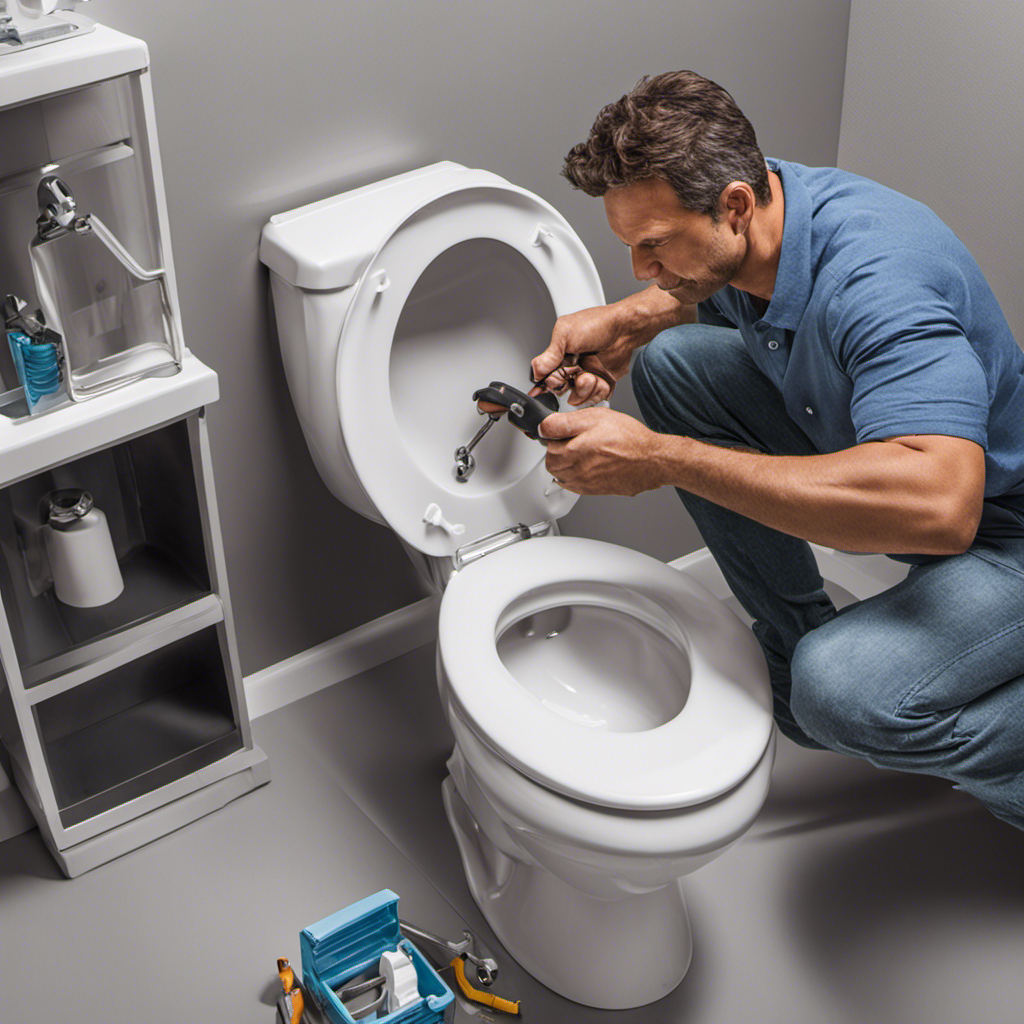
You might be thinking, ‘Why would I want to uninstall a toilet?’ Well, sometimes the need arises – whether you’re remodeling your bathroom or simply replacing an old fixture.
In this step-by-step guide, we’ll walk you through the process of uninstalling a toilet with ease. By following these instructions, you’ll be able to confidently remove your toilet and prepare for whatever project lies ahead.
So let’s get started and learn how to uninstall a toilet like a pro.
Key Takeaways
- Shut off the water supply valve and drain the tank before removing it to prevent water damage or leaks.
- Loosen and remove the tank bolts carefully to avoid damaging the tank.
- Lift the tank off the bowl gently and set it aside safely.
- Disconnect the toilet bowl from the floor by loosening and removing the bolts securing it to the floor.
Required Tools and Materials
You’ll need a few tools and materials to uninstall a toilet. Before you begin, gather the following items:
- a pair of adjustable pliers
- a wrench
- a putty knife
- a bucket
- towels
- a new wax ring
- gloves
These tools and materials are essential for a smooth and efficient removal process.
The adjustable pliers will help you loosen and disconnect the water supply line from the toilet tank.
The wrench is necessary to loosen and remove the nuts securing the toilet bolts to the floor.
The putty knife will aid in scraping off any old wax or caulk around the base of the toilet.
The bucket and towels are to catch any water or debris that may spill during the uninstallation.
Lastly, the new wax ring will be used for reinstallation or replacement, ensuring a proper seal.
Shutting Off the Water Supply
To stop the water flow, you should first turn off the shut-off valve. This is an essential step in preventing leaks and ensuring a smooth uninstallation process for your toilet.
Locate the shut-off valve, which is usually located on the wall behind or near the toilet. It is a small, round valve with a lever or a knob. Turn the valve clockwise until it is fully closed. This will shut off the water supply to the toilet, preventing any water from flowing into the tank and bowl.
It is crucial to shut off the valve completely to avoid any potential water damage or leaks. Once the water supply is turned off, you can proceed with confidence to the next steps of uninstalling the toilet.
Removing the Tank
When removing the tank of a toilet, it is important to ensure proper detachment to avoid any potential water leakage.
Begin by turning off the water supply valve located behind the toilet and flushing to drain the tank.
Carefully disconnect the water supply line and loosen the tank bolts using a wrench, taking care not to overtighten or damage the porcelain.
Proper Tank Detachment
Before starting, make sure the water supply valve is turned off to prevent any leaks.
To ensure tank stability during the uninstallation process, it is crucial to secure the tank properly.
Begin by removing the tank lid and placing it in a safe location.
Locate the tank bolts, usually found at the bottom of the tank, and use a wrench to loosen and remove them.
With the bolts removed, gently lift the tank off the bowl and set it aside. It is important to handle the tank with care to avoid any damage.
Once the tank is detached, proceed to the next step to address potential water leakage, as this is a common issue during toilet removal.
Potential Water Leakage
If there’s potential water leakage during the process, be sure to handle the tank with care to prevent any damage. Water leakage can occur when disconnecting the water supply line or removing the tank bolts. To prevent possible damage, follow these prevention methods:
- Shut off the water supply valve to stop the flow of water to the tank.
- Use a towel or sponge to soak up any remaining water in the tank before proceeding.
- Loosen the tank bolts slowly and evenly to avoid causing any cracks or leaks.
By taking these precautions, you can minimize the risk of possible damage and ensure a smooth uninstallation process.
Once you have successfully addressed any potential water leakage, you can move on to the next step of detaching the bowl from the floor.
Detaching the Bowl From the Floor
To remove the toilet anchors, start by locating the bolts that secure the toilet base to the floor. Use a wrench to loosen and remove the nuts from the bolts. Once the nuts are removed, carefully lift the toilet bowl off the floor, making sure to disconnect any remaining anchors or adhesive.
Next, disconnect the water supply by turning off the shut-off valve located behind the toilet. Use an adjustable wrench to loosen the nut connecting the water supply line to the valve, then disconnect the line.
Removing Toilet Anchors
First, you’ll need to locate and unscrew the nuts securing the toilet anchors. This is an essential step in the process of removing the toilet. The type of toilet anchor will vary depending on the installation, but common types include flange bolts, closet bolts, or wedge anchors.
To successfully remove the toilet anchors, follow these steps:
- Begin by identifying the type of anchor used in your toilet installation.
- Use appropriate tools, such as a wrench or pliers, to loosen and remove the nuts securing the anchors.
- If the nuts are difficult to unscrew, apply a penetrating oil to loosen them and make removal easier.
Troubleshooting toilet anchor removal:
- If the nuts are rusted or corroded, use a wire brush to clean them before attempting removal.
- In case the anchors are stuck, apply gentle pressure while unscrewing to prevent damage to the floor or toilet.
- If the toilet anchors are still stubborn, you may need to use a hacksaw or reciprocating saw to cut them off.
Remember to exercise caution during the removal process to avoid any accidents or damage.
Disconnecting Water Supply
Before beginning, ensure you shut off the water supply by turning the valve clockwise. This step is crucial to prevent potential water damage and ensure a smooth uninstallation process. Troubleshooting common issues related to disconnecting the water supply can save you time and effort. Refer to the table below for guidance on troubleshooting common issues:
| Common Issue | Possible Cause | Solution |
|---|---|---|
| Water continues to flow | Valve not fully closed | Ensure the valve is turned completely clockwise |
| Valve is stuck | Mineral deposits | Apply a lubricant and gently turn the valve |
| Valve is leaking | Worn out seal | Replace the valve seal |
Once you have successfully disconnected the water supply, you can proceed to the next step of cleaning and preparing the area for uninstalling the toilet.
Cleaning and Preparing the Area
After you’ve removed the toilet, make sure to thoroughly clean and disinfect the surrounding area. This step is crucial to maintain hygiene and prevent any potential health hazards. Here are some cleaning techniques and safety precautions to follow:
- Use a mild detergent or cleaning solution to wipe down the floor and walls around the toilet area.
- Pay extra attention to the base of the toilet, as it may have accumulated dirt and grime over time.
- Disinfect the area using a bleach solution or disinfectant spray to kill any bacteria or germs.
By following these cleaning techniques and safety precautions, you can ensure a clean and sanitized area before installing a new toilet.
Now, let’s move on to the next step: disposing of the old toilet.
Disposing of the Old Toilet
To properly dispose of the old toilet, you can contact your local waste management facility for guidance on the appropriate disposal methods.
It is important to dispose of toilets in an eco-friendly manner to reduce environmental impact. Many waste management facilities have specific guidelines for toilet disposal, as toilets can contain materials that may be harmful if not handled properly.
Some facilities may require the toilet to be broken down into smaller pieces for disposal, while others may have designated areas for large item disposal. Additionally, some waste management facilities may offer recycling options for toilets, where the porcelain can be repurposed.
Conclusion
Congratulations! You’ve successfully navigated the intricate process of uninstalling a toilet. By shutting off the water supply and carefully removing the tank and bowl, you’ve accomplished a feat that many would shy away from.
Now, armed with your newfound knowledge and the clean, prepared area, you’re ready to move forward. So go ahead, dispose of that old toilet like a seasoned pro and revel in your triumph over household plumbing challenges!


