Are you tired of struggling to remove your old toilet seat? Well, we have the solution for you!
In this article, we will guide you through the process of unscrewing your toilet seat using simple and effective techniques.
You will learn how to gather the necessary tools, locate the screws, and use the correct tool to easily remove the seat.
Say goodbye to frustration and hello to a hassle-free toilet seat removal experience!
Key Takeaways
- Gather the necessary tools and cleaning supplies, such as a screwdriver and mild disinfectant, for unscrewing and cleaning the toilet seat.
- Locate and loosen the screws holding the toilet seat in place by using a screwdriver that fits the screw heads and turning counterclockwise. Use lubricant like WD-40 if the screws are stuck.
- Use the correct tools and techniques, such as a screwdriver of the right size, to unscrew the seat without causing damage. Avoid using pliers and force.
- Remove the old toilet seat by loosening the nuts with a wrench or pliers, turning counterclockwise, and lifting the seat off the toilet bowl. Dispose of the old seat properly in a garbage bag.
Gather the Necessary Tools
You’ll need to gather a few tools before you can unscrew the toilet seat. To avoid common mistakes, make sure you have a screwdriver, preferably a Phillips head, that fits the screws on the seat. A wrench may also be needed if the screws are too tight.
Before starting, ensure that the toilet seat is clean and hygienic. Regularly cleaning the seat with a mild disinfectant can help maintain hygiene. Additionally, avoid using abrasive cleaners or harsh chemicals that can damage the seat.
Once you have the necessary tools and a clean seat, you can move on to locating the screws holding the toilet seat in place.
Locate the Screws Holding the Toilet Seat in Place
First, check for the screws that are holding the toilet seat securely in place. To remove a stuck toilet seat, you need to locate these screws. They are usually located at the back of the seat, near the hinges.
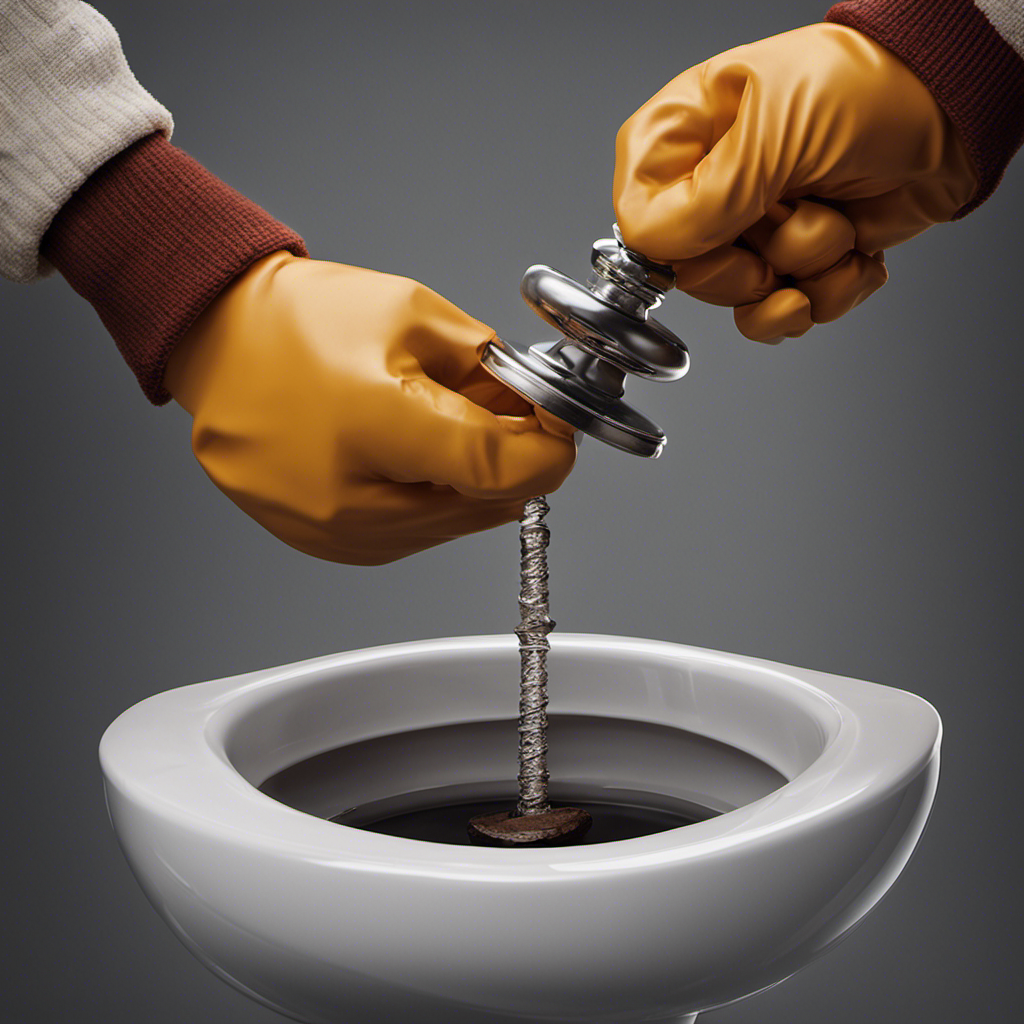
Get a screwdriver that fits the screw heads properly. Insert the screwdriver into the slot and turn it counterclockwise to loosen the screws. If the screws are rusted or stuck, try spraying some lubricant like WD-40 and let it sit for a few minutes. This will help to loosen the screws.
Once the screws are loose, continue turning them counterclockwise until they are completely removed.
After removing the toilet seat, you can clean it thoroughly using a mild detergent and warm water. Regular cleaning and maintenance of the toilet seat is essential to keep it hygienic and prolong its lifespan.
Use the Correct Tool to Unscrew the Seat
To properly remove a stuck toilet seat, it’s important to use the correct tool for unscrewing it. Here are some alternative methods and common mistakes to avoid:
-
Use a screwdriver: The most common tool for unscrewing a toilet seat is a screwdriver. Make sure to choose the right size and type of screwdriver that fits the screws on your toilet seat.
-
Avoid using pliers: While pliers may seem like a good alternative, they can damage the screws or the seat itself. It’s best to use a proper screwdriver to prevent any unnecessary damage.
-
Don’t force it: One common mistake is trying to force the screws to unscrew. This can strip the screw heads or cause damage to the toilet seat. If the screws are stuck, try applying some lubricant or penetrating oil to loosen them before attempting to unscrew them.
Remove the Old Toilet Seat
When removing the old toilet seat, make sure you have the appropriate tool on hand. You’ll need a wrench or a pair of pliers to loosen the nuts that secure the seat to the toilet bowl.
Start by locating the nuts on the underside of the toilet bowl. Use the wrench or pliers to turn them counterclockwise until they are loose enough to remove by hand.
Once the nuts are off, simply lift the old seat off the toilet bowl and set it aside. To properly dispose of the old toilet seat, wrap it in a garbage bag and place it in your regular trash.
Before installing a new seat, it’s important to clean the toilet area thoroughly. Use a disinfectant cleaner and a sponge to wipe down the toilet bowl and seat hinges, removing any dirt or grime. This will ensure a clean and hygienic surface for the new seat to be installed.
Now, you’re ready to install a new toilet seat if desired.
Install a New Toilet Seat if Desired
If you want to install a new toilet seat, make sure to choose one that fits properly with your toilet bowl. Here are three key steps to help you install it correctly:
-
Choosing the right type of toilet seat for your bathroom decor: Consider the style, color, and material of the seat to ensure it complements your bathroom’s aesthetics. Whether you prefer a wooden, plastic, or cushioned seat, make sure it matches your personal taste and overall design.
-
Properly aligning and positioning the new toilet seat for optimal comfort: Start by removing the old seat, then align the bolt holes on the new seat with the holes on the toilet bowl. Place the seat on top, making sure it sits evenly and securely. Tighten the bolts until the seat is stable but not too tight.
-
Checking for stability and functionality: Before using the toilet seat, ensure it is securely attached and doesn’t wobble. Test the seat by sitting on it and moving around slightly to ensure optimal comfort and stability.
Conclusion
Congratulations! You’ve successfully learned how to unscrew a toilet seat.
By following these simple steps and using the right tools, you can easily remove the old seat and replace it with a new one, if desired.
Remember, this process is as easy as pie, and you’ll feel like a superhero after completing it.
So, don’t hesitate to tackle this task and become the master of toilet seat removal!


