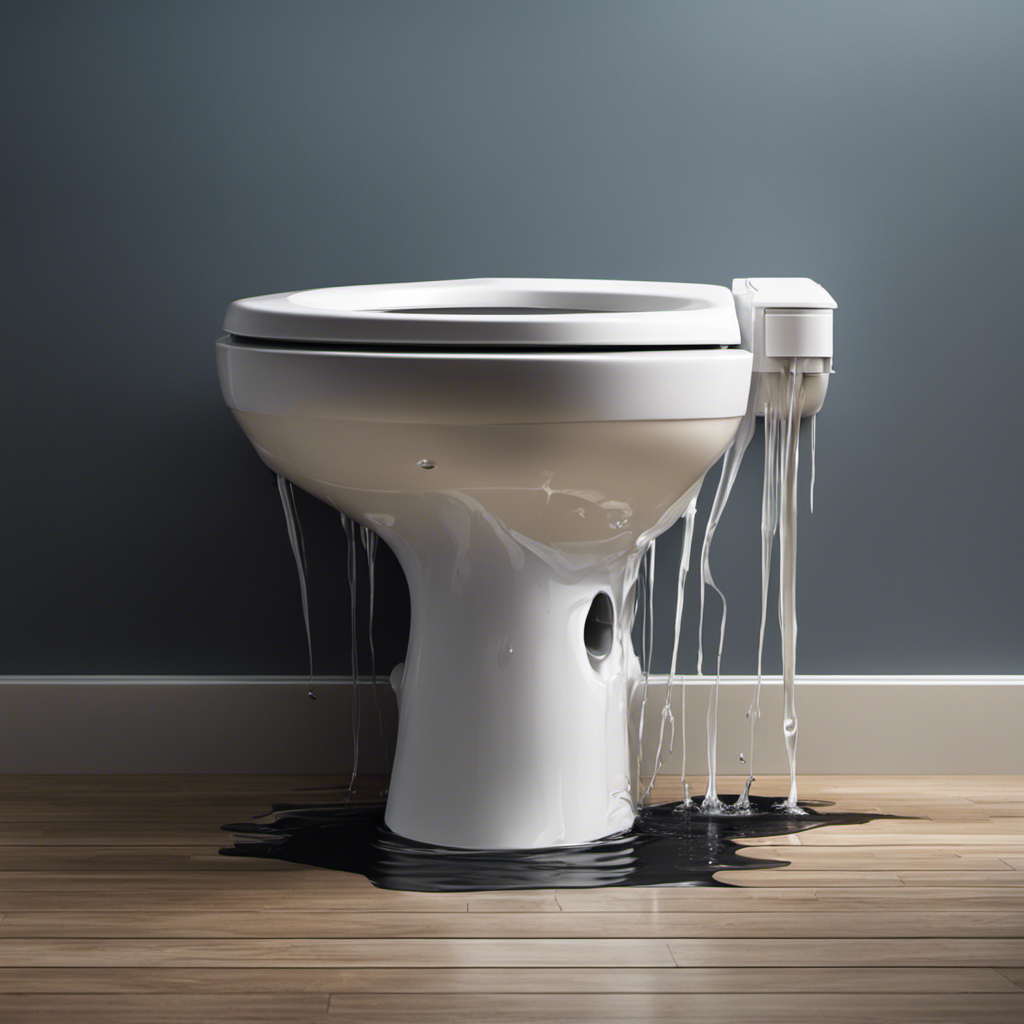
Hey there! Ever flushed your toilet and noticed a mysterious leak coming from the tank? It’s a common problem that can be a real headache. But fear not, because I’ve got you covered.
In this article, I’ll walk you through the common causes of toilet tank leaks, help you identify the source of the problem, and give you step-by-step instructions on how to fix it. Plus, I’ll share some tips on preventing future leaks.
So let’s dive in and tackle this issue together!
Key Takeaways
- Faulty flapper or misaligned flapper can cause toilet tank leaks when flushed.
- Water pooling around the base, constantly running toilet, and unusual sounds from the tank are signs of a leaking toilet tank.
- Shutting off the water supply valve and replacing the toilet tank can help fix the leak.
- Regularly inspecting the tank and components, ensuring tight connections, and avoiding excessive force when flushing can prevent future toilet tank leaks.

Korky Ultra Standard 2-Inch Universal Toilet Flapper – Long Lasting Rubber – Easy to Install – Made in USA, 100BP
TOILET FLAPPER VALVE FITS MOST POPULAR 2 inch toilet brands including, but not limited to: American Standard, Kohler,…
As an affiliate, we earn on qualifying purchases.
As an affiliate, we earn on qualifying purchases.
Common Causes of Toilet Tank Leaks
One common cause of toilet tank leaks is a faulty flapper that doesn’t seal properly when you flush.
The flapper is a rubber valve that opens to allow water to flow from the tank into the bowl when you flush. If the flapper is worn, damaged, or misaligned, it may not create a tight seal when it closes.
This can result in water continuously leaking from the tank into the bowl, causing unnecessary water wastage and potential water damage.
To fix this issue, you can try adjusting the flapper chain or replacing the flapper altogether.
Regular toilet tank repair and maintenance can help prevent water leaks and ensure efficient water usage, promoting water damage prevention.

Fluidmaster 400H-002 Performax Universal Toilet Fill Valve High Performance Tank and Bowl Water Control, 1-Pack, Multicolor
Fix noisy, or slow filling fill valves with the quietest, most powerful toilet fill valve available
As an affiliate, we earn on qualifying purchases.
As an affiliate, we earn on qualifying purchases.
Identifying the Source of the Leak
To pinpoint the source of the leak, you can start by checking the water supply valve and the flapper. Troubleshooting toilet leaks can be a frustrating task, but with the right knowledge, you can identify the problem and fix it.
Here are some signs of a leaking toilet that you should look out for:
- Water pooling around the base of the toilet
- Constantly running toilet
- Unusual sounds coming from the tank
These signs indicate that there may be a leak in your toilet tank. By carefully examining the water supply valve and the flapper, you can determine if they are causing the leak. Once you have identified the source, you can move on to the next step and fix the leaking toilet tank.

Fluidmaster K-400H-039 High Performance Toilet Fill Valve with 2-Inch Adjustable Toilet Flapper Kit
The PerforMAX fill valve and 2 in. Flapper Kit is the premium solution to make your 2 in….
As an affiliate, we earn on qualifying purchases.
As an affiliate, we earn on qualifying purchases.
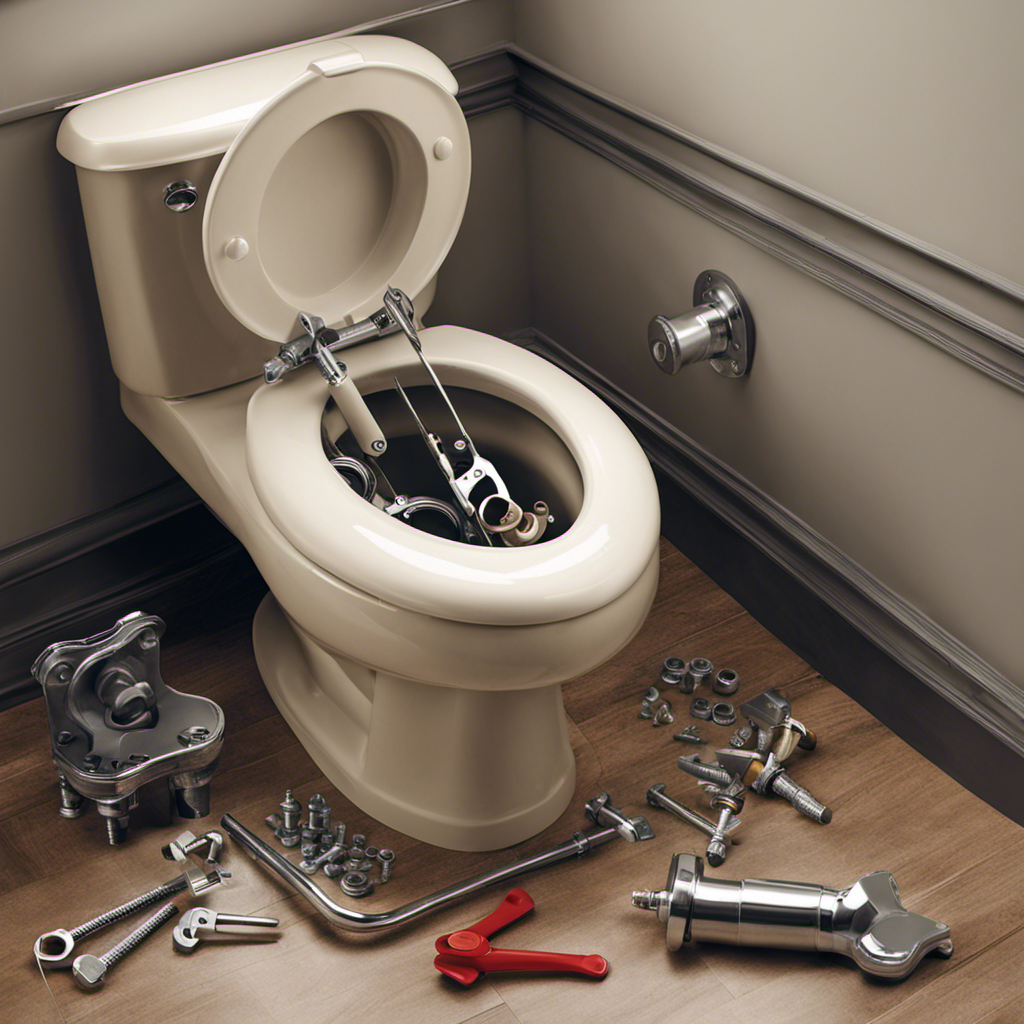
Steps to Fixing a Leaking Toilet Tank
Start by shutting off the water supply valve to prevent any more water from flowing into the toilet. This is the first step in fixing a leaking toilet tank.
To begin the repair process, I recommend replacing the toilet tank entirely. This may seem like a daunting task, but with some basic DIY skills, it can be done.
First, drain the tank by flushing the toilet and holding down the handle until all the water is gone. Next, disconnect the supply line and remove the nuts holding the tank to the bowl. Carefully lift the tank off and replace it with a new one. Make sure to tighten all the connections securely.
By replacing the toilet tank, you can ensure a long-lasting solution to your leaking problem.
Now that you have successfully fixed the leaking toilet tank, it’s important to take steps to prevent future leaks.
One way to do this is by regularly inspecting the tank and its components for any signs of damage or wear. Additionally, make sure all connections are tight and secure.
Another helpful tip is to avoid using excessive force when flushing the toilet, as this can cause damage to the tank and its seals. Finally, consider installing a water pressure regulator to prevent high water pressure, which can lead to leaks.

PROFLO PF6112 Calhoun Toilet Tank Only – Less Seat – White
Fully covered under ProFlo's 1-year limited
As an affiliate, we earn on qualifying purchases.
As an affiliate, we earn on qualifying purchases.
Preventing Future Toilet Tank Leaks
Now that you’ve fixed the leak in your toilet tank, it’s important to regularly inspect and maintain the components to prevent future leaks.
Proper toilet tank maintenance is crucial to avoid costly repairs and water damage. Here are three key steps you can take to ensure your toilet tank remains leak-free:
-
Regularly check the water level: Make sure the water level in the tank is set at the correct height. Adjust the float valve if necessary to prevent overfilling or underfilling.
-
Inspect the flapper valve: Check the flapper valve for any signs of damage or wear. Replace it if needed to maintain a proper seal and prevent leaks.
-
Clean the tank: Remove any mineral deposits or debris that can accumulate inside the tank. Use a non-abrasive cleaner and a soft cloth or sponge to avoid damaging the components.
By following these DIY toilet tank maintenance tips, you can extend the lifespan of your toilet and prevent future leaks.
However, there may be instances when it’s best to call a professional plumber.
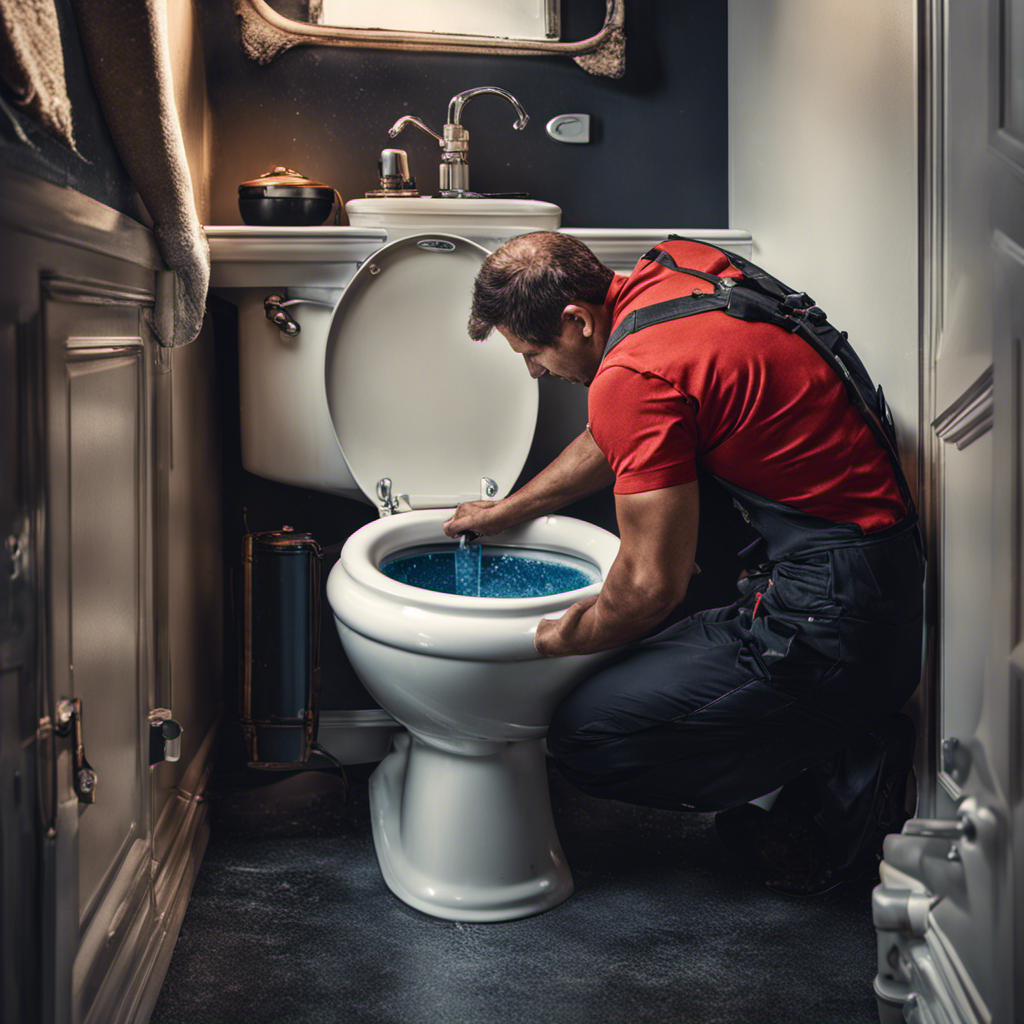
When to Call a Professional Plumber
If you’re unsure about how to handle a plumbing issue, it’s a good idea to contact a professional plumber who can assess the situation and provide expert advice.
While there are some DIY solutions for toilet tank leaks, it’s important to know when it’s time to call in the professionals.
Signs of a serious toilet tank leak include a constant running sound, water pooling around the base of the toilet, and an increase in your water bill. If you notice any of these signs, it’s best to leave the repairs to a professional plumber.
Attempting to fix a serious toilet tank leak on your own can lead to further damage and potentially costly repairs. A professional plumber will have the knowledge and expertise to properly assess and fix the issue, ensuring that your toilet is functioning properly and efficiently.
Conclusion
Well, it seems like we’ve reached the end of our journey in fixing that pesky toilet tank leak. By following the steps outlined above, we were able to identify and address the common causes of the leak, ultimately preventing future occurrences.
Remember, it’s always important to stay on top of these issues to avoid any more water wastage or potential damage. And if you ever find yourself in need of some extra help, don’t hesitate to reach out to a professional plumber.
Happy flushing!