As someone who has recently tackled a toilet installation project, I understand the importance of having the right tools and materials on hand.
Did you know that 1 in 5 homeowners attempt to install their own toilets? If you’re part of that statistic, or simply curious about the process, this article will provide you with the essential knowledge and step-by-step guide to successfully install a toilet.
So let’s dive in and discover what you need to get the job done right.
Key Takeaways
- Gather the necessary tools and materials such as a wrench, screwdriver, level, wax ring, toilet bolts, and supply line.
- Measure the rough-in distance, width and depth of the available space, and the height from the floor to the top of the tank for a proper fit.
- Properly remove the old toilet by turning off the water supply, disconnecting the water supply line, unscrewing the bolts, and lifting the toilet off the wax seal.
- When installing the toilet, check for leaks, inspect all connections, use a water level test, and address any leaks promptly. Also, ensure all bolts and connections are tightened securely and troubleshoot and fix common mistakes to prevent leaks.
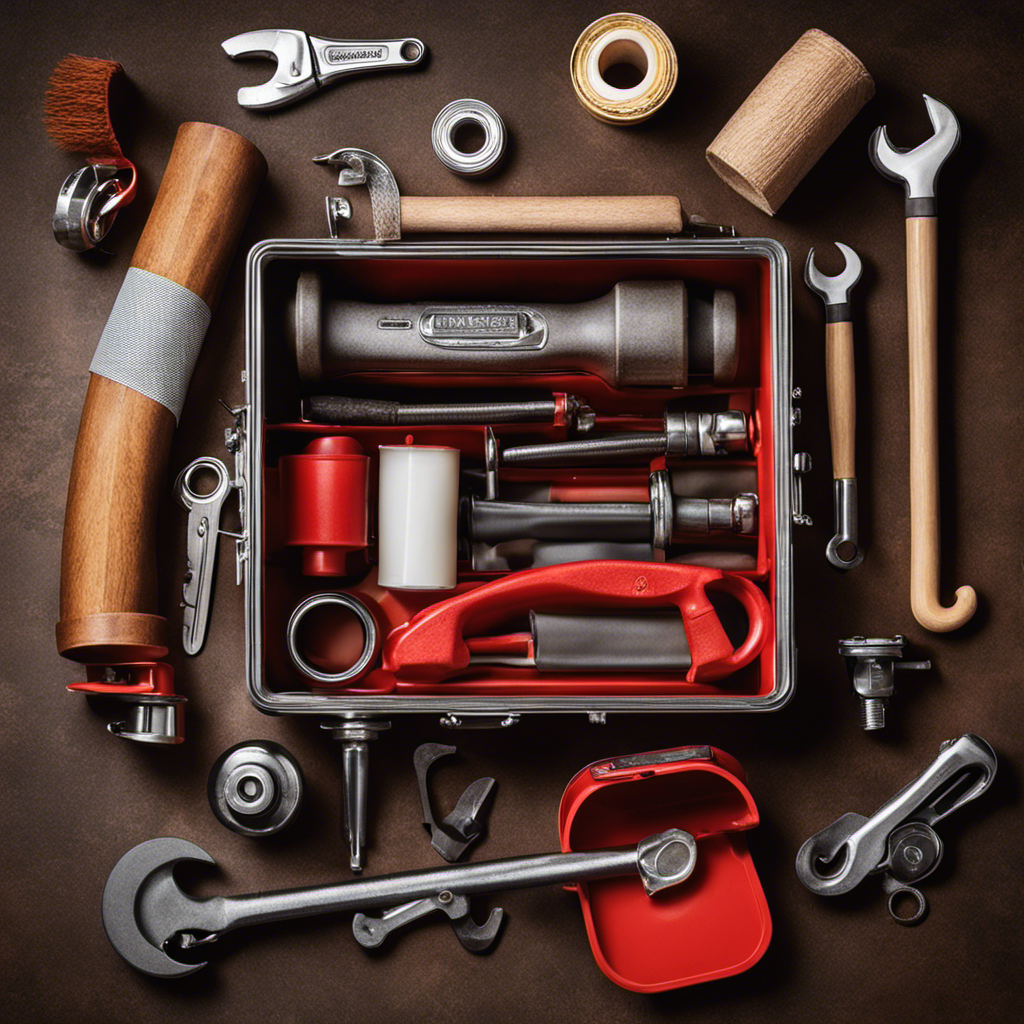
Required Tools for Toilet Installation
To install a toilet, you’ll need a few tools. First, you’ll need a wrench to tighten the bolts that hold the toilet to the floor. This ensures a secure fit and prevents leaks.
Next, you’ll need a screwdriver to attach the toilet seat to the bowl. It’s important to choose the right size and type of screwdriver to avoid damaging the seat or the bowl.
Additionally, you’ll need a level to make sure the toilet is installed straight and doesn’t wobble.
Finally, you’ll need a wax ring to create a watertight seal between the toilet and the drain pipe.
Overall, the cost estimation for toilet installation tools is relatively low, especially compared to the potential cost of fixing mistakes made during installation.
Essential Materials for Installing a Toilet
Make sure you have all the necessary materials like a wax ring, toilet bolts, and a supply line before starting the installation.
Installing a toilet requires precision and the right tools. First, you need to measure the rough-in, which is the distance between the wall and the center of the toilet flange. This measurement ensures that the toilet fits perfectly in your bathroom.
Additionally, you may need a level to ensure the toilet is installed correctly and doesn’t wobble.
As for the cost, a toilet installation can vary depending on factors such as the complexity of the job and the location. On average, the cost can range from $150 to $500, including the materials and labor.
It’s always a good idea to get a few quotes from professionals to compare prices and ensure you’re getting the best deal.
Preparing the Bathroom for Toilet Installation
Before installing a new toilet, it’s important to gather the necessary tools and materials. These may include a wrench, plunger, putty knife, and a new wax ring.
Additionally, measuring for proper fit is crucial. This ensures the toilet will fit in the designated space and align with the plumbing connections.
Lastly, removing the old toilet is an important step. It involves shutting off the water supply, draining the tank, and disconnecting the water line.
Necessary Tools and Materials
You’ll need a wrench, screwdriver, and plunger to install a toilet. In addition to these tools, there are a few other materials you’ll need to ensure a successful installation. Let’s take a look at the necessary tools and materials in the table below:
| Tools | Materials |
|---|---|
| Wrench | Toilet |
| Screwdriver | Wax Ring |
| Plunger | Bolts and Nuts |
| Measuring Tape | Flexible Water Supply |
| Silicone Sealant | |
| Toilet Seat |
The wrench and screwdriver will be used to tighten the bolts and nuts that secure the toilet to the floor. The plunger will come in handy in case of any clogs. The measuring tape is essential for measuring the distance between the toilet flange and the wall to ensure a proper fit. Lastly, the flexible water supply will connect the toilet to the water source. With these tools and materials ready, we can now move on to measuring for the proper fit.
Now that we have all the necessary tools and materials, let’s move on to the next step: measuring for the proper fit.
Measuring for Proper Fit
Now that we have all the necessary tools and materials, let’s focus on measuring for the proper fit. Accurate measurements are crucial to ensure the toilet fits perfectly in the designated space. Here are some measuring techniques to help you choose the right size:
-
Measure the rough-in: This is the distance between the wall and the center of the toilet flange. It determines the toilet’s position and size.
-
Measure the width and depth: Measure the available space on the floor where the toilet will be installed. Consider any obstructions such as cabinets or walls.
-
Measure the height: Measure from the floor to the top of the toilet tank to ensure it fits comfortably in your bathroom.
Removing Old Toilet
First, make sure to turn off the water supply to the toilet before attempting to remove it. This is crucial to avoid any water leaks or damage. Once the water supply is off, you can start the process of removing the old toilet. Begin by disconnecting the water supply line and unscrewing the bolts that secure the toilet to the floor. Carefully lift the toilet off the wax seal, being cautious not to spill any water or damage the flooring. Next, remove the wax seal and any remaining residue. To engage you further, here is a helpful table illustrating the steps involved in removing an old toilet:
| Step | Description |
|---|---|
| 1 | Turn off water supply |
| 2 | Disconnect water supply line |
| 3 | Unscrew bolts securing the toilet |
| 4 | Lift toilet off the wax seal and remove |
Now that you have successfully removed the old toilet, it’s time to move on to the next step – choosing the right toilet for your bathroom.
Choosing the Right Toilet for Your Bathroom
To choose the right toilet for your bathroom, it’s important to consider the size of the space and the style you prefer. Here are some factors to keep in mind when selecting a toilet:
-
Toilet seat options:
-
Standard seats: These are the most common and affordable option.
-
Soft-close seats: These seats close slowly and quietly, preventing slamming noises.
-
Heated seats: These seats provide added comfort, especially during colder months.
-
Proper toilet placement:
-
Measure the rough-in distance, which is the distance from the wall to the center of the toilet flange. This will ensure the toilet fits properly.
-
Consider the location of the water supply line and the waste pipe. Make sure they align with the toilet’s rough-in distance.
-
Take into account the clearance needed around the toilet for comfortable use and cleaning.
Step-by-Step Guide to Installing a Toilet
Installing a toilet is a straightforward process that can be completed with a few basic tools. To ensure a successful installation, it’s important to use proper measuring techniques and take steps to prevent leaks. Here is a step-by-step guide to help you through the process:
-
Measure: Before installing the toilet, measure the rough-in distance – the distance from the wall to the center of the drain pipe. This will help you choose a toilet that fits properly.
-
Assemble: Gather the necessary tools, including a wrench, screwdriver, and wax ring. Assemble the tank and bowl according to the manufacturer’s instructions.
-
Install: Place the wax ring onto the flange, then carefully lower the toilet onto the flange, aligning the bolts with the holes. Secure the toilet by tightening the nuts onto the bolts.
By following these steps and using proper measuring techniques, you can ensure a successful toilet installation.
Additionally, be sure to check for leaks by thoroughly inspecting all connections and using a water level test.
Troubleshooting Common Toilet Installation Issues
One common issue that can arise during toilet installation is a leaky wax ring. This can lead to water leaking onto the floor and causing damage if not addressed properly.
To troubleshoot toilet leaks, there are a few common mistakes to look out for:
-
Incorrect wax ring installation: Ensure that the wax ring is properly seated on the flange before placing the toilet bowl.
-
Loose connections: Check that all the bolts and connections are tightened securely to prevent leaks.
-
Cracked toilet bowl: Inspect the toilet bowl for any cracks or damage that could cause leaks.
By addressing these common mistakes, you can troubleshoot and fix toilet leaks during installation. This will help ensure a successful and leak-free toilet installation.
Now, let’s move on to the final steps and tips for a successful toilet installation.
Final Steps and Tips for a Successful Toilet Installation
Now that you’ve troubleshooted potential issues and addressed common mistakes, let’s focus on the final steps and tips to ensure a successful toilet installation. After securing the toilet bowl to the floor and connecting the water supply line, there are a few more important considerations for toilet maintenance.
One important tip is to regularly check for leaks around the base of the toilet. This can be done by placing a few drops of food coloring in the tank and waiting to see if any color seeps into the bowl. If there is a leak, it may indicate a problem with the wax ring or the bolts holding the toilet in place.
Another common toilet problem is a weak or incomplete flush. To address this, check the water level in the tank and adjust the float valve if necessary. Additionally, ensure that the flapper is functioning properly by checking for any cracks or damage.
Regular cleaning is also key to maintaining a properly functioning toilet. Use a non-abrasive cleaner and a toilet brush to remove any stains or buildup in the bowl. Finally, always remember to flush only toilet paper and avoid flushing any other materials that could cause clogs.
Below is a table summarizing these important tips for toilet maintenance:
| Tips for Toilet Maintenance |
|---|
| Check for leaks |
| Adjust float valve |
| Clean regularly |
| Avoid flushing non-toilet materials |
Frequently Asked Questions
How Do I Measure the Rough-In Distance for My Toilet Installation?
To measure the rough-in distance for toilet installation, use a tape measure to determine the distance from the finished wall to the center of the drain pipe. This measurement will help you properly position the toilet flange for a secure installation.
Can I Install a Toilet on My Own or Do I Need to Hire a Professional?
I can install a toilet on my own without hiring a professional. With some basic tools and knowledge of DIY plumbing, I can successfully complete the installation process.
What Are the Different Types of Toilet Flushing Mechanisms Available?
Toilet flushing mechanisms come in various types. Understanding them is crucial to address common toilet problems. From gravity-fed to pressure-assisted systems, each has its own advantages and considerations.
How Do I Ensure That My Toilet Is Properly Sealed to Prevent Leaks?
To ensure a properly sealed toilet and prevent leaks, use toilet sealing techniques like using a wax ring or a rubber gasket. Troubleshoot toilet leaks by checking for loose connections or cracks in the toilet bowl or tank.
Is It Necessary to Replace the Wax Ring When Installing a New Toilet?
When installing a new toilet, it is necessary to replace the wax ring. Reusing the old wax ring can lead to leaks and inadequate sealing. Alternative seal options like rubber gaskets can be used as well.
Conclusion
In conclusion, installing a toilet may seem like a daunting task, but with the right tools and materials, it can be a breeze.
Just like a plumber conquering a clogged drain, you too can conquer this project and have a fully functional throne in your bathroom.
Remember to follow the step-by-step guide carefully, troubleshoot any issues that may arise, and finish off with some final steps and tips for a successful installation.
So go ahead, take the plunge and become the master of your porcelain domain!

Mateo’s flair for writing is matched only by his keen eye for design. As an interior designer turned writer, Mateo brings a unique perspective. He blends aesthetics with functionality in every piece he pens, providing readers with beautifully crafted content that’s also supremely useful.
Mateo loves exploring the latest bathroom tech trends and is our expert on smart toilets. When he’s not writing or designing, Mateo can be found sketching ideas for his next big project at local coffee shops.