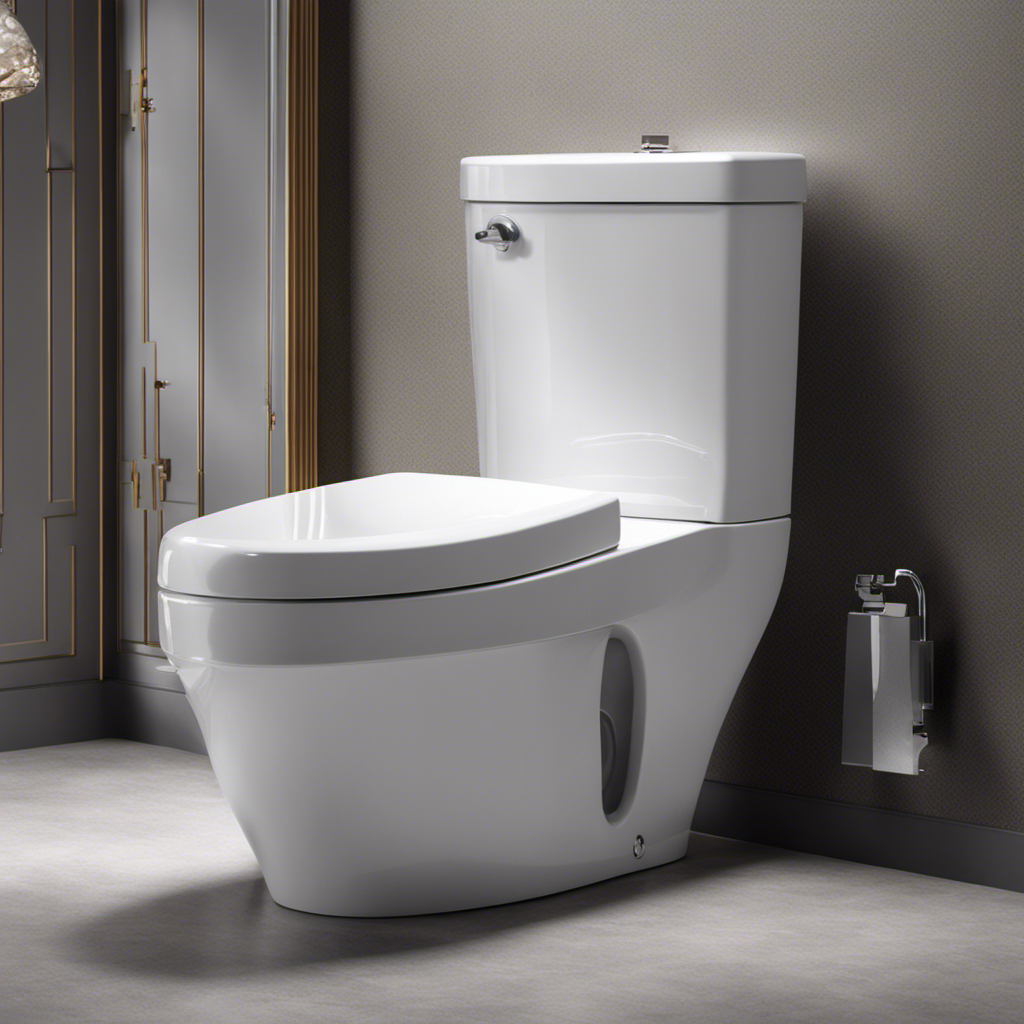

Did you know that the average American household experiences a running toilet at least once a year? It’s a frustrating problem that can waste gallons of water and increase your utility bills.
In this article, I will guide you through the common causes of random toilet running and provide you with practical solutions to fix the issue. From identifying flapper valve problems to troubleshooting stuck floats, we’ll cover it all.
So let’s dive in and put an end to that annoying running toilet once and for all.
Key Takeaways
- Common causes of random toilet running include faulty flapper valves, malfunctioning toilet handles, worn-out or damaged flapper valves, and sticking or non-returning toilet handles.
- Flapper valve issues can be identified through signs such as water leakage, improper flushing, and constant running.
- DIY flapper valve replacement involves steps such as inspecting for wear or deterioration, cleaning and replacing the flapper, and checking for further issues with the toilet.
- Fill valve problems can cause constant running, weak flushing, and noisy operation, and troubleshooting involves checking for wear or leakage, inspecting the fill tube, and adjusting the water level in the tank.

GIOTOHUN Cat Water Fountain Filter: 12 Cat Fountain Filter Replacement - 12 Pet Fountains Filters Replacement - 6 Filters & 6 Sponges - Suitable for ATMZIQXR GIOTOHUN KOOGMOON UMOCUOY IHOUONE HOOISE
- Compatible with GIOTOHUN Stainless Steel Fountain: Fits GIOTOHUN 2.2L cat water dispenser
- Set of 12 Filters: Includes 6 carbon and 6 sponge filters
- Long-lasting Filters: Suitable for 3-6 months of use
As an affiliate, we earn on qualifying purchases.
Common Causes of Random Toilet Running
One common cause of your toilet randomly running is a faulty flapper valve. The flapper valve is a rubber or plastic component located at the bottom of the toilet tank. Its purpose is to seal the flush valve opening and prevent water from continuously flowing into the bowl. If the flapper valve is worn out or damaged, it may not create a proper seal, causing water to leak into the bowl. This can result in the toilet running randomly.
Another possible cause is a malfunctioning toilet handle. If the handle is sticking or not returning to its original position after flushing, it can cause the flapper valve to remain open, leading to continuous water flow.
Regularly checking and replacing the flapper valve and ensuring the toilet handle is functioning properly can help solve this issue.
How to Identify a Flapper Valve Issue
When it comes to toilet issues, one of the most common problems is a faulty flapper valve. The flapper valve is responsible for regulating the flow of water from the tank to the bowl. If it becomes damaged or worn out, it can lead to a variety of issues, such as constant running or weak flushing.
Signs of flapper damage include water leakage, a toilet that won’t flush properly, or a toilet that constantly runs.
In this discussion, I will provide you with an overview of common flapper problems. I will also explain how to identify signs of flapper damage. Finally, I will offer a step-by-step guide for DIY flapper valve replacement.
Common Flapper Problems
To fix the issue of your toilet randomly running, you should check if the flapper is properly sealing the flush valve. Flappers are responsible for controlling the flow of water from the tank into the bowl. Over time, flappers can wear out or become damaged, leading to various problems.
One common issue is a flapper that doesn’t seal properly, causing water to continuously leak into the bowl. This can result in a running toilet and wasted water. To prevent this, regular flapper maintenance is crucial.
Inspect the flapper for any signs of wear or deterioration and clean it regularly to remove any debris that may affect its performance. If the flapper is beyond repair, there are flapper replacement alternatives available, such as adjustable flappers or dual flush flappers, which can help improve water efficiency and reduce the chances of a running toilet.
Signs of Flapper Damage
If your toilet’s flapper is worn out or damaged, it may not seal properly, causing water to continuously leak into the bowl. This can lead to water wastage and an increase in your water bill.
There are a few signs that indicate your flapper might be damaged and in need of repair. First, you may notice a constant running sound or the toilet occasionally refilling itself without being flushed. Additionally, if you see water pooling around the base of the toilet or notice a decrease in the water level in the bowl, these are also signs of a leaking flapper.
To fix a leaking flapper, you can start by turning off the water supply to the toilet, draining the tank, and replacing the flapper with a new one.
DIY Flapper Valve Replacement
Replacing the flapper valve is a simple DIY task that can fix a leaking toilet and save you money on your water bill. To successfully replace the flapper valve, follow these steps:
- Turn off the water supply to the toilet by shutting off the valve located behind the toilet.
- Flush the toilet to drain all the water from the tank.
- Remove the old flapper valve by detaching the chain and unscrewing any bolts or clips holding it in place.
Now that you have replaced the flapper valve, your toilet should no longer leak. However, if you’re still experiencing issues with your toilet, it could be a sign of a faulty fill valve. Don’t worry, I will guide you through fixing it in the next section.
Fixing a Faulty Fill Valve
When it comes to toilet issues, a faulty fill valve is a common culprit.
From constant running to weak flushing, there are several signs that your fill valve may be causing problems.
In this discussion, we will explore common fill valve issues, provide tips on troubleshooting a running toilet, and offer guidance on how to perform a DIY fill valve repair.
Common Fill Valve Issues
One common issue with toilet fill valves is that they tend to wear out over time. This can lead to various problems, including toilet leaks and difficulties in flushing. When troubleshooting toilet flush problems, it is important to consider the fill valve as a potential culprit.
Here are three common fill valve issues to be aware of:
-
Leaking: A worn-out fill valve can cause water to continuously leak into the toilet bowl, resulting in a constantly running toilet.
-
Weak Flush: If the fill valve is not functioning properly, it may not allow enough water to enter the tank, leading to a weak flush.
-
Noisy Operation: A faulty fill valve can create loud noises during operation, indicating a need for replacement or repair.
Troubleshooting a Running Toilet
To troubleshoot a constantly running toilet, start by checking the fill valve for wear or leakage. The fill valve controls the water level in the tank. A worn or leaking fill valve can cause continuous running, wasting water and increasing water bills.
Inspect the fill valve for visible damage, like cracks or corrosion. Then, check the toilet fill tube. It connects to the fill valve and delivers water to the tank. Make sure it’s securely connected and not blocked or damaged.
If the fill valve and fill tube are in good condition, adjust the water level in the tank. You can do this by adjusting the float or the fill valve itself.
DIY Fill Valve Repair
The first step in DIY fill valve repair is to gather the necessary tools and materials. Here are the items you’ll need:
- Adjustable wrench
- Screwdriver
- Replacement fill valve
Toilet water leakage can be a common issue, but with proper maintenance, it can be easily resolved. If you notice a constant running sound or water leaking from the tank into the bowl, it’s likely that the fill valve is faulty.
To fix this, start by shutting off the water supply to the toilet. Then, flush the toilet to drain the tank. Use the adjustable wrench to disconnect the water supply line from the bottom of the tank.
Next, unscrew the fill valve from the tank using a screwdriver. Finally, install the new fill valve and reattach the water supply line.
This simple DIY repair can save you from unnecessary water wastage and potential water damage.
Troubleshooting a Stuck Float
If the toilet is randomly running, you might want to check if the float is stuck. The float is a mechanism in the toilet tank that controls the water level. When the water level drops, the float should signal the fill valve to open and refill the tank. However, if the float gets stuck in the ‘up’ position, it can cause the toilet to continuously run.
To fix this issue, you can try adjusting the water level by following these steps:
- Locate the float in the toilet tank.
- Gently lift the float to see if it moves freely. If it’s stuck, try loosening any obstructions or debris.
- If the float is adjustable, you can lower it to decrease the water level. This can be done by turning the adjustment screw or sliding the float down the rod.
- Flush the toilet to test if the float is working properly. The water level should stop rising once it reaches the desired level.
Addressing Water Pressure Problems
Check if your water pressure is too low or too high to address any potential water pressure problems.
If your water pressure is too low, you may experience issues such as slow filling toilets, weak showers, or insufficient irrigation.
On the other hand, if your water pressure is too high, you might encounter problems like burst pipes, noisy appliances, or excessive water usage.
To solve these issues, here are some water pressure solutions:
-
Install a pressure regulator: This device can control and reduce the water pressure coming into your home, preventing any damage to your plumbing system.
-
Adjust the water flow: You can adjust the water flow by turning the valve on the water meter. This allows you to find the optimal pressure for your needs.
-
Check for leaks: Leaks can affect water pressure. Inspect your pipes, faucets, and toilets for any signs of leakage and repair them promptly.
Dealing With Mineral Buildup in the Toilet Tank
Dealing with mineral buildup in the toilet tank can be easily resolved by using vinegar and a scrub brush. Regular toilet tank maintenance is essential to prevent mineral buildup and ensure the proper functioning of your toilet.
Over time, minerals from the water, such as calcium and magnesium, can accumulate in the tank, leading to clogs and reduced flushing efficiency. To prevent this, it is recommended to clean the toilet tank at least once every six months.
Here’s how you can clean your toilet tank effectively:
- Turn off the water supply to the toilet and flush to drain the tank.
- Pour vinegar into the tank and let it sit for a few hours, or overnight for stubborn buildup.
- Afterward, scrub the tank with a brush to remove any remaining minerals.
- Finally, turn the water supply back on and flush the toilet to rinse the tank.
Regular maintenance like this can help prevent mineral buildup and keep your toilet running smoothly.
Preventing Future Toilet Running Issues
Now that we’ve dealt with mineral buildup in the toilet tank, let’s focus on preventing future toilet running issues.
Regular toilet maintenance is essential to keep your toilet functioning properly and prevent water waste. Here are some tips to help you maintain your toilet and avoid any running problems:
- Check the flapper valve regularly to ensure it is sealing properly and not allowing water to leak into the bowl.
- Inspect the fill valve for any signs of wear or damage, and replace if necessary.
- Adjust the water level in the tank to the appropriate level, usually marked on the inside of the tank.
Conclusion
In conclusion, dealing with a randomly running toilet can be quite frustrating. However, by understanding the common causes and following the troubleshooting steps mentioned in this article, you can easily fix the issue.
Whether it’s a flapper valve problem, a faulty fill valve, a stuck float, water pressure problems, or mineral buildup in the tank, there are solutions available. By taking the necessary steps to address these issues, you can prevent future toilet running problems and ensure a smoothly functioning bathroom.