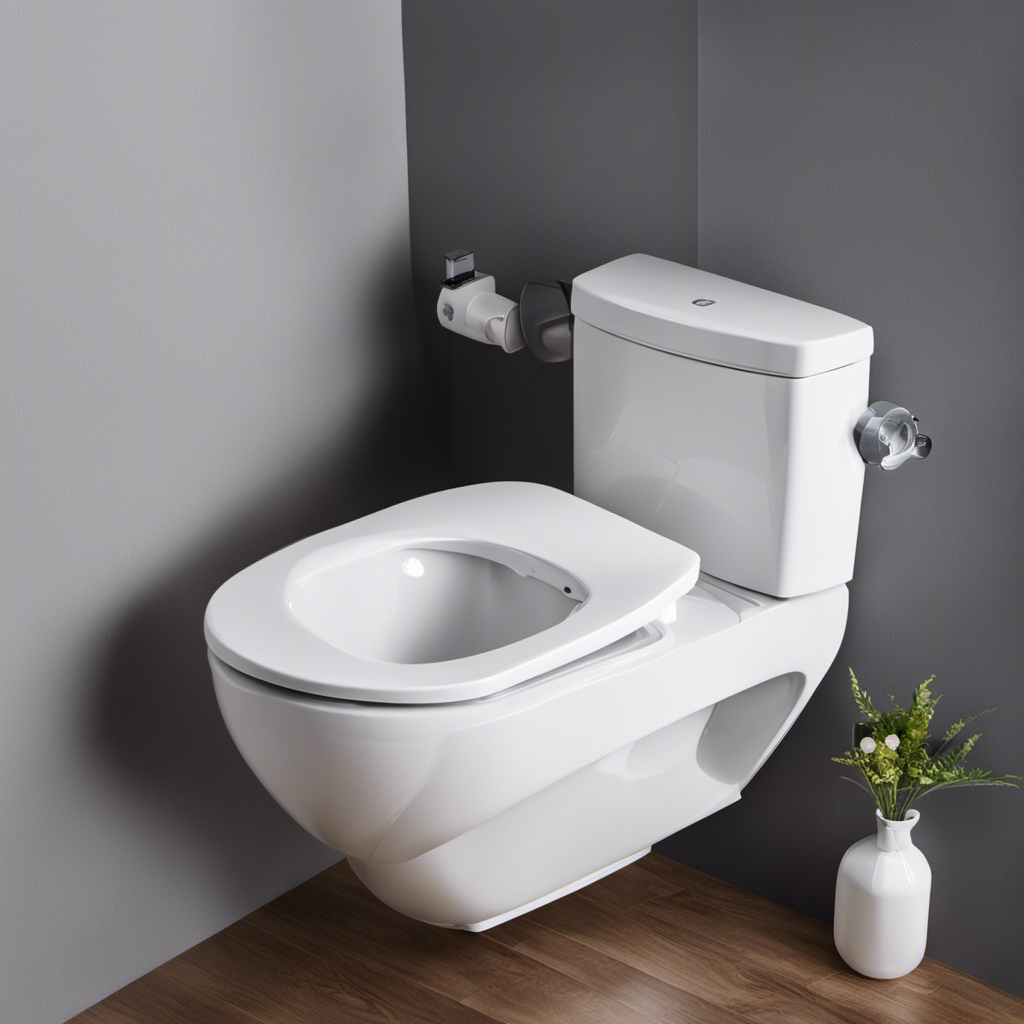
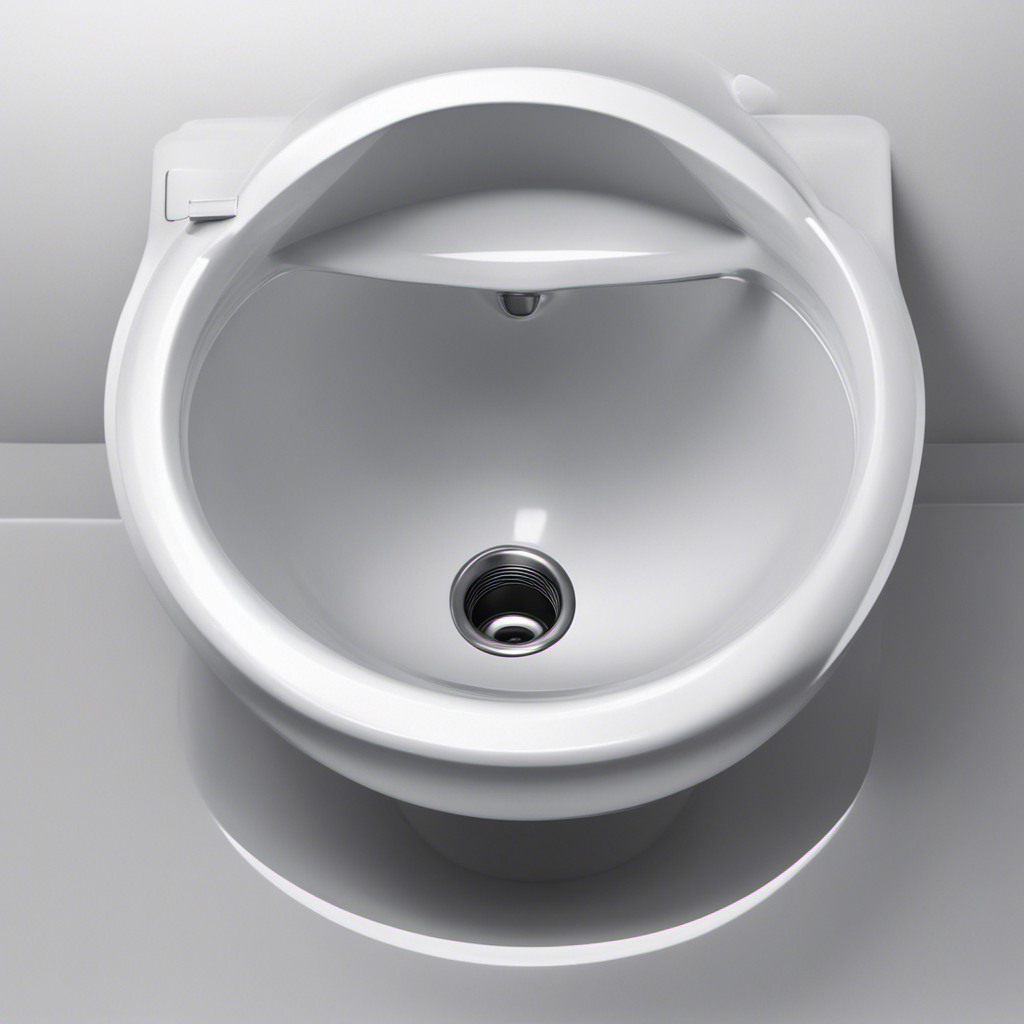
I’ve got great news for you! Installing a bidet seat is as easy as a walk in the park.
In this step-by-step guide, I’ll show you how to transform your bathroom experience in a matter of minutes. With a few simple tools and following my precise instructions, you’ll be enjoying the luxurious benefits of a bidet seat in no time.
So, let’s roll up our sleeves and get ready to make your toilet a throne fit for a king or queen!
Key Takeaways
- Identify the location of the water supply valve before installing the bidet seat.
- Check if your bathroom has a GFCI-rated outlet with a ‘test’ and ‘reset’ button for bidet seats that require a power source.
- Gather all the necessary tools, such as a multi-bit screwdriver and adjustable wrench, before starting the installation process.
- Follow the step-by-step guide to easily install the bidet seat and enjoy its benefits and features.
Checking Water Access
Before installing the bidet seat, I need to check the location of the water supply valve to ensure easy access. This is crucial for bidet seat compatibility and to troubleshoot any water supply issues that may arise during installation.
The water supply valve is usually located behind or alongside the toilet. It is important to identify its location beforehand to avoid any difficulties connecting the seat to the water supply. If there are any issues accessing the valve, such as it being obstructed or difficult to reach, it may be necessary to make adjustments or seek professional help.
Verifying Electricity Requirements
I’ll check if my bathroom has a GFCI-rated outlet with a ‘test’ and ‘reset’ button to ensure it meets the electricity requirements. This step is crucial in verifying the power supply for the bidet seat.
Common electrical issues can arise if the outlet is not GFCI-rated or lacks the necessary buttons. Troubleshooting the power supply is essential to avoid any potential hazards.
I will inspect the outlet carefully, ensuring it is in good condition and properly grounded. If the bathroom outlet is far from the toilet, I will use a grounded and outdoor-certified extension cord to ensure a safe connection.
It is important to ensure that the outlet and electrical connections meet the bidet seat’s power requirements to guarantee proper functioning and avoid any electrical issues.
Gathering Installation Tools
To make the installation process smoother, I’ll gather all the necessary tools before starting. It’s important to have the right tools on hand to ensure a successful installation. In addition to a multi-bit screwdriver and an adjustable wrench, I recommend having a towel, rag, and bucket nearby to catch any water spills during the installation.
Now, let’s explore some alternative bidet seat installation methods.
If you encounter any water supply issues during installation, here are some tips for troubleshooting. First, check that the water supply valve is fully open. Sometimes, it may be partially closed, causing a decrease in water flow. If the water supply hose is old or damaged, it may need to be replaced. Additionally, make sure all connections are tight and secure to prevent any leaks.
Step 1: Turning off the Toilet Water Supply
After locating the shutoff valve behind the toilet, I turn it clockwise to turn off the toilet water supply. Shutting off the water supply before any plumbing installation is crucial to prevent any potential water damage or leaks. It ensures that no water flows through the pipes, allowing for a safe and hassle-free installation process.
To locate the toilet water supply valve, start by looking behind or alongside the toilet. It is usually a small lever or knob connected to a pipe. Once located, turning it clockwise will shut off the water flow. It is important to note that some valves may be stiff, so using a pair of pliers or a wrench might be necessary.
Always remember to turn off the water supply before proceeding with any plumbing installation to avoid any complications.
Step 2: Removing the Existing Toilet Seat
Using a screwdriver, I remove the existing toilet seat by unscrewing the bolts and opening the caps behind the seat.
-
Proper disposal: After removing the old toilet seat, it’s important to dispose of it properly. Here are a few options for disposal:
-
Check with your local waste management facility for specific guidelines on disposing of old toilet seats.
-
If the seat is still in good condition, consider donating it to a local charity or thrift store.
-
If neither of these options are available, wrap the seat in a plastic bag and dispose of it in your regular household trash.
-
Cleaning and maintenance: Once the bidet seat is installed, regular cleaning and maintenance are essential to keep it in good condition. Here are some tips:
-
Use mild soap and water to clean the bidet seat regularly.
-
Avoid using harsh chemicals or abrasive cleaners, as they can damage the seat.
-
Wipe the seat dry after each use to prevent water spots or buildup.
-
Check the water filters and nozzles periodically and clean or replace them as needed.
-
Follow the manufacturer’s instructions for any additional cleaning or maintenance recommendations.
Step 3: Installing the Bidet Seat and Connecting the Water Supply
I position the new bidet seat securely onto the toilet’s mounting bracket and make sure it is tightly in place.
Before connecting the water supply, it is crucial to ensure bidet seat compatibility and troubleshoot any potential water supply issues. Check if the bidet seat is compatible with your toilet model and size. Verify that the water supply valve is accessible and functioning properly.
Turn off the toilet water supply by locating the shutoff valve and turning it clockwise. Remove the existing toilet seat and install the T-valve by unscrewing the supply hose, connecting the T-valve, and re-attaching the supply hose.
Once the T-valve is in place, mount the new bidet seat onto the toilet’s mounting bracket securely.
Frequently Asked Questions
How Do I Choose the Right Bidet Seat for My Toilet?
To choose the right bidet seat for my toilet, I consider the features I want, such as warm water and air drying. I also consider the price range that fits my budget. It’s important to find a seat that meets my specific needs.
Can I Install a Bidet Seat if My Bathroom Doesn’t Have a Gfci-Rated Outlet?
Installing a bidet seat without a GFCI-rated outlet? No problem! There are alternative methods like using a grounded and outdoor-certified extension cord. Ensure safety and compatibility with the bidet seat’s power requirements.
Are Bidet Seats Compatible With All Types of Toilets?
Bidet seats are compatible with most types of toilets. The installation process involves turning off the water supply, removing the existing seat, connecting the T-valve, mounting the bidet seat, and connecting it to the water supply.
Do Bidet Seats Require Any Additional Plumbing Work?
Bidet seats usually require a water supply connection, but not additional plumbing work. Common mistakes to avoid in installation include not checking water access and electrical requirements, and not using the proper tools.
Can I Install a Bidet Seat if I Have Limited Mobility or Physical Disabilities?
As someone with limited mobility or physical disabilities, I can still install a bidet seat. Its accessibility features and benefits make it a convenient addition to any bathroom. Enjoy the comfort and ease it provides.
Conclusion
In conclusion, bidet seat installation is a straightforward process that can be completed within minutes, especially with the right tools and by following our step-by-step guide.
It is essential to ensure water access and check for a suitable power source before installation.
One interesting statistic to note is that high-quality bidet seats can save up to 75% of toilet paper usage, making them not only convenient but also eco-friendly.
So invest in a bidet seat today and enjoy the benefits of cleanliness, comfort, and sustainability.


