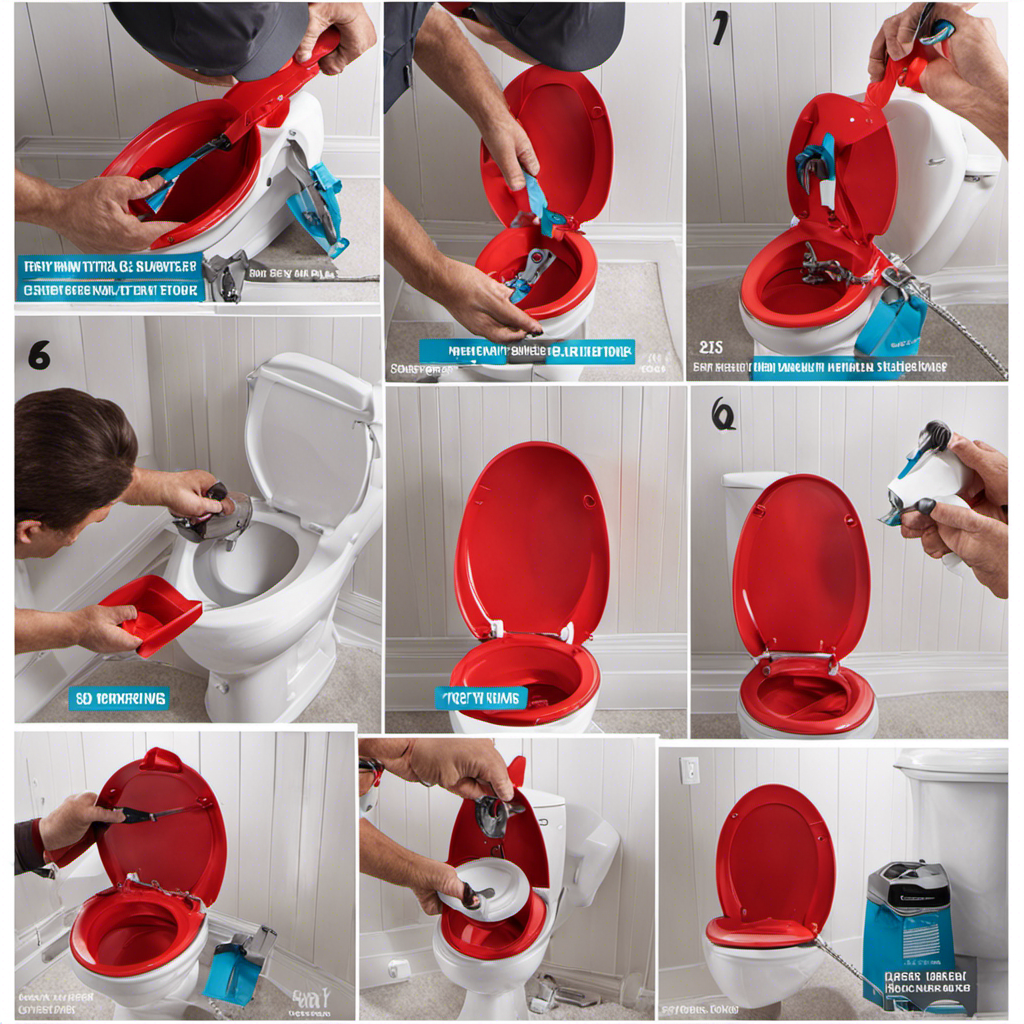
Removing a hard plastic toilet flapper is as simple as unlocking the secret to a smoothly functioning toilet. In just a few easy steps, one can bid farewell to the frustrations of a faulty flapper.
By turning off the water supply, removing the lid of the toilet tank, draining the water, and detaching the chain from the flush lever, the path to flapper freedom is paved.
With various methods for removing the flapper, accompanied by precise techniques to avoid any mishaps, a trouble-free toilet awaits.
Key Takeaways
- Turn off the water supply before removing the toilet flapper.
- There are three methods to remove a hard plastic flapper: open loops, closed loops, and stuck flappers.
- Take precautions to avoid damaging other components of the toilet tank while removing the flapper.
- When installing a new flapper, ensure proper placement, attachment of the chain, and testing for functionality.
Turn off the Water Supply
To turn off the water supply, simply turn the shut-off valve counterclockwise. This step is crucial before attempting to replace the flapper or address common flapper problems.
The shut-off valve is typically located on the wall behind the toilet or on the water supply line near the floor. If the shut-off valve is not functioning properly, the main water supply to the house will need to be turned off.
This can usually be done by locating the main water shut-off valve, which is typically located near the water meter. It is important to ensure that the water supply is completely turned off before proceeding with any repairs or replacements to avoid any potential water damage or accidents.
Remove the Lid of the Toilet Tank
The user can remove the lid of the toilet tank by firmly pulling it up. Once the lid is off, the next step in maintaining the toilet tank is to clean it.
Cleaning the toilet tank is important to prevent buildup of minerals, bacteria, and other debris that can affect the performance of the toilet. To clean the toilet tank, the user can start by draining the water out of the tank by flushing the toilet. Then, they can use a mixture of water and vinegar or a mild detergent to scrub the inside of the tank, paying special attention to any visible stains or deposits. After cleaning, the tank should be rinsed thoroughly with clean water to remove any remaining residue.
Common problems with toilet flappers can include issues such as the flapper not sealing properly, resulting in water leakage or the toilet constantly running. In some cases, the flapper may become stuck or worn out over time, requiring replacement.
Regular cleaning and maintenance can help prevent these problems, as well as extending the lifespan of the flapper. It’s important to regularly inspect the flapper for any signs of damage or wear, such as cracks or deterioration. If any issues are identified, it is recommended to replace the flapper with a new one. This can be done by following the steps mentioned earlier, such as turning off the water supply, removing the lid of the toilet tank, and replacing the flapper according to the manufacturer’s instructions.
Drain the Water Out of the Tank
Firmly pulling up on the toilet tank lid will allow the user to access the next step in the maintenance process, which is draining the water out of the tank.
To drain the water, follow these steps:
-
Locate the shut-off valve and turn it counterclockwise to shut off the water supply to the toilet. If the shut-off valve is not functioning properly, turn off the main water supply to the house.
-
Flush the toilet to empty the tank. This will remove most of the water from the tank, making it easier to work on.
-
Use a small bucket or towels to catch any remaining water in the tank. You can also use a sponge to absorb any leftover water.
Proper maintenance of the flapper is crucial to prolong its lifespan. If the flapper is worn out or damaged, it should be replaced with a new one. Regular cleaning and inspection of the flapper can help identify any issues early on and prevent costly repairs in the future.
Detach the Chain From the Flush Lever
Pulling the chain from the flush lever with a pair of pliers is the next step in the process of removing the hard plastic toilet flapper. This method ensures a secure grip on the chain, allowing for easy detachment. However, there are alternative methods for detaching the chain from the flush lever.
One alternative is using a small adjustable wrench to loosen the nut securing the chain to the lever. Another method is using a wire cutter to cut the chain, although this should be a last resort as it may require replacing the entire chain.
Common issues with detached chains include a weak or incomplete flush, as the chain plays a crucial role in lifting the flapper to release water into the toilet bowl. To fix this issue, simply reattach the chain to the flush lever, ensuring it has enough slack for proper movement.
Additionally, if the chain is too short, it may prevent the flapper from fully closing, resulting in a continuous flow of water. In this case, adjust the length of the chain to allow for proper closure of the flapper.
Removing the Flapper
Using a knife may be necessary to cut the arms of a stuck flapper before removing it from the toilet tank. When dealing with a hard plastic flapper, there are common issues that may arise and troubleshooting steps can be followed.
Some common issues include the flapper not sealing properly, causing water to continuously run, or the flapper getting stuck in the closed position. To troubleshoot these issues, one can check the flapper for any debris or mineral buildup and clean it if necessary. Another troubleshooting step is to adjust the chain length to ensure proper flapper movement.
When comparing hard plastic flappers to other types, there are pros and cons to consider. Some pros of using a hard plastic flapper include its durability and resistance to chemicals. However, a downside is that hard plastic flappers may become brittle over time and can break more easily compared to rubber or silicone flappers. Additionally, hard plastic flappers may not provide as tight of a seal as other types, leading to potential water leaks.
Considering these factors can help individuals determine whether a hard plastic flapper is the best choice for their toilet.
Frequently Asked Questions
How Often Should a Hard Plastic Toilet Flapper Be Replaced?
A hard plastic toilet flapper should typically be replaced every 5-8 years, depending on usage and maintenance. It is not recommended to repair a hard plastic flapper; replacement is the best option.
Can a Hard Plastic Flapper Be Repaired Instead of Replaced?
A hard plastic flapper cannot be repaired and should be replaced if there are common issues such as leaks, weak flush, or insufficient water in the tank. Follow the easy steps to remove and install a new flapper.
What Should I Do if the Shut-Off Valve Doesn’t Turn off the Water Supply?
If the shut-off valve doesn’t turn off the water supply, an alternative solution is to turn off the main water supply. Troubleshooting tips include checking for any leaks or blockages in the shut-off valve.
Is It Necessary to Use Rubber Gloves When Replacing a Flapper?
It is recommended to wear rubber gloves when handling a hard plastic toilet flapper to protect against bacteria and germs. Replacing a flapper without gloves can expose the hands to potential risks or dangers.
Are There Any Alternative Methods for Removing a Stuck Flapper Without Cutting the Arms?
When it comes to removing a stuck flapper without cutting the arms, there are alternative methods available. These methods can be helpful in troubleshooting common flapper issues and avoiding damage to the arms.
Conclusion
In conclusion, removing a hard plastic toilet flapper is a straightforward process that can be easily accomplished by following a few simple steps.
First, turn off the water supply and remove the lid of the toilet tank.
Next, drain the water out of the tank to gain access to the flapper.
Then, detach the chain from the flush lever and carefully remove the flapper using one of the suggested methods.
This ensures a successful removal without causing any damage.
The installation of a new flapper is equally important and can be done by placing it inside the overflow pipe and attaching the chain.
To properly maintain a functioning toilet, it is important to be aware of the signs indicating the need for flapper replacement and have the necessary tools ready.
These tools include rubber gloves, a small bucket, towels, sponges, knives, and a new plastic flapper.


