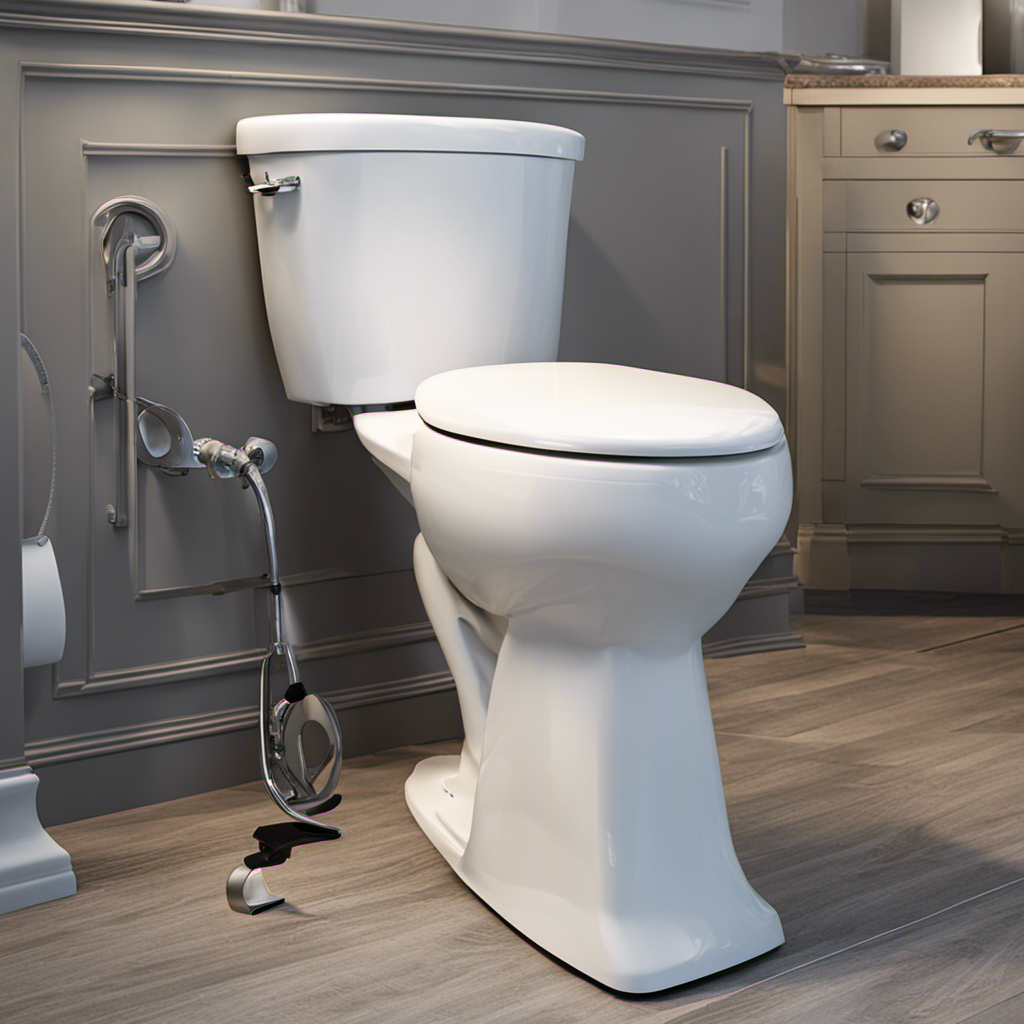
To fix a loose or wobbly toilet seat, start by inspecting the hinges and hardware for damage or looseness. Tighten the bolts from above with a screwdriver, then secure nuts from below with a wrench. If parts are worn or cracked, replace them. Adjust the seat for proper alignment, then apply lubricant to hinges if needed. Regularly check and tighten bolts to keep it secure—stay with us for more detailed steps.
Key Takeaways
- Inspect hinges and bolts for wear, damage, or looseness, and tighten or replace as needed.
- Use the correct screwdriver and wrench to securely tighten seat bolts from above and below.
- Ensure proper alignment of the seat on the bowl before tightening to prevent wobbling.
- Clean hinges and apply lubricant to maintain smooth movement and prevent rust.
- Regularly check and tighten fasteners to sustain long-term stability and comfort.
Inspect the Toilet Seat and Hinges
Before attempting to tighten a loose toilet seat, you should start by inspecting the seat and hinges thoroughly. Examine the toilet seat’s design to understand how it’s attached and whether it’s a standard or soft-close model. Check the hinge mechanisms for signs of wear, rust, or damage, as these are common causes of wobbling. Look for loose bolts or screws that secure the seat to the toilet bowl. Sometimes, the hinges are plastic and may have cracked, requiring replacement. Confirm if the hinges are properly aligned; misalignment can cause instability. By carefully inspecting these components, you’ll identify the root of the looseness and determine whether tightening alone will fix the issue or if parts need replacing. Additionally, understanding the principles of somatic therapy can help you approach the repair process with patience and mindfulness, reducing frustration and ensuring a more effective fix. Recognizing the wear and tear over time can also guide you in deciding whether a full replacement is more practical than incremental tightening. Regular maintenance and preventive care can extend the lifespan of your toilet seat and prevent future issues. Incorporating an awareness of self-care practices can help you stay calm and focused during the repair process, making it more efficient. Moreover, paying attention to material quality can help you choose durable replacement parts if needed and avoid recurring problems.
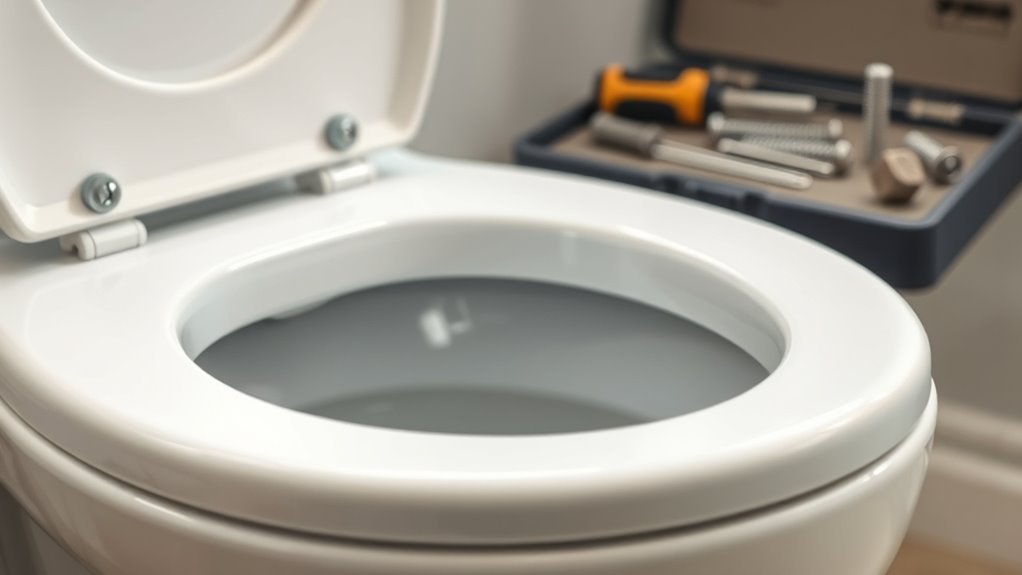
Gather Necessary Tools and Materials
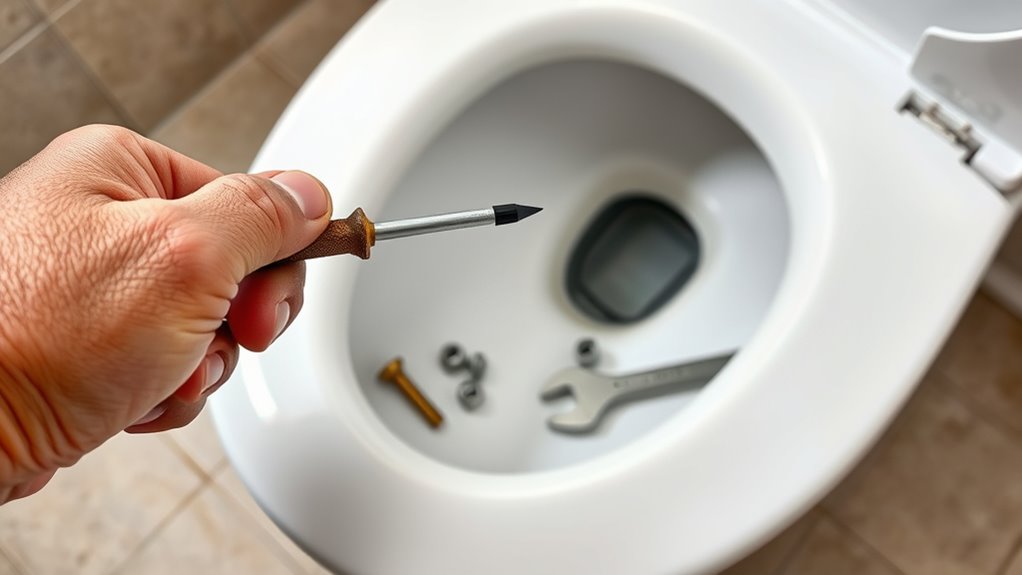
To effectively tighten a loose toilet seat, you’ll need to gather a few essential tools and materials. Start with a screwdriver, typically a flathead or Phillips, depending on your seat’s bolts. You might also want an adjustable wrench if bolts are stubborn. If you plan to install decorative caps, make certain you have replacements or new caps on hand. For a modern touch, consider choosing soft close seats, which often require specific hardware or mounting parts. Having a cleaning cloth and some lubricant can make the process smoother, especially if bolts are rusted. Confirm you have all necessary parts before starting to avoid interruptions. Gathering these tools and materials in advance ensures a quick, efficient fix, leaving your toilet seat secure and looking great. Additionally, understanding automation in business can help streamline maintenance tasks and reduce manual effort.
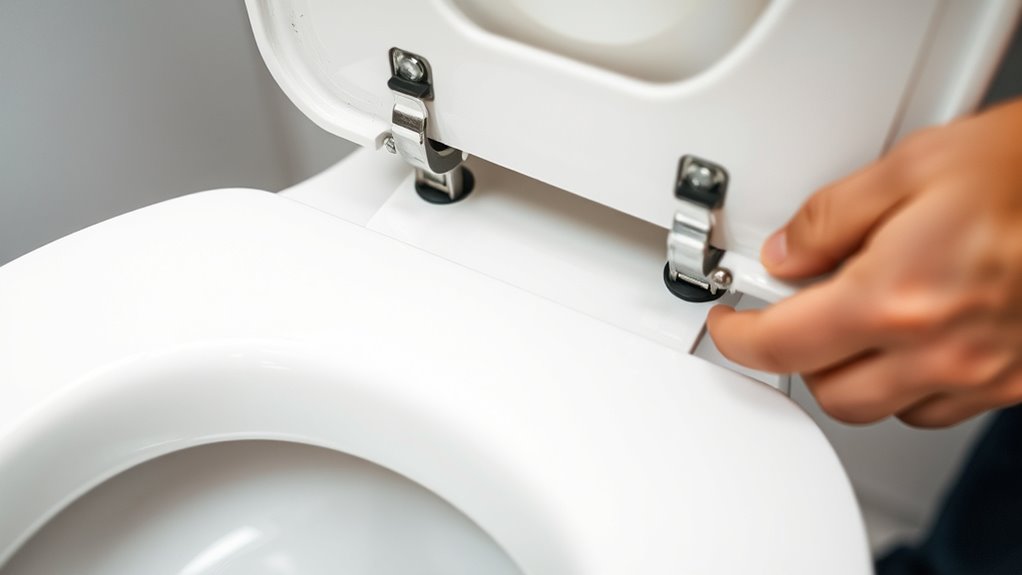
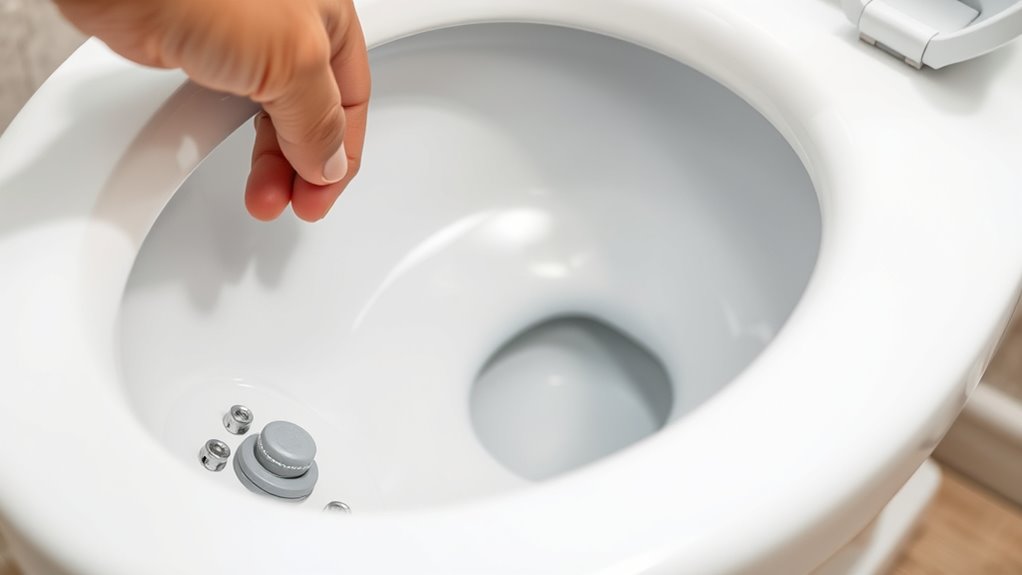
Tighten the Bolts From Above
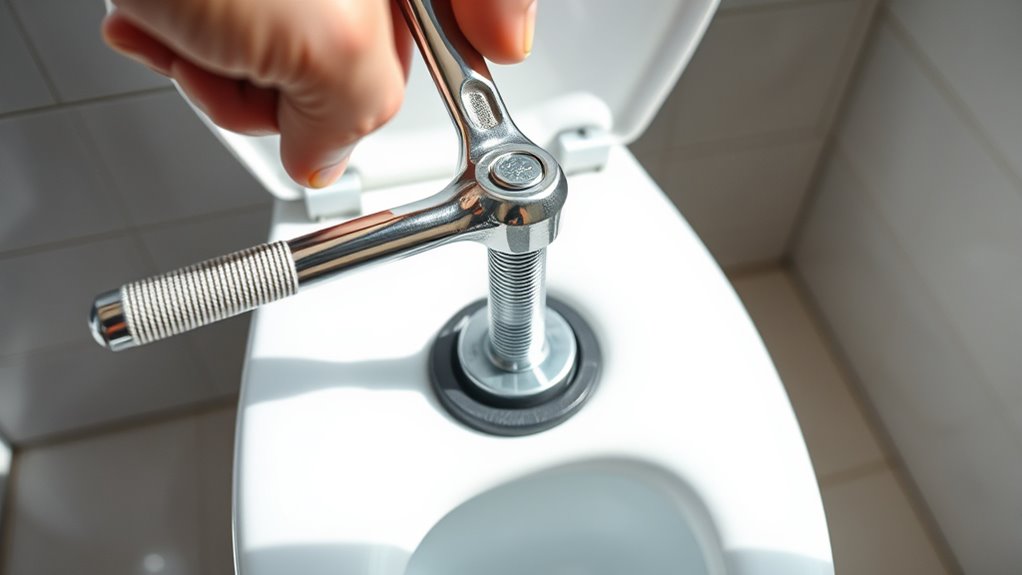
Start by locating the bolts securing the toilet seat to the bowl—they are usually found at the back, underneath the hinges. Depending on your toilet seat design, these bolts may be plastic or metal, and the hinge materials can vary widely. Examine the hinges to see if they’re stripped or damaged; if they are, you might need to replace the seat. To tighten the bolts from above, use your hands or a screwdriver if necessary. Turn the bolts clockwise until they’re snug, but avoid overtightening, which can crack plastic hinges or warp metal ones. Keep checking the stability of the seat as you tighten. Properly securing the bolts from above ensures a tight fit and minimizes wobbling caused by loose hinges or seat design flaws. Additionally, inspecting the fit and alignment of the seat can help identify underlying issues contributing to wobbling. For more stability, consider adjusting the hinges or replacing worn parts to maintain a secure fit. Ensuring the screws and bolts are free of debris can also improve the tightness and stability of the seat. Regularly checking the connection points can prevent future loosening and wobbling, especially with frequent use.
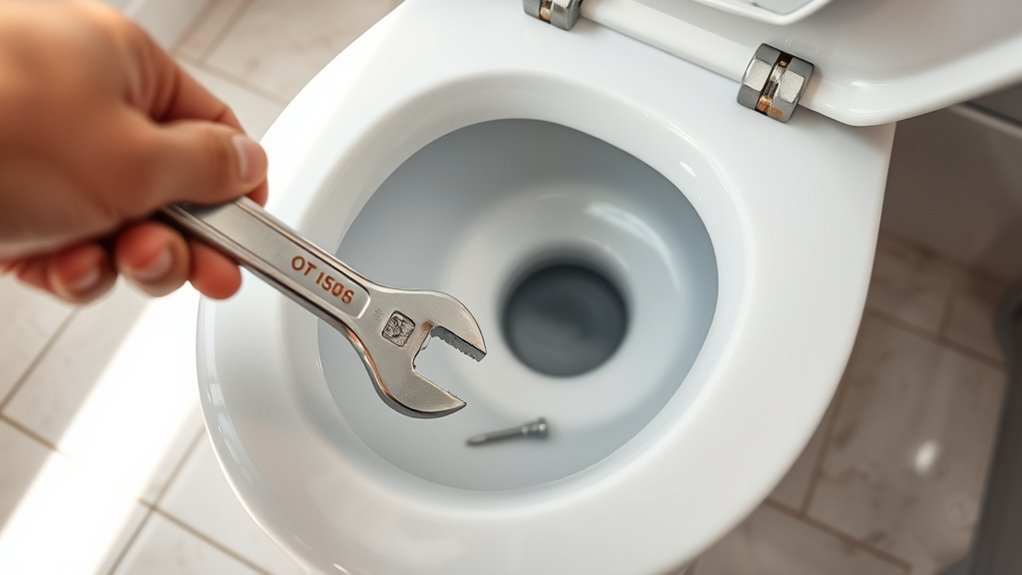
Use a Wrench to Secure the Bolts From Below
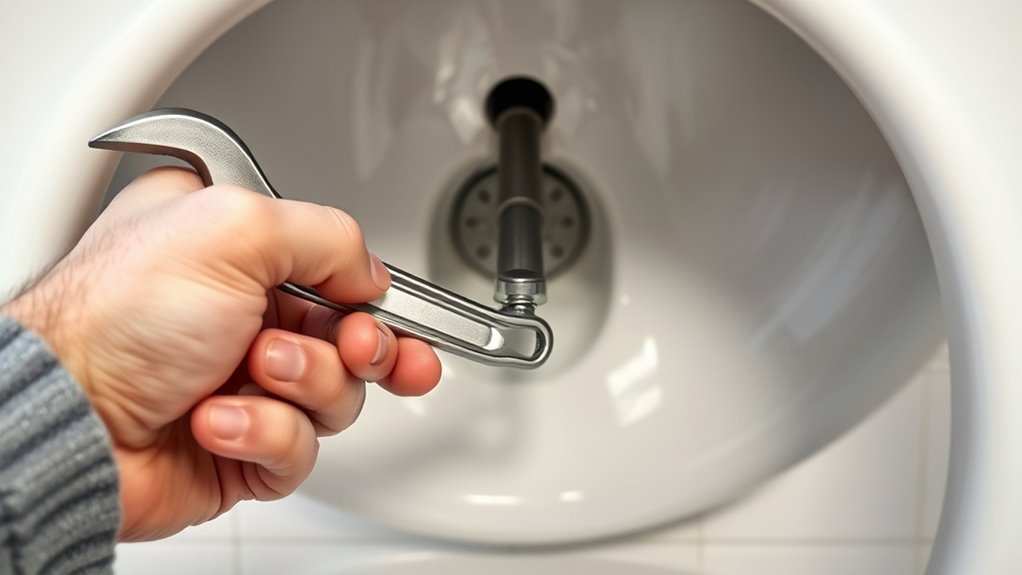
If tightening the bolts from above doesn’t fully stabilize the seat, using a wrench from below can provide extra security. Carefully reach under the toilet bowl to locate the nuts securing the bolts. Use a wrench to tighten these nuts firmly, ensuring the seat stays in place. This bolt tightening from below often offers a more secure hold, especially if the bolts or nuts are stripped or loose. If the hardware feels worn or damaged during this process, it may be time for hardware replacement. Be cautious not to overtighten, as this can crack the porcelain or strip the threads. Additionally, using high-quality hardware made from durable materials can help prevent future loosening and extend the lifespan of your toilet seat. Choosing hardware that complies with safety standards can also improve the overall durability and safety of the installation. Properly securing the bolts from below not only stabilizes the toilet seat but also reduces the risk of future loosening caused by wear and tear over time. Regularly inspecting and tightening these bolts can help maintain a secure fit and prevent wobbling. Securing the bolts from below helps stabilize the toilet seat and prevents wobbling, making sure it stays firmly attached during use.
Replace Damaged or Worn-Out Hardware
Start by inspecting the toilet seat hardware for any signs of damage or corrosion. Next, select the correct replacement kit that matches your toilet’s parts. A vetted replacement kit can help ensure compatibility and safety. When choosing a kit, consider necessary cookies to verify that it includes all essential components for a secure fit. Finally, follow proper installation steps to make sure the new components are secure and functioning correctly. Using appropriate tools can facilitate a smoother replacement process. Additionally, ensuring the hardware is water-resistant can prevent future loosening caused by moisture or corrosion.
Identify Worn Hardware Parts
Worn or damaged hardware is a common cause of a loose or wobbly toilet seat, so it’s important to inspect all the parts involved. Start by examining the toilet seat materials and the hinges, paying close attention to cracks, corrosion, or deterioration. Check the bolts and nuts securing the seat to see if they’re loose or stripped. Worn hinge design considerations, such as weakened or misshapen hinges, often lead to instability. Look for any signs of rust, corrosion, or broken components that might compromise the fit. If you notice any hardware that’s bent, cracked, or missing, it’s a clear indicator that replacement is needed. Proper identification of worn hardware ensures you replace only what’s damaged, restoring stability efficiently. Additionally, understanding hardware inspection options can help you troubleshoot and prevent future issues, especially considering toilet hardware that may wear out over time.
Choose Correct Replacement Kits
Choosing the right replacement kit is vital to guarantee your toilet seat stays secure and stable. When exploring toilet seat replacement options, it’s essential to select compatible hardware that fits your toilet model. This ensures a proper fit and long-lasting stability. To help, consider the following options:
| Hardware Type | Compatibility | Features |
|---|---|---|
| Plastic Bolts | Most standard toilets | Easy to install, affordable |
| Metal Bolts | Heavy-use toilets | Durable, rust-resistant |
| Specialty Kits | Unique or non-standard toilets | Custom fit, secure hold |
Always verify your toilet’s make and model before choosing hardware. Proper selection prevents future wobbling and ensures your seat remains firmly in place.
Properly Install New Components
To guarantee your toilet seat is secure, you need to properly install the new components after removing the damaged hardware. Begin by checking the hinge design of your new toilet seat to ensure compatibility with your toilet’s bowl. Different toilet seat materials, like plastic or metal, may require specific hardware for a secure fit. Insert the new bolts through the hinges and align them with the mounting holes on the toilet bowl. Tighten the nuts firmly but avoid overtightening, which can crack plastic hinges or warp metal ones. Verify the hinges move smoothly and the seat sits level. Proper installation ensures stability and prevents wobbling, giving you a comfortable, secure seat that stays in place.
Adjust the Seat for Proper Alignment

Start by checking the seat’s alignment carefully to guarantee it sits straight on the bowl. If it’s off-center, loosen the bolts slightly and adjust the seat until it’s properly positioned. Once aligned, tighten the bolts firmly to keep it secure.
Check Alignment Carefully
Before tightening the bolts, take a moment to check the seat’s alignment. Proper seat positioning is essential to prevent ongoing wobbling caused by alignment issues. To guarantee correct positioning, consider these steps:
- Confirm the seat sits evenly on the bowl’s edges.
- Adjust the seat forward or back if it feels skewed.
- Check that the hinges align with the mounting holes.
- Verify that the seat feels stable and centered when you sit.
If the seat isn’t aligned properly, tightening the bolts won’t fix the wobble. Proper adjustment helps distribute weight evenly and prevents future loosening. Remember, precise seat positioning is key to a secure, wobble-free fit. Take your time to get the alignment right before tightening fully.
Tighten Bolts Properly
Once you’ve confirmed the seat is properly aligned, it’s important to tighten the bolts securely to prevent any future wobbling. Proper toilet seat adjustment ensures stability and comfort, essential in bathroom fixture maintenance. Use a wrench or screwdriver to tighten the bolts evenly, avoiding overtightening that could crack the porcelain. Check the seat’s movement after tightening, making further adjustments if necessary. Keep in mind, uneven tightening can cause the seat to shift again over time. Here’s a quick guide to understanding the importance of balanced tightening:
| Tightening Level | Effect on Seat | Bathroom Fixture Maintenance |
|---|---|---|
| Loose | Wobbly, unstable | Frequent adjustments needed |
| Proper | Secure, stable | Long-lasting comfort |
| Overtightened | Cracks, damage | Risky, requires repair |
| Under-tightened | Loosening, wobbling | Ineffective |
| Correct | Ideal stability | Reliable fixture performance |
Apply Lubricant to Hinges if Needed
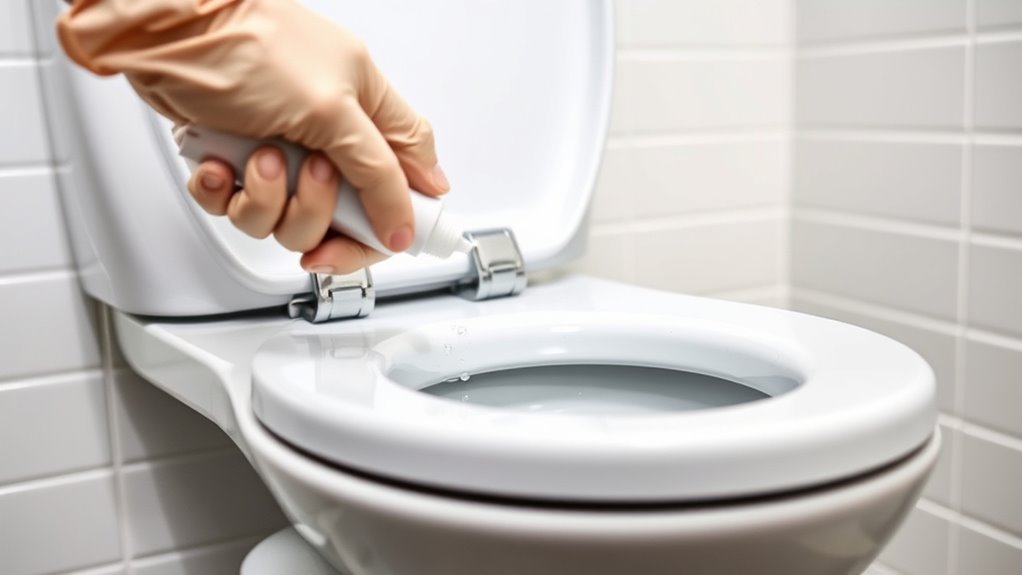
If the toilet seat still feels loose after tightening the bolts, applying lubricant to the hinges can help restore stability. Hinge lubrication reduces friction and prevents squeaky hinges, ensuring smooth movement and a secure fit. To do this effectively:
- Remove the toilet seat if possible to access the hinges easily.
- Clean the hinges thoroughly to remove dirt and old lubricant.
- Apply a small amount of silicone spray or WD-40 to the hinges.
- Move the hinges back and forth to distribute the lubricant evenly.
This simple step can eliminate squeaky hinges and improve the overall stability of your toilet seat. Regular hinge lubrication keeps the parts moving freely and prevents future wobbling.
Test the Stability of the Toilet Seat
After applying lubricant to the hinges, it’s time to verify whether the toilet seat feels secure. Sit gently on the seat and test its stability by shifting your weight slightly. A wobbling seat indicates it needs further tightening or adjustment. To help visualize, consider this table:
| Seat Stability | Comfort Level | Aesthetic Impact |
|---|---|---|
| Wobbly | Uncomfortable | Detracts from bathroom look |
| Firm | Comfortable | Looks neat and tidy |
| Loose | Unstable | Looks poorly maintained |
Ensure the seat feels firm and steady. If it wobbles, re-tighten the bolts. A stable seat improves toilet seat comfort and enhances aesthetic improvements, making your bathroom feel more polished and inviting.
Prevent Future Looseness With Regular Maintenance
Regular maintenance is key to keeping your toilet seat secure over time. By staying proactive, you enhance seat comfort and ensure your bathroom looks its best. To prevent future looseness, consider these steps:
- Check and tighten bolts monthly to maintain stability.
- Clean the hinges regularly to avoid buildup that can cause wobbling.
- Replace worn or damaged fasteners promptly for ideal seat comfort.
- Inspect the seat for cracks or damage, replacing if necessary for aesthetic improvements.
Consistent upkeep keeps your toilet seat both comfortable and visually appealing. It also prolongs its lifespan and prevents unexpected wobbles. Making these small adjustments ensures your bathroom remains functional and attractive, saving you time and money in the long run.
Frequently Asked Questions
Can I Fix a Loose Toilet Seat Without Removing It Completely?
You can tighten your toilet seat without full removal by focusing on hinge repair. First, locate the bolts underneath or at the back of the seat. Use a wrench or pliers to tighten the nuts securely. If the bolts are damaged or missing, consider a toilet seat replacement or replacing just the hinges. This quick fix often restores stability without the need for complete removal, saving you time and effort.
What Safety Precautions Should I Take During the Repair Process?
Your safety is more precious than gold during any repair. Always wear personal protective equipment like gloves and eye protection, and double-check that no electrical safety hazards exist nearby. Avoid rushing, as a small slip could turn into a disaster. Keep your workspace dry, and confirm you’re stable on the floor. If unsure, turn off the water supply first. These precautions keep you safe and your repair smooth.
How Often Should I Check the Toilet Seat for Looseness?
You should check your toilet seat for looseness at least once every few months as part of regular toilet seat maintenance. Regular inspections help uphold bathroom safety by preventing unexpected wobbles or accidents. If you notice any wobbling, tighten the bolts promptly. Consistent checks ensure your toilet seat stays secure, reducing the risk of injury and keeping your bathroom safe and comfortable.
Are There Different Types of Toilet Seats Requiring Special Tools?
Different toilet seats do require different tools, depending on their materials and installation methods. For example, plastic seats often need a screwdriver, while wooden ones might require a wrench or socket. Some seats with quick-release hinges need no tools at all. Check your toilet seat’s material and installation type before starting. This way, you’ll have the right tools handy and can fix or replace it smoothly.
What Signs Indicate That the Hinges or Hardware Are Beyond Simple Repair?
You notice your toilet seat wobbles even after tightening, but how do you know when the damage is beyond simple fixes? Persistent movement, cracks, or rusted hinges are clear signs of wear and tear that can’t be easily repaired. If the hardware feels loose despite tightening, or if the hinges are corroded, it’s time to replace the seat. Ignoring these signs risks further damage and discomfort.
Conclusion
With a little elbow grease, you can keep your toilet seat as steady as a knight’s armor. Regular checks and quick fixes guarantee it won’t become as wobbly as a jester’s hat. Think of your maintenance like tending a trusty steed—keeping everything tight and smooth. So, don your tools, take charge, and enjoy a wobble-free throne fit for a king or queen, just like in those old castles where every detail mattered.

With an impeccable eye for detail and a passion for bathroom-related, Ava leads our editorial team gracefully and precisely.
Under her guidance, Best Modern Toilet has flourished as the go-to resource for modern bathroom enthusiasts. In her free time, you might find Ava exploring antique shops and looking for vintage bathroom fixtures to add to her collection.