Hey there!
Ever had a leaky toilet fill valve? Trust me, it’s no fun.
But don’t worry, I’ve got you covered. In this article, I’ll walk you through the step-by-step process of fixing that pesky leak.
It’s a quick and easy job that won’t break the bank. All you need are a few tools and about 15 minutes of your time.
So, let’s dive in and get that toilet back in working order!
Key Takeaways
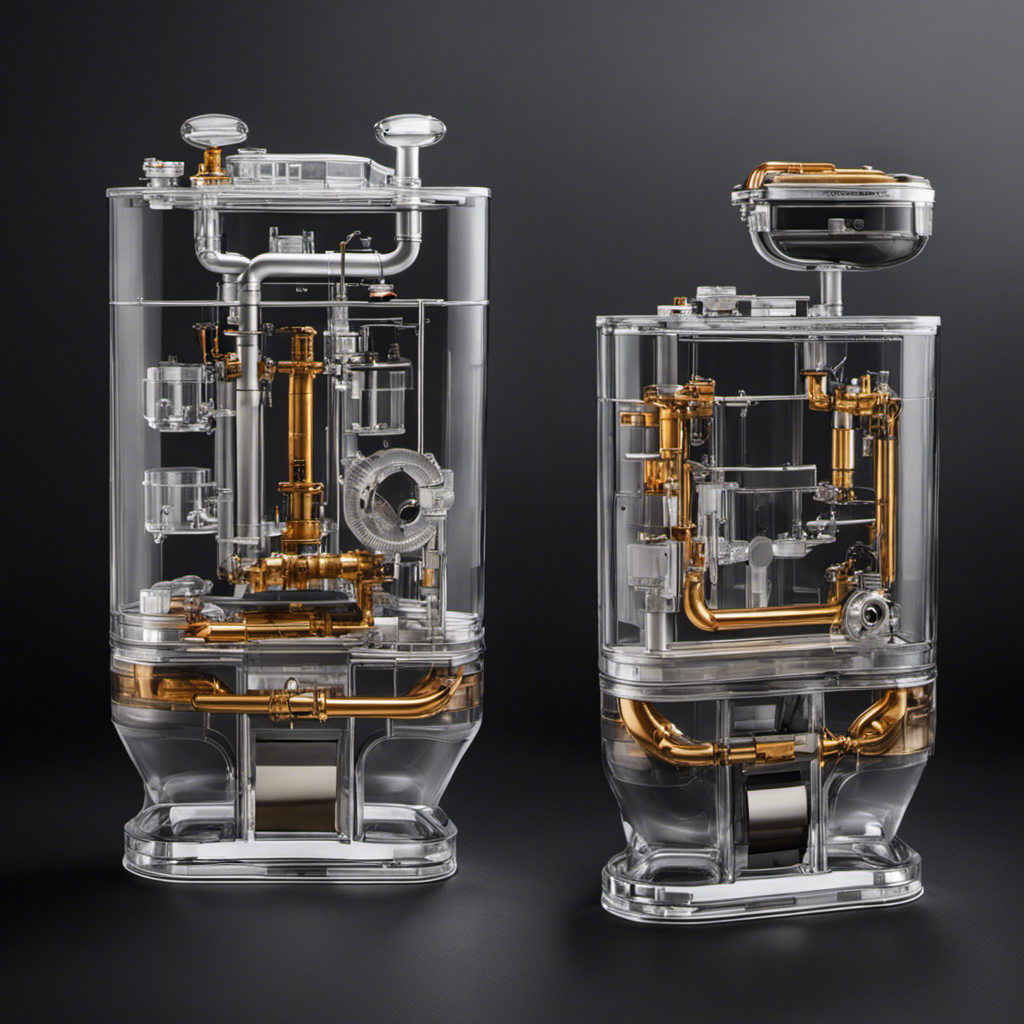
- The fill valve is a tall plastic element located in the toilet tank, next to the overflow pipe.
- A malfunctioning fill valve can cause water loss in the toilet.
- To fix a leaky toilet, the fill valve needs to be replaced.
- The process of replacing the fill valve is simple and can be done in about 15 minutes.

Elongated One Piece Toilet with Comfort Chair Seat ADA Height 17.33", Powerful Dual Flush 0.8/1.28 GPF Compact Toilet, MAP 1000g, Standard White Toilet Bowl, 12'' Rough-in
[Modern Toilets for Bathrooms]: Full skirt design elongated one-piece toilet, not only is it beautiful and elegant, it's...
As an affiliate, we earn on qualifying purchases.
Understanding the Fill Valve
I understand that the fill valve is a tall plastic element in the toilet tank, located next to the overflow pipe, with the entrance on the left side of the tank’s bottom. The fill valve is a crucial component of the toilet’s flushing system, responsible for refilling the tank after each flush.
However, like any mechanical part, it can experience common problems that may require troubleshooting. Some common fill valve problems include water continuously running into the overflow pipe, slow filling or inadequate water level in the tank, and strange noises during the filling process.
Troubleshooting fill valve issues involves inspecting the valve for any visible damage or debris, adjusting the water level, cleaning or replacing the valve’s rubber components, and ensuring proper alignment and connection with the water supply line.

HOROW HR-ST076WD Dual Flush Elongated Toilet with Soft Close Seat, High-Efficiency Supply, Standard Bathroom Toilet 12" Rough-In, White Finish
Dual Flush Modern Design: Our elongated toilet is a more classic style, with smooth shape and one-piece molding....
As an affiliate, we earn on qualifying purchases.
Signs of a Leaky Fill Valve
One indication of a faulty fill valve is when water continuously flows into the toilet tank. This is a common problem that can lead to water waste and increased water bills.
There are several possible causes for a leaky fill valve. One common cause is a worn or damaged valve seal, which can result in water seeping through and causing the continuous flow. Another cause could be a misaligned or improperly installed fill valve.
Troubleshooting techniques for fixing a leaky fill valve include inspecting the valve for any visible signs of damage, such as cracks or wear, and ensuring that it is properly aligned and securely tightened. If necessary, the fill valve may need to be replaced with a new one to resolve the issue.

TOTO Drake Two-Piece Elongated 1.6 GPF TORNADO FLUSH Toilet with CEFIONTECT, Cotton White - CST776CSG#01
✅ POWERFUL PERFORMANCE WITH LESS FREQUENT CLEANING - TORNADO FLUSH swirls water in a circular pattern to fully...
As an affiliate, we earn on qualifying purchases.
Tools Needed for Fixing the Fill Valve
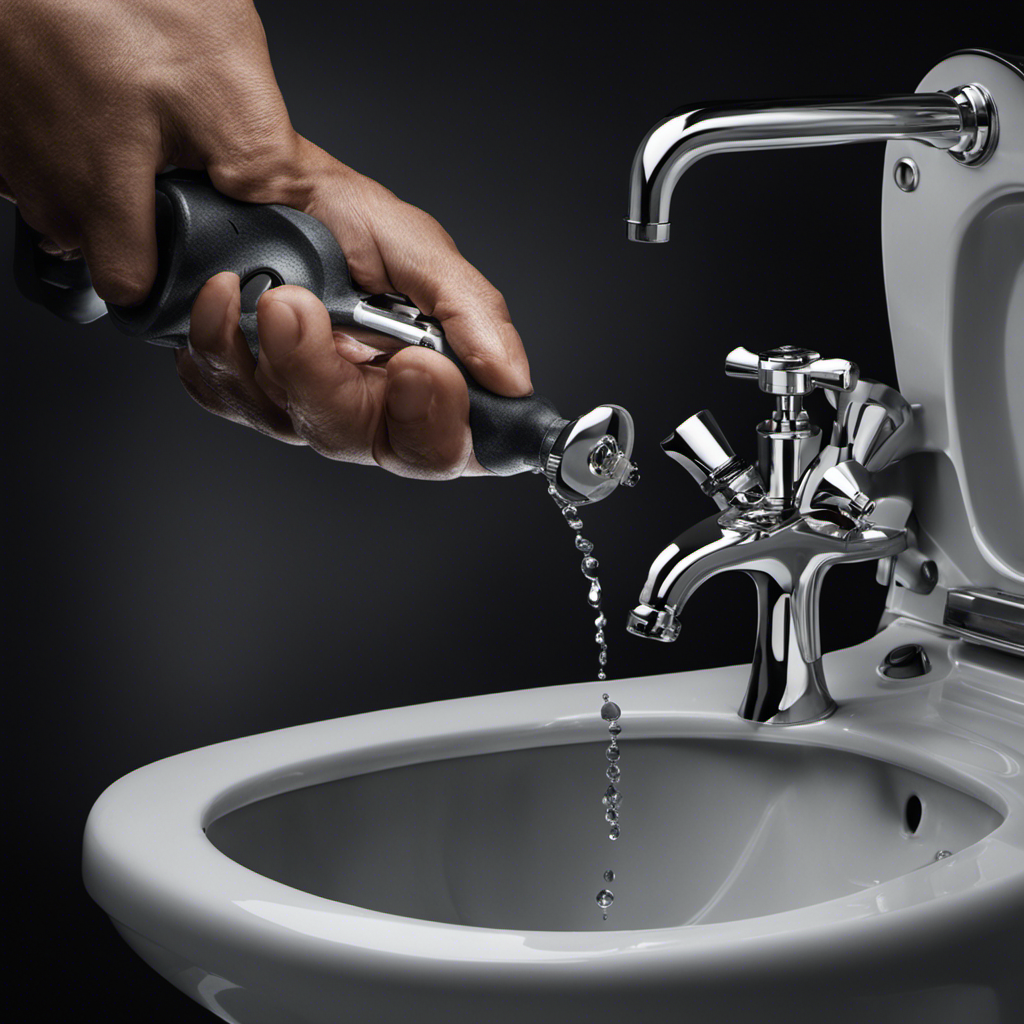
To successfully repair the fill valve, the necessary tools include pliers, a flathead screwdriver, and WD-40 penetrating oil. These tools are essential for troubleshooting common fill valve issues and preventing future leaks.
With the pliers, you can easily disconnect the water supply line from the fill valve, ensuring a proper seal and preventing leaks.
The flathead screwdriver is useful for removing the nut that holds the fill valve against the tank bottom, allowing for easy removal and replacement.
Lastly, the WD-40 penetrating oil is invaluable for loosening any stuck or rusty components, ensuring a smooth repair process.

TOTO® Drake® Two-Piece Elongated 1.28 GPF Universal Height TORNADO FLUSH ® Toilet with 10 Inch Rough-In, CEFIONTECT®, and SoftClose® Seat, WASHLET®+ Ready, Cotton White - MS776124CEFG.10#01
POWERFUL PERFORMANCE WITH LESS FREQUENT CLEANING - TORNADO FLUSH swirls water in a circular pattern to fully wash...
As an affiliate, we earn on qualifying purchases.
Step-by-Step Guide to Replace the Fill Valve
Closing the water supply valve is the first step in replacing the fill valve. It is crucial to ensure that no water flows into the tank during the replacement process.
Here are some tips for troubleshooting fill valve issues and common mistakes to avoid when replacing the fill valve:
-
Check for any blockages or debris in the fill valve. Sometimes, the valve may not function properly due to clogs or obstructions.
-
Make sure to use the right size and type of fill valve for your toilet. Using the wrong valve can result in leaks or improper water flow.
-
Take note of the water level in the tank before replacing the fill valve. Adjusting the water level may be necessary after the installation.
-
Avoid overtightening the nuts when securing the new fill valve. Over-tightening can damage the valve or cause leaks.
Tips for Closing the Water Supply Valve
When shutting off the water supply valve, I always make sure to turn the knob clockwise to stop the water flow. Proper maintenance of the water supply valve is crucial to prevent any issues in the future.
One common mistake to avoid when closing the water supply valve is turning it too forcefully, which can lead to damage or breakage. It’s important to apply gentle pressure and avoid using excessive force.
Another mistake is not closing the valve completely, which can result in water leakage. Make sure to turn the knob until it is fully closed and the water flow has stopped completely.
Regularly inspecting and testing the water supply valve for any leaks or malfunctions is also essential for proper maintenance.
Emptying the Toilet Tank Safely
After pressing the flush lever, I remove the tank lid to access the inside and clean up any remaining water droplets using a sponge or dry towels. This step is crucial in preventing future leaks and ensuring that the tank is dry before proceeding with the repair.
Troubleshooting common fill valve issues requires a systematic approach. Here are some key steps to follow:
- Inspect the fill valve for any visible cracks or damage.
- Check the float arm and ensure that it moves freely without any obstructions.
- Adjust the water level by either bending the float arm or adjusting the float height screw.
- Clean the fill valve by removing any debris or sediment that may be causing it to malfunction.
Removing the Supply Hose Properly
To remove the supply hose properly, I unscrew the threaded nut counterclockwise using pliers if it’s difficult to remove by hand.
Once the nut is loosened, I carefully remove the hose from the fill valve to avoid damaging the pipe. This step is crucial when troubleshooting fill valve leaks.
It allows me to inspect the fill valve washer for any signs of wear or damage. If the washer is cracked or worn out, replacing it is necessary to fix the leak.
I recommend checking the washer’s condition before reinstalling the supply hose.
Loosening and Removing the Old Fill Valve
Now that we have properly removed the supply hose, let’s move on to the next step in fixing a leaky toilet fill valve: loosening and removing the old fill valve. This is a crucial step in the process to prevent future leaks and ensure the proper functioning of your toilet.
Here are some important points to consider:
- Loosen the nut holding the fill valve against the tank bottom. This nut can be made of plastic or metal.
- Unscrew the nut counterclockwise until it is loose. Gravity will keep the old fill valve in place once the nut is removed.
- Lift the old fill valve out of the tank using your fingers. It is a lightweight plastic tube.
- Pinch and disconnect the fill tube from the valve.
- Properly dispose of the old fill valve in a trash can.
Installing and Securing the New Fill Valve
I will now install the new fill valve and secure it in place in the toilet tank.
To begin, I carefully position the new fill valve in the tank, making sure it stands higher than the other components. It should be about an inch below the tank top.
Next, I connect the fill tube to both the overflow pipe and the fill valve, ensuring a tight fit. Once everything is securely connected, I screw the nut clockwise to lock the valve in place.
Now, it’s time to address any water pressure issues. If the water pressure is too high, I can adjust it by turning the adjustment screw on the fill valve clockwise. On the other hand, if the water pressure is too low, I can turn the adjustment screw counterclockwise to increase it.
Troubleshooting common fill valve issues involves checking for leaks, ensuring proper water flow, and making sure the valve is securely fastened.
Frequently Asked Questions
How Do I Know if My Fill Valve Is Causing a Leak in My Toilet?
If my toilet is leaking, I can diagnose the issue by troubleshooting the fill valve. Signs of a faulty fill valve include water constantly running, hissing noises, or water pooling around the base.
Can I Use Any Type of Penetrating Oil to Loosen a Stuck Water Supply Valve?
Yes, you can use WD-40, a common penetrating oil, to loosen a stuck water supply valve. It helps with hard and rusty metal elements. Other options include using vinegar or boiling water.
Is It Necessary to Remove the Tank Lid to Access the Inside of the Tank?
Yes, it is necessary to remove the tank lid to access the inside of the tank. There are no alternative access methods that provide the same level of visibility and ease of cleaning.
Can I Use a Wrench Instead of Pliers to Remove the Threaded Nut From the Supply Hose?
Yes, you can use a wrench instead of pliers to remove the threaded nut from the supply hose. A wrench provides a sturdy grip and leverage, making it an effective alternative tool for this task.
How Do I Dispose of the Old Fill Valve Properly?
To properly dispose of the old fill valve, I recommend following proper disposal methods. Check with your local waste management facility for recycling options. It’s important to dispose of it responsibly to minimize environmental impact.
Conclusion
In conclusion, fixing a leaky toilet fill valve is a straightforward task that anyone can tackle. By following the step-by-step guide provided, you can easily replace the fill valve in just 15 minutes.
Remember to close the water supply valve, empty the tank, and properly remove the supply hose before loosening and removing the old fill valve.
Installing and securing the new fill valve is the final step to ensure a properly functioning toilet. With a little effort and the right tools, you’ll have your toilet working like new in no time.
So go ahead and take the plunge – don’t let a leaky fill valve keep you from enjoying a fully functioning bathroom.