Hey there! Ever had that frustrating experience of a toilet that just won’t stop running? Well, I’ve been there too, and let me tell you, it’s not fun.
But don’t worry, because I’ve got you covered with this DIY guide on fixing a running toilet. In this article, I’ll walk you through the process step by step, explaining how the flush lever, cistern, siphon, and ball valve all work together.
So grab your toolkit, because we’re about to tackle this problem head-on!
Key Takeaways
- Pressing the flush lever opens a valve, causing the cistern to empty into the bowl through a siphon.
- Checking and adjusting the fill tube is important to ensure proper water flow.
- Adjusting the fill height is necessary to achieve the desired water level in the toilet tank.
- Proper adjustment of the flush handle/flapper chain and replacing the flapper if necessary can help fix a running toilet.
Understanding the Toilet Flushing Process
Pressing the flush lever opens a valve, causing the cistern to empty into the bowl through a siphon, which is how the toilet flushing process works. Understanding toilet mechanics is essential for troubleshooting common toilet issues.
When the flush lever is pressed, the valve opens, allowing water to flow from the cistern into the bowl. This water then flows through holes in the rim, effectively clearing the bowl. The S-trap, located beneath the toilet, creates a siphon effect that sucks waste down the main drain.
As the water empties from the tank, the float falls and tilts the lever. This action causes the ball valve at the base of the tank to open, allowing water to enter. When the float reaches the correct level, the water supply switches off, completing the flushing process.
Steps to Stop a Toilet From Running
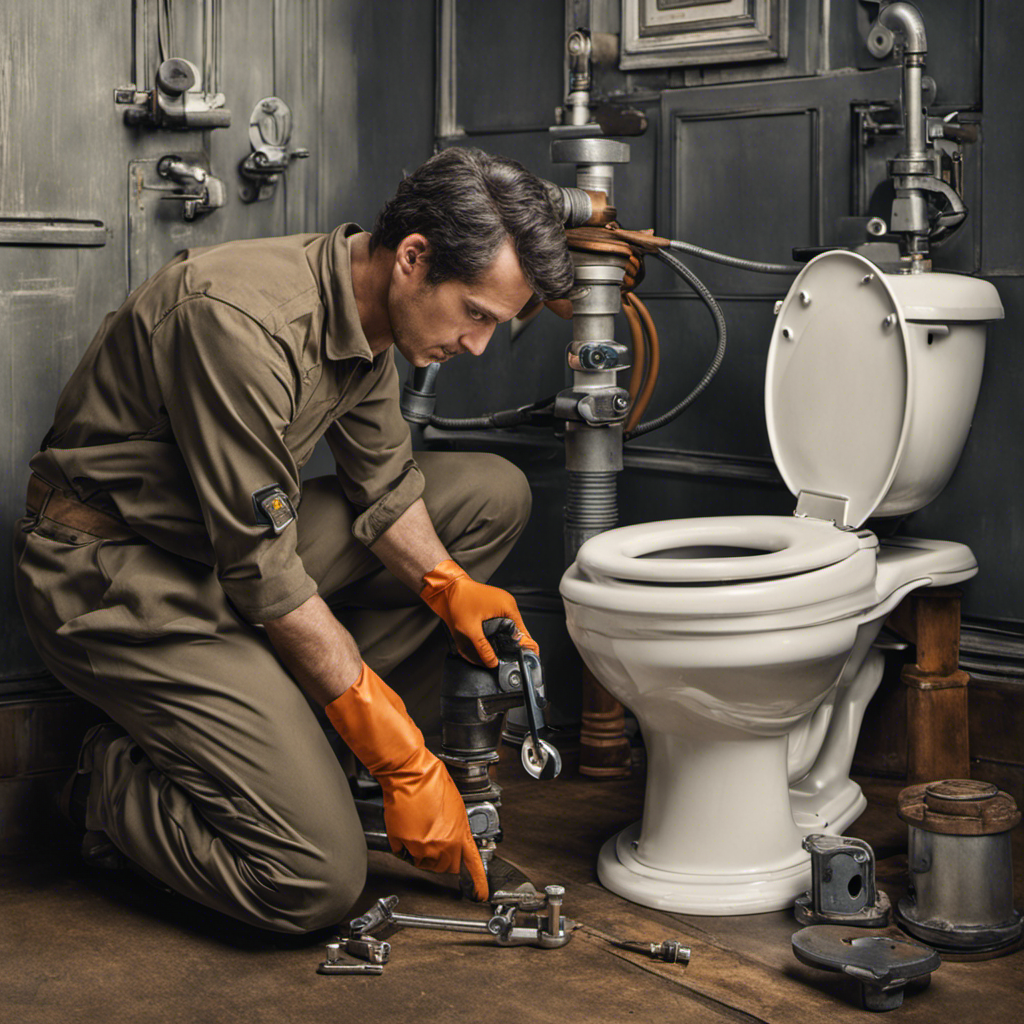
When I need to address a toilet that won’t stop running, I can follow these steps to resolve the issue.
First, I check the fill tube to ensure it is connected properly. If it has fallen off, I reattach it around two centimeters above the rim of the tube.
Next, I adjust the fill height by marking the water level and adjusting the toilet tank float. I make sure the water level is at least an inch below the C-L mark.
Then, I adjust the flush handle and flapper chain to ensure proper closure. If necessary, I replace the flapper with an exact replacement or a similar model.
Checking and Adjusting the Fill Tube
To address a toilet that won’t stop running, the first step is to make sure the fill tube is properly connected to the fill valve. Here are the steps to check and adjust the fill tube:
- Locate the fill tube and ensure it is connected to the fill valve.
- Reattach the fill tube if it has fallen off.
- Connect the fill tube around two centimeters above the rim of the tube.
- Flush and ensure that the water goes down the tube.
- Check for any leaks or issues with the fill tube.
If the fill tube is damaged or there are persistent issues, it may be necessary to replace the fill valve.
Troubleshooting common toilet flushing issues can be a tedious process, but by following these steps, you can effectively address a running toilet and improve its performance.
Adjusting the Fill Height
I mark the overflow tube 1 inch below the fill level mark to adjust the fill height of the toilet tank. This step is crucial in troubleshooting common toilet problems and ensuring proper water flow.
If the water level is too low, the toilet may not flush properly, while if it is too high, it can result in constant running or even overflow. Adjusting the fill height involves identifying the fill level mark inside the tank and marking the overflow tube accordingly.
After flushing the toilet, I check if the water reaches the marked level. If necessary, I adjust the toilet tank float to achieve the desired water level.
If troubleshooting does not resolve the issue, fill valve replacement might be necessary to ensure a properly functioning toilet.
Adjusting the Flush Handle/Flapper Chain and Replacing the Flapper
After checking the length of the flapper chain, I adjust the linkage to ensure proper closure when the flush handle is pressed. Troubleshooting flapper issues is an important step in fixing a running toilet. Here are some key points to consider:
- Inspect the flapper chain and adjust the linkage to provide a small amount of slack when the flapper is closed.
- Cut off any excess chain, leaving about an inch.
- Make sure the flush rod does not strike the tank lid when the lever is pressed.
- If the flapper is worn or damaged, it may need to be replaced.
- Consider bringing the old flapper to the store to find an exact replacement, or choose a similar model or a universal flapper if necessary.
Considerations for Flapper Replacement
When replacing the flapper, it is important to consider bringing the old one to the store for an exact replacement or choosing a similar model or universal flapper. This ensures that the new flapper will fit properly and function correctly. If you are unsure about which flapper to choose, consult with a store employee or a professional plumber for guidance. Troubleshooting common flapper issues can be done by checking for leaks, ensuring proper closure, and adjusting the flapper chain if needed. Here is a table that summarizes the different types of flappers available to help you choose the right one for your toilet:
| Flapper Type | Description | Suitable For |
|---|---|---|
| Rubber Flapper | Made of flexible rubber material | Most standard toilets |
| Adjustable Flapper | Can be adjusted for different flush volumes | Toilets with adjustable flush settings |
| Dual Flush Flapper | Offers both full and partial flush options | Dual flush toilets |
| Silicone Flapper | Made of durable silicone material | Toilets in areas with hard water or high mineral content |
| Specialty Flapper | Designed for specific toilet models | Toilets with unique flushing mechanisms |
Final Tips for Fixing a Running Toilet
To ensure success in repairing a running toilet, it is important to follow these final tips:
-
Check for common toilet problems such as leaks and inadequate flushing.
-
Troubleshoot toilet leaks by inspecting the fill tube and ensuring it is connected properly.
-
Adjust the fill height by marking the water level and adjusting the toilet tank float.
-
Ensure proper closure of the flush handle and flapper chain by adjusting them if necessary.
-
Replace the flapper if it is worn out or damaged.
By addressing these common toilet problems and troubleshooting toilet leaks, you can effectively fix a running toilet.
Remember to use the proper tools and materials, and if the DIY steps do not work, it may be necessary to call a professional plumber.
Taking action to fix a running toilet not only improves flush strength but also helps lower water bills and avoids larger problems in the future.
Frequently Asked Questions
What Are the Common Causes of a Running Toilet?
The common causes of a running toilet include issues with the toilet tank components such as the fill valve, flapper, and flush handle. This can lead to toilet water wastage and higher water bills if not addressed promptly.
How Long Does It Usually Take to Fix a Running Toilet?
Fixing a running toilet usually takes less than an hour. Troubleshooting involves checking the fill tube, adjusting the fill height, and fixing the flush handle or replacing the flapper. Steps are detailed and technical.
Can a Running Toilet Cause Any Damage to the Plumbing System?
Yes, a running toilet can potentially cause damage to the plumbing system, such as water leaks and increased water bills. To prevent further issues, it’s important to fix a running toilet promptly and follow the DIY guide to address the problem.
Are There Any Temporary Fixes for a Running Toilet?
Yes, there are temporary fixes for a running toilet. Troubleshooting steps include adjusting the float, flapper chain, and fill height. These fixes can help stop the running temporarily until a permanent solution is found.
Is It Necessary to Replace the Entire Toilet if It Keeps Running?
No, it is not necessary to replace the entire toilet if it keeps running. There are options for fixing a running toilet without replacing the entire unit. Signs that indicate a toilet needs to be replaced include consistent leaks and frequent clogs.
Conclusion
In conclusion, fixing a running toilet is like taming a wild beast. By understanding the inner workings of the toilet flush, adjusting the fill tube and fill height, and taming the unruly flush handle and flapper chain, you can bring peace to your bathroom kingdom.
And if the flapper needs to be replaced, fear not, for it is a simple task. Remember, taking action to fix a running toilet is like taming a wild stallion – it brings harmony to your throne room, saves water, and prevents future plumbing disasters.
So saddle up, my fellow homeowners, and conquer that running toilet!


