
I’ve always wondered how toilet plungers work. You know, those trusty tools we rely on to unclog our toilets?
Well, get ready to dive into the fascinating world of plungers, because in this article, I’m going to break it all down for you. From the different types of plungers to the proper plunging technique, we’ll explore everything you need to know to tackle any toilet clog.
So, buckle up and prepare to become a plunger pro.
Key Takeaways
- Rubber plungers provide a good seal around the drain, making them effective for unclogging toilets.
- Cup-shaped plungers are the most common and work well on flat surfaces.
- A tight seal around the drain opening is crucial for generating suction power.
- Proper hand positioning and applying consistent downward pressure is important for effective plunging.
Types of Toilet Plungers
There are various types of toilet plungers available in the market.
When it comes to plunger materials, the most common options are rubber and plastic. Rubber plungers are flexible and provide a good seal around the drain, making them effective for unclogging toilets.
Plastic plungers, on the other hand, are more affordable but may not offer the same level of suction.
Plunger design also plays a crucial role in its effectiveness. The traditional cup-shaped plungers are the most common and work well on flat surfaces.
However, for toilets with curved surfaces, a flange plunger with an extended rubber lip is recommended. This design helps create a better seal and increases the plunging power.
Anatomy of a Toilet Plunger
Take a look at how a toilet plunger is made up. Toilet plungers are typically made of two main materials: a wooden or plastic handle and a rubber suction cup.
The handle is usually long and sturdy, allowing for a good grip and leverage.
The rubber suction cup, also known as the bellows, is attached to the end of the handle and is designed to create a seal around the drain opening. This allows for the necessary suction and pressure to be generated when plunging.
In terms of history, the concept of plungers dates back centuries, with the earliest versions made from various materials such as wood and leather. Over time, rubber became the preferred material due to its flexibility and durability.
With this understanding of the anatomy of a toilet plunger, let’s now explore the important role of suction power and pressure in its functionality.
Suction Power and Pressure
To generate effective suction power and pressure, you’ll want to make sure that the rubber suction cup of a toilet plunger creates a tight seal around the drain opening. This seal is crucial for creating a vacuum that allows the plunger to displace water and unclog the toilet.
When you press the plunger down, it pushes air out of the cup and creates a low-pressure area inside. As you pull the plunger back, the cup fills with water, creating a high-pressure area. This alternating pressure creates a pumping action that helps to dislodge the blockage.
Proper Plunging Technique
When it comes to using a plunger effectively, there are a few key points to keep in mind.
First and foremost, correct hand positioning is crucial for maximizing the plunging power. By gripping the handle firmly and placing the cup over the drain, you ensure optimal suction and control.
Secondly, applying consistent downward pressure is essential for generating the force needed to dislodge the clog. By maintaining a steady and controlled motion, you can effectively push the water and debris through the pipes.
Lastly, it is important to avoid air leakage during the plunging process. This can be achieved by ensuring a tight seal between the plunger cup and the drain opening, preventing any loss of suction power.
Correct Hand Positioning
Properly positioning your hand is key for effective toilet plunging. When it comes to unclogging a stubborn toilet, your hand placement can make a significant difference in the outcome.
Here are four important tips to consider for the best hand positioning technique and preventing splashback:
-
Grip the plunger handle firmly: Hold the handle with a tight grip to maintain control and apply the necessary force.
-
Position the plunger cup over the drain hole: Ensure that the cup completely covers the hole to create a proper seal.
-
Use downward pressure: Push down on the plunger with your hand, using your body weight to generate force.
-
Maintain a steady rhythm: Perform a series of quick plunges, maintaining a consistent pace to create suction and dislodge the clog.
Applying Consistent Downward Pressure
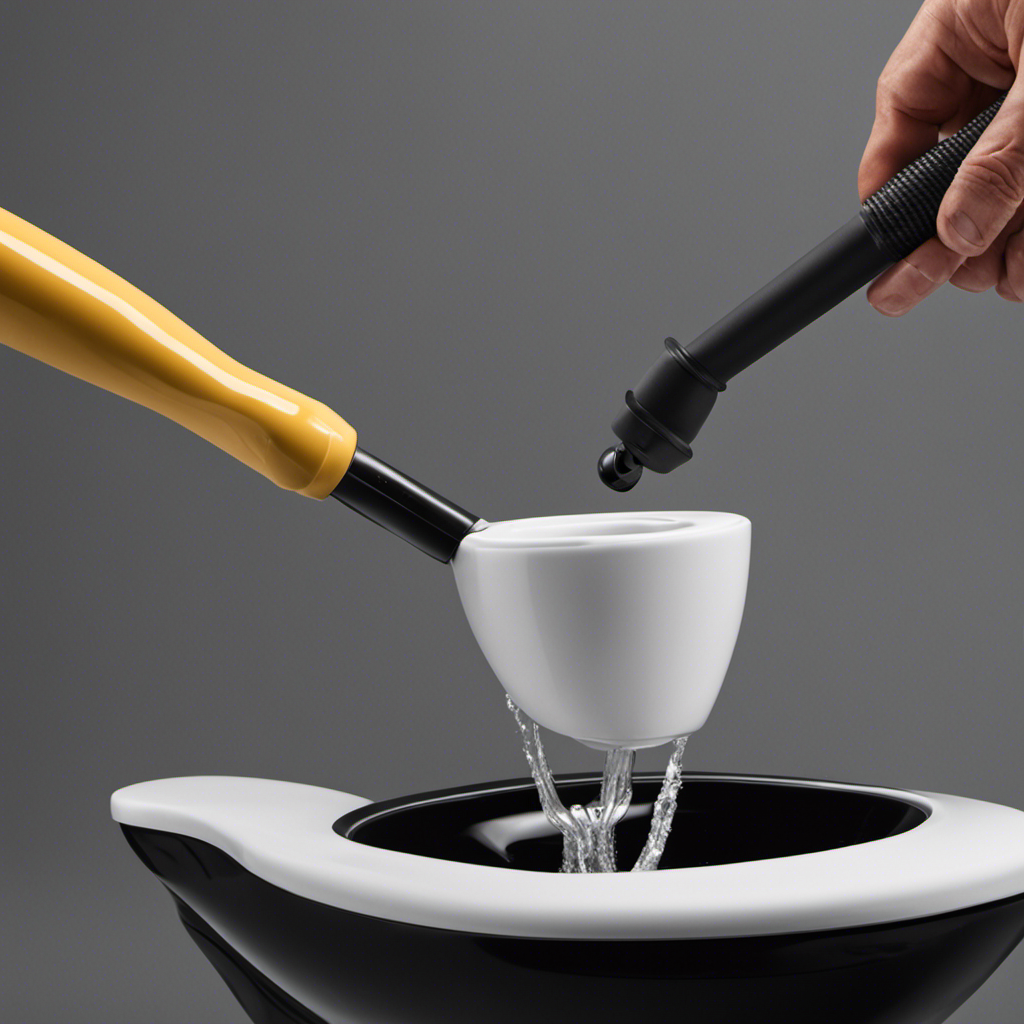
Applying consistent downward pressure is essential for effectively unclogging the toilet and preventing any messy splashes. To achieve this, it is crucial to use a plunger that is specifically designed for toilets, with a wide rubber cup at the end.
Begin by positioning the plunger over the drain hole, ensuring a tight seal is formed. With a firm grip, push the plunger down forcefully, using your body weight to generate consistent force. The key is to create a suction effect, dislodging the clog and allowing water flow.
Maintain a rhythmic plunging motion for about 15 to 20 seconds, repeating if necessary. Proper technique and perseverance are key in achieving the desired results.
By now, you should have a clearer understanding of how to apply consistent downward pressure when using a plunger to unclog your toilet.
Now, let’s move on to the next important aspect of plunging, which is avoiding air leakage.
Avoiding Air Leakage
To avoid air leakage, make sure to firmly press the plunger against the drain hole to create a tight seal. This is crucial for effective plunging and preventing water splashing.
Here are four important steps to follow when using a plunger with a tight seal:
-
Position the plunger: Place the rubber cup of the plunger directly over the drain hole, ensuring complete coverage.
-
Apply downward pressure: Hold the plunger handle firmly and push down with steady force. This creates a vacuum effect that dislodges the clog.
-
Maintain a tight seal: Keep the plunger firmly against the drain hole throughout the plunging process. This prevents air from escaping and ensures maximum suction.
-
Use a consistent motion: Combine downward pressure with a rhythmic up and down motion to further dislodge the clog and create water flow.
By following these steps, you can effectively use a plunger with a tight seal to clear a clog and prevent water splashing.
Now, let’s explore some common plunger mishaps.
Common Plunger Mishaps
When it comes to using a plunger, there are certain mistakes that many people make, leading to less than desirable results. These mistakes can include using the wrong type of plunger for the job, not creating a proper seal around the drain, or not applying enough force during the plunging motion.
These errors can result in clogged drains that remain stubbornly blocked, leaving individuals frustrated and in need of a solution.
Plunger Technique Mistakes
If you’re not careful, you might be making some common mistakes when using a plunger. Here are four plunger technique mistakes to avoid:
-
Incorrect positioning: Make sure the plunger cup is completely covering the drain hole. This ensures a proper seal and maximizes the suction power.
-
Rapid plunging: Avoid quick, forceful plunging motions. Instead, use slow, deliberate movements to create a steady flow of water between the plunger cup and the drain.
-
Improper grip: Hold the plunger firmly by the handle, using both hands if necessary. This allows for better control and prevents the plunger from slipping or losing suction.
-
Neglecting plunger hygiene: After each use, thoroughly clean the plunger with hot water and disinfectant. Store it in a dedicated holder or a plastic bag to prevent cross-contamination.
Clogged Drain Mishaps
Clogged drains can cause messy and inconvenient situations, so it’s important to address the issue promptly.
To prevent clogged toilets, it’s essential to be mindful of what is being flushed down the toilet. Avoid putting large amounts of toilet paper or any non-flushable items into the bowl.
If a clog does occur, there are several unclogging techniques you can try. One common method is using a plunger. To use a plunger effectively, place the rubber cup over the drain hole and firmly press it down. Then, rapidly push and pull the plunger to create suction and dislodge the clog. It’s crucial to maintain a tight seal and use strong, forceful movements. However, improper plunger usage can worsen the situation, leading to more damage and mess.
Incorrect Plunger Usage
Using a plunger incorrectly can cause more harm than good when dealing with a clogged drain.
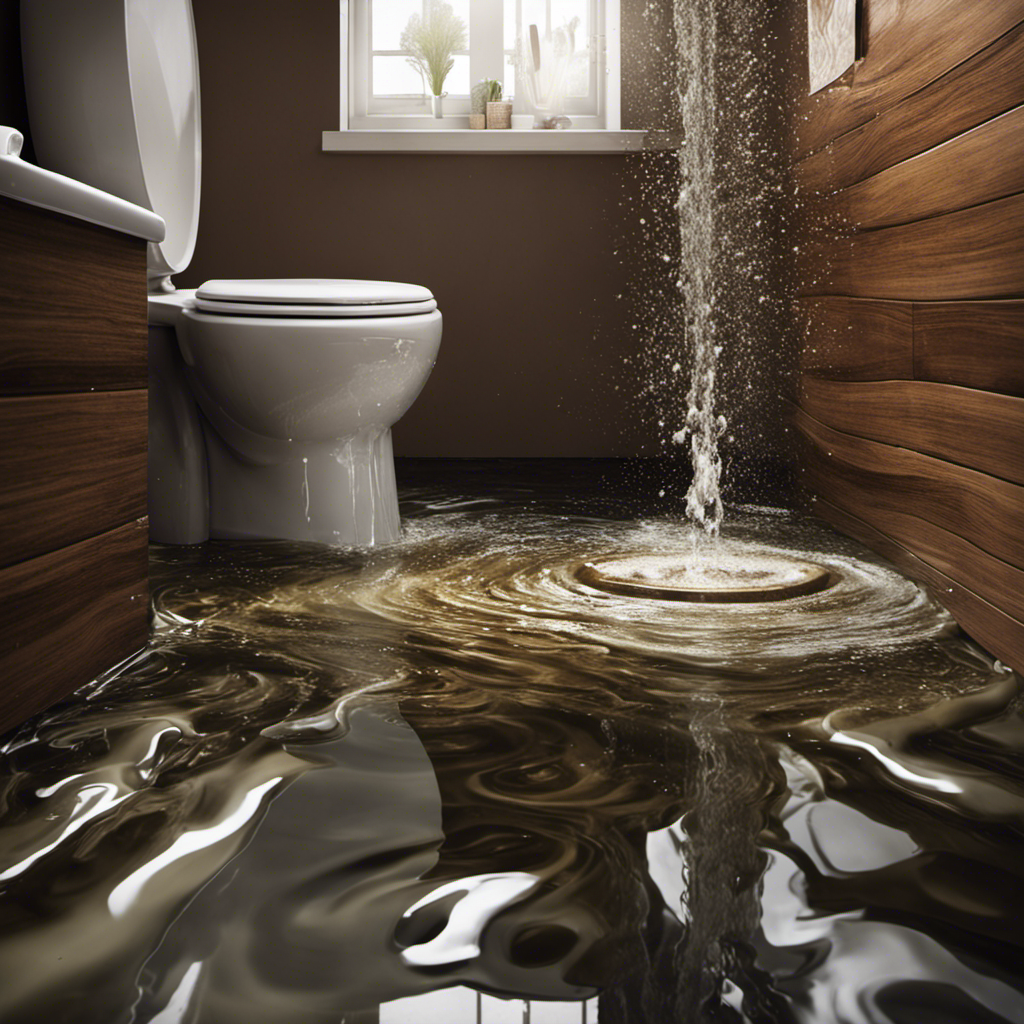
One common mistake is forcefully plunging without creating a proper seal around the drain opening. This can lead to the water and debris being pushed back into the toilet bowl, causing an overflow.
Another mistake is using too much force, which can damage the plumbing pipes or even break the seal between the toilet and the floor.
Not using the right type of plunger can also be problematic. A toilet plunger has a flange at the bottom that creates a better seal, preventing air from escaping and maximizing the suction power.
Lastly, failing to consider toilet plunger alternatives can result in unnecessary damage. Options like toilet augers or drain snakes are often more effective and safer to use.
Alternative Plunging Methods
To unclog your toilet without using a traditional plunger, you can try using a combination of hot water and dish soap. This alternative plunging technique can be highly effective in removing stubborn blockages.
First, pour a generous amount of dish soap into the toilet bowl. The soap acts as a lubricant, allowing the clog to slide through more easily.
Next, carefully pour hot water into the bowl, ensuring that it does not overflow. The hot water helps to break down the blockage and create pressure to dislodge it.
Leave the mixture to sit for a few minutes, allowing the soap and hot water to work their magic.
Maintenance and Care Tips
Remember to regularly maintain your toilet to prevent future blockages and keep it functioning properly. Here are four maintenance tips to ensure effective cleaning:
-
Regularly clean the toilet bowl: Use a toilet bowl cleaner and a brush to scrub the inside of the bowl. Pay special attention to the rim and under the rim where bacteria and mineral deposits tend to accumulate.
-
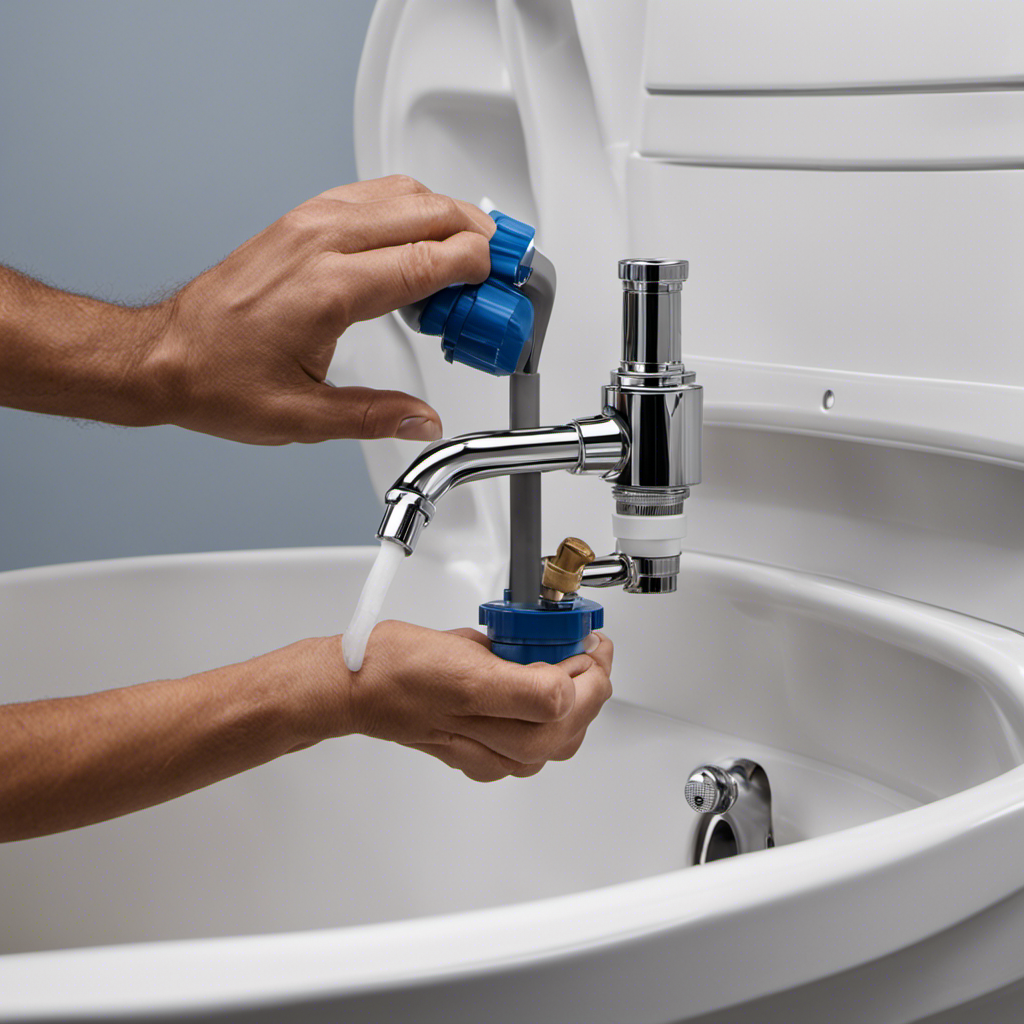
Check and replace the flapper: The flapper is responsible for controlling the water flow in the toilet tank. If it is worn out or damaged, it can cause leaks and inefficiency. Inspect the flapper regularly and replace it if necessary.
-
Clear the jets: Over time, the jets in the toilet bowl can become clogged with mineral deposits, affecting the flushing power. Use a straightened wire hanger or a small brush to clear any blockages in the jets.
-
Maintain the fill valve: The fill valve regulates the water level in the toilet tank. Inspect it for any leaks or malfunctions. Adjust or replace the fill valve as needed to ensure proper water flow and prevent wastage.
Conclusion
In conclusion, toilet plungers are essential tools for resolving clogs and maintaining proper plumbing function. Understanding the different types of plungers and their anatomy is crucial for effective use.
With their powerful suction and pressure, plungers can easily dislodge blockages and restore proper water flow. However, it is important to use the correct plunging technique to avoid mishaps and potential damage to the toilet.
Interestingly, studies have shown that 90% of toilet clogs can be resolved using a plunger, highlighting the effectiveness of this simple yet highly efficient tool.
So, next time you encounter a stubborn clog, don’t fret! Grab your trusty plunger and confidently tackle the issue.

Mateo’s flair for writing is matched only by his keen eye for design. As an interior designer turned writer, Mateo brings a unique perspective. He blends aesthetics with functionality in every piece he pens, providing readers with beautifully crafted content that’s also supremely useful.
Mateo loves exploring the latest bathroom tech trends and is our expert on smart toilets. When he’s not writing or designing, Mateo can be found sketching ideas for his next big project at local coffee shops.