Are you ready to tackle the monumental task of installing a toilet?
Get ready to dive into the world of plumbing with this step-by-step guide.
With the right tools and materials, you’ll be able to remove the old toilet with ease and prepare the area for the new one.
Then, it’s time to install the new toilet bowl and tank, ensuring a secure and leak-free fit.
Get ready to conquer the challenge and transform your bathroom!
Key Takeaways
- Gathering the necessary tools and materials, such as a wrench, pliers, screwdriver, level, wax ring, new flange, bolts, and supply line, is essential for toilet installation.
- Properly removing the old toilet without causing damage or leaks requires careful handling of plumbing connections and taking necessary safety precautions.
- Disconnecting the water supply line, loosening and removing nuts from bolts securing the toilet to the floor, and lifting the toilet straight up are important steps in handling plumbing connections.
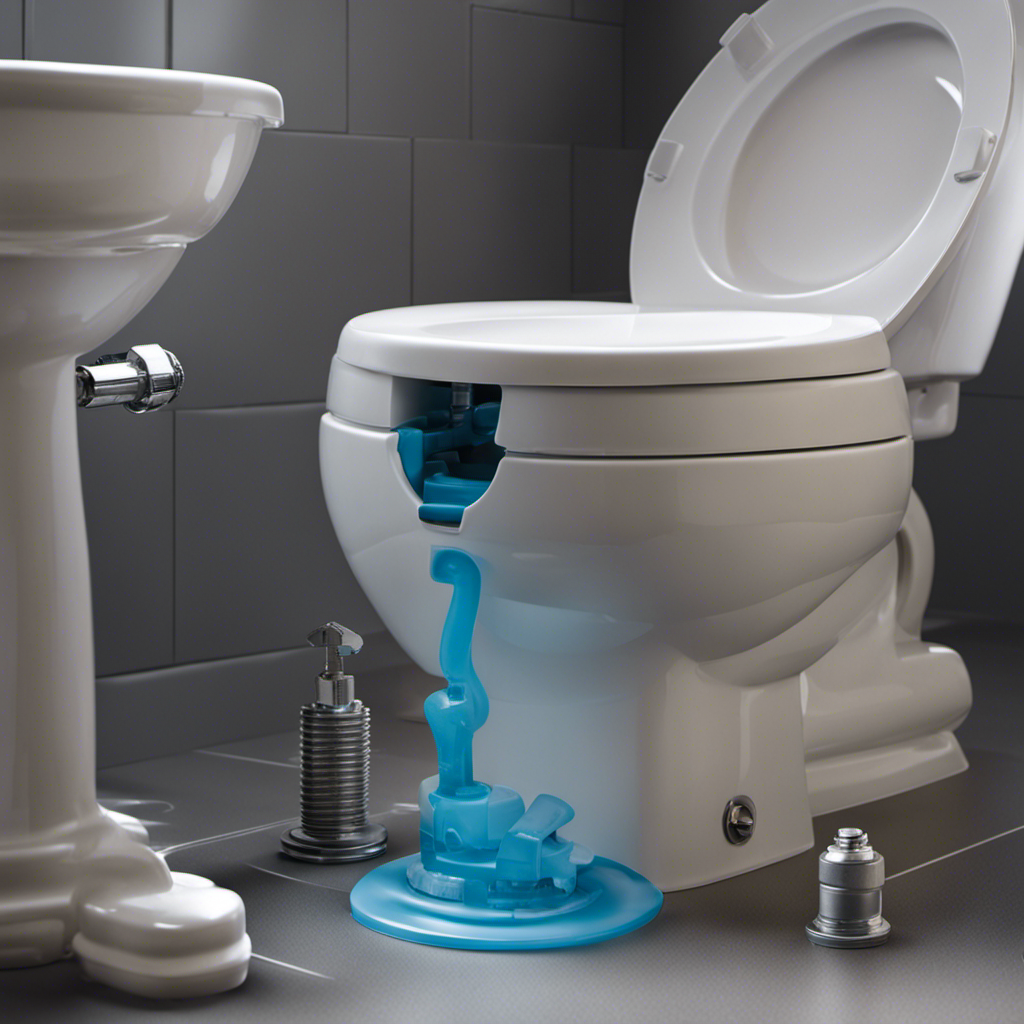
- Before installation, it is important to prepare the area by clearing debris from the floor, applying a watertight seal around the flange using wax or silicone sealant, and making sure the toilet and floor are clean.
Gather the Necessary Tools and Materials
Before you start, make sure you’ve gathered all the necessary tools and materials for a successful toilet installation. Having everything you need will save you time and frustration.
Here are some toilet installation tips and common toilet problems that you should be aware of.
-
Tools: You will need a wrench, pliers, screwdriver, level, and a wax ring. These tools will help you remove the old toilet and install the new one.
-
Materials: In addition to the toilet itself, you will need a new flange, bolts, and a supply line. Make sure to choose the right size and type of materials for your specific toilet model.
Remove the Old Toilet
When it comes to removing your old toilet, there are a few key points to keep in mind.
First, it’s important to know the proper way to remove the toilet without causing any damage or leaks.
Second, you’ll need to handle the plumbing connections carefully to ensure a smooth removal process.
Lastly, don’t forget to take necessary safety precautions, such as wearing gloves and protective eyewear, to avoid any potential accidents or injuries during the removal.
Proper Toilet Removal
To properly remove a toilet, you’ll need to disconnect the water supply and unscrew the bolts securing it to the floor. Follow these steps to ensure a smooth and successful toilet removal:
-
Turn off the water supply: Locate the shut-off valve near the base of the toilet and turn it clockwise until it stops. Flush the toilet to drain the water from the tank and bowl.
-
Disconnect the water supply line: Use an adjustable wrench to loosen the nut connecting the water supply line to the bottom of the toilet tank. Once loose, carefully remove the line.
-
Remove the tank: Unscrew the bolts attaching the tank to the bowl. Gently lift the tank off the bowl and set it aside.
-
Detach the bowl: Unscrew the nuts securing the bowl to the floor bolts. Once loose, carefully lift the bowl straight up and remove it.
Handling Plumbing Connections
Disconnect the water supply line by using an adjustable wrench to loosen the nut connecting it to the bottom of the toilet tank. Turn the nut counterclockwise until it is loose enough to remove by hand. Once the nut is removed, gently pull the water supply line away from the toilet tank.
Next, locate the bolts that secure the toilet to the floor. These bolts are typically located on either side of the toilet flange. Use a wrench to loosen and remove the nuts from the bolts. Once the nuts are removed, lift the toilet straight up to disconnect it from the plumbing connections. Be sure to hold the toilet securely to prevent any damage or spills.
With the plumbing connections disconnected, you can now move on to the safety precautions during removal.
Safety Precautions During Removal
While removing the toilet, it’s important to securely hold it to prevent any damage or spills. Follow these steps to ensure you prevent water damage and avoid injury during the process:
-
Gather necessary tools: Have a wrench, gloves, and a bucket ready before starting.
-
Turn off water supply: Locate the shut-off valve near the base of the toilet and turn it clockwise to stop the water flow.
-
Empty the tank: Flush the toilet and hold down the handle to drain as much water as possible.
-
Remove the toilet: Loosen the bolts on each side of the toilet base with the wrench, then lift the toilet straight up and place it on a towel or old newspaper.
Prepare the Area for Installation
Make sure you’ve cleared the area around the toilet before beginning the installation process. This step is crucial to ensure a smooth and efficient installation.
Start by preparing the floor where the toilet will be placed. Make sure it is clean and free from any debris or dirt.
Next, you’ll need to seal the toilet base to prevent any leaks. Apply a thin layer of wax or silicone sealant around the flange on the floor. This will create a watertight seal between the toilet and the floor.
Once the area is prepared and the toilet base is sealed, you can move on to the next step: installing the new toilet bowl.
Install the New Toilet Bowl
Once you’ve prepared the area, it’s time to go ahead and attach the new toilet bowl. Follow these steps for a proper toilet installation and troubleshoot common toilet installation issues:
-
Position the bowl: Carefully place the new toilet bowl onto the wax ring, aligning the mounting bolts with the holes on the toilet flange.
-
Secure the bowl: Press down firmly on the bowl to compress the wax ring and create a watertight seal. Use a wrench to tighten the nuts onto the mounting bolts, ensuring the bowl is securely fastened to the floor.
-
Check for stability: Gently rock the bowl back and forth to confirm it is stable and level. If it wobbles, adjust the nuts or add shims as necessary.
-
Test for leaks: Turn on the water supply and flush the toilet. Inspect for any leaks around the base. If you notice any leakage, tighten the nuts or replace the wax ring.
Now that you have successfully installed the new toilet bowl, it’s time to move on to the next step: installing the toilet tank.
Install the Toilet Tank
Now that you’ve successfully installed the toilet bowl, it’s time to move on to the next step: installing the toilet tank.
This step is crucial to ensure proper functioning of your toilet. In this discussion, we’ll cover three key points: proper tank alignment, securing the tank bolts, and connecting the water supply.
Follow these step-by-step instructions to complete this important task.
Proper Tank Alignment
Before you begin, make sure the tank is properly aligned with the bowl. Proper tank alignment is crucial to prevent leaks and ensure the toilet functions correctly. Here’s a step-by-step guide to help you align the tank properly:
-
Check the tank bolts: Make sure the tank bolts are properly tightened and aligned with the bolt holes on the bowl. If they’re loose or misaligned, use a wrench to tighten or adjust them.
-
Align the flush valve: The flush valve should be centered and aligned with the overflow tube. Adjust it if necessary by turning it clockwise or counterclockwise.
-
Position the tank on the bowl: Carefully place the tank onto the bowl, making sure that the tank bolts pass through the corresponding holes.
-
Tighten the bolts: Use a wrench to tighten the nuts on the tank bolts, ensuring that the tank is securely attached to the bowl.
Secure Tank Bolts
Make sure to check that the tank bolts are securely tightened and aligned with the bolt holes on the bowl. This is an important step in preventing leaks in your toilet.
Here’s a step-by-step guide on how to properly secure the tank bolts:
-
Start by locating the tank bolts at the bottom of the tank, where it connects to the bowl.
-
Use a wrench or pliers to tighten the nuts on the tank bolts. Make sure they are snug, but be cautious not to overtighten and crack the porcelain.
-
Once the bolts are tightened, check the alignment. The bolts should be perpendicular to the floor and aligned with the bolt holes on the bowl.
-
If necessary, adjust the bolts by loosening the nuts slightly and repositioning them.
-
Once the bolts are securely tightened and aligned, check for any leaks by flushing the toilet and observing if water seeps out around the bolts.
-
If you notice any leaks, tighten the bolts a little more until the leaks stop.
Connect Water Supply
To connect the water supply, simply locate the water inlet valve on the bottom left side of the toilet tank. Follow these steps to complete the water supply connection during the toilet installation process:
-
Turn off the water supply: Locate the shut-off valve near the toilet and turn it clockwise to shut off the water flow.
-
Connect the supply line: Take the flexible supply line and attach one end to the water inlet valve on the toilet tank. Tighten the connection by hand and then use a wrench to securely tighten it a bit more.
-
Connect the other end: Attach the other end of the supply line to the water supply valve on the wall. Again, tighten the connection by hand and then use a wrench to ensure it is secure.
-
Turn on the water supply: Slowly turn the water supply valve counterclockwise to allow water to flow into the toilet tank.
With the water supply connected, you can now move on to the next step of the toilet installation process, which is testing and securing the toilet in place.
Test and Secure the Toilet
Once you’ve finished testing and securing the toilet, you can move on to the next step in the installation process.
Testing the toilet is important to ensure its stability and functionality. To test the toilet, sit on it and check if it wobbles or feels unstable. If it does, you may need to adjust the toilet bolts or add shims to level it.
Additionally, flush the toilet multiple times to make sure it flushes properly and doesn’t leak.
To secure the toilet, tighten the bolts on the base using a wrench, but be careful not to overtighten and crack the porcelain.
Once the toilet is stable and secure, you can proceed with connecting the water supply.
Conclusion
Congratulations! You’ve successfully completed the journey of toilet installation. Like a skilled plumber, you gathered your tools and materials, bid farewell to the old toilet, and prepared the area with precision.
With careful hands, you installed the new toilet bowl and tank, ensuring a snug fit. Finally, you tested and secured your creation, ready to withstand the demands of everyday use.
You can now relish in the satisfaction of a job well done and enjoy the convenience and comfort of your newly installed toilet.