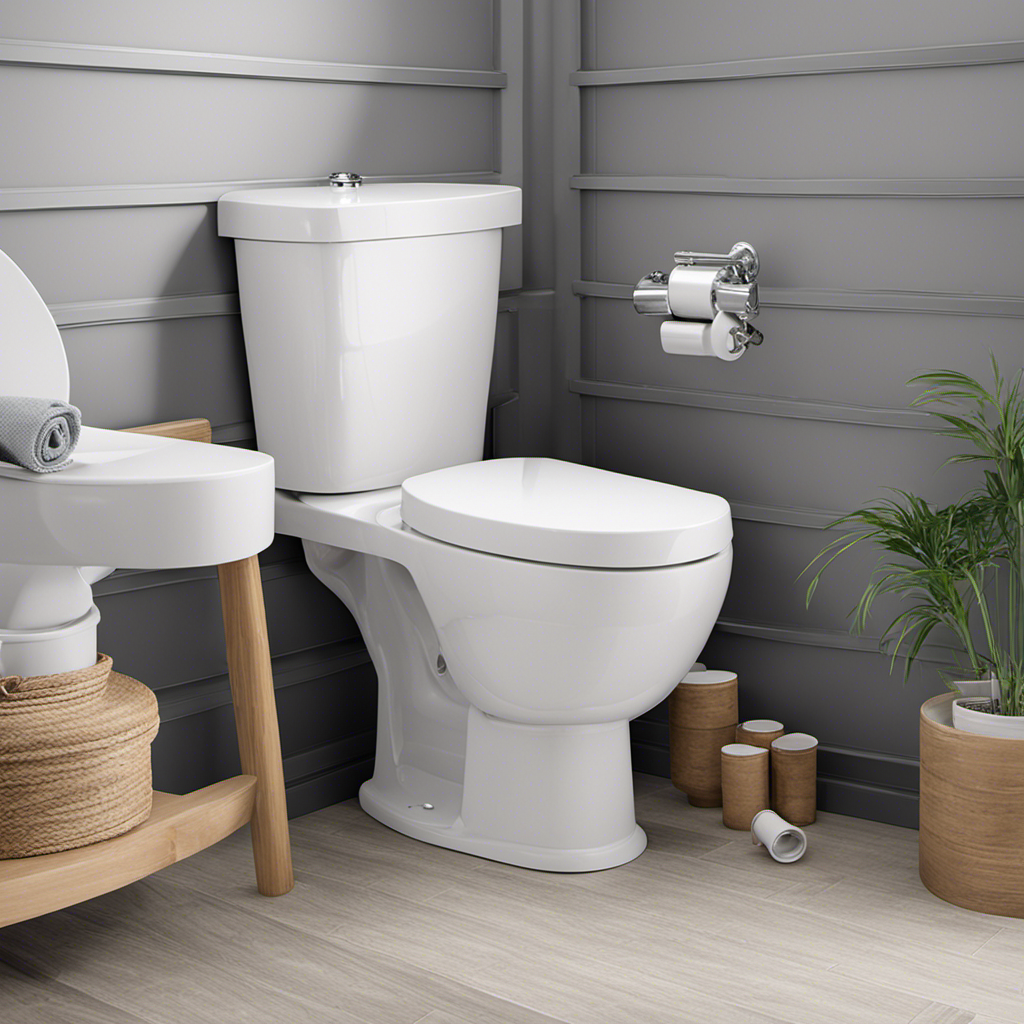
So, you want to paint behind a toilet, huh? Well, let me tell you, it’s no walk in the park. But fear not, because with a little preparation and some handy tips, you’ll have that often-neglected space looking fresh and fabulous in no time.
In this article, we’ll guide you through the steps of removing the toilet tank, protecting the surrounding area, applying primer and paint, and finally, reinstalling the tank.
Get ready to give your bathroom a makeover that will leave everyone saying, ‘You painted behind the toilet? Now that’s impressive!’
Key Takeaways
- Gathering necessary supplies and preparing the surrounding area is crucial before painting behind a toilet.
- Removing the toilet tank is necessary to access the wall behind the toilet.
- Protecting the surrounding area with drop cloths and painter’s tape is important to prevent accidental paint splatters.
- Applying primer and paint evenly and choosing the right colors that complement the bathroom’s design are essential for a successful paint job.

Fluidmaster Universal Install/Uninstall Toilet Repair Tool
Fluidmaster’s universal install and uninstall toilet tool makes any toilet repair job simple
As an affiliate, we earn on qualifying purchases.
As an affiliate, we earn on qualifying purchases.
Preparation for Painting
To start preparing for painting behind a toilet, you’ll need to gather your supplies and cover the surrounding area with a drop cloth.
First, ensure that the toilet surface is clean and free of any dirt or grime. Use a mild detergent and a sponge to wipe down the area.
Once it’s dry, inspect the surface for any cracks or imperfections. Fill in any gaps with a suitable filler and sand it smooth.
Now, it’s time to choose the right paint color. Consider the overall color scheme of your bathroom and select a shade that complements it. Take into account the lighting and size of the space as well. A lighter shade can create an illusion of more space, while a darker color can add depth and drama.
With the surface prepared and the paint color chosen, you’re ready to move on to the next step.

12 x 9 Ft Plastic Drop Cloths (6-Pack) – Disposable Painter's Sheeting & Tarps for Painting, Waterproof Furniture/Couch/Floor Protection
1. Versatile Floor and Furniture Protection: More than just for painting, these durable plastic sheet protect floors, furniture,…
As an affiliate, we earn on qualifying purchases.
As an affiliate, we earn on qualifying purchases.
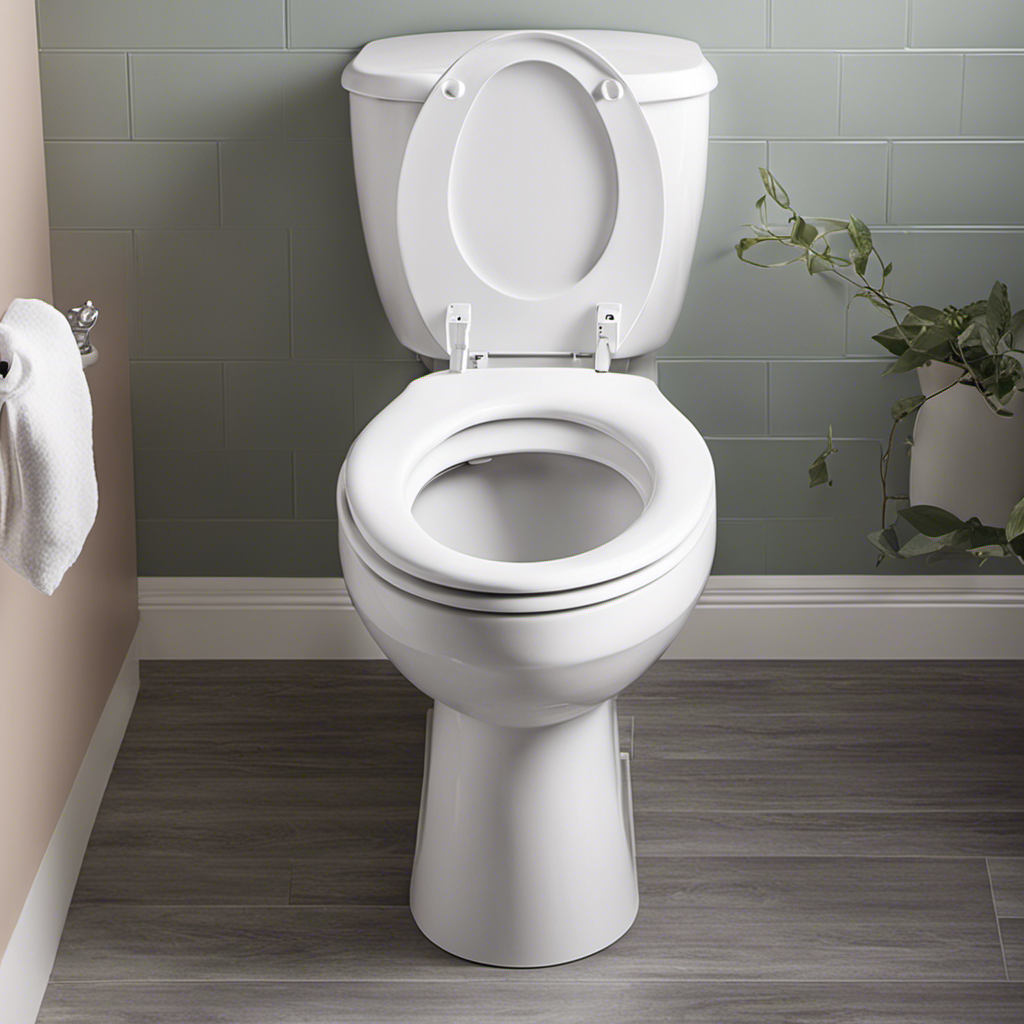
Removing the Toilet Tank
First, make sure you’ve turned off the water supply to the toilet before removing the tank. To ensure a successful toilet tank repair or cleaning, it is important to follow the proper steps. Here is a step-by-step guide on how to remove the toilet tank:
| Step | Instructions |
|---|---|
| 1 | Turn off the water supply valve. |
| 2 | Flush the toilet to empty the tank. |
| 3 | Disconnect the water supply hose from the bottom of the tank. |
| 4 | Locate the bolts securing the tank to the bowl and remove them using a wrench. |

Zinsser 02774 PERMA-WHITE Mold & Mildew Proof Interior Paint, Quart, Eggshell White
Self-Priming formula – requires no sanding
As an affiliate, we earn on qualifying purchases.
As an affiliate, we earn on qualifying purchases.
Protecting the Surrounding Area
Now that you’ve successfully removed the toilet tank, it’s important to protect the surrounding area from any potential damage or mess.
One of the key considerations when painting behind a toilet is choosing the right paint color. You want a color that will complement the overall design and style of your bathroom. Consider the existing color scheme and the ambiance you want to create.
Once you’ve chosen the perfect color, it’s time to tackle the actual painting process. To avoid paint drips and splatters, start by using a drop cloth to cover the floor and any nearby fixtures. Next, use painter’s tape to protect the edges of the toilet and any other areas you don’t want to get painted.
Take your time and apply the paint evenly, using a brush or roller. And remember, patience is key!
painter's tape for bathroom
As an affiliate, we earn on qualifying purchases.
As an affiliate, we earn on qualifying purchases.
Applying Primer and Paint
Once you’ve decided on the perfect paint color, it’s important to apply primer before starting the painting process. Primer creates a smooth surface for the paint to adhere to, ensuring a long-lasting and professional-looking finish.
Before starting, make sure to choose a primer that is specifically designed for bathroom spaces to prevent moisture damage. Proper ventilation is crucial during the painting process, as it helps to minimize fumes and promote faster drying. Open windows and doors, and consider using a fan to increase airflow.
Apply the primer evenly to the walls behind the toilet, using a brush or roller. Allow the primer to dry completely before applying the paint. Once the primer is dry, you can move on to the next step of painting behind the toilet: applying the paint.
Reinstalling the Toilet Tank
When reinstalling the toilet tank, make sure to securely attach it to the bowl to prevent any leaks. This step is crucial in ensuring the proper functioning of your toilet.
To reconnect the water supply, follow these steps:
- Turn off the water supply valve.
- Carefully position the tank on top of the bowl, making sure it aligns properly.
- Insert the tank bolts through the mounting holes and tighten them with a wrench.
- Attach the water supply line to the fill valve, ensuring it is securely fastened.
- Slowly open the water supply valve to allow water to fill the tank.
- Check for any leaks around the tank and tighten the bolts if necessary.
Conclusion
Now that you know how to paint behind a toilet, you can tackle this task with confidence. Remember, preparation is key, so make sure to remove the toilet tank and protect the surrounding area before applying primer and paint.
By following these steps, you’ll be able to give your bathroom a fresh new look in no time.
Did you know that a well-maintained bathroom can increase the value of your home by up to 20%? So, don’t hesitate to give your bathroom a makeover and enjoy the benefits it brings!