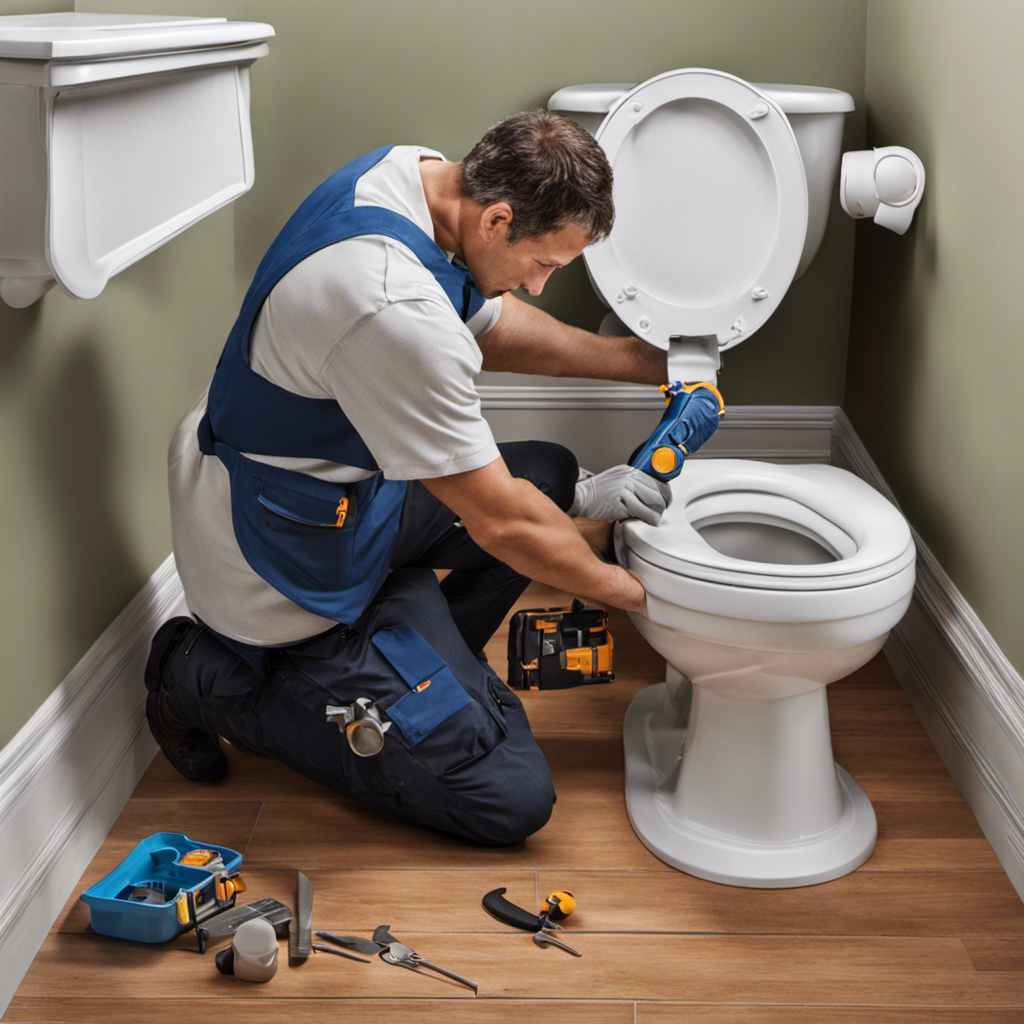
I’ll admit, the thought of installing a toilet can be a bit daunting. But let me assure you, it’s not as difficult as it may seem. In fact, with the right tools and a little know-how, you can tackle this project with ease.
In this article, I’ll walk you through the step-by-step process of installing a toilet, from preparing the bathroom to connecting the water supply.
So, grab your wrench and get ready to become a DIY plumbing pro.
Key Takeaways
- Gather all the necessary tools and materials before starting the installation process.
- Take your time and follow the manufacturer’s instructions for a successful toilet installation.
- Ensure the toilet is level and securely fastened to prevent any leaks or issues with water flow.
- Properly prepare the bathroom by clearing the space, measuring dimensions, and repairing any cracks or damage on the floor.
Tools and Materials Needed
To install a toilet, you’ll need a few tools and materials. First, make sure you have a wrench, screwdriver, level, and plunger. These tools will help you with different aspects of the installation process.
Additionally, you’ll need a wax ring, toilet bolts, and a water supply line. The wax ring provides a watertight seal between the toilet and the floor, while the bolts secure the toilet in place. The water supply line connects the toilet to the water source.
When installing a toilet, it’s important to follow some tips to ensure a successful installation. For example, make sure the toilet is level and secure, and check for any leaks or issues with the water flow. Troubleshooting during the installation process can prevent future problems.
With these tools and materials, you’ll be well-equipped to tackle your toilet installation project.
Now that you have gathered the necessary tools and materials, it’s time to move on to preparing the bathroom.
Preparing the Bathroom
Before beginning the process of installing a toilet, it’s important to prepare the bathroom properly.
This involves clearing the space by removing any furniture or obstructions that may hinder the installation process.
Additionally, gathering the necessary tools and materials, such as a wrench, wax ring, and bolts, is crucial to ensure a smooth installation.
Lastly, securing the floor by checking for any cracks or damage and repairing it if necessary will help provide a stable foundation for the toilet.
Clearing the Space
Clearing the space for installation won’t be too difficult if you remove any obstacles. Before starting, make sure to clear away any furniture, rugs, or other items that may be in the way. This will allow you to have enough room to work comfortably.
Additionally, it’s important to measure the dimensions of the existing toilet and the area where the new one will be installed. This will ensure that the new toilet fits properly and that there won’t be any issues with spacing.
Once you have cleared the space and measured the dimensions, you can move on to gathering the necessary tools and materials for the installation process.
Necessary Tools and Materials
Once you’ve gathered all the necessary tools and materials, it’s important to double-check that you have everything you need before starting the installation process. To help you with this, here is a handy table outlining the essential items for toilet installation:
| Tools | Materials | Other |
|---|---|---|
| Adjustable wrench | Toilet bowl | Wax ring |
| Screwdriver | Toilet tank | Toilet bolts |
| Plunger | Water supply line | Toilet seat |
| Pliers | Closet flange | Caulk |
| Level | Toilet mounting bolts | Sponge |
These tools and materials are crucial for a successful toilet installation. By ensuring you have everything listed here, you can avoid common mistakes such as missing parts or incorrect sizes. Remember to follow the manufacturer’s instructions and take your time to ensure a proper installation.
Securing the Floor
To properly secure the floor, you’ll need to make sure the closet flange is securely attached. Here’s what you’ll need to do:
- Inspect the area around the closet flange for any cracks or damage. If you notice any, you’ll need to repair them before proceeding.
- Use a putty knife to scrape away any loose debris or old adhesive from the surface.
- Apply a concrete repair compound to fill in any cracks or holes in the floor. Smooth it out with a trowel and let it dry completely.
Once the floor is repaired, you’ll need to ensure that it is level. Use a level to check for any unevenness. If there are any low spots, you can use a self-leveling compound to even out the surface. Follow the manufacturer’s instructions for application and drying time.
Removing the Old Toilet
When it comes to removing an old toilet, two key points to consider are proper tool selection and disposing of waste.
To ensure a successful removal, it is important to choose the right tools such as a wrench and scraper to loosen and remove the nuts and bolts.
Additionally, proper waste disposal is crucial to maintain cleanliness and avoid any potential health hazards.
Proper Tool Selection
Choosing the right tools is crucial when installing a toilet. It can save you time, effort, and prevent common mistakes. Here are some toilet installation tips and the tools you’ll need for a successful installation:
-
Basic Tools:
-
Adjustable wrench: for tightening nuts and bolts.
-
Screwdriver: for removing and installing screws.
-
Level: to ensure the toilet is straight and balanced.
-
Putty knife: for scraping away old wax and caulk.
-
Specialized Tools:
-
Closet auger: for clearing clogs in the toilet drain.
-
Flange extender: to raise the height of the flange if needed.
By using these tools, you can avoid common mistakes such as using the wrong size wrench, not using a level, or not clearing clogs before installation.
With the right tools, your toilet installation will be a breeze.
Disposing of Waste
Disposing of waste properly is essential in order to maintain a clean and sanitary environment. Proper waste management not only ensures the cleanliness of our surroundings but also has a significant impact on the environment. It is crucial to understand the different types of waste and how they should be handled and disposed of. Here is a table that provides an overview of common types of waste and their proper disposal methods:
| Waste Type | Proper Disposal Method |
|---|---|
| Household waste | Separate recyclables |
| Use designated bins | |
| Dispose in landfill | |
| Hazardous waste | Take to collection |
| centers or drop-off | |
| locations | |
| Medical waste | Use designated |
| biohazard containers | |
| Dispose through | |
| authorized channels | |
| E-waste | Recycle through |
| authorized facilities | |
| or collection events |
Installing the New Toilet
To install the new toilet, you’ll need to gather the necessary tools and materials. Here’s a list of what you’ll need:
-
Tools:
-
Adjustable wrench
-
Screwdriver (flathead and Phillips)
-
Plunger
-
Putty knife
-
Materials:
-
Wax ring
-
Toilet bolts
-
Water supply line
-
Toilet tank bolts and gaskets
-
Toilet seat
Before you start installing the toilet, make sure you troubleshoot common toilet installation issues such as leaks or uneven seating. Check the floor for stability and ensure the flange is securely attached. If you’re installing a bidet, make sure the connections are properly aligned and sealed.
Now that you’ve gathered your tools and materials and addressed any potential issues, you’re ready to move on to connecting the water supply.
Connecting the Water Supply
Once you’ve gathered the necessary tools and materials, it’s time to connect the water supply for your new toilet.
There are a few different methods you can use to connect the water, depending on your specific setup.
The most common method is using a flexible water supply line that connects the toilet tank to the water valve. These lines are easy to install and allow for flexibility in positioning the toilet.
Another method is using a rigid supply line, which is a more permanent solution and requires precise measurements for proper installation.
When connecting the water supply, be sure to check for any leaks or drips. Common water supply issues include loose connections, faulty valves, or damaged supply lines. It’s important to address these issues before proceeding with the installation.
Once the water supply is connected, it’s time to test for leaks and ensure everything is working properly.
Testing for Leaks
To check for any leaks, you’ll want to turn on the water supply and inspect the connections and supply lines for any signs of dripping or water accumulation. Here’s a step-by-step guide to help you detect and troubleshoot leaks:
-
Inspect the water supply line connection to the toilet tank:
-
Check if the connection is tight and secure.
-
Look for any water stains or moisture around the connection.
-
Examine the water supply line:
-
Inspect the entire length of the supply line for any cracks or visible damage.
-
Run your hand along the line to feel for any moisture or leaks.
Final Steps and Tips
Now, before finishing up, let’s go over some final steps and tips to ensure everything is in order. Here are some tips for a seamless installation of a toilet and some common mistakes to avoid:
| Tips for Seamless Installation | Common Mistakes to Avoid |
|---|---|
| Make sure to read and follow the manufacturer’s instructions carefully. | Not properly sealing the wax ring, which can lead to leaks. |
| Double-check the water supply connections to ensure they are tight and secure. | Over-tightening the bolts, which can crack the toilet bowl. |
| Use a level to ensure the toilet is perfectly straight and level. | Not properly anchoring the toilet to the floor, causing it to wobble. |
| Apply a thin layer of plumber’s putty around the base of the toilet to create a watertight seal. | Forgetting to remove the protective caps from the mounting bolts before installation. |
| Test for leaks by flushing the toilet multiple times and checking for any water seepage. | Failing to tighten the tank bolts properly, leading to leaks. |
Frequently Asked Questions
How Long Does It Typically Take to Install a Toilet?
Typically, toilet installation takes around 1-2 hours. However, if you encounter any problems, troubleshooting can be time-consuming. To ensure a quick and efficient process, follow these tips for a smooth installation.
What Should I Do if the Toilet Doesn’t Fit Properly in the Bathroom?
If the toilet doesn’t fit properly in the bathroom, there are alternative toilet options available. To ensure proper fit, measure the bathroom space accurately before purchasing a new toilet.
Can I Reuse the Wax Ring When Installing a New Toilet?
Yes, you can reuse a wax ring when installing a new toilet, but it’s not recommended. The wax can lose its shape and effectiveness over time. Alternatively, you can use a rubber gasket or foam ring for a better seal.
Is It Necessary to Hire a Professional Plumber for Toilet Installation?
Installing a toilet yourself can be a cost-effective option compared to hiring a professional plumber. With proper tools and instructions, it is possible to complete the installation successfully.
What Are Some Common Mistakes to Avoid During Toilet Installation?
Installing a toilet can be a breeze if you avoid common mistakes. Use a wax ring and a wrench to secure it properly. Don’t forget to check for leaks and tighten all the bolts.
Conclusion
In conclusion, installing a toilet may seem daunting, but it can be done easily with the right tools and materials. Anyone can successfully install a toilet by following step-by-step instructions. Some may argue that it requires time and effort, but the satisfaction of completing the project and the money saved outweigh any challenges. So don’t be discouraged. Roll up your sleeves and confidently tackle this DIY project. You’ll be enjoying your newly installed toilet in no time!


