
I’ve got a bathroom project on my hands, and I can already picture the finished result in my mind – a shiny new toilet.
But before I can enjoy the convenience and comfort it brings, I need to tackle the installation process.
In this article, I’ll guide you through the step-by-step process of installing a toilet, providing you with all the tools you’ll need and offering tips to ensure a quick and efficient installation.
Let’s get started!
Key Takeaways
- The installation process for a toilet can be time-consuming and requires patience.
- Proper alignment and sealing are crucial to prevent leaks and instability.
- It is important to measure the available space and choose the right toilet size and style for your needs.
- Reading and following the manufacturer’s instructions, as well as having all necessary tools and materials, will help ensure an efficient and successful installation.

DANCO All-in-One Toilet Installation Kit, Perfect Seal Wax Ring & Zero Cut Bolts, Toilet Repair, Wax-Free, Mounting Toilet Bolts (10879X)
NO MESS: Perfect Seal has a hidden wax ring which causes no mess and 3X's stronger seal than…
As an affiliate, we earn on qualifying purchases.
As an affiliate, we earn on qualifying purchases.
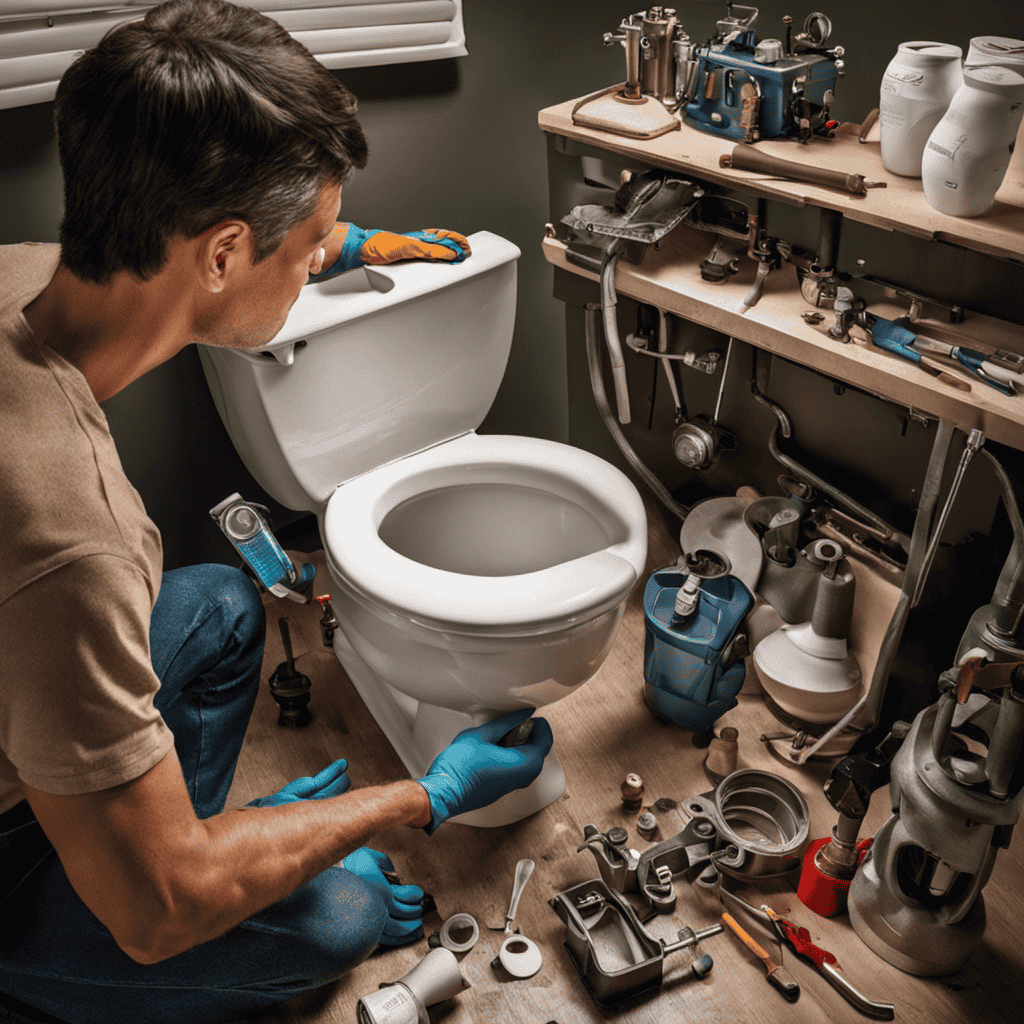
Tools Required for Toilet Installation
To install a toilet, you’ll need a few tools. The first thing you’ll need is a wrench to disconnect the old toilet and tighten the bolts on the new one.
A level is important to ensure that the toilet is properly aligned.
You’ll also need a putty knife to remove the old wax ring and a plunger in case of any clogs.
Additionally, a bucket and towels will come in handy for catching any water spills during the installation process.
As for the toilet installation timeline, it usually takes about 1-2 hours to complete the entire process, including removing the old toilet, prepping the area, and installing the new one.
Common toilet installation problems can include leaks, improper sealing, and unstable installation.
It’s important to follow the instructions carefully and double-check everything to avoid these issues.

Hibbent Extra Thick Toilet Wax Ring Replacement Kit, Universal Toilet Seal Ring with Brass Toilet Floor Bolts and Retainer Washers, PE Flange Fits 3 Inch and 4 Inch Drain Pipes
Universal Toilet Wax Ring: The Hibbent toilet flange is compatible with 3-inch and 4-inch waste lines, suitable for…
As an affiliate, we earn on qualifying purchases.
As an affiliate, we earn on qualifying purchases.
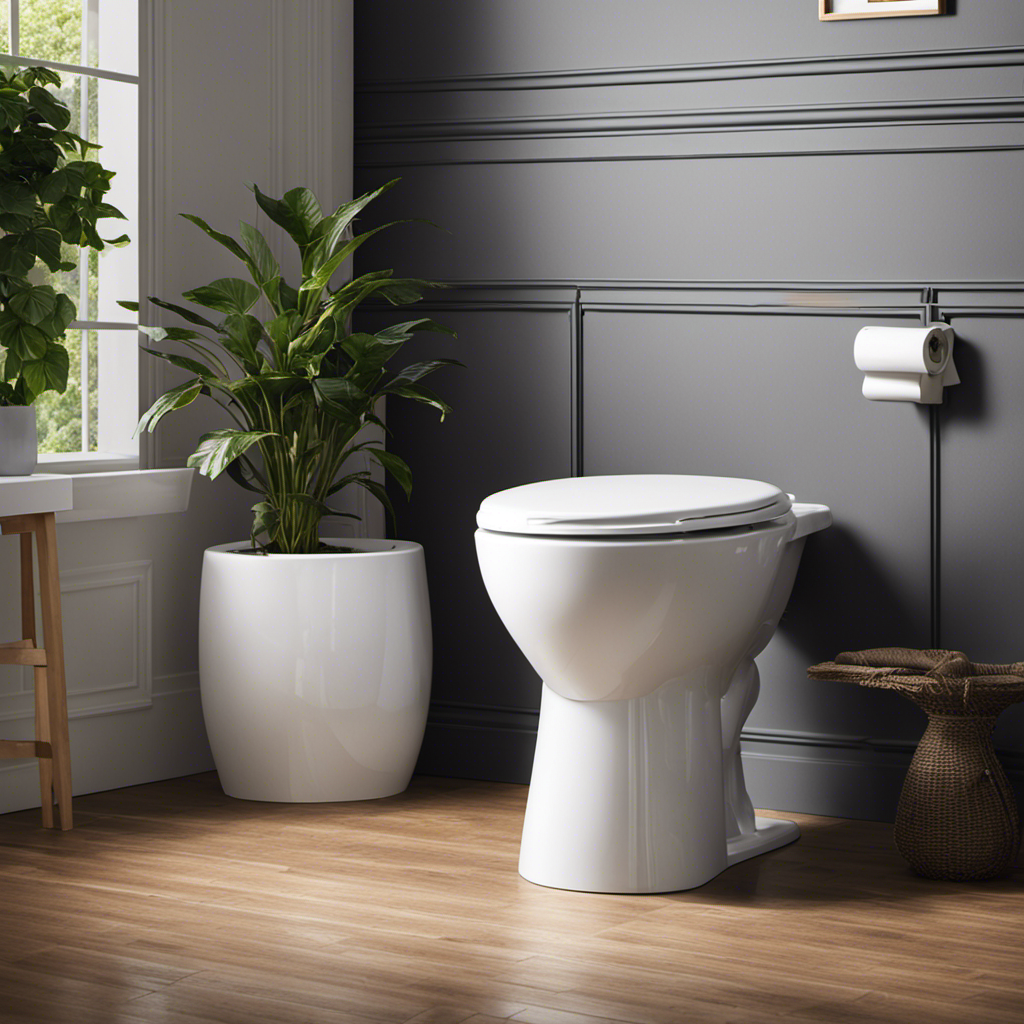
Preparing the Bathroom for Toilet Installation
First, make sure you’ve cleared the bathroom and gathered all the necessary tools for the installation.
Proper bathroom ventilation is crucial during toilet installation for several reasons. Firstly, it helps to remove any unpleasant odors and maintain a fresh and clean environment. Secondly, it prevents the buildup of moisture, which can lead to mold and mildew growth, causing damage to the walls and flooring. Lastly, it improves air quality, ensuring a healthy and comfortable space.
When installing a toilet in a small bathroom, there are a few precautions to take. Firstly, measure the available space to ensure the toilet fits properly without obstructing other fixtures or pathways. Secondly, consider using a compact or corner toilet to maximize space. Lastly, ensure there is enough room for proper ventilation to prevent any potential issues in the future.

Toilet Installation Aid, closestool Installation Jack, Easy Moving and Repairing of Installation Aid, Portable Positioning Mobile Foldable Toilet Dolly Lift, Easy Alignment of Seals Lift Tool (Silver)
Ergonomic Heavy-Lifting Design – Upright or tilt operation makes lifting heavy toilets easier while reducing back strain. Hygienic…
As an affiliate, we earn on qualifying purchases.
As an affiliate, we earn on qualifying purchases.
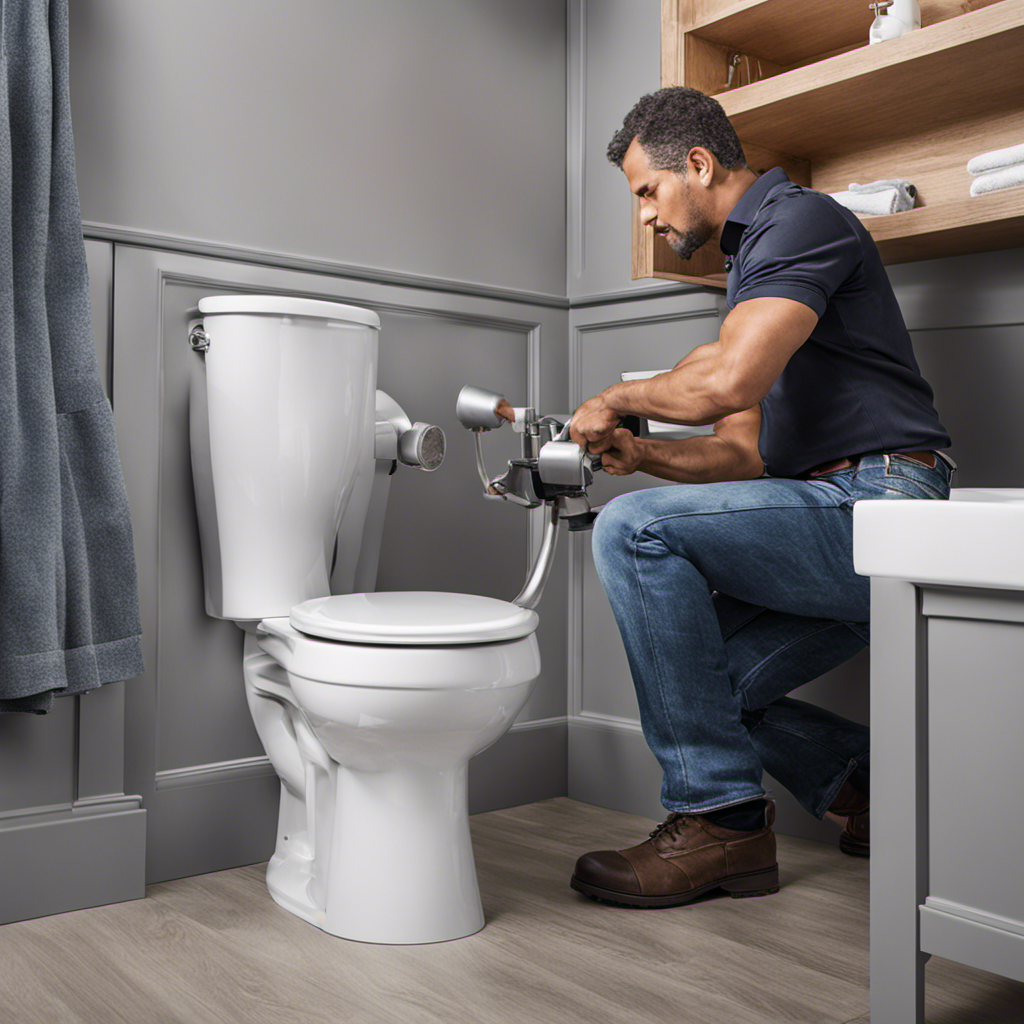
Step-by-Step Guide to Installing a Toilet
Once you’ve gathered all the necessary tools and cleared the bathroom, it’s important to measure the available space to ensure the toilet fits properly.
Start by measuring the distance between the wall and the toilet flange, as well as the width of the space. This will help you choose the right toilet model that fits perfectly.
When selecting a toilet, consider the rough-in measurement, which is the distance between the wall and the center of the flange. It’s crucial to choose a toilet with a matching rough-in measurement to avoid any installation issues.
Additionally, make sure the toilet is the right height and style for your needs.
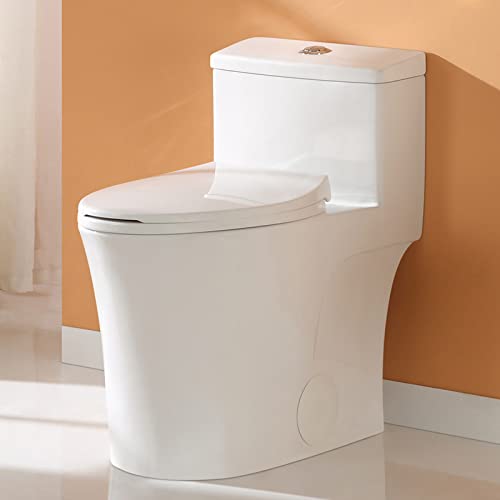
HOROW T0338W Compact One Piece Toilet with Comfort Chair Seat ADA Height 17.3", Elongated Dual Flush 0.8/1.28 GPF, Standard White Toilet Bowl
Luxurious Toilets for Bathrooms: Seamless, one-piece toilets design makes a statement with its clean lines and low profile….
As an affiliate, we earn on qualifying purchases.
As an affiliate, we earn on qualifying purchases.
Common Mistakes to Avoid During Toilet Installation
When installing a toilet, it’s important to avoid common mistakes that can lead to issues in the future. Here are some key points to keep in mind:
- Ensure proper alignment of the toilet bowl with the flange to prevent leaks and instability.
- Use the correct wax ring to create a watertight seal between the toilet and the floor.
- Tighten the bolts evenly to avoid cracking the toilet bowl or damaging the flange.
Troubleshooting toilet installation issues can be frustrating, but by avoiding these common mistakes, you can save yourself from future headaches. By taking the time to do it right the first time, you can prevent leaks, instability, and other problems down the line.
In the next section, I will share some tips for efficient and quick toilet installation to help you complete the task with ease.
Tips for Efficient and Quick Toilet Installation
To save time and effort during toilet installation, it’s essential to follow these efficient and quick tips.
First, gather all the necessary tools and materials before starting the installation process. This will ensure that you have everything you need within reach, preventing unnecessary delays.
Next, carefully read the manufacturer’s instructions and familiarize yourself with the installation steps. This will help you avoid common mistakes and troubleshoot any issues that may arise.
Additionally, consider hiring a professional plumber if you are unsure about any aspect of the installation. While it may add to the toilet installation cost, it will save you time and potential headaches in the long run.
Lastly, be patient and take your time during the installation process to ensure a proper and secure installation.
Frequently Asked Questions
What Are the Different Types of Toilets Available in the Market?
There are several types of toilets available in the market, including gravity-fed toilets, pressure-assisted toilets, and dual-flush toilets. Each type has its own advantages and disadvantages in terms of water efficiency and flushing power.
How Do I Choose the Right Size and Style of Toilet for My Bathroom?
Choosing the right size and style of toilet for your bathroom can be a daunting task. Consider the dimensions of your space and your personal preferences. Don’t forget to research toilet installation tips and common toilet problems.
Do I Need to Replace the Wax Ring Every Time I Reinstall a Toilet?
Yes, I need to replace the wax ring every time I reinstall a toilet. There are alternatives to wax rings, like rubber gaskets, but they may not provide as reliable of a seal.
Can I Install a Bidet Attachment Along With the Toilet Installation?
Sure, I can install a bidet attachment along with the toilet. It offers numerous benefits like improved hygiene and water conservation. For installation tips, make sure to follow the manufacturer’s instructions and ensure proper water connections.
How Long Does It Take for the Caulk Around the Base of the Toilet to Dry Completely?
The caulk around the base of the toilet typically takes about 24 hours to dry completely. During the toilet installation process, it’s important to follow the manufacturer’s instructions and use proper caulking techniques for a successful installation.
Conclusion
In conclusion, installing a toilet can be a relatively quick and straightforward process if done correctly. With the right tools and preparation, it can be completed in as little as 30 minutes to an hour.
However, it is important to note that the average time for toilet installation is around 1-2 hours. This statistic highlights the importance of following the step-by-step guide and avoiding common mistakes.
By doing so, you can ensure an efficient and timely installation of your toilet.