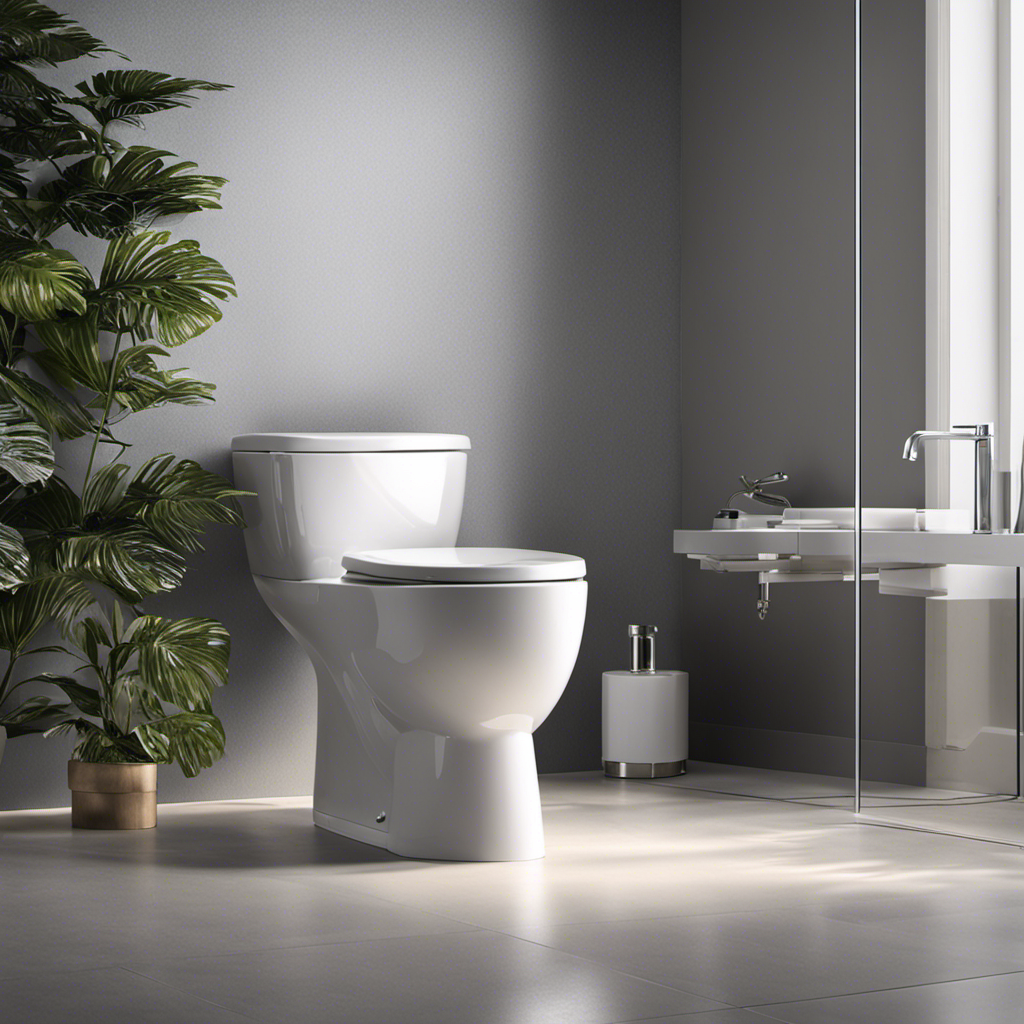
We’ve all been there, facing the daunting task of removing and installing a toilet. But fear not, because we’re here to guide you through the labor involved in this essential household project.
In this article, we’ll walk you through the necessary steps, from gathering the tools and materials to turning off the water supply and draining the toilet.
So roll up your sleeves and get ready to master the art of toilet installation. Let’s dive in!
Key Takeaways
- Consider factors such as size, shape, and flushing mechanism when choosing a toilet model.
- Measure the rough-in distance to ensure proper fit.
- Use a wax ring or rubber gasket to create a watertight seal between the toilet and the flange.
- Ensure proper connection of the water supply line and functioning of tank components.

DANCO All-in-One Toilet Installation Kit, Perfect Seal Wax Ring & Zero Cut Bolts, Toilet Repair, Wax-Free, Mounting Toilet Bolts (10879X)
NO MESS: Perfect Seal has a hidden wax ring which causes no mess and 3X's stronger seal than…
As an affiliate, we earn on qualifying purchases.
As an affiliate, we earn on qualifying purchases.
Gathering the Necessary Tools and Materials
We will need to gather all the necessary tools and materials for removing and installing a toilet.
When choosing the right toilet model, it’s important to consider factors such as the size, shape, and flushing mechanism. Measure the rough-in distance, which is the distance between the wall and the center of the toilet flange, to ensure proper fit.
Common troubleshooting issues during toilet installation include leaks, wobbling, and improper sealing. To prevent leaks, use a wax ring or a rubber gasket to create a watertight seal between the toilet and the flange. If the toilet wobbles, check if the floor is level and use shims to stabilize it.
Lastly, ensure that the water supply line is properly connected and that the tank components are functioning correctly.
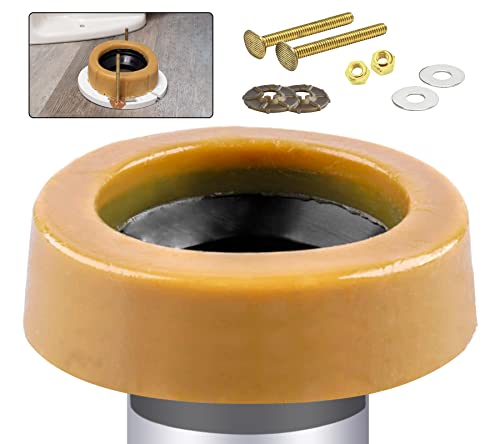
Extra Thick Toilet Wax Ring Kit with Flange and Bolts for Floor Outlet Toilets New Install or Re-seat, Fits 3-inch or 4-inch Waste Lines
Signs of a Bad Toilet Wax Ring?: If you can smell a sewer-like smell coming from your toilet,…
As an affiliate, we earn on qualifying purchases.
As an affiliate, we earn on qualifying purchases.
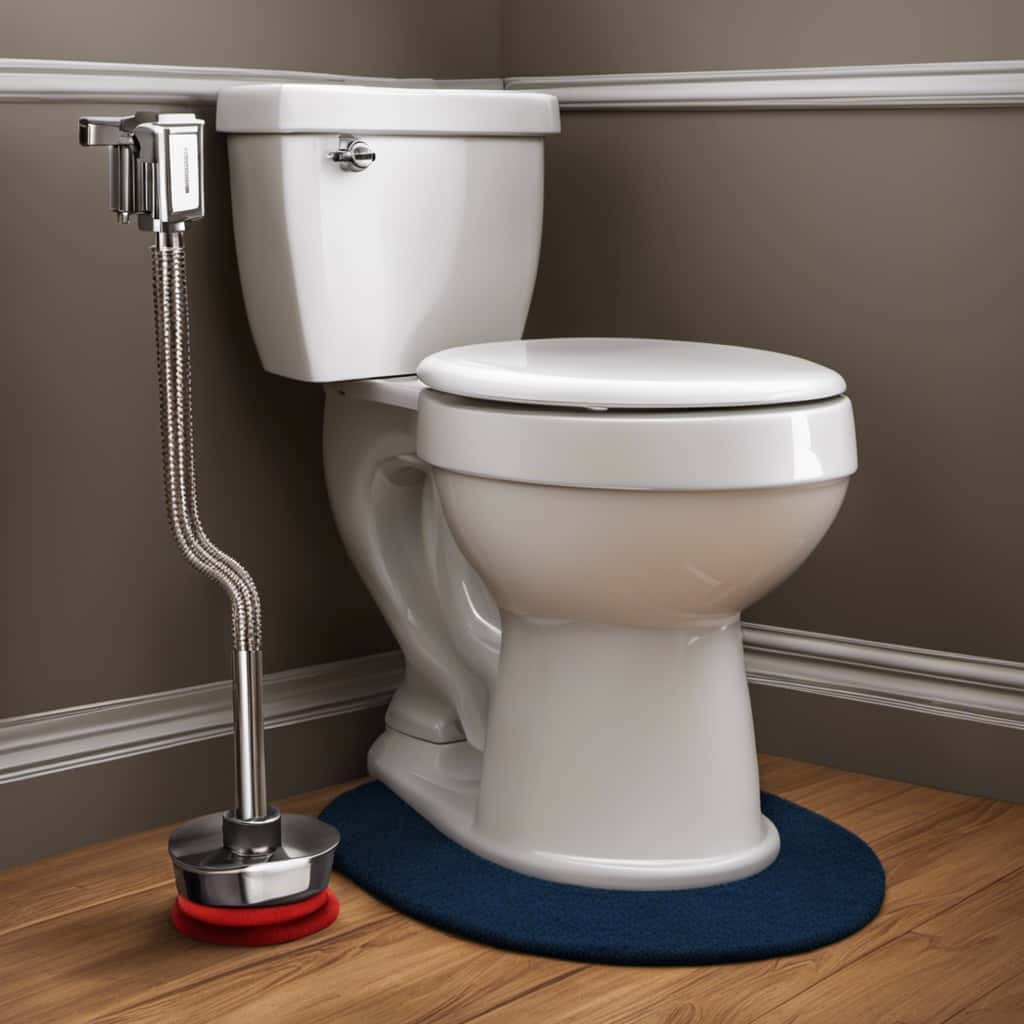
Turning off the Water Supply and Draining the Toilet
To turn off the water supply and drain the toilet, the first step is to locate the shut-off valve and turn it clockwise until it is fully closed. This ensures that no water flows into the toilet during the maintenance process. Once the water supply is shut off, the next step is to drain the toilet. This can be done by flushing the toilet and holding down the handle to allow the water to drain out completely. Alternatively, a bucket can be used to scoop out the water from the toilet bowl. It is important to drain the toilet to avoid any spills or leaks during the removal and installation process.

Toilet maintenance and water conservation are key considerations when performing this task. By turning off the water supply and draining the toilet, you can prevent unnecessary water wastage and ensure a smooth and efficient maintenance process.
Here is a table summarizing the steps to turn off the water supply and drain the toilet:
| Step | Description |
|---|---|
| 1. | Locate the shut-off valve. |
| 2. | Turn the valve clockwise until it is fully closed. |
| 3. | Flush the toilet or use a bucket to drain the water. |

Eastman 12 Inch Flexible Toilet Connector, 7/8 Inch Ballcock x 3/8 Inch Compression, Stainless Steel Braided Hose, 48088
UNIVERSAL FLEXIBLE TOILET CONNECTOR: The Eastman Braided Toilet Connector is the standard in bathroom supply lines. This 12…
As an affiliate, we earn on qualifying purchases.
As an affiliate, we earn on qualifying purchases.
Removing the Old Toilet
To begin removing the old toilet, our first step is to disconnect the water supply line and remove any remaining water from the tank and bowl. This can be done by shutting off the water valve and flushing the toilet to drain as much water as possible. However, sometimes there may be stubborn water remaining in the tank or bowl, which can be siphoned out using a wet-dry vacuum or a towel.
Common problems encountered when removing an old toilet include rusted or corroded bolts, cracked toilet flanges, and stubborn wax rings. It’s important to inspect these components carefully and address any issues before installing a new toilet.
When it comes to disposing of the old toilet, there are a few tips to keep in mind. First, consider donating or selling the toilet if it’s in good condition. If not, you can check with your local waste management facility for proper disposal methods. Another option is to hire a professional junk removal service to handle the task safely and responsibly. Remember to follow any local regulations regarding the disposal of bulky items.
toilet shims for wobbling
As an affiliate, we earn on qualifying purchases.
As an affiliate, we earn on qualifying purchases.
Preparing the Area for Installation
Before beginning the installation process, it’s essential to prepare the area for the new toilet. Proper floor preparation is crucial to ensure a stable and secure installation. This involves removing any debris or old wax ring remnants from the flange and cleaning the area thoroughly. Additionally, it’s important to inspect the flange for any cracks or damage and repair or replace it if necessary.
To ensure a watertight seal, here are some tips for securely sealing the toilet flange. First, use a high-quality wax ring that’s sized correctly for your toilet. This will create a tight seal between the toilet and the flange. Secondly, make sure the flange is level and securely attached to the floor. Finally, tighten the toilet bolts evenly to prevent uneven pressure that could cause leaks.
With the area properly prepared, we can now move on to installing the new toilet.

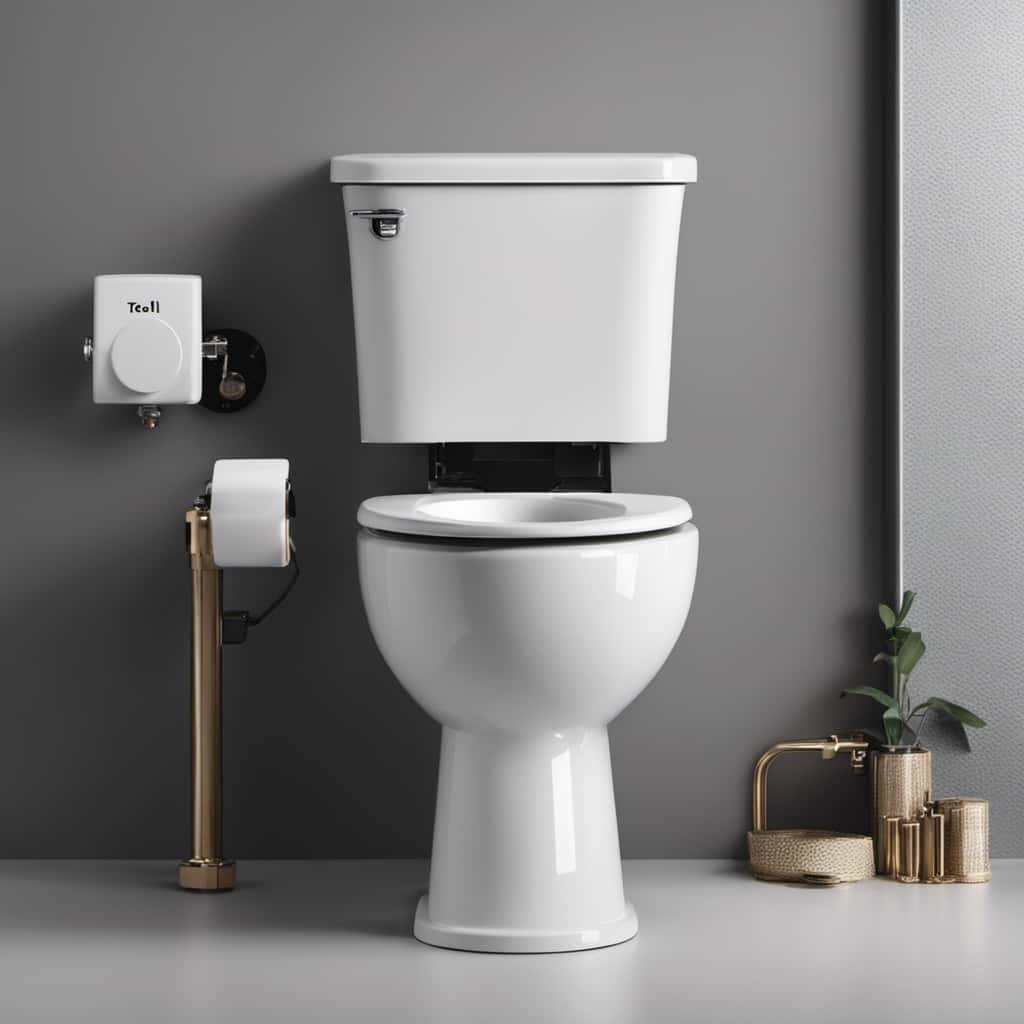
Installing the New Toilet
We begin by positioning the new toilet over the flange. This is a crucial step in ensuring a proper installation.
Once the toilet is in place, we can proceed with the following steps:
- Installing the wax ring: The wax ring creates a watertight seal between the toilet and the flange. Place the wax ring on the flange, ensuring it’s centered and level.
- Attaching the water supply line: Connect one end of the water supply line to the bottom of the toilet tank and the other end to the water supply valve. Make sure the connections are tight to prevent any leaks.
These steps are essential for a successful installation. Remember to double-check all connections and ensure the toilet is level before proceeding. With proper execution, you can enjoy a fully functional and leak-free toilet.
Frequently Asked Questions
How Do I Know if My Toilet Needs to Be Replaced or Just Repaired?
To determine if a toilet needs repair or replacement, look for signs like frequent clogs, leaks, or cracks. Consider the toilet repair cost and the age of the toilet. Consult a professional for an accurate assessment.

Can I Install a New Toilet in the Same Location as the Old One, or Do I Need to Move It?
We can install a new toilet in the same location as the old one, but if the toilet flange needs to be replaced or if we are relocating the toilet, it may require additional labor.
What Are Some Common Mistakes to Avoid When Removing an Old Toilet?
When removing an old toilet, it is crucial to avoid common mistakes and use proper removal techniques. By doing so, we can ensure efficiency and prevent any potential damage or complications.
Is It Necessary to Hire a Professional Plumber to Install a New Toilet, or Can I Do It Myself?
Installing a new toilet yourself has pros and cons. It can save money, but mistakes can lead to leaks or improper installation. Essential tools include a wrench, plunger, wax ring, and a level.
How Long Does the Entire Process of Removing and Installing a Toilet Usually Take?
Removing and installing a toilet typically takes about 1-2 hours. To properly prepare the area, turn off the water supply, drain the tank, and disconnect the water line. Tools needed include a wrench, plunger, and wax ring.

Conclusion
In conclusion, removing and installing a toilet requires a moderate amount of labor. By following the outlined steps and gathering the necessary tools and materials, one can successfully complete the task.
Symbolically, this process represents a fresh start and a renewed sense of cleanliness and functionality in the bathroom. With proper attention to detail and careful execution, anyone can accomplish this task and enjoy the satisfaction of a job well done.