
I’ve been there before – the frustration of a noisy and inefficient toilet fill valve. But fear not, because I’m here to show you how to adjust it and restore peace to your bathroom.
In this step-by-step guide, I’ll walk you through the process of identifying common issues, gathering the necessary tools, and making precise adjustments to the fill valve.
By the end, you’ll have a properly functioning toilet that will save water and keep your bathroom quiet.
Let’s get started!
Key Takeaways
- The fill valve controls water flow into the toilet tank and is a crucial component of the flushing mechanism.
- Regular maintenance is important to prevent malfunction, as accumulated debris and mineral deposits can affect its functioning.
- Common issues with fill valves include constant running, which can be caused by a faulty flapper valve or high water level.
- To adjust the fill valve, shut off the water supply, flush the toilet, locate the fill valve, and use a screwdriver to adjust the water level.

LEIVI Electric Bidet Toilet Seat with Wireless Remote and Side Panel, Multiple Spray Modes, Adjustable Heated Seat, Warm Water and Air Dryer, Auto LED Nightlight, Elongated
User-Friendly & Feature-Rich - This electronic bidet toilet seat delivers a premium bathroom experience with user-friendly design. Features...
As an affiliate, we earn on qualifying purchases.
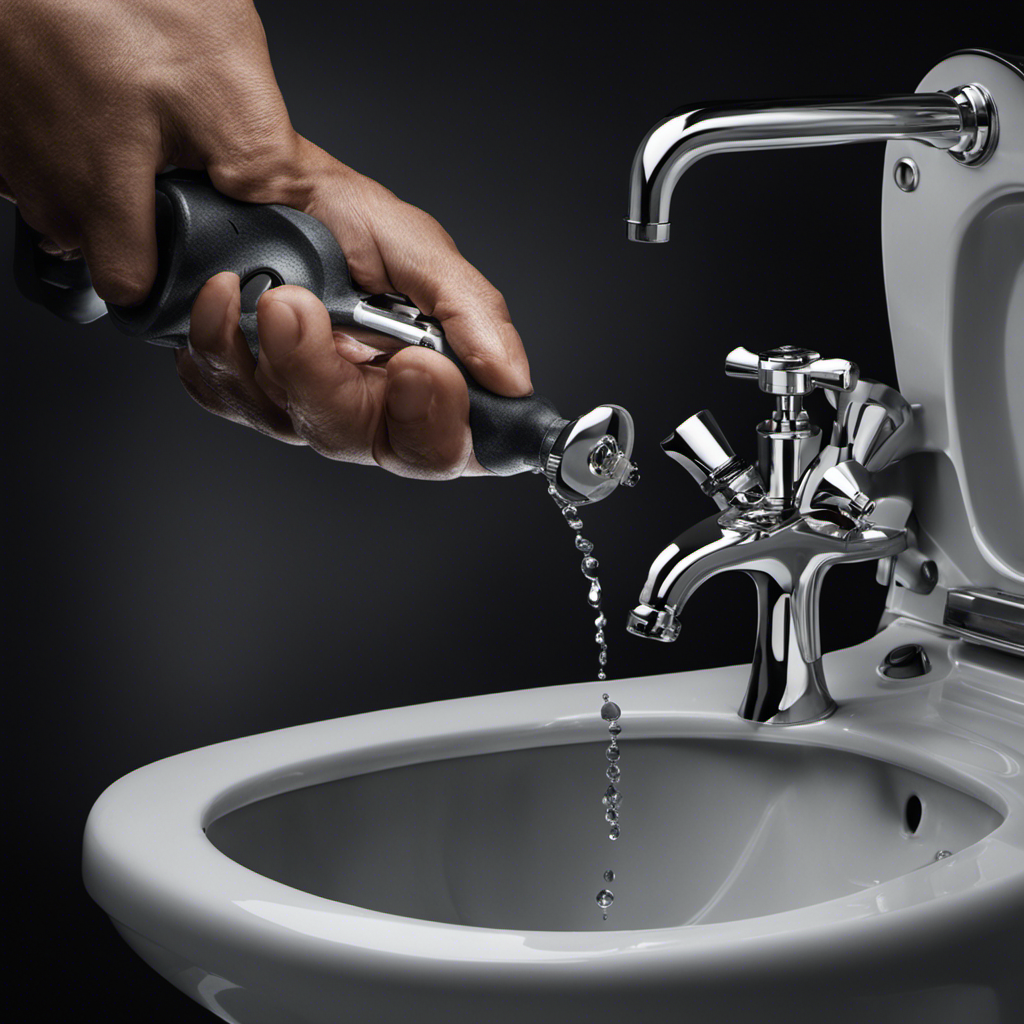
Understanding the Toilet Fill Valve
To understand the toilet fill valve, you’ll need to know how it controls the water flow into the toilet tank. The fill valve is a crucial component of the toilet’s flushing mechanism. It ensures that the right amount of water enters the tank after each flush, allowing the toilet to refill properly.
Regular toilet fill valve maintenance is important to ensure the efficient functioning of your toilet. Over time, debris and mineral deposits can accumulate in the valve, causing it to malfunction. Adjusting the fill valve is essential to maintain the proper water level in the tank, preventing unnecessary water waste and potential leaks.

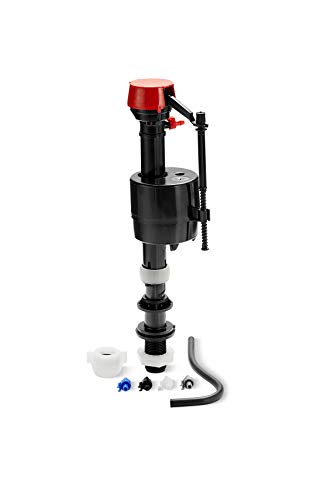
Fluidmaster 400H-002 Performax Universal Toilet Fill Valve High Performance Tank and Bowl Water Control, 1-Pack, Multicolor
Fix noisy, or slow filling fill valves with the quietest, most powerful toilet fill valve available
As an affiliate, we earn on qualifying purchases.
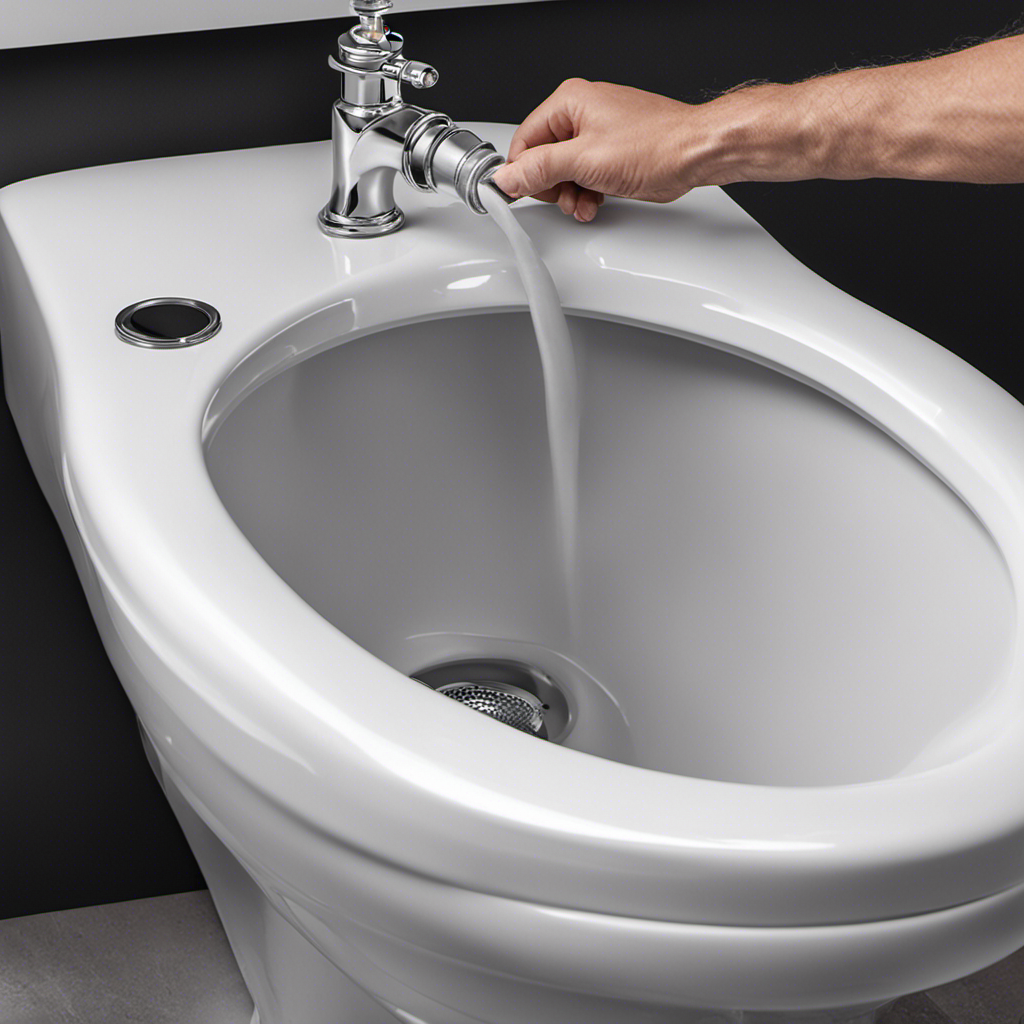
Identifying Common Fill Valve Issues
One common issue with fill valves is when they constantly run. This can be caused by several factors, including a faulty flapper valve or a high water level. Troubleshooting leaks in the fill valve is essential to fix this problem.
First, check the flapper valve for any signs of wear or damage. If needed, replace it with a new one.
Next, adjust the water level in the tank to prevent overfilling. Locate the fill valve adjustment screw and turn it clockwise to lower the water level or counterclockwise to raise it.
Test the toilet after making these adjustments to ensure that the fill valve no longer runs constantly. By troubleshooting leaks and adjusting the water level, you can effectively resolve fill valve issues.
Kohler Genuine Part Gp1083167 Silent Fill Valve Kit For All Kohler Class Five Toilets,12.5" x 3.5" x 3"
Protect the warranty on KOHLER products, always look for the KOHLER GENUINE PARTS logo
As an affiliate, we earn on qualifying purchases.
Tools and Materials Needed for Adjustment
The tools and materials you’ll need for the adjustment include a screwdriver, a new flapper valve, and a measuring cup.
Toilet fill valve maintenance is essential for a properly functioning toilet. If you’re experiencing fill valve problems, troubleshooting them can be done with a few simple steps. Here’s what you’ll need:
-
Screwdriver: This tool is necessary for removing the tank lid and accessing the fill valve.
-
New flapper valve: Sometimes, the flapper valve can become worn or damaged, causing water to continuously leak into the toilet bowl. Replacing it can help resolve this issue.
-
Measuring cup: To adjust the water level in the tank, you’ll need a measuring cup to accurately measure the water level and make necessary adjustments.
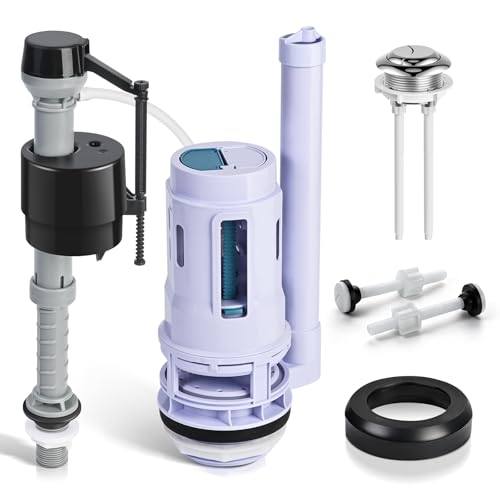
3-Inch Dual Flush Valve Replacement Kit for 2-Piece Toilets, Universal Toilet Repair Kit with Push Button, Fill Valve, Gasket & Bolts,Compatible with Glacier Bay, Kohler, American Standard, and Toto
【Wide Compatibility】Designed for most 3-inch two-piece toilets (not for one-piece toilets). Fits flush valve openings 3.2"–3.6" and the...
As an affiliate, we earn on qualifying purchases.
Step-by-Step Guide to Adjusting the Fill Valve
Having the necessary tools and materials on hand, you can easily adjust the fill valve of your toilet by following these step-by-step instructions. It is important to regularly maintain your toilet to prevent any potential issues and ensure its proper functioning. One common problem is a malfunctioning fill valve, which can cause your toilet to run constantly or not fill up properly. To determine if your fill valve needs adjustment, look out for signs such as a constantly running toilet or weak water flow. If you notice any of these signs, it’s time to adjust the fill valve. By following the steps below, you can quickly and effectively adjust the fill valve and restore your toilet to its optimal performance.
| Step | Instructions |
|---|---|
| 1 | Shut off the water supply to the toilet by turning the valve clockwise. |
| 2 | Flush the toilet to remove any remaining water in the tank. |
| 3 | Locate the fill valve, which is usually on the left side of the tank. |
| 4 | Use a screwdriver to turn the adjustment screw counterclockwise to decrease the water level or clockwise to increase it. |
Remember to turn the water supply back on after adjusting the fill valve and check that the water level is at the desired height. Regular maintenance and timely adjustments of the fill valve will prevent water wastage and ensure a properly functioning toilet.
Troubleshooting Tips for a Properly Adjusted Fill Valve
If you notice any issues with your water flow or toilet constantly running, you can troubleshoot the fill valve by checking for leaks or obstructions. Here are three common fill valve problems to watch out for and signs of a malfunctioning fill valve:
-
Leaks: Look for any water dripping or pooling around the fill valve. A leaky fill valve can waste water and lead to higher water bills.
-
Constant running: If your toilet is making a continuous hissing or running sound even after flushing, it could indicate a problem with the fill valve. This can be caused by a faulty valve or a misadjusted float.
-
Inadequate water supply: If your toilet bowl doesn’t fill up properly after flushing, it could be a sign of a malfunctioning fill valve. Check if the water supply to the fill valve is fully open and the water pressure is sufficient.
Conclusion
In conclusion, adjusting a toilet fill valve is a simple yet essential task for maintaining a properly functioning toilet. By understanding the fill valve and identifying common issues, you can ensure optimal water flow and prevent any potential leaks or wastage.
Armed with the right tools and following the step-by-step guide provided, you’ll be able to make precise adjustments and troubleshoot any problems that may arise. Just like a conductor fine-tuning an orchestra, adjusting the fill valve will harmonize your toilet’s performance and keep it flowing smoothly.