So you’ve got a new toilet seat, huh? Well, let me tell you, attaching it is easier than you think. In this handy guide, I’m going to walk you through the step-by-step process of installing your new throne to perfection.
We’ll start by assessing your existing toilet seat and gathering the necessary tools. Then, I’ll show you how to remove the old seat and prepare the toilet bowl for the new one.
Once we’ve got everything prepped, it’s time to install the new seat and secure it with screws or bolts. Finally, we’ll test and adjust the seat to make sure it’s a perfect fit.
So grab your tools and let’s get started!
Key Takeaways
- Assess the existing toilet seat for damage or loose fittings
- Gather the necessary tools and materials, including a screwdriver and adjustable wrench
- Remove the old toilet seat by unscrewing bolts and using a wrench to loosen nuts
- Prepare the toilet bowl by cleaning it and aligning the new seat with the mounting holes before securing with bolts and nuts

WITMYA Smart Toilet with Bidet Built In, One Piece Bidet Toilet with Auto Dual Flush, Foam Shield, Modern Elongated Tankless Toilet with Foot Sensor, Heated Bidet Seat, Warm Water & Dryer,LED Display
【Efficient Flush & Energy-Saving Design】There smart toilets feature a highly efficient 1.28 GPF water-saving dual flush system with...
As an affiliate, we earn on qualifying purchases.
Assess the Existing Toilet Seat
Before you begin, make sure to assess the existing toilet seat for any damage or loose fittings.
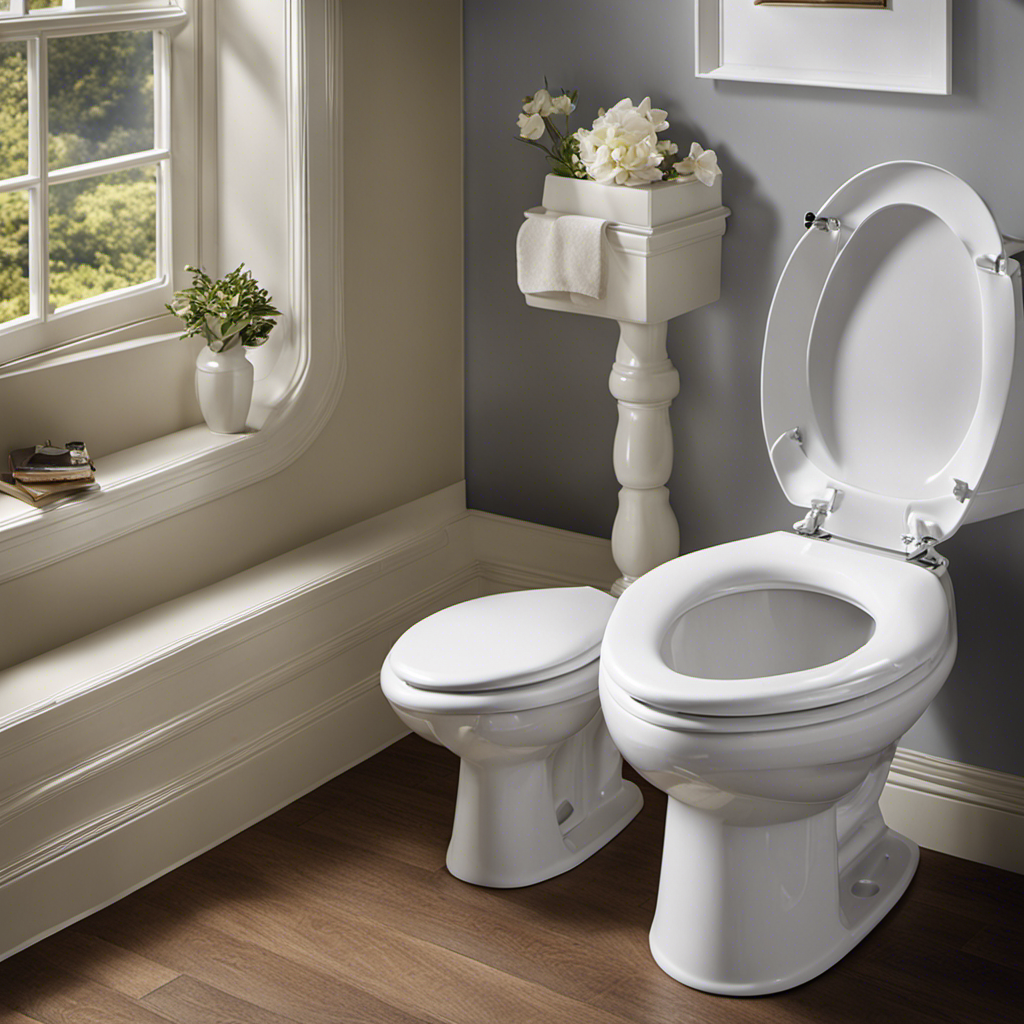
Assessing toilet compatibility is crucial to ensure that the new seat will fit properly on your toilet. Start by measuring the dimensions of the existing seat.
Measure the length and width of the seat, as well as the distance between the mounting holes. This information will help you determine the correct size and style of the new seat.
Additionally, inspect the hinges and bolts of the current seat for any signs of wear or damage. If there are any loose fittings, tighten them or consider replacing the seat altogether.
Once you have assessed the existing seat and determined its compatibility, you can proceed to gather the necessary tools and materials for the installation process.

Loniko Smart Toilet with Bidet Built In, Heated Seat & Dual Auto Flush, Foot Sensor, Tankless Modern Elongated Electric Toilet with Warm Water Wash, Air Dryer, LED Display & 1000g MaP Flush, 1.28 GPF
🧻 [Powerful & Water-Saving Dual Flush System] This one piece smart toilet with bidet built in uses an...
As an affiliate, we earn on qualifying purchases.
Gather the Necessary Tools and Materials
When it comes to installing a toilet seat, having the right tools is essential for a smooth and successful installation.
Some of the essential tools you will need include a screwdriver, an adjustable wrench, and possibly a pair of pliers. These tools will help you securely attach the toilet seat to the bowl and ensure a tight fit.
In addition to the tools, it is important to use proper materials for attachment, such as the correct size and type of screws or bolts, as well as any necessary washers or nuts, to ensure a secure and durable installation.
Essential Tools for Installation
To attach a toilet seat, you’ll need a few essential tools like a screwdriver and an adjustable wrench. These tools will help you securely fasten the seat to the toilet bowl. Additionally, it’s important to choose the right size toilet seat for your specific toilet model. There are various toilet seat styles available in the market, such as round, elongated, and square-shaped seats. When selecting a toilet seat, measure the distance between the bolt holes at the back of the bowl to ensure a proper fit. To make the process easier, here is a table outlining the dimensions and features of different toilet seat styles:
| Style | Shape | Dimensions (inches) | Features |
|---|---|---|---|
| Round | Circular | 16.5 x 14.5 | Compact, suitable for small bathrooms |
| Elongated | Oval | 18.5 x 14.5 | Provides more seating comfort |
| Square | Square | 16.5 x 16.5 | Modern and sleek design |
Proper Materials for Attachment
The right materials for securing a toilet seat include screws, bolts, and nuts. When it comes to attaching a toilet seat, it is important to use the proper techniques to ensure a secure and durable installation.
One common mistake is using the wrong size or type of screws, bolts, or nuts. It is essential to check the specifications of your toilet seat and choose the appropriate hardware accordingly.
Another common mistake is not tightening the screws and bolts enough, which can lead to a loose seat that wobbles or shifts. To avoid this, use a screwdriver or wrench to tighten the hardware until it is snug and secure.
By using the correct materials and following proper techniques, you can avoid these common mistakes and ensure a stable and comfortable toilet seat.
Now let’s move on to the next step, which is removing the old toilet seat.

Smart Toilet with Warm Water Sprayer and Dryer, One Piece Bidet Toilet with Auto Dual Flush Foot Sensor Operation,Heated Seat Smart with Built In Fahrenheit LED Display
Powerful Flushing System: Designed with low water consumption (1.26 gallons per flush), this system ensures efficient and thorough...
As an affiliate, we earn on qualifying purchases.
Remove the Old Toilet Seat
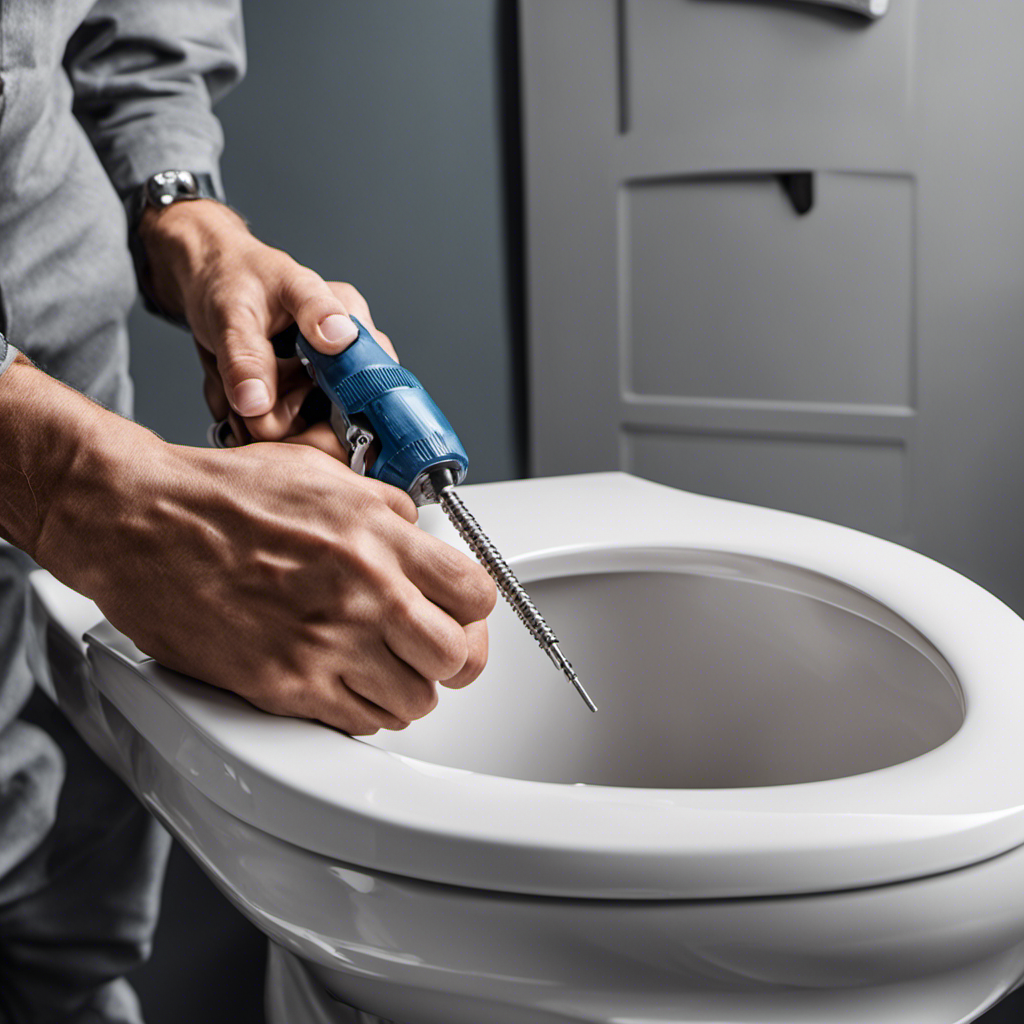
Start by unscrewing the bolts to detach the old toilet seat. It’s important to have the right tools for this task. Here are the tools needed:
-
Screwdriver: Use a screwdriver that matches the type of screws on your toilet seat. This will make the unscrewing process easier and prevent damage to the seat or toilet.
-
Wrench: A wrench is useful for loosening any nuts or bolts that may be holding the seat in place. Make sure to choose the correct size wrench for the job.
-
Gloves: Wearing gloves will protect your hands from any dirt or germs that may be present on the toilet seat.
When removing the old seat, be careful not to make these common installation mistakes:
-
Stripping the screws: Apply gentle pressure and use the correct size screwdriver to avoid stripping the screws.
-
Damaging the toilet: Avoid using excessive force when unscrewing the bolts to prevent any damage to the toilet.
-
Forgetting to clean: Before installing the new seat, thoroughly clean the toilet to ensure a sanitary and secure attachment.

EPLO Smart Toilet with Powerful Flush, Auto Open/Close,Foam Shield, Elongated Heated Seat, ADA Comfort Height Bidet Toilet,Instant Warm Water&Dryer,Temp Display - iX7-PRO
Bidet Toilet Combo ● iX7-PRO Smart Toilet Built-in Tank● Booster Pump-assisted & Siphonic Jet Flushing TECH Delivers Peak...
As an affiliate, we earn on qualifying purchases.
Prepare the Toilet Bowl for Installation
Before beginning the installation process, I always make sure that the toilet bowl is clean and free of any debris. This step is important because a clean surface ensures a secure attachment for the new toilet seat.
It is also necessary to check the toilet seat compatibility with the bowl. Different toilets have different mounting systems, so it is crucial to choose a seat that is compatible with your toilet.
To install the toilet seat, start by aligning the seat with the mounting holes on the bowl. Insert the bolts through the holes and secure them with the nuts provided. Use a wrench to tighten the nuts until the seat is firmly attached.
Install the New Toilet Seat
To install your new toilet seat, follow these steps:
- Align the seat with the mounting holes on the toilet bowl and insert the bolts through the holes.
- Tighten the nuts underneath the toilet bowl to secure the seat.
- Adjust the tension by tightening or loosening the nuts to ensure the seat is snug but not too tight.
- Double-check the alignment of the seat to make sure it is centered and level on the toilet bowl.
- Test the stability of the seat by sitting on it. If it wobbles or feels unstable, adjust the tension or reposition the seat.
- By following these steps, you can ensure a successful installation of your new toilet seat.
Secure the Toilet Seat With Screws or Bolts
When it comes to securing a toilet seat, it’s important to consider whether to use screws or bolts. Both options have their pros and cons, and understanding the differences can help ensure a secure installation.
Additionally, using the proper tightening technique and choosing the right hardware are crucial steps in ensuring a stable and durable toilet seat.
Screw Vs. Bolt
If you’re unsure about the difference between a screw and a bolt, let me explain it to you.
While both are fasteners used to join two or more objects together, they have distinct characteristics and applications.
Here are the pros and cons of each option:
-
Screws:
-
Pros: Screws have threads that provide excellent grip and prevent loosening over time. They are versatile and can be easily removed and replaced.
-
Cons: Screws require pre-drilled holes, which can weaken the material. They also have limited load-bearing capacity compared to bolts.
-
Bolts:
-
Pros: Bolts offer high tensile strength and can handle heavy loads. They are often used in structural applications and provide a secure and permanent connection.
-
Cons: Bolts require nuts and washers for proper installation, making them slightly more complex to use. They may also require more space due to their larger size.
Understanding the differences between screws and bolts allows you to choose the right fastener for your specific needs.
Now that we know the options, let’s move on to the proper tightening technique.
Proper Tightening Technique
Now, let me show you the correct way to tighten screws and bolts for a secure and durable connection. When it comes to toilet seat maintenance, proper tightening is essential to prevent wobbling or loosening over time. Here are some troubleshooting tips for ensuring a secure attachment:
| Screw/Bolt Type | Tightening Technique |
|---|---|
| Screws | Use a screwdriver to turn clockwise until snug. Avoid overtightening, as it can damage the seat or the toilet bowl. |
| Bolts | Place a wrench on the nut and turn clockwise until snug. Again, be careful not to overtighten, as it may crack the porcelain. |
Choosing the Right Hardware
To ensure a secure and durable connection, you should choose the right hardware for your specific needs. When it comes to attaching a toilet seat, selecting the appropriate hinges is crucial. Here are some different types of toilet seat hinges to consider:
-
Standard hinges: These are the most common type and are typically made of metal. They consist of two separate hinges that attach the seat to the toilet bowl.
-
Quick-release hinges: These hinges allow for easy removal of the toilet seat, making cleaning and maintenance hassle-free.
-
Soft-close hinges: These hinges feature a mechanism that allows the seat to close slowly and quietly, preventing any sudden slamming.
To ensure a secure and stable attachment, here are some tips to follow:
-
Use the correct size and type of screws or bolts provided with the toilet seat.
-
Make sure the hinges are properly aligned with the holes on the toilet bowl.
-
Tighten the screws or bolts evenly and securely, but be careful not to overtighten, as this can damage the seat or bowl.
Test and Adjust the Toilet Seat
Make sure you tighten the bolts evenly on both sides to securely attach the toilet seat.
Once the seat is attached, it’s important to test its accuracy and ensure seat stability.
To do this, I recommend sitting on the toilet seat and applying pressure from different angles. This will help you determine if the seat is securely fastened and if it wobbles or moves.
If you notice any instability, you may need to readjust the bolts and tighten them further.
It’s also important to check for any gaps or spaces between the seat and the toilet bowl. These gaps can cause discomfort and potential hygiene issues.
Frequently Asked Questions
How Do I Know if I Need to Replace My Toilet Seat?
If you’re wondering if it’s time to replace your toilet seat, look out for signs of wear and tear like cracks, loose hinges, or discoloration. These indicate that a toilet seat replacement is needed.
Can I Reuse the Old Screws or Bolts From the Previous Toilet Seat?
Yes, you can reuse the old screws or bolts from the previous toilet seat. However, it’s important to check their condition and ensure they are still secure. If not, there are alternative attachment methods available.
Are There Different Sizes of Toilet Seats Available?
Yes, there are different sizes of toilet seats available. The dimensions can vary depending on the brand and model. They are typically made of materials like plastic or wood.
Can I Install a Soft-Close Toilet Seat on My Existing Toilet?
Yes, I can install a soft-close toilet seat on my existing toilet. It offers several benefits, such as preventing slamming and reducing wear and tear. I will explain the installation process in detail.
How Do I Properly Clean and Maintain My New Toilet Seat?
When it comes to cleaning and maintaining my toilet seat, I make sure to follow the best practices. Depending on the materials used, I use appropriate cleaning agents and methods to keep it hygienic and in good condition.
Conclusion
In conclusion, attaching a toilet seat is a simple yet essential task for any homeowner. By following the steps outlined in this article, you can easily assess, gather, remove, prepare, install, secure, and test your new toilet seat.
Taking the time to complete this process ensures a comfortable and functional bathroom experience for you and your family. So don’t delay, dive into this DIY project and delight in a dynamically attached toilet seat!