I’ve learned the hard way that a leaking toilet can cause serious damage, so I’m here to share my tried-and-true method for caulking around the base.
With the right materials and a little know-how, you can prevent water seepage and keep your bathroom in top shape.
In this step-by-step guide, I’ll show you how to prepare the area, apply the caulk, and achieve a professional finish.
Let’s get started!
Key Takeaways
- Silicone caulk is the preferred choice for caulking around a toilet due to its durability and water resistance.
- Properly preparing the toilet and surrounding area before applying caulk ensures a long-lasting seal.
- When applying caulk around the base of the toilet, choose the right color, fill the gap completely, and smooth the caulk for a professional finish.
- Regular cleaning and maintenance of the caulked area, along with periodic inspections and reapplication of caulk, help maintain a watertight seal.
Select the Right Caulking Material
You should choose the right caulking material for this task. When it comes to caulking around a toilet, silicone caulk is a popular choice. There are several pros and cons of using silicone caulk for toilet caulking.
One advantage is its durability and resistance to water damage. Silicone caulk also provides a tight seal, preventing leaks and water seepage. However, it can be more difficult to work with and requires proper ventilation during application.
Another important consideration is choosing the correct caulk color for your bathroom decor. You want the caulk to blend seamlessly with the surrounding tiles or fixtures. Take into account the color scheme of your bathroom and choose a caulk color that complements it.
Now that you know the benefits of silicone caulk and how to choose the right color, let’s move on to preparing the toilet and surrounding area.
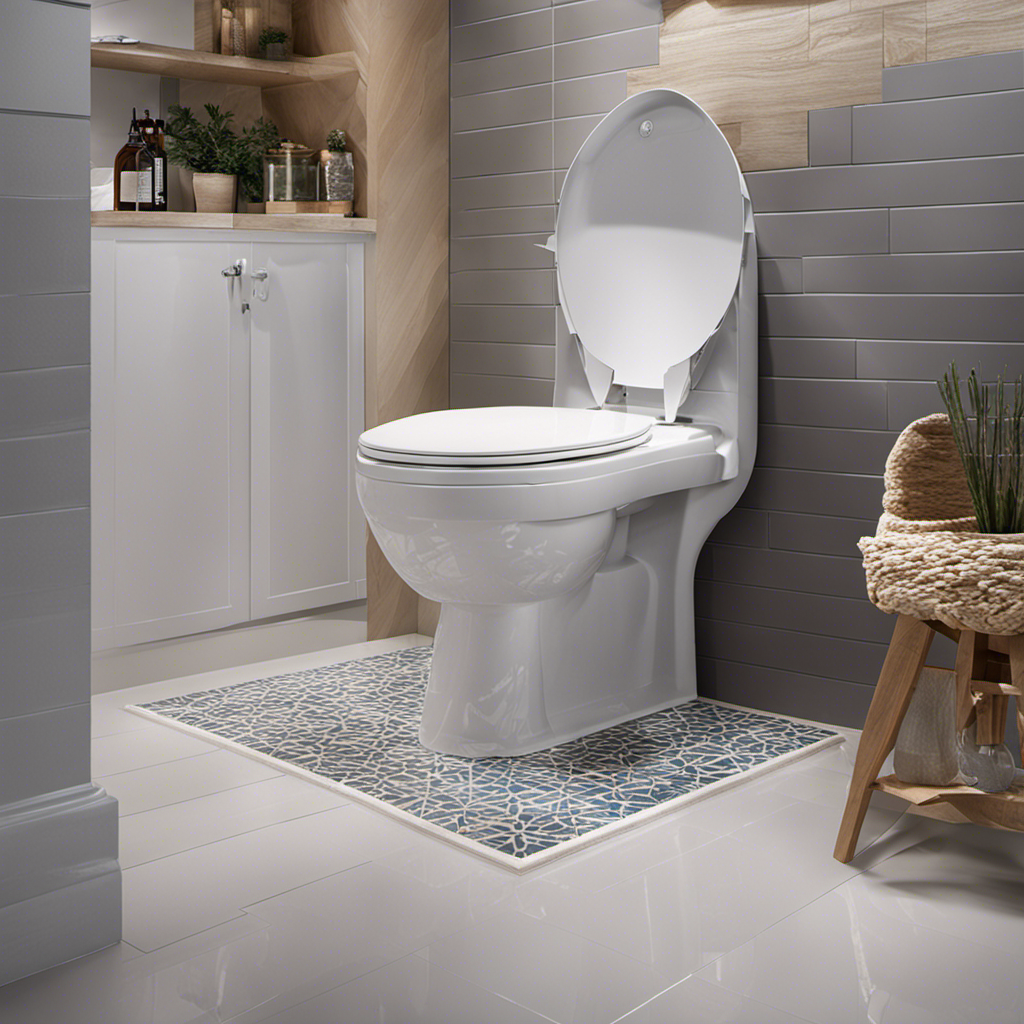
Prepare the Toilet and Surrounding Area
Take a moment to ensure the toilet and the area surrounding it are clean and dry before proceeding. This step is crucial for achieving a long-lasting caulk seal around the toilet. Common mistakes to avoid when caulking around a toilet include applying caulk on a wet or dirty surface, which can prevent proper adhesion and lead to premature cracking or peeling. To ensure a successful caulk application, follow these tips:
| Tip | Description | Why it Matters |
|---|---|---|
| 1 | Clean and dry the area | Removing any dirt or moisture ensures a better bond between the caulk and the surface. |
| 2 | Remove old caulk | Old caulk can interfere with the new seal, so it’s important to remove it completely. |
| 3 | Use a high-quality caulk | Investing in a good caulk will provide better durability and resistance to water and mold. |
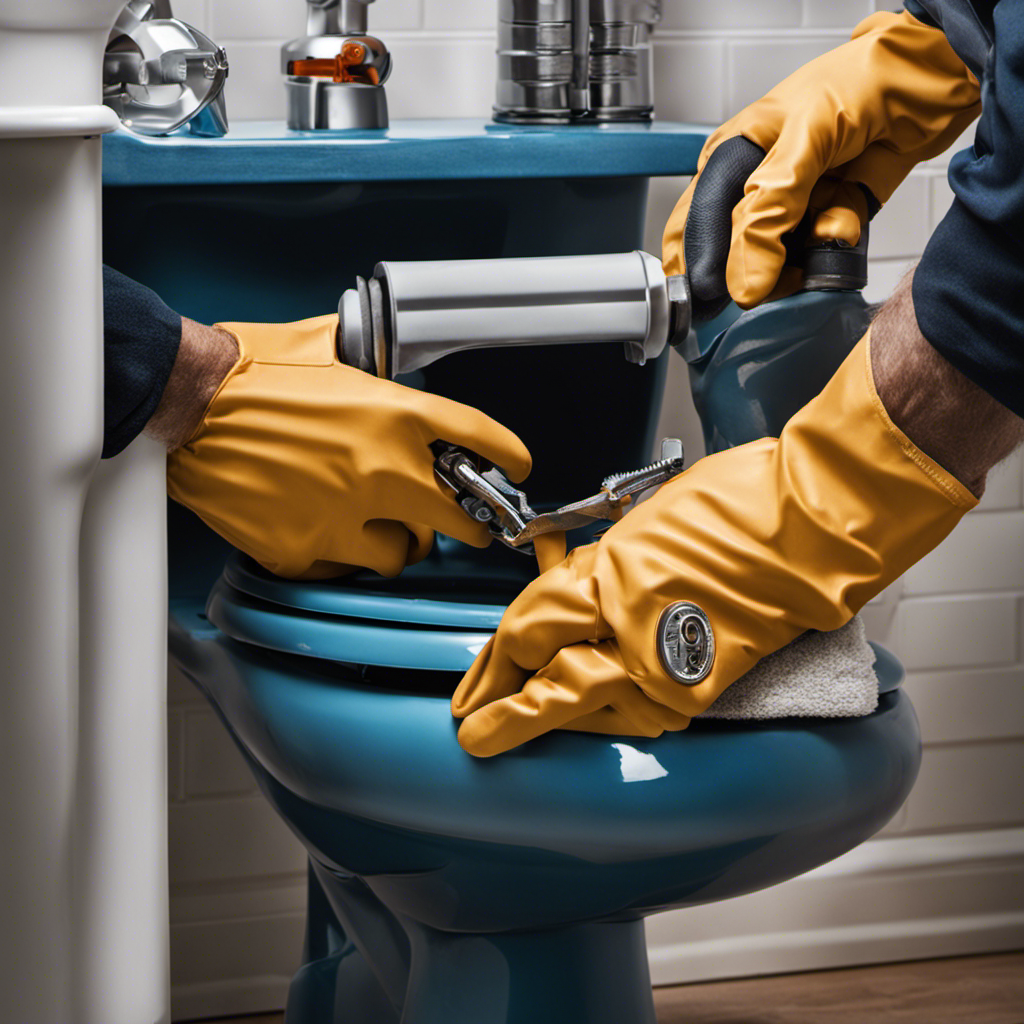
Apply the Caulk Around the Base of the Toilet
Now, it’s time to apply the caulk to create a tight seal between the floor and the base of your toilet. Follow these steps for a successful application:
-
Choose the right caulk color: Consider matching the caulk to your toilet or floor color for a seamless look. There are various options available, such as white, clear, or even colored caulk.
-
Prepare the caulk and caulking gun: Cut the tip of the caulk tube at a 45-degree angle and load it into the caulking gun. Make sure the gun is ready to dispense the caulk smoothly.
-
Apply the caulk: Start at the back of the toilet and work your way towards the front. Hold the gun at a 45-degree angle and apply a continuous bead of caulk along the base of the toilet, ensuring it fills the gap completely.
-
Smooth the caulk: Use a caulk smoothing tool or a damp finger to smooth the caulk, removing any excess and creating a neat finish.
Avoid these common caulk application mistakes:
- Using too much caulk, which can create a messy appearance.
- Not applying enough caulk, leading to gaps and potential leaks.
- Rushing the application, resulting in uneven lines and poor adhesion.
- Neglecting to smooth the caulk, leaving a rough and unprofessional finish.
Smooth Out the Caulk for a Professional Finish
To achieve a professional finish, make sure to smooth out the caulk using a caulk smoothing tool or a damp finger. This step is crucial in ensuring a neat and tidy appearance for your caulked area.
When using a caulk smoothing tool, hold it at a slight angle and glide it smoothly along the caulk line, applying even pressure. This technique helps to create a clean, uniform finish.
Alternatively, if you prefer using your finger, make sure it is damp before running it along the caulk line. This helps to prevent the caulk from sticking to your finger and allows for easier manipulation.
Avoid common mistakes such as applying too much pressure, which can cause the caulk to squeeze out excessively, or dragging your finger too slowly, resulting in an uneven finish.
Clean up and Maintain the Caulked Area
Make sure you regularly clean and maintain the area where you’ve applied caulk to ensure its longevity and a pristine appearance. Follow these maintenance tips and cleaning techniques to keep your caulked area in top condition:
-
Regular Cleaning: Wipe down the caulked area with a mild detergent and water solution. Avoid using harsh chemicals that can damage the caulk.
-
Gentle Scrubbing: Use a soft-bristle brush or sponge to gently scrub away any dirt or grime. Avoid abrasive scrubbers that can scratch the caulk.
-
Drying: After cleaning, make sure to thoroughly dry the caulked area to prevent any moisture buildup that can lead to mold or mildew growth.
-
Periodic Re-Caulking: Over time, caulk can deteriorate. Regularly inspect the caulked area and reapply caulk as needed to maintain a watertight seal.
Frequently Asked Questions
Can I Use Any Type of Caulk for Caulking Around a Toilet?
Yes, you can use different types of caulk for caulking around a toilet. However, it is important to choose a caulk specifically designed for bathroom use to ensure a professional looking caulk job.
How Long Should I Wait for the Caulk to Dry Before Using the Toilet?
I typically wait at least 24 hours for the caulk to dry before using the toilet. It’s important to use a caulk specifically designed for bathroom use to ensure a proper seal.
Is It Necessary to Remove the Toilet Completely to Caulk Around It?
No, it is not necessary to remove the toilet completely to caulk around it. The caulking process can be done without removing the toilet, ensuring a tight seal and preventing any water leakage.
Can I Use a Hairdryer to Speed up the Drying Process of the Caulk?
Using a hairdryer to speed up the drying process of caulk can be helpful but has its drawbacks. It may cause the caulk to dry unevenly and can potentially damage the surrounding materials.
How Often Should I Reapply Caulk Around the Base of the Toilet to Maintain a Waterproof Seal?
I reapply caulk around the base of the toilet every 1-2 years to maintain a waterproof seal. This helps prevent water damage and mold growth. It’s important to regularly inspect and address any cracks or deterioration in the caulk.
Conclusion
To conclude, caulking around a toilet is a simple yet essential task that can prevent leaks and water damage. By following the steps outlined in this article, you can achieve a professional finish and maintain a clean and sealed area.
Did you know that according to a survey, 1 in 3 toilets in homes have some level of water leakage? Taking the time to properly caulk around your toilet can help reduce this statistic and ensure a leak-free bathroom.
So grab your caulk gun and get caulking!

Liam’s journey with us started as a consumer. Having faced challenges while setting up his own modern bathroom, he delved deep into research.
Recognizing his knack for simplifying complex information and his authentic writing style, we were thrilled to welcome him aboard. Liam’s articles often merge practicality with style, ensuring readers find the perfect fit for their homes. Liam is an avid hiker off-duty and often jokes about finding the best “natural toilets” Mother Earth has to offer.