Are you tired of dealing with a leaking toilet base?
Well, I’ve got the solution for you! In this article, I’ll walk you through the step-by-step process of caulking your toilet base to ensure a watertight seal.
We’ll start by preparing the area and cleaning it thoroughly.
Then, I’ll show you how to apply the caulk and smoothly finish it off.
Finally, we’ll let the caulk dry completely, leaving you with a leak-free toilet base.
Let’s get started!
Key Takeaways
- Properly align the toilet base with the floor and adjust using shims or spacers if necessary.
- Thoroughly clean the area, removing old caulk or sealant, and ensuring a clean surface for the new caulk.
- Use a flexible and waterproof caulk designed for bathrooms, avoiding silicone caulk for the toilet base.
- Apply the caulk smoothly and evenly using a caulk gun, and use a caulk smoothing tool for a clean finish.
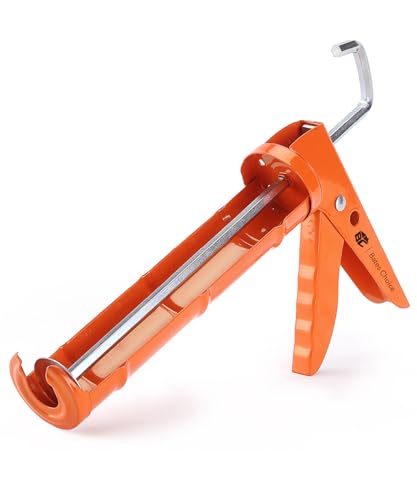
Bates- Caulking Gun, 10:1 Thrust Ratio, Orange, No Drip Sealant Gun
- Versatile Material Compatibility: Dispenses acrylic, adhesives, asphalt, and more
- High Thrust Ratio: 10:1 for precise bead control
- Durable and Efficient Design: Built for professionals and DIY users
As an affiliate, we earn on qualifying purchases.
As an affiliate, we earn on qualifying purchases.
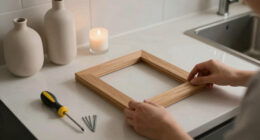
Preparing the Toilet Base
Before you can begin caulking the toilet base, you’ll need to prepare the area by thoroughly cleaning it.
Start by ensuring that the toilet base is properly aligned with the floor. If it’s not aligned, you may need to adjust the toilet using shims or spacers to create a level surface.
Once the alignment is correct, it’s time to remove any old caulk or sealant. To do this, use a putty knife or a caulk removal tool to gently scrape away the old caulk. Be careful not to damage the toilet or the floor during this process.
Make sure to remove all traces of old caulk to ensure a clean surface for the new caulk to adhere to.
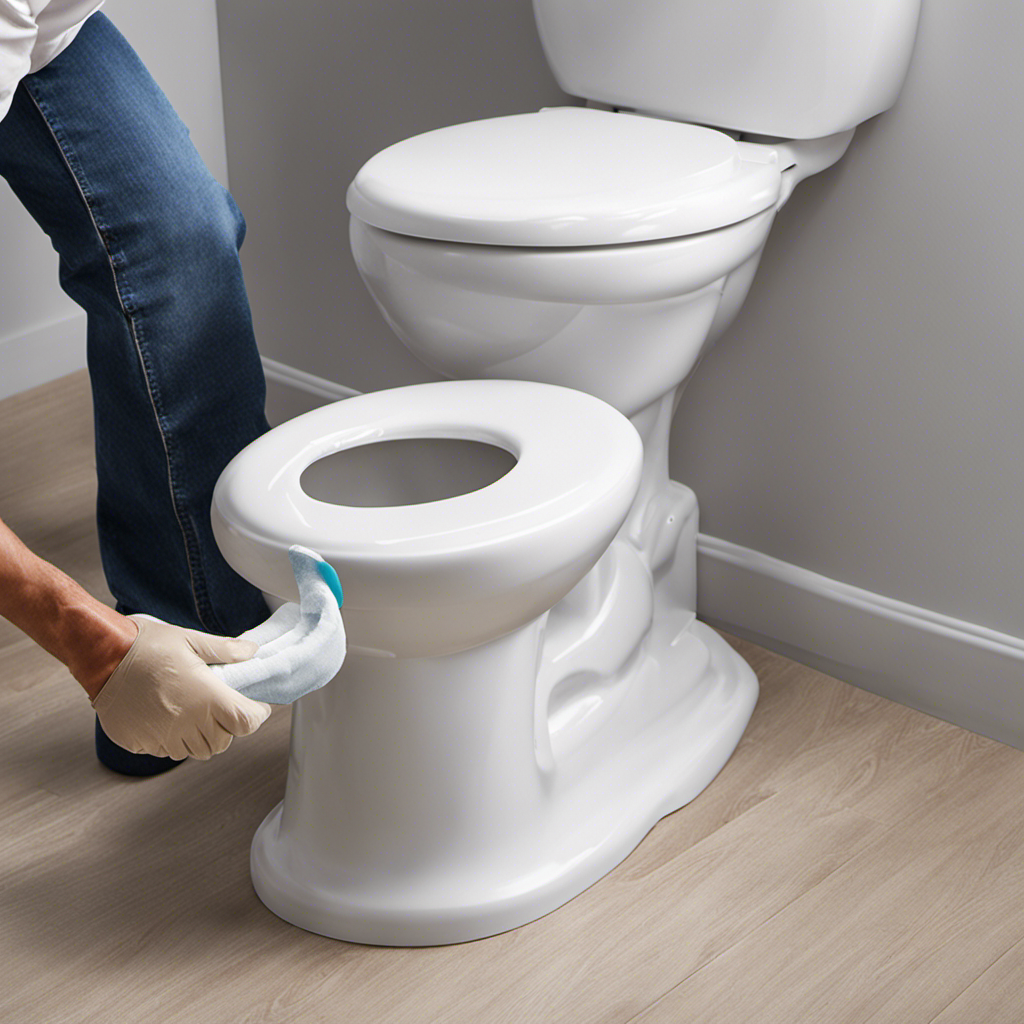
Cleaning the Area
Make sure you’ve thoroughly cleaned the surrounding area before applying the new caulk. This step is important because it ensures that the caulk adheres properly and provides a strong seal.
Start by removing any old caulk using a putty knife or caulk removal tool. Be careful not to scratch the surface.
Next, use a mild detergent and warm water to clean the area. Scrub gently with a sponge or brush to remove any dirt or grime. Rinse thoroughly and allow it to dry completely before moving on to the next step.
Remember to open windows or use a fan for proper ventilation during the caulking process. This helps to minimize the fumes and ensures a healthier environment.
Applying the Caulk
Once you’ve cleaned the surrounding area, it’s time to start applying the new caulk. Here’s how to do it properly:
- Prepare the caulk gun by cutting off the tip at a 45-degree angle. Make sure the hole is small enough to create a thin bead of caulk.
- Start at one end of the toilet base and slowly squeeze the trigger to apply a smooth, continuous line of caulk along the entire perimeter.
- Use your finger or a caulk smoothing tool to smooth out the caulk, pressing it firmly into the gap between the toilet base and the floor.
- Wipe away any excess caulk with a damp cloth or sponge.
- Let the caulk dry completely before using the toilet.
Common caulk mistakes to avoid:
- Using the wrong type of caulk, such as silicone caulk for a toilet base.
- Applying too much caulk, which can result in an uneven and messy appearance.
Choosing the right caulk type:
- Use a flexible and waterproof caulk specifically designed for use in bathrooms.
- Look for a caulk that is mold and mildew resistant to prevent future issues.
Smoothing the Caulk
To achieve a smooth finish, gently press your finger or a caulk smoothing tool into the gap between the floor and the toilet. This step is crucial for ensuring a professional-looking result. Here are some tips for achieving a professional finish and common mistakes to avoid when smoothing caulk.
-
Use a caulk smoothing tool: This tool is specifically designed to smooth out caulk lines and create a clean finish. It helps to distribute the caulk evenly and removes excess caulk.
-
Apply light pressure: When smoothing the caulk, apply gentle and even pressure to avoid pushing too much caulk out of the gap or leaving behind gaps and air bubbles.
-
Clean your tools: Before starting, make sure your finger or caulk smoothing tool is clean. Any debris or caulk residue on your tool can affect the finish and create an uneven surface.
-
Wipe away excess caulk: After smoothing the caulk, use a damp cloth or sponge to wipe away any excess caulk. This will give your caulk lines a professional and neat appearance.
Avoid these common mistakes:
-
Applying too much pressure: Pressing too hard can cause the caulk to squeeze out and create uneven lines.
-
Rushing the process: Take your time when smoothing the caulk to ensure a precise and professional finish.
Allowing the Caulk to Dry
Be patient and give it time, so the caulk can dry completely before using the toilet. This is an important step in the process of caulking a toilet base. Allowing the caulk to dry ensures a secure and watertight seal.
Here are some important tips to keep in mind during this drying period:
- Avoid touching or disturbing the caulk until it is fully dry to prevent smudging or compromising the seal.
- Keep the bathroom well-ventilated to promote faster drying. Open windows or use a fan to circulate air.
- Depending on the type of caulk used, drying times can vary. Read the manufacturer’s instructions to determine the appropriate drying time.
- It is recommended to wait at least 24 hours before using the toilet after caulking to ensure a strong bond.
Frequently Asked Questions
How Often Should the Caulking Around the Toilet Base Be Replaced?
I replace the caulking around my toilet base every 1-2 years. Signs of caulk deterioration include cracks, discoloration, or water leaks. Regularly inspecting and maintaining the caulking helps prevent water damage and keeps the bathroom clean.
Can I Use Any Type of Caulk for Sealing the Toilet Base?
Yes, you can use different types of caulk for sealing the toilet base. However, it’s important to consider the pros and cons of each type. Silicone caulk is durable but more expensive, while acrylic caulk is cheaper but less durable.
Is It Necessary to Remove the Toilet in Order to Caulk the Base?
It is not necessary to remove the toilet in order to caulk the base. There are alternative methods that involve tilting the toilet or using a flexible caulk applicator to reach underneath.
What Should I Do if I Accidentally Applied Too Much Caulk?
If I accidentally applied too much caulk, I would first let it dry completely. Then I would carefully scrape off the excess using a putty knife or scraper. Applying too much caulk can lead to a messy appearance and potential issues with water sealing.
Can I Use a Hairdryer to Speed up the Drying Process of the Caulk?
Yes, using a hairdryer can speed up the drying process of caulk. It provides a quick and efficient way to dry the caulk, but make sure to keep the hairdryer at a safe distance to avoid melting the caulk.
Conclusion
In conclusion, caulking the toilet base is a simple and effective way to prevent leaks and keep your bathroom clean and sanitary. By following the steps outlined in this guide, you can ensure a tight and secure seal that will last for years to come.
So don’t let a loose toilet base be a thorn in your side any longer – grab a caulk gun and get to work!
Remember, a well-caulked toilet base is the glue that holds your bathroom together.