Did you know that a leaking toilet flapper can waste up to 200 gallons of water per day? That’s enough to fill a bathtub multiple times!
If you’re tired of the constant sound of running water and want to save money on your water bill, then this article is for you.
In this step-by-step guide, I’ll show you how to change a flapper on a toilet. With just a few simple tools and a little bit of time, you can easily fix this common plumbing issue and start saving water today.
Key Takeaways
- The flapper is a rubber or plastic piece that covers the flush valve opening at the bottom of the toilet tank.
- Troubleshooting flapper issues involves checking for cracks or damage on the flapper, ensuring proper alignment with the flush valve, and adjusting the chain length if necessary.
- Before replacing the flapper, troubleshoot common toilet flapper issues and check for signs of wear and tear.
- Turn off the water supply before beginning any repairs by locating and turning the shut off valve clockwise.
Understanding the Flapper Mechanism
To understand how to change a flapper on a toilet, it’s important to know how the flapper mechanism works.
The flapper is a rubber or plastic piece that covers the flush valve opening at the bottom of the toilet tank. When you flush the toilet, the flapper lifts up, allowing water to rush from the tank into the bowl.
Once the tank is emptied, the flapper falls back down, sealing the flush valve and preventing water from flowing into the bowl.
Troubleshooting flapper issues involves checking for any cracks or damage on the flapper, ensuring it is properly aligned with the flush valve, and adjusting the chain length if necessary.
Maintaining a properly functioning flapper is essential for a reliable flush.
To continue with the flapper replacement process, gather the necessary tools and supplies.
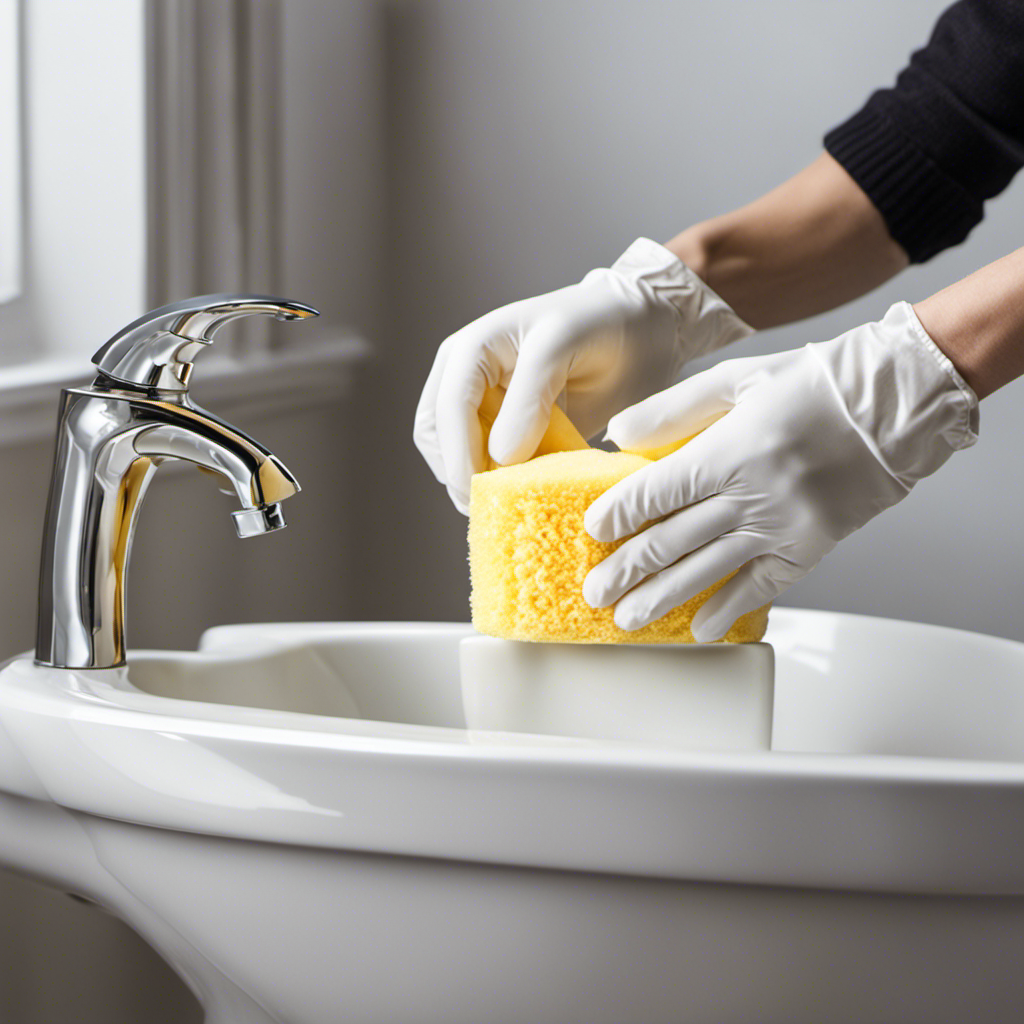
Gathering the Necessary Tools and Supplies
You’ll need a pair of pliers and a bucket to gather the necessary tools and supplies for this task.
Troubleshooting common toilet flapper issues is essential before replacing the flapper. Check for any signs of wear and tear, such as cracks or leaks. If the flapper is not sealing properly, it may be causing water to continuously run, resulting in high water bills.
Choosing the right flapper for your toilet model is crucial. Flappers come in different sizes and shapes, so make sure to check your toilet’s specifications. Additionally, some flappers are adjustable, allowing for customization to achieve the perfect seal.
Once you have gathered the necessary tools and supplies, it’s time to shut off the water supply, which will be discussed in the subsequent section.
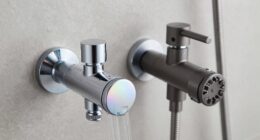
Shutting off the Water Supply
Before beginning any repairs, it’s important to turn off the water supply to prevent any accidental leaks or flooding.
Regular maintenance for toilet flappers is crucial to ensure proper functioning and prevent potential issues. One common problem that can arise is a faulty shut off valve for the flapper.
To troubleshoot this issue, start by locating the shut off valve, usually located on the wall behind the toilet. Turn the valve clockwise to shut off the water supply.
If the valve is difficult to turn or doesn’t completely shut off the water, it may need to be replaced. Regularly inspecting and maintaining the shut off valve will help prevent any complications and ensure a smooth repair process.
Removing the Old Flapper
Once the water supply is shut off, it’s time to remove the old flapper. To begin, lift the toilet tank lid and locate the flapper assembly.
The flapper is a rubber valve that controls the flow of water from the tank into the bowl. If you’re experiencing common flapper issues such as a running toilet or a weak flush, it’s likely that the flapper needs to be replaced.
Start by disconnecting the chain that connects the flapper to the flush handle. Next, carefully remove the flapper from the mounting tabs or arms. Be cautious not to damage any surrounding components.
If you’re unable to find a direct replacement for your flapper, consider alternative options such as adjustable flappers or universal flapper kits. These options can provide a suitable replacement and resolve any issues with your toilet’s flushing mechanism.
Installing the New Flapper
To properly install the new flapper, make sure the chain is attached securely to the flush handle. This step is crucial for the proper functioning of the toilet.
After attaching the chain, place the new flapper over the opening at the bottom of the tank. Make sure it sits properly and forms a tight seal.
Next, reconnect the water supply tube and turn on the water to fill the tank. Once the tank is full, flush the toilet to test the new flapper.
If you experience any issues such as a weak flush or continuous running, troubleshooting common flapper issues may be necessary.
Regular maintenance of toilet flappers is important to prevent any future problems. This includes cleaning the flapper and chain regularly and replacing it if it becomes worn or damaged.
Frequently Asked Questions
How Often Should the Flapper on a Toilet Be Replaced?
I replace the flapper on my toilet every 2-3 years to extend its lifespan. Signs of a worn out flapper include constant running water and a weak flush. Regular maintenance can help prevent these issues.
Can a Toilet Flapper Be Repaired Instead of Replaced?
Can a toilet flapper be repaired instead of replaced? While it is possible to repair a flapper in some cases, it is often more practical to replace it entirely. Let’s explore alternatives to flapper replacement.
Is It Necessary to Turn off the Water Supply Before Replacing the Flapper?
Yes, it is important to turn off the water supply before replacing the flapper. This prevents water from continuously flowing into the toilet tank while you work, avoiding potential flooding or water wastage.
How Can I Determine if My Toilet Flapper Is Causing a Leak?
To determine if my toilet flapper is causing a leak, I check for signs such as continuous running water, water seeping into the bowl, or a weak flush. These are common troubleshooting indicators.
Are There Different Types of Flappers Available and How Do I Choose the Right One for My Toilet?
There are different types of flappers available for toilets, each with their pros and cons. It’s important to choose the right one based on your toilet’s specifications and desired water saving features.
Conclusion
In conclusion, changing a flapper on a toilet is a simple and necessary task that can save you from potential water wastage and costly repairs.
Just like how a small leak can sink a ship, a faulty flapper can lead to significant water loss.
By taking the time to understand the flapper mechanism and following the steps outlined, you can easily replace the flapper and ensure the efficient functioning of your toilet.
Don’t let a small flapper become a big problem, take action now and keep your toilet running smoothly.