As I stood in my bathroom, I realized it was time for a change. The old toilet had seen better days, and it was time to switch it out for a new one.
But where to begin? With a few simple steps, I’ll guide you through the process of changing out a toilet. From assessing the current toilet to installing the new one, I’ll provide you with the technical know-how and detailed instructions you need to complete this project successfully.
Let’s dive in and get started!
Key Takeaways
- Assess the current toilet for visible cracks, leaks, water damage, and performance issues
- Gather the necessary tools and materials such as a wrench, screwdriver, pliers, putty knife, and safety equipment
- Shut off the water supply using the shut-off valve and test for successful shut-off
- Choose a new toilet based on size, flush type, water efficiency, and comfort

Fluidmaster K-400H-039 Toilet Fill Valve & 2-Inch Flapper Repair Kit
- Manufactured in Mexico: Made in Mexico
As an affiliate, we earn on qualifying purchases.
As an affiliate, we earn on qualifying purchases.
Assessing the Current Toilet
You should first check if your current toilet is functioning properly before attempting to replace it. Assessing the toilet condition is crucial in determining the appropriate replacement options.
Start by inspecting the toilet for any visible cracks or leaks, both on the tank and the bowl. Look out for any signs of water damage around the base or on the floor. Check if the toilet flushes properly and if the water fills up to the correct level in the tank. Additionally, assess the overall performance, such as water efficiency and comfort.
If you find any significant issues or if your toilet is old and outdated, it might be time for a replacement. Once you have assessed the condition, you can proceed to gather the necessary tools and materials for the replacement process.
Gathering the Necessary Tools and Materials
Once you’ve gathered all the necessary tools and materials, it’s time to get started with changing out the toilet. Before we begin, let’s make sure we have everything we need. Here’s a table listing the tools and materials required for a successful toilet replacement:
| Tools | Materials | Safety Equipment |
|---|---|---|
| Wrench | New toilet bowl | Safety goggles |
| Screwdriver | Wax ring | Gloves |
| Adjustable pliers | Bolts and nuts | Knee pads |
| Putty knife | Toilet tank | Dust mask |
Now, let’s talk about the importance of these items. The wrench and screwdriver are essential for removing the old toilet and installing the new one. The adjustable pliers will come in handy when dealing with any stubborn connections. The putty knife is necessary for removing the old wax ring, which ensures a watertight seal. As for the safety equipment, the goggles protect your eyes from any debris, while gloves, knee pads, and a dust mask ensure your safety and comfort throughout the process. With these tools and materials, you’ll be ready to tackle the task of replacing your toilet with ease and efficiency.
Shutting Off the Water Supply
Before beginning the process of shutting off the water supply, it’s important to gather the necessary tools and equipment. This includes a pair of pliers, a bucket or container, and possibly a wrench depending on the type of shut-off valve.
Once the tools are ready, the step-by-step shutting process can be followed. First, locate the shut-off valve. Then, turn it clockwise to shut off the water flow. Finally, test to ensure that the water supply has been successfully shut off.
Necessary Tools and Equipment
To change out a toilet, you’ll need a few necessary tools and equipment. Here are the items you’ll need:
- Wrench: A wrench is essential for loosening and tightening the nuts that hold the toilet in place.
- Screwdriver: You’ll need a screwdriver to remove any screws or bolts that secure the toilet to the floor.
- Plunger: It’s always a good idea to have a plunger on hand in case of any clogs or blockages.
- Putty Knife: A putty knife will come in handy for scraping away old wax or adhesive from the previous toilet installation.
- Level: A level is necessary to ensure that the new toilet is installed correctly and doesn’t wobble.
When choosing a new toilet, consider the following tips:
- Size: Measure the rough-in distance, which is the distance from the wall to the center of the toilet flange, to ensure a proper fit.
- Flush Type: Decide between a gravity-fed or pressure-assisted flush system, depending on your water pressure and preferences.
- Water Efficiency: Look for toilets with a WaterSense label, indicating they meet water efficiency standards and help conserve water.
- Comfort: Consider the height and shape of the toilet bowl to ensure maximum comfort during use.
With the right tools and a well-chosen toilet, you’ll be able to successfully change out your toilet and enjoy a functional and efficient bathroom fixture.
Step-By-Step Shutting Process
When shutting off the water supply to your toilet, make sure to locate the shut-off valve and turn it clockwise until it is fully closed. This step is crucial before proceeding with any toilet maintenance or repair.
To begin, find the shut-off valve, which is typically located near the base of the toilet or on the wall behind it. It is usually a small lever or wheel. Turn the valve clockwise to shut off the water flow. Ensure that the valve is fully closed to prevent any water leakage.
Common mistakes include not fully closing the valve, which can result in water damage, or turning the valve counterclockwise, which will only increase the water flow.
Following these step-by-step instructions will help you successfully shut off the water supply to your toilet.
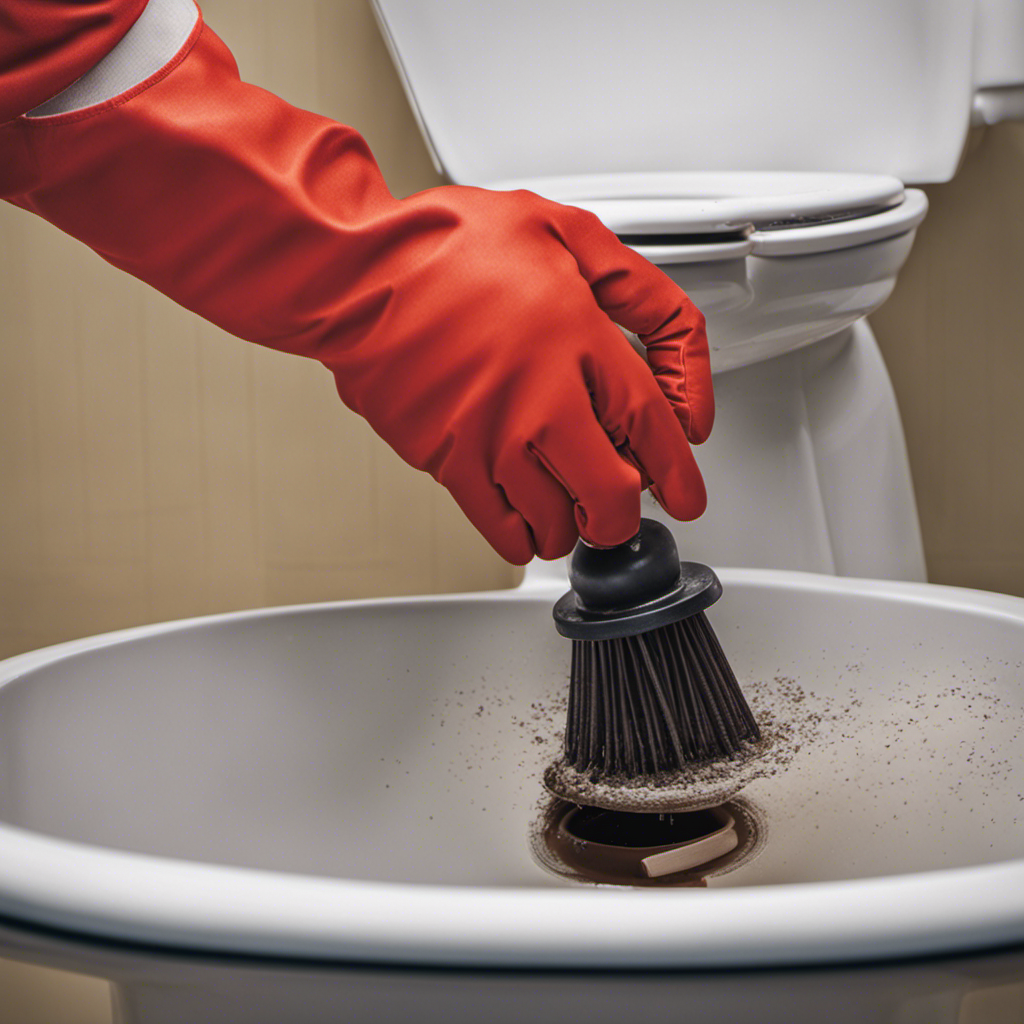
Removing the Old Toilet
First, make sure you have turned off the water supply before attempting to remove the old toilet. This is crucial to prevent any water leaks or accidents during the process.
Here are some toilet removal tips and how to dispose of the old toilet:
-
Start by emptying the tank and bowl. Flush the toilet and hold down the handle to drain as much water as possible.
-
Disconnect the water supply line by unscrewing the nut connecting it to the toilet tank.
-
Remove the nuts securing the toilet to the floor bolts using a wrench. Carefully lift the toilet straight up to avoid damaging the wax seal.
-
Place the old toilet on a tarp or old sheets to protect the floor. You can dispose of it in accordance with local regulations. Check if there are any recycling or waste management centers in your area that accept old toilets.
Remember to take proper precautions when handling the old toilet, such as using gloves and following the recommended disposal guidelines.
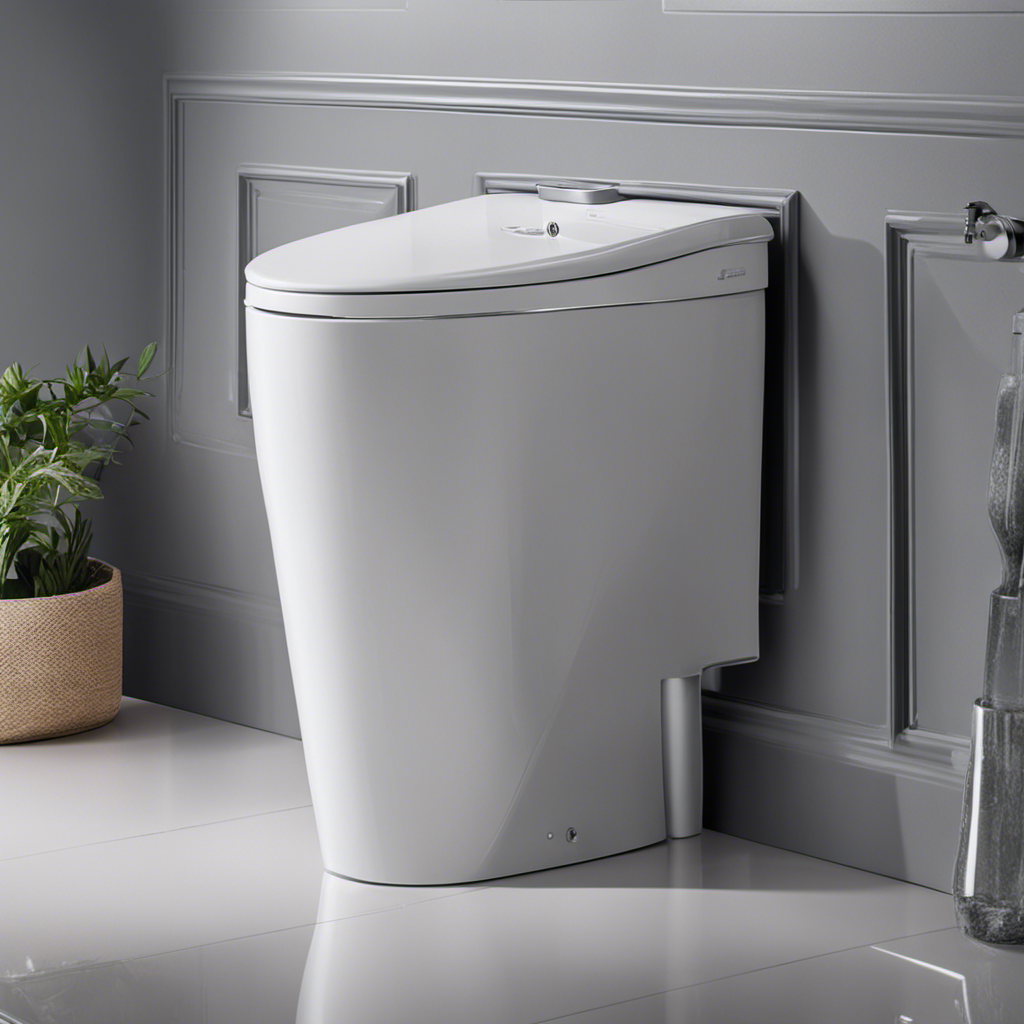
Installing the New Toilet
Before we can move on to installing the new toilet, it’s important to gather the necessary tools and materials. This includes a wrench, a putty knife, a wax ring, and new bolts.
Once we have everything we need, we can begin by removing the old toilet. Carefully disconnect the water supply and unscrew the bolts.
Necessary Tools and Materials
To change out a toilet, you’ll need a few tools and materials. Here’s a list of what you’ll need:
-
Tools:
-
Adjustable wrench
-
Screwdriver (both flathead and Phillips)
-
Pipe wrench
-
Hacksaw
-
Putty knife
-
Materials:
-
New toilet
-
Wax ring
-
Closet bolts
-
Flexible supply line
-
Caulk
Toilet replacement or repair can be a daunting task, but having the right tools and materials can make the process much smoother.
The adjustable wrench will be essential for loosening and tightening the nuts and bolts. The screwdriver will be needed for removing the old toilet seat and lid, as well as any screws holding the toilet to the floor. The pipe wrench will come in handy for disconnecting the water supply line. The hacksaw may be necessary for cutting through stubborn bolts or pipes. The putty knife will be useful for scraping away old wax and caulk.
Make sure to have all these tools and materials on hand before starting your toilet replacement or repair project.
Removing the Old Toilet
To begin removing the old toilet, start by shutting off the water supply valve. It is essential to ensure safety during the removal process.
First, put on protective gloves and eyewear to avoid any potential injuries.
Next, flush the toilet to drain the water from the tank and bowl. Use a sponge or towel to soak up any remaining water in the bowl.
Disconnect the water supply line from the bottom of the tank by using an adjustable wrench.
Loosen the bolts securing the toilet to the floor with a wrench or socket set.
Carefully lift the toilet off the floor and place it on a tarp or old towels to prevent any damage.
Lastly, dispose of the old toilet according to your local regulations, which may involve contacting a waste management facility or arranging for a pickup service.
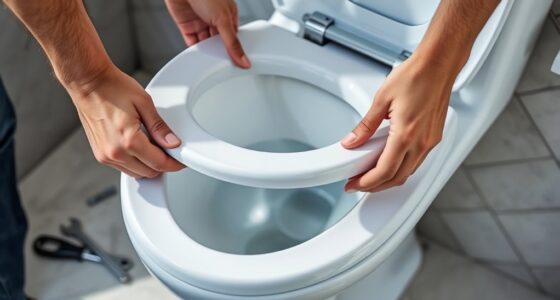
Proper Toilet Installation
Once the water supply valve is shut off, it’s time to install the new toilet. Here is a step-by-step guide to ensure a proper toilet installation:
-
Prepare the toilet flange:
- Remove the old wax ring and clean the flange thoroughly.
- Inspect the flange for any damage or cracks. Replace if necessary.
-
Install the wax ring:
- Place the wax ring onto the flange, making sure it is centered.
- Gently press down on the toilet bowl to create a secure seal.
-
Position the toilet:
- Carefully lift the new toilet and align it with the flange.
- Lower the toilet onto the wax ring, applying even pressure.
-
Secure the toilet:
- Place the washers and nuts onto the bolts and tighten them evenly.
- Avoid over-tightening, as it may crack the toilet.
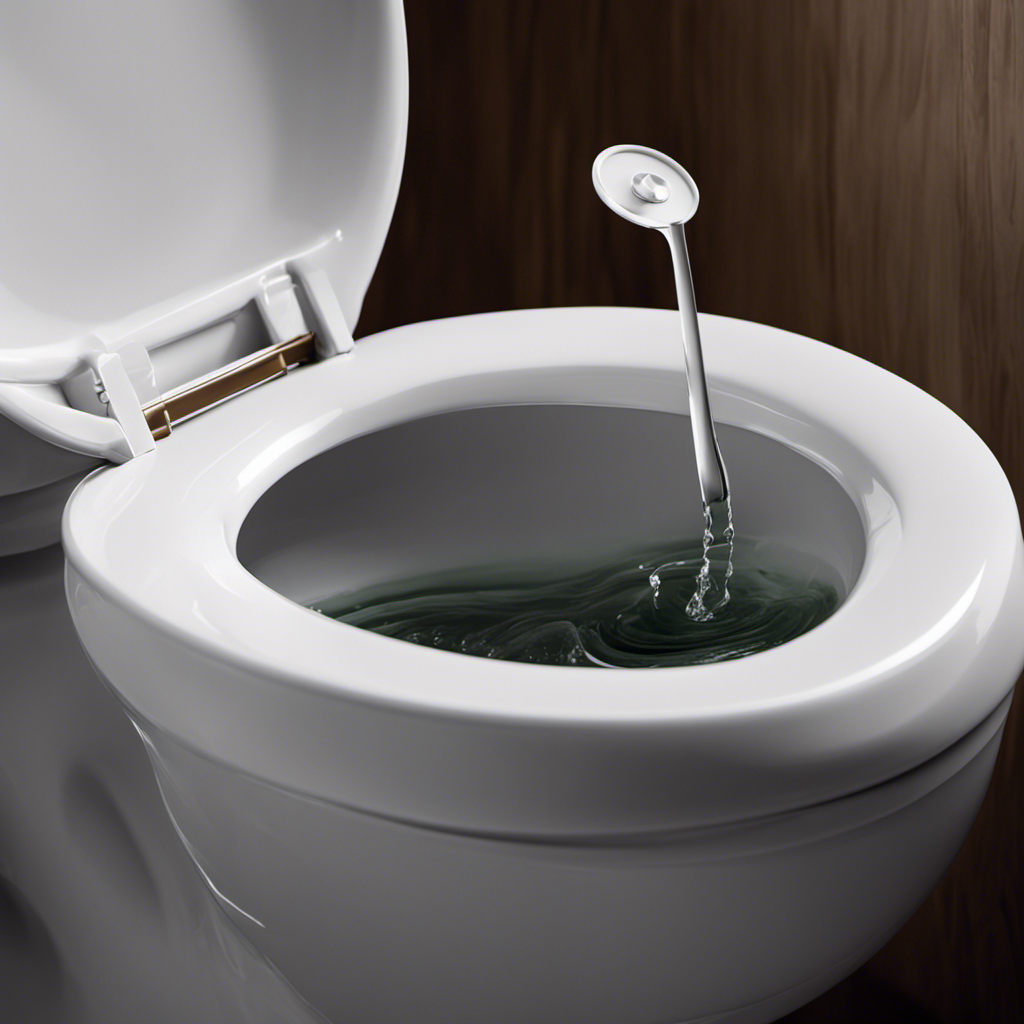
Testing and Finishing Touches
After sealing the toilet bowl to the floor, the next step is to test the flush and tighten any loose bolts.
To test the flush, simply fill the toilet tank with water to its normal level. Then, press the flush handle and observe the water flow. It should be strong and consistent, with no leaks or abnormal sounds. If there are any issues, check the water supply valve and adjust it accordingly.
Next, check all the bolts connecting the toilet bowl to the floor. Use a wrench to tighten any loose bolts, ensuring that the toilet is securely in place.
Finally, make any necessary final adjustments to the toilet seat, ensuring it is level and comfortable.
With these testing methods and final adjustments, your toilet installation is complete and ready for use.
Conclusion
In conclusion, changing out a toilet may seem like a daunting task, but it can be a straightforward process with the right tools and instructions.
Just like replacing a broken toilet can bring comfort and convenience back to your bathroom, tackling challenges in life can lead to positive outcomes.
Remember, even the smallest changes can make a big difference. So don’t be afraid to take the plunge and make the necessary adjustments.
Your newly installed toilet will be a symbol of your ability to overcome obstacles and create a more functional space.