
As I tackle the task of changing the float in my toilet, I can’t help but remember the old adage: ‘An ounce of prevention is worth a pound of cure.’
With a little know-how and the right tools, maintaining a properly functioning float can save us from the frustration of a constantly running toilet.
In this guide, I’ll walk you through the step-by-step process of:
- Removing the old float
- Selecting and installing a new one
- Adjusting it for the optimal water level.
Let’s get started!
Key Takeaways
- The float regulates the water level in the toilet tank.
- Regular cleaning and maintenance of the float are necessary.
- A malfunctioning float can cause constant running or inadequate flushing.
- If the float is damaged, it should be replaced.
Understanding the Role of the Float in a Toilet
To understand how to change the float in your toilet, it’s important to know the role it plays in regulating the water level.
The float is a crucial component of the toilet’s flushing mechanism. It is responsible for controlling the water flow into the tank. When the toilet is flushed, the float rises as the water level in the tank decreases. This movement triggers the fill valve to open and refill the tank with water.
If the float is not working properly, it can lead to issues such as constant running or inadequate flushing. Float maintenance involves regular cleaning and checking for any signs of damage or wear.
If the float is damaged beyond repair, float replacement may be necessary to ensure the proper functioning of your toilet.
Tools and Materials Needed for Changing the Float
You’ll need a pair of pliers and an adjustable wrench to replace the faulty mechanism. The float adjustment is an essential step in maintaining the proper water level in your toilet tank. When the float is not adjusted correctly, it can lead to either a constantly running toilet or one that doesn’t fill up properly after a flush.
To replace the float, follow these steps:
- Shut off the water supply to the toilet.
- Remove the lid of the tank and locate the float assembly.
- Disconnect the float assembly from the fill valve using the pliers.
- Install the new float by attaching it to the fill valve.
- Turn the water supply back on and test the float adjustment.
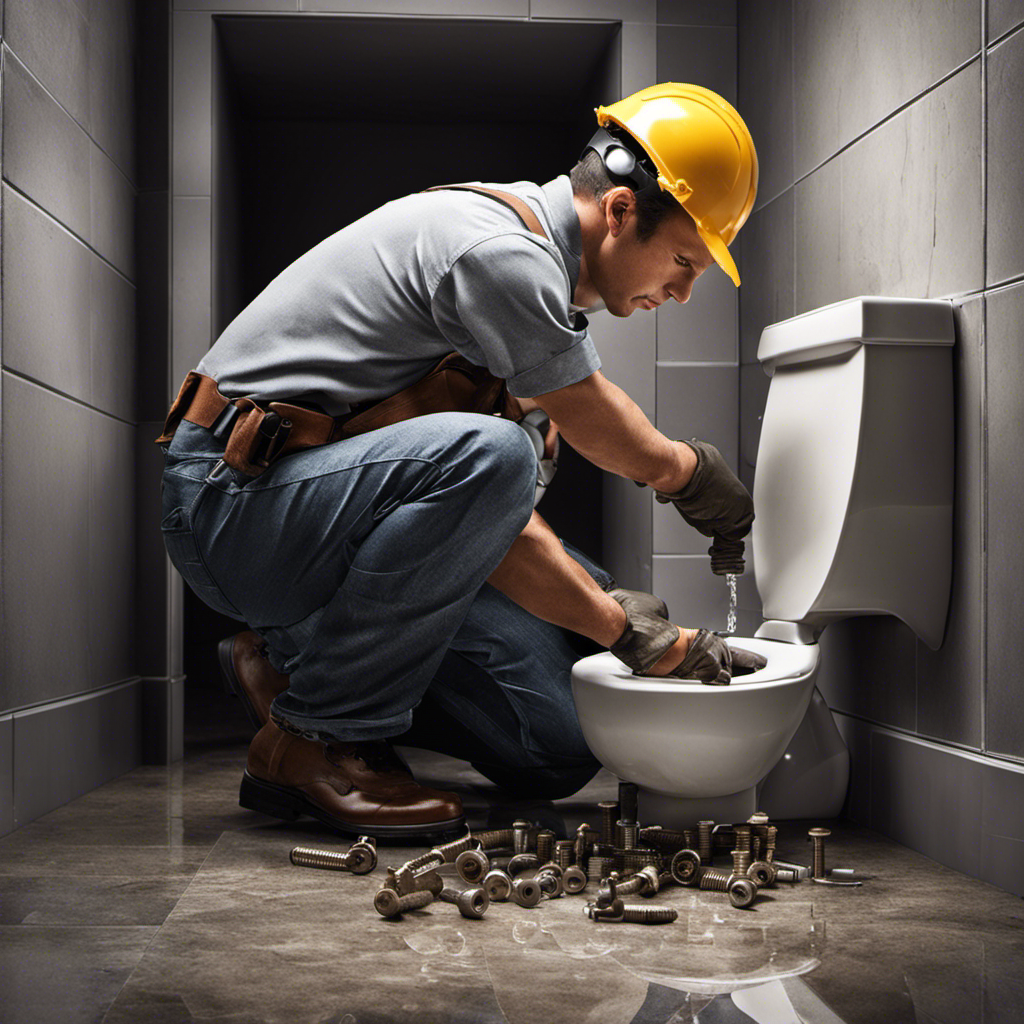
Step-by-Step Guide to Removing the Old Float
First, locate the old float assembly inside the tank and prepare to remove it. This is a crucial step in replacing the float in your toilet. Follow these steps to ensure a smooth removal process:
-
Shut off the water supply: Turn off the water valve located near the bottom of the toilet tank. This will prevent any water from flowing while you work.
-
Empty the tank: Flush the toilet to drain as much water as possible from the tank. You can also use a sponge to soak up any remaining water.
-
Disconnect the float assembly: Locate the float assembly, which is usually connected to the fill valve. Unscrew the nut or clip that holds the assembly in place and carefully detach it.
-
Remove the old float: Once the assembly is disconnected, you can remove the old float by pulling it out or unscrewing it, depending on the design.
Selecting and Installing a New Float
Once you’ve disconnected the old float assembly, it’s time to choose a new one and install it. Selecting the right float is crucial to ensure proper functioning of your toilet. There are a few key factors to consider when making your selection. First, determine the type of float you need – whether it’s a ball float or a cup float – based on the design of your toilet. Next, consider the material of the float. Plastic floats are lightweight and resistant to corrosion, while brass floats are more durable but may be prone to rust. Finally, check the size and shape of the float to ensure it fits properly in your toilet tank.
To help you make an informed choice, here is a table comparing different float options:
| Float Type | Material | Size | Pros |
|---|---|---|---|
| Ball | Plastic | Small | Lightweight and corrosion-resistant |
| Cup | Brass | Large | Durable and long-lasting |
Now that you’ve selected the right float, let’s move on to installing it. Begin by attaching the float to the fill valve using the provided hardware. Ensure it is securely fastened. Next, reconnect the fill valve to the water supply line. Make sure all connections are tight to prevent any leaks. Finally, turn on the water supply and check for any leaks or irregularities in the float’s movement.
Common mistakes when installing a new float include improper attachment, incorrect size selection, and loose connections. By following these guidelines and avoiding these mistakes, you can successfully install a new float and keep your toilet functioning properly.
Adjusting the Float for Proper Water Level
To ensure the water level is set correctly, simply adjust the position of the float using the provided adjustment screw. This is a crucial step in maintaining the efficiency of your toilet and preventing any potential issues.
Here are some common mistakes to avoid when adjusting the float:
-
Not checking the water level before making adjustments: Always check the water level before making any changes to ensure you have a baseline to work from.
-
Adjusting the float too high or too low: The float should be positioned at the correct height to allow for proper water flow. Adjust it gradually until you achieve the desired water level.
-
Ignoring a faulty float mechanism: If the float is not functioning properly, it can lead to inconsistent water levels or constant running. Troubleshoot the float mechanism by checking for any signs of damage or wear, and consider replacing it if necessary.
-
Neglecting regular maintenance: Keep your float mechanism clean and free from debris to ensure optimal performance. Regularly inspect and clean the float to prevent any potential issues.
Troubleshooting Common Float Issues
If the water level in your toilet is inconsistent or constantly running, you may have a faulty float mechanism that needs troubleshooting. Float problems are common in toilets and can cause issues with water levels and flushing. To help you diagnose and fix these problems, I have created a table below outlining some common float problems and their troubleshooting steps:
| Float Problem | Troubleshooting Steps |
|---|---|
| Float not rising properly | Check for obstructions or debris in the tank that may be preventing the float from rising. Clean or remove any blockages to allow the float to move freely. |
| Float not shutting off water | Adjust the float height by bending the rod or adjusting the float arm. This will ensure that the float rises high enough to shut off the water when the tank is full. |
| Float leaking or damaged | Inspect the float for cracks or signs of damage. If the float is leaking or damaged, it will need to be replaced with a new one. |
Tips for Maintaining a Properly Functioning Float
Regularly checking for obstructions or debris and cleaning them out will help ensure that your toilet’s float mechanism functions properly. Maintaining the float in your toilet is crucial for its overall performance and preventing common issues from occurring. Here are some tips for keeping your float in good working condition:
-
Adjust the float level: If your toilet is constantly running or not filling up properly, the float may need to be adjusted. This can be done by bending the float arm or adjusting the float screw.
-
Clean the float: Over time, the float can become dirty or corroded, affecting its ability to float properly. Clean the float with a mild detergent or vinegar to remove any build-up.
-
Check the float for leaks: A leaky float can lead to water waste and high water bills. Inspect the float for any cracks or damage and replace if necessary.
-
Test the float for proper function: Fill the tank with water and observe the float’s movement. It should rise and fall smoothly without any sticking or hesitation.
Regularly maintaining your toilet’s float will help prevent common float problems and ensure the efficient operation of your toilet.
Frequently Asked Questions
How Often Should the Float in a Toilet Be Replaced?
The frequency of float replacement depends on the specific toilet and its usage. However, if you’re experiencing issues with a stuck float or other common float problems, it may be time to consider changing it.
Can I Use Any Type of Float in My Toilet?
Sure, you can use different types of floats in your toilet. Each type has its pros and cons. Some popular options include ball floats, cup floats, and diaphragm floats. It’s important to choose the right one for your specific toilet model.
What Are the Signs of a Malfunctioning Float in a Toilet?
When a float in a toilet malfunctions, there are a few common signs to watch for. These include constant running water, fluctuating water levels, and difficulty flushing. Troubleshooting tips can help identify and resolve the issue.
Can I Adjust the Water Level in My Toilet Without Changing the Float?
I can adjust the water level in my toilet without changing the float. There are alternative float options available that allow for precise water level adjustments without the need for replacing the entire float mechanism.
Are There Any Safety Precautions I Should Take When Changing the Float in a Toilet?
When replacing a toilet float, it is crucial to prioritize safety. Always shut off the water supply and wear protective gloves. Proper maintenance of the float is important for optimal toilet function.
Conclusion
In conclusion, changing the float in a toilet is a simple yet crucial task that can help maintain the proper water level and prevent any potential issues.
By following the step-by-step guide outlined in this article, you can easily remove and install a new float, ensuring a properly functioning toilet.
Did you know that a leaking float can waste up to 200 gallons of water per day? Taking the time to change the float not only saves water but also prevents any potential water damage in your bathroom.

With an impeccable eye for detail and a passion for bathroom-related, Ava leads our editorial team gracefully and precisely.
Under her guidance, Best Modern Toilet has flourished as the go-to resource for modern bathroom enthusiasts. In her free time, you might find Ava exploring antique shops and looking for vintage bathroom fixtures to add to her collection.