As a homeowner, I’ve experienced the frustration of a leaking toilet. It’s like a constant drip that symbolizes wasted time and money.
But fear not, because I’m here to guide you through the process of changing the wax ring on your toilet. With just a few simple steps and the right tools, you’ll be able to say goodbye to leaks and hello to a properly functioning toilet.
So, let’s get started and put an end to this never-ending drip!
Key Takeaways
- Assess the problem by checking for signs of water damage, cracks, and discoloration around the toilet base.
- Gather the necessary tools and materials, including a wax ring, wax paper, adjustable wrench, putty knife, and sponge.
- Remove the toilet by shutting off the water supply, disconnecting the water supply line, and lifting the toilet bowl off the floor.
- Replace the wax ring by removing the old one, cleaning the flange and underside of the toilet bowl, and placing the new wax ring centered and level on the flange.
Assessing the Problem
Before you can change the wax ring on a toilet, you need to assess the problem.
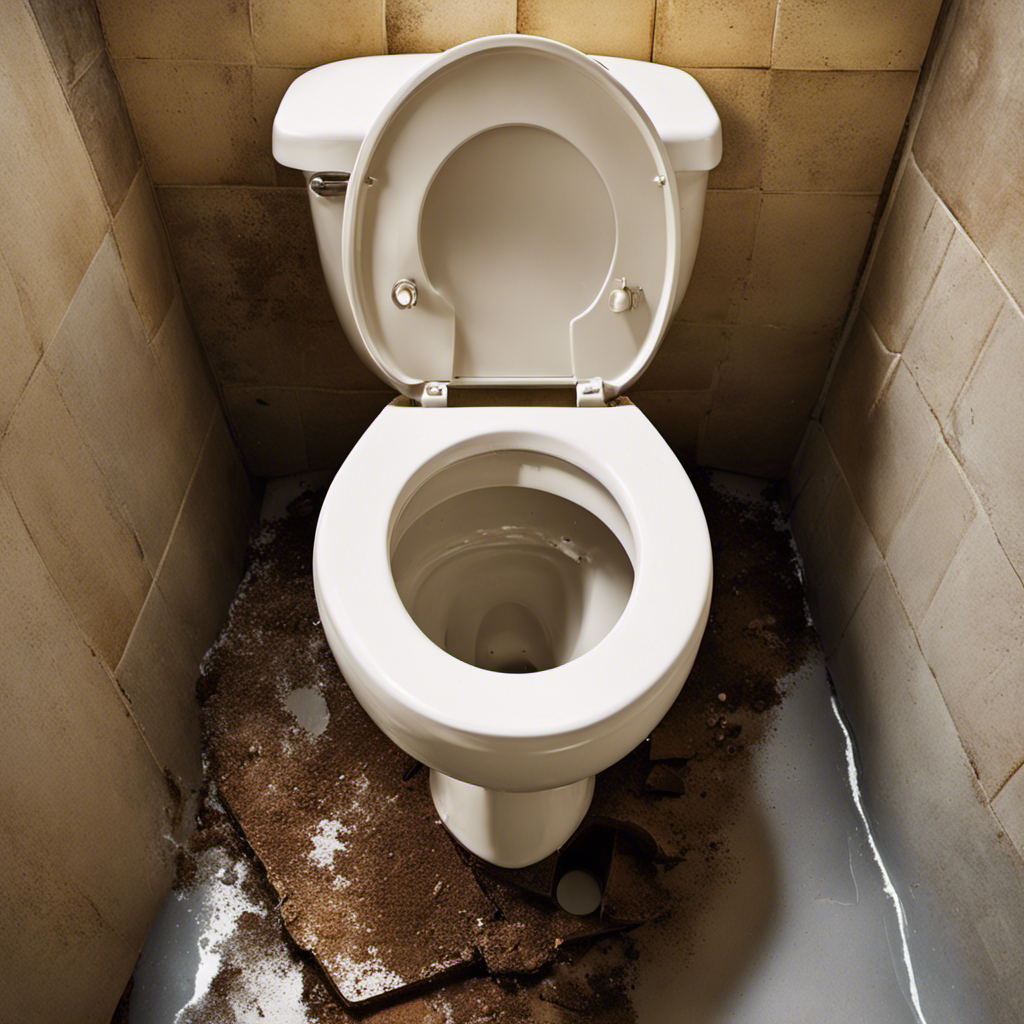
First, check for any signs of water damage around the base of the toilet. Look for discoloration or soft spots on the floor, as this may indicate a leak. It’s important to fix any water damage before replacing the wax ring to prevent further issues.
Next, inspect the toilet base for cracks. Cracks can cause leaks and prevent the wax ring from creating a proper seal. If you find any cracks, you may need to replace the entire toilet.
Assessing the extent of the problem will help you determine the necessary steps to successfully change the wax ring and ensure a leak-free toilet.
Gathering the Necessary Tools and Materials
To get started, you’ll need some tools and materials for the job. Changing a wax ring on a toilet can be a messy task, but with the right tools and materials, it can be done efficiently. Here are some common mistakes to avoid and tips for choosing the right wax ring for your toilet.
| Tools | Materials |
|---|---|
| Wax ring | Wax paper |
| Adjustable wrench | Disposable gloves |
| Putty knife | Bucket or container |
| Sponge | Cleaning solution |
When it comes to choosing the right wax ring, it’s important to consider the size and thickness. Make sure to measure the diameter of the toilet flange and choose a wax ring that matches. Additionally, opt for a thicker wax ring if your toilet is heavier or has an uneven floor. This will ensure a proper seal and prevent any leaks. Avoid common mistakes like reusing an old wax ring or not properly cleaning the flange before installation. By following these tips and using the right tools and materials, you’ll be able to change the wax ring on your toilet with ease.
Removing the Toilet
When removing the toilet, make sure you have all the necessary tools and materials nearby. It’s important to be prepared before starting this task.
First, gather a wrench, a putty knife, and a bucket. You’ll also need a new wax ring and some towels to catch any water that may spill.
To begin, shut off the water supply to the toilet and flush to drain the tank. Use the wrench to disconnect the water supply line from the bottom of the tank.
Next, remove the bolts securing the toilet to the floor. Carefully lift the toilet bowl off the floor and set it aside. Be cautious not to damage the toilet flange, as this will need to be intact for the new wax ring to fit properly.
Replacing the Wax Ring
Once you have disconnected the water supply line and removed the bolts securing the toilet to the floor, carefully lift and set aside the toilet bowl, being cautious not to damage the toilet flange.
Now it’s time to replace the wax ring, a crucial step in ensuring a watertight seal between the toilet and the floor. Start by removing any remnants of the old wax ring from the toilet flange and the underside of the toilet bowl.
Next, place the new wax ring directly onto the flange, making sure it is centered and level. Lower the toilet bowl back onto the wax ring, applying even pressure to create a proper seal.
Reinstalling the Toilet
After carefully lifting and setting aside the toilet bowl, make sure to clean the toilet flange and underside of the bowl before placing the new wax ring. Once the area is clean, it’s time to reposition the toilet and align the bolts.
Here are some key steps to follow:
- Lift the toilet bowl and carefully lower it onto the wax ring, making sure the bolts align with the holes in the flange.
- Apply downward pressure evenly to compress the wax ring and create a watertight seal.
- Tighten the nuts onto the bolts, alternating between them to ensure an even and secure fit.
- Check the alignment of the toilet bowl and adjust as needed to ensure it sits level and snugly against the floor.
- Finally, use a wrench to tighten the bolts, but be careful not to overtighten and crack the porcelain.
Conclusion
After successfully replacing the wax ring on my toilet, I couldn’t help but feel a sense of satisfaction and relief.
The process was surprisingly simple and straightforward. By assessing the problem, gathering the necessary tools and materials, removing and replacing the wax ring, and then reinstalling the toilet, I was able to restore functionality to my bathroom.
The toilet now sits securely, sealing out any unwanted leaks or odors.
Don’t let a faulty wax ring ruin your day – take charge and make the necessary repairs!
