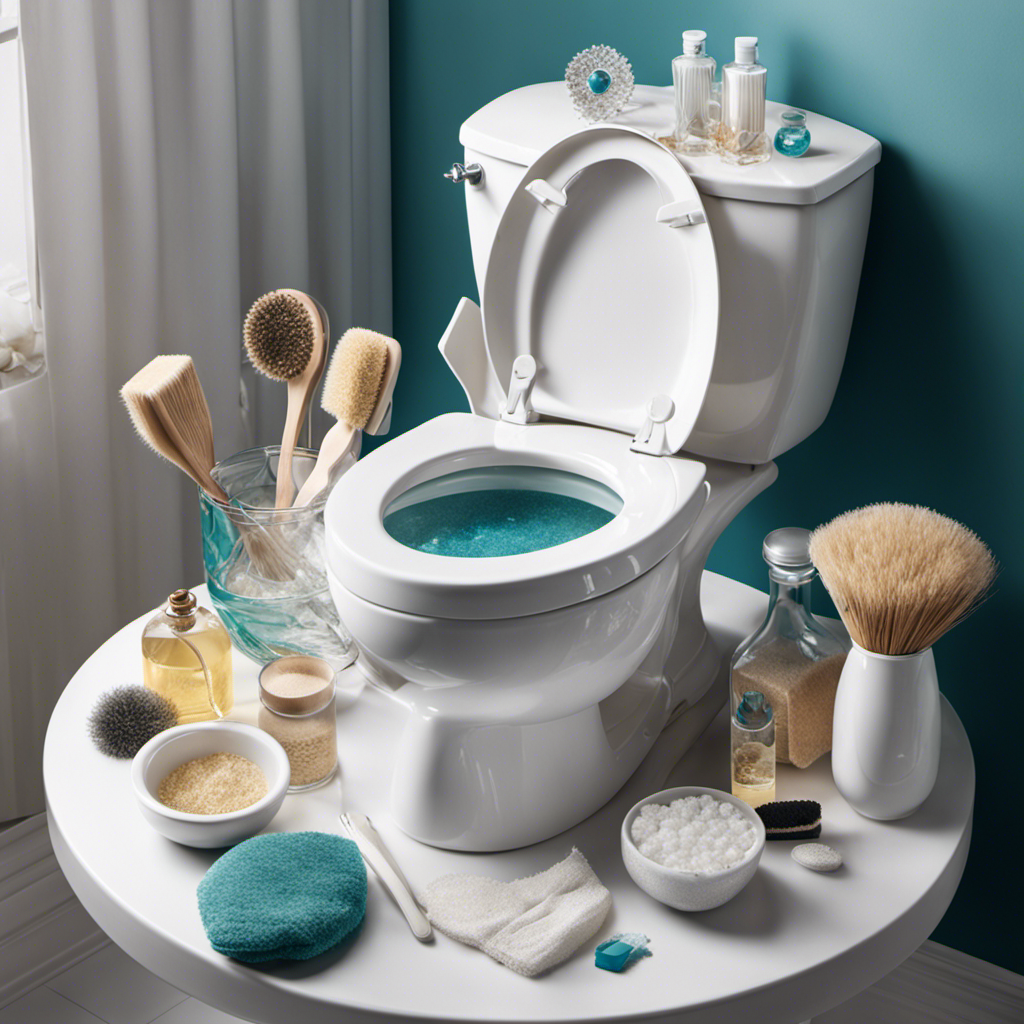
Are you tired of dealing with a stubborn toilet that won’t flush properly? Well, fret no more! In this article, we will guide you through the step-by-step process of changing your toilet flush valve.
By following these simple instructions, you’ll be able to restore your toilet’s functionality and say goodbye to those frustrating flush issues.
So grab your tools and let’s get started on this transformative journey to a fully operational toilet!
Key Takeaways
- Troubleshooting common flush valve problems such as leaks, weak flush, and complete failure
- Importance of turning off the water supply before changing the flush valve to prevent water leakage and damage
- Step-by-step instructions for removing the old flush valve and installing the new one
- Testing and adjusting the flush valve for optimal performance after installation

Fluidmaster 400H-002 Performax Universal Toilet Fill Valve High Performance Tank and Bowl Water Control, 1-Pack, Multicolor
Fix noisy, or slow filling fill valves with the quietest, most powerful toilet fill valve available
As an affiliate, we earn on qualifying purchases.
As an affiliate, we earn on qualifying purchases.
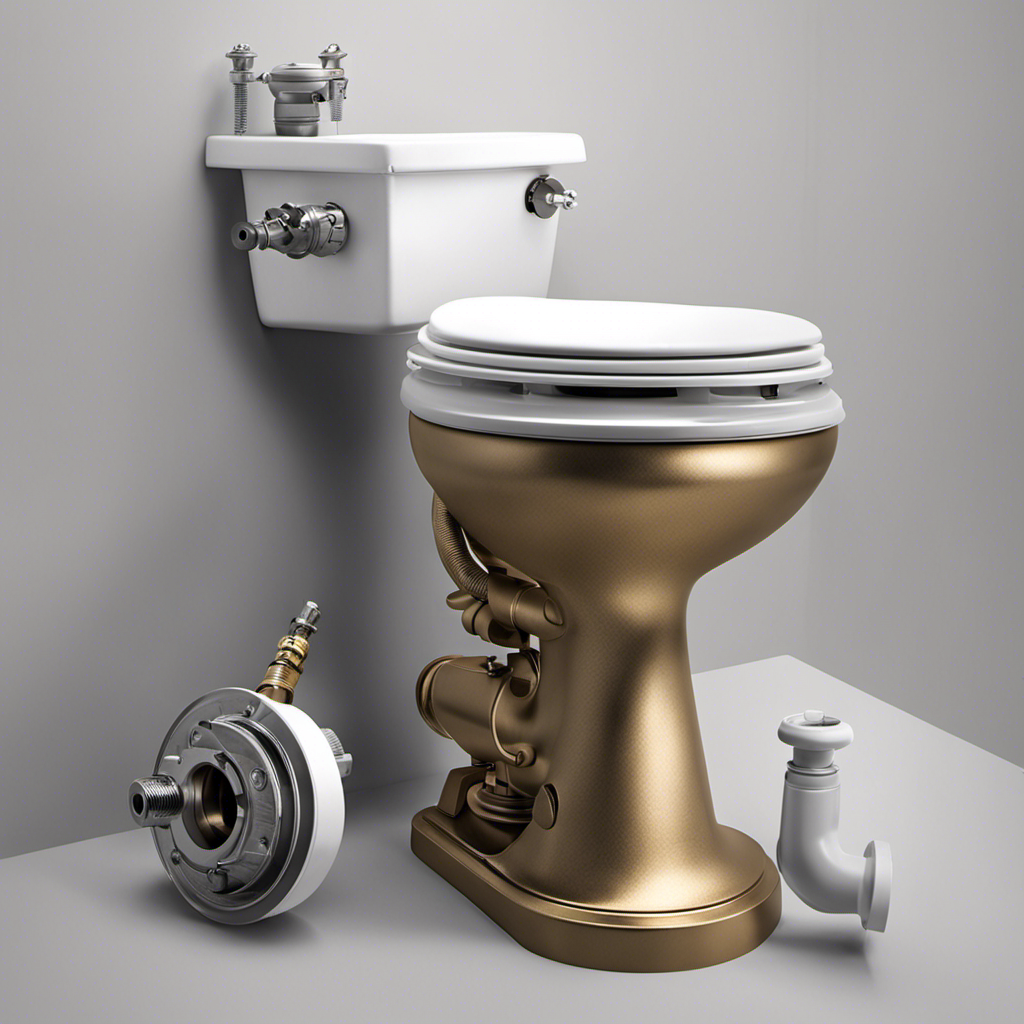
Tools and Materials Needed
To change the toilet flush valve, you’ll need a pair of pliers, an adjustable wrench, a bucket, and a new flush valve assembly.
Before you begin, it’s important to troubleshoot common flush valve problems. One of the most common issues is a leaky flush valve, which can cause water to continuously run into the toilet bowl.
Another problem is a weak flush, where the water doesn’t flow with enough force to properly flush away waste. Additionally, a broken flush valve can result in a complete failure of the flushing mechanism.

Lychee Light Toilet Flush Valve Assembly for One-Piece Toilets with Flapper and Chain 3-Inch Replacement Parts, Repair Kit, Easy Install.
Silent Flushing Design: Equipped with built-in silent technology, ensures smooth and quiet flushing for enhanced comfort.
As an affiliate, we earn on qualifying purchases.
As an affiliate, we earn on qualifying purchases.
Turn off the Water Supply
First, make sure you’ve shut off the water supply before proceeding with the task. Shutting off the water supply is an essential step in changing a toilet flush valve. It prevents any water from flowing into the toilet tank while you work on replacing the valve. Failure to shut off the water supply can result in water leakage and potential damage. To troubleshoot a shut off valve that is not working properly, check for any obstructions or debris that may be blocking the valve from fully closing. If necessary, clean or replace the shut off valve to ensure it functions correctly. Regular water supply maintenance is crucial to prevent any issues with the shut off valve and ensure the smooth operation of your toilet.
| Shut off Valve Troubleshooting | Water Supply Maintenance |
|---|---|
| Check for obstructions or debris | Regularly inspect shut off valve |
| Clean or replace shut off valve if necessary | Ensure proper functioning of the shut off valve |
| Test shut off valve for any leaks | Prevent potential water damage |

Fluidmaster Universal Install/Uninstall Toilet Repair Tool
Fluidmaster’s universal install and uninstall toilet tool makes any toilet repair job simple
As an affiliate, we earn on qualifying purchases.
As an affiliate, we earn on qualifying purchases.
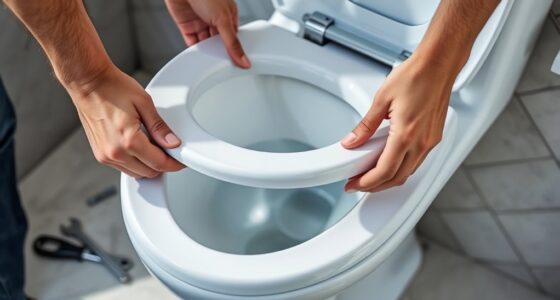
Remove the Old Flush Valve
Before you begin removing the old flush valve, ensure that the water supply is turned off to avoid any potential water leakage.
To remove the old flush valve, start by disconnecting the water supply line from the bottom of the tank. Use a pair of pliers to loosen the nut and gently pull the line away.
Next, remove the flapper chain from the flush handle lever and unscrew the nuts that hold the flush valve assembly in place.
Once the nuts are removed, carefully lift the old flush valve out of the tank. Be careful not to damage any surrounding components.
If you encounter any difficulties during this process, such as rusty nuts or stubborn connections, consider using a penetrating oil to loosen them.
Following these steps will allow you to successfully remove the old flush valve and proceed with installing a new dual flush valve.

Stop Valves, 1/2" × 3/8" Angle Stop Valve, 1/2" FIP Angle Input, 3/8" OD Compression Output, 1/4 Turn, Chrome Plated Brass for Kitchen, Faucet, Toilet Valves
【FIP Angle Stop Valve】- Package includes 1 pack 1/2" FIP × 3/8" OD compression angle stop valve with…
As an affiliate, we earn on qualifying purchases.
As an affiliate, we earn on qualifying purchases.
Install the New Flush Valve
Once you have the new flush valve, start by disconnecting the water supply line from the tank. This will prevent any water from flowing into the tank while you work on installing the new flush valve.
To properly install the new flush valve, follow these steps:
-
Remove the old flush valve by unscrewing it from the bottom of the tank. Be sure to clean the area where the old flush valve was attached to ensure a proper seal with the new valve.
-
Position the new flush valve in the correct orientation. Make sure that the overflow tube is facing towards the center of the tank and that the flapper chain is properly attached.
-
Secure the new flush valve by screwing it in tightly. Be careful not to overtighten, as this could cause damage to the tank.
-
Reconnect the water supply line to the tank. Ensure that it is securely tightened to prevent any leaks.
Common installation mistakes to avoid include:
-
Improper positioning of the new flush valve, which can lead to water leakage or improper flushing.
-
Failing to clean the area where the old flush valve was attached, which can result in a poor seal with the new valve.
-
Over-tightening the new flush valve, which can cause damage to the tank.
Test and Adjust the Flush Valve
To ensure proper functioning, check the water flow and make any necessary adjustments.
The flush valve is a crucial component of your toilet, responsible for effectively flushing away waste. After installing the new flush valve, it is important to test and adjust it to ensure optimal performance.
To begin, turn on the water supply and observe the water flow into the toilet tank. The water level should rise to a specific mark on the tank’s interior, typically indicated by a fill line. If the water level is too low or too high, you may need to adjust the float or the fill valve.
Additionally, listen for any unusual sounds during the flushing process, as this may indicate a need for further adjustment.
Conclusion
Congratulations! You’ve successfully learned how to change a toilet flush valve. By following the steps outlined in this article, you can easily replace the old flush valve with a new one and restore the efficient functioning of your toilet.
Imagine the satisfaction of fixing a leaking toilet by yourself, saving both time and money. With this newfound knowledge, you can confidently tackle any toilet repair task that comes your way.
Remember, always turn off the water supply before starting any plumbing work to avoid any mishaps.
Happy plumbing!