As I stood in my bathroom one day, I noticed a small puddle forming around the base of the toilet. It was a clear sign that the toilet seal was in need of replacement.
Determined to tackle the task myself, I gathered the necessary tools and materials.
In this article, I will guide you through the process of changing the toilet seal, ensuring a proper seal and preventing any future leaks.
Let’s get started!
Key Takeaways
- Signs of leakage or water damage around the base of the toilet indicate a faulty seal.
- Measure the diameter of the toilet’s flange to choose the right toilet seal.
- Clean the toilet bowl thoroughly and remove remnants of the old seal from the toilet flange.
- Position the new seal properly onto the toilet flange and ensure a tight fit to prevent leaks.
Assessing the Toilet Seal
To assess the toilet seal, you’ll need to look for signs of leakage or water damage around the base of the toilet. Inspecting the seal is crucial in determining if it is faulty and needs to be replaced.
First, check for any water stains or discoloration on the floor near the toilet base. This could indicate a leak.
Next, carefully examine the area where the toilet meets the floor. Look for any gaps or cracks in the seal.
If you notice a foul odor coming from the base of the toilet, it could be a sign of a faulty seal that is allowing sewer gas to escape.
Additionally, if you see water pooling around the base of the toilet or notice that it rocks when you sit on it, these are also signs of a faulty seal.
Gathering the Necessary Tools and Materials
First, you’ll need a few tools and materials to get started on this project.
The first thing you’ll need is a new toilet seal. When choosing the right toilet seal, make sure to measure the diameter of your toilet’s flange to ensure a proper fit.
Additionally, you’ll need a pair of gloves to protect your hands, as well as a wrench or pliers to remove the nuts securing the toilet to the floor.
A putty knife will also come in handy for scraping away any old wax residue.
Finally, grab a bucket or towels to catch any water that may spill during the process.
With these tools and materials ready, you’re now prepared to move on to the next step in replacing your toilet seal.
Removing the Old Toilet Seal
Once you have gathered the necessary tools and materials, it’s time to remove the old toilet seal.
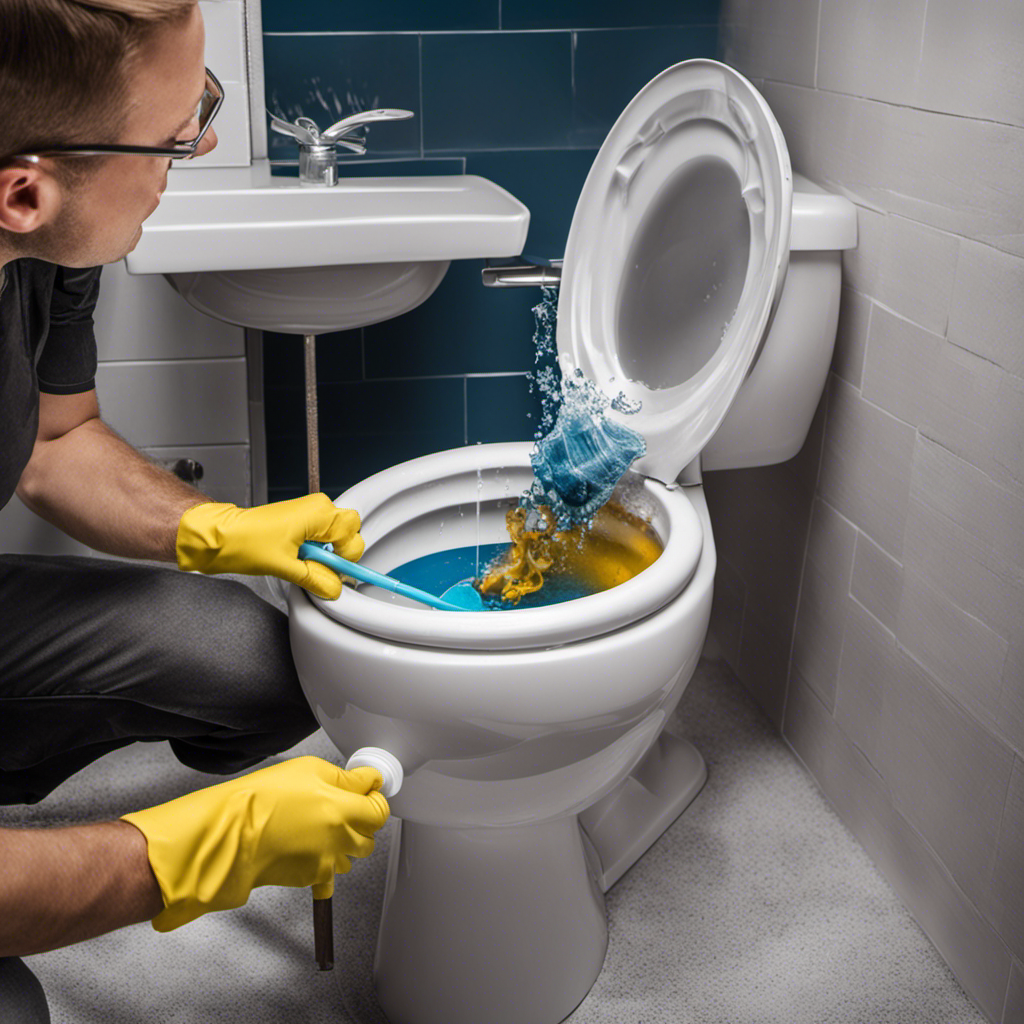
Start by cleaning the toilet bowl thoroughly to remove any dirt or grime that may be present. This will ensure a clean surface for the new seal to adhere to.
Next, identify any common toilet seal problems such as cracks or leaks.
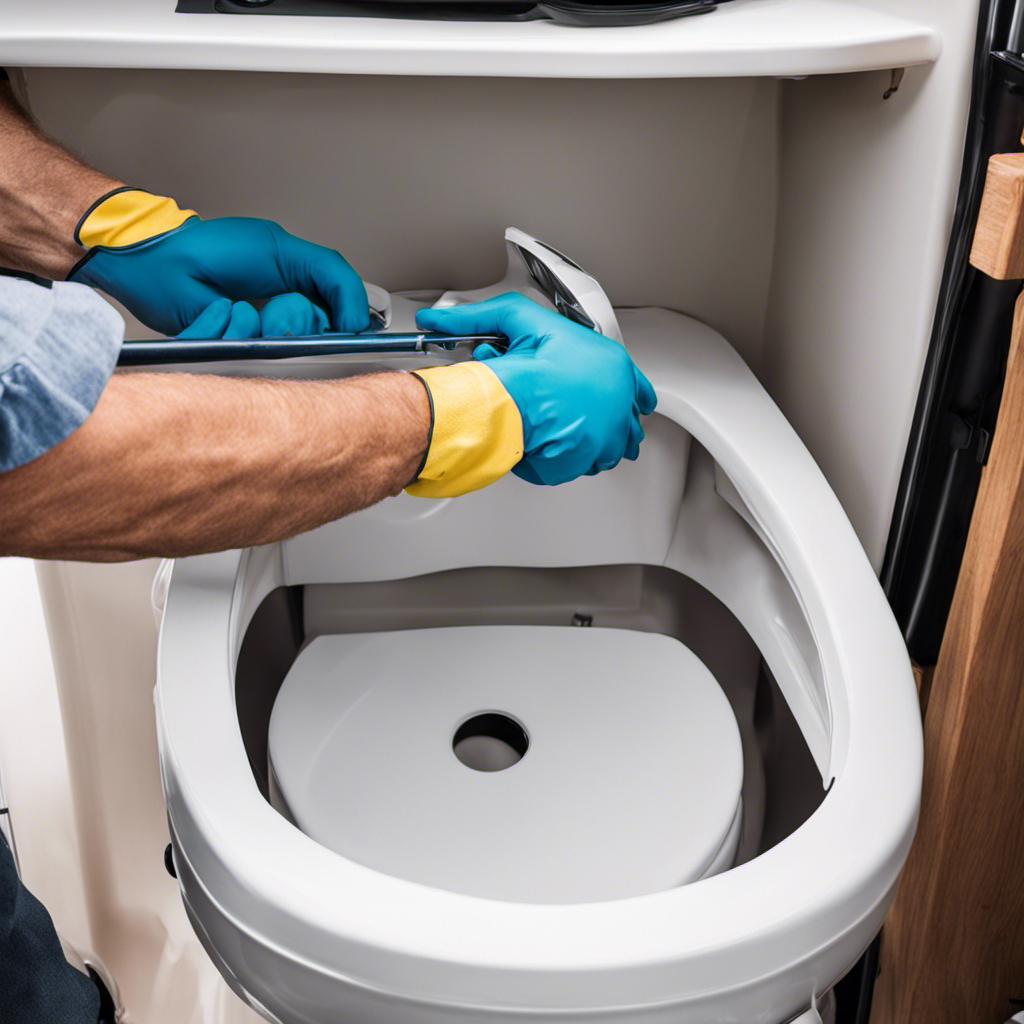
Gently loosen the bolts that secure the toilet to the floor using a wrench or pliers. Once the bolts are removed, carefully lift the toilet off the old seal and set it aside.
Use a scraper or putty knife to remove any remnants of the old seal from the toilet flange. Make sure to clean the area thoroughly before installing the new seal.
Installing the New Toilet Seal
Now that you have cleaned the area thoroughly, carefully position the new seal onto the toilet flange.
When installing a new toilet seal, it’s important to avoid common mistakes that can lead to leaks and damage. One common mistake is not aligning the seal properly with the flange, which can result in an improper seal. Make sure the seal is centered and sits evenly on the flange to ensure a tight fit.
Another mistake is over-tightening the toilet bolts, which can cause the seal to compress too much and lose its effectiveness. Regular maintenance is also crucial for toilet seals to prevent leaks and prolong their lifespan. Inspecting the seal for cracks or damage and replacing it if necessary will help maintain a watertight seal.
Proper installation and regular maintenance are key to ensuring a reliable and leak-free toilet seal.
To test and ensure a proper seal, continue to the next section.
Testing and Ensuring a Proper Seal
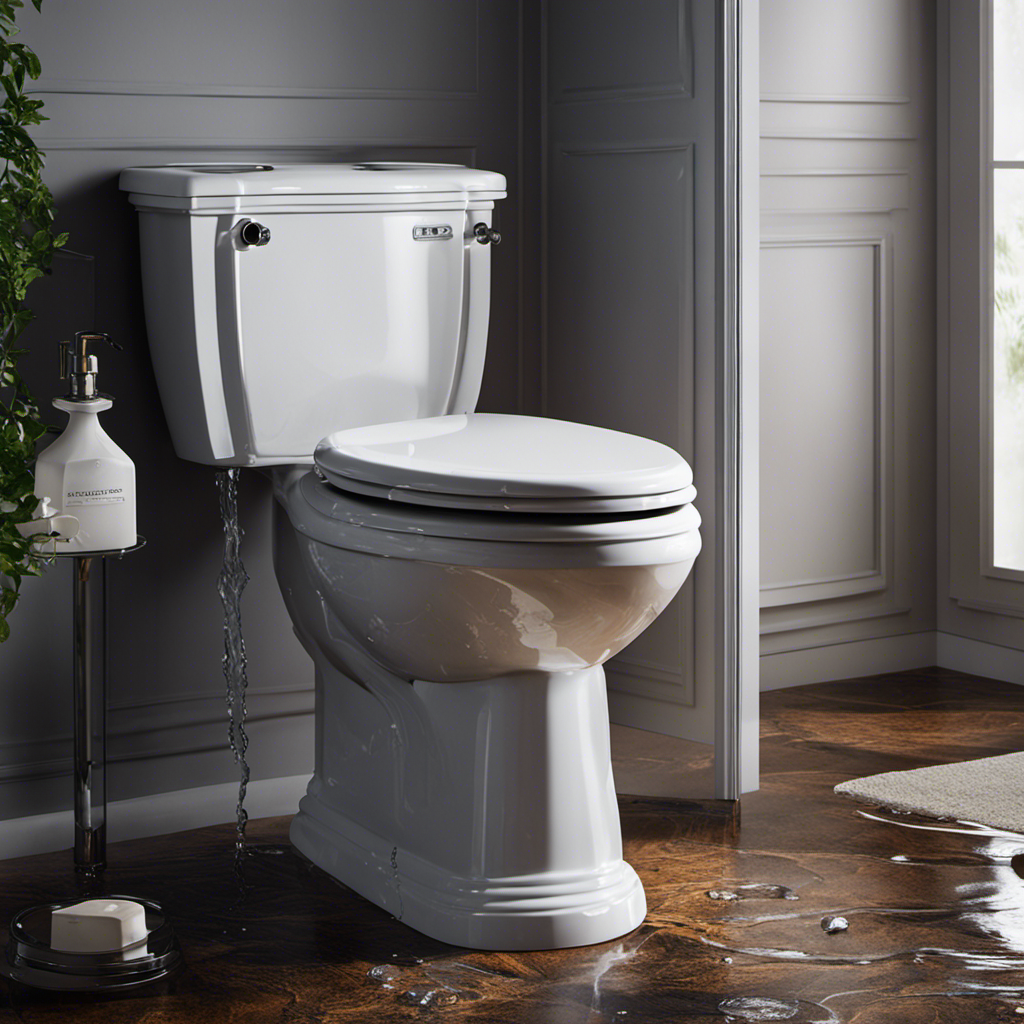
To make sure your installation is successful, try pouring some water around the base of the toilet and check for any signs of leakage. If you notice any leaks after pouring water, it could indicate a problem with the seal. In this case, you may need to tighten the bolts securing the toilet to the floor or replace the wax ring.
Troubleshooting common issues with toilet seals is essential for maintaining a long-lasting seal. Another common issue is a loose or worn-out seal, which can cause leaks. To prevent this, regularly inspect the seal for any signs of wear or damage.
Additionally, make sure to avoid using harsh chemicals or abrasive cleaners, as these can deteriorate the seal over time.
Conclusion
In conclusion, changing a toilet seal is a simple yet crucial task that should not be overlooked. By assessing the condition of the seal and gathering the necessary tools and materials, one can easily remove the old seal and install a new one.
By testing and ensuring a proper seal, one can prevent any potential leaks and maintain the hygiene of their bathroom. So don’t hesitate, take action today and enjoy a leak-free toilet for years to come.

Liam’s journey with us started as a consumer. Having faced challenges while setting up his own modern bathroom, he delved deep into research.
Recognizing his knack for simplifying complex information and his authentic writing style, we were thrilled to welcome him aboard. Liam’s articles often merge practicality with style, ensuring readers find the perfect fit for their homes. Liam is an avid hiker off-duty and often jokes about finding the best “natural toilets” Mother Earth has to offer.