
So, you’ve finally decided to tackle the task of changing your toilet seat cover. Well, fear not! I’m here to guide you through the process step by step.
With the right tools and a little bit of know-how, you’ll have a shiny new seat in no time. Just follow along as I take you through the necessary steps to remove the old cover and install a fresh one.
Get ready to transform your bathroom experience with this simple upgrade. Let’s get started!
Key Takeaways
- Gather the necessary tools, including a screwdriver, wrench, gloves, and disinfectant spray.
- Remove the old toilet seat cover by loosening the screws counterclockwise and lifting it upward.
- Choose a new toilet seat cover with matching hinges and install it by inserting bolts through the holes and securing with nuts.
- Adjust the seat for comfort by ensuring it is securely attached, checking the height, adding padding if desired, and centering it on the toilet bowl.

Bemis 1500EC 390 Lift-Off Wood Elongated Toilet Seat, Cotton White (Pack of 1)
EASY CLEAN: Designed for your convenience, this toilet seat comes with hinges that easily release the seat for…
As an affiliate, we earn on qualifying purchases.
As an affiliate, we earn on qualifying purchases.
Gathering the Necessary Tools
To change the toilet seat cover, you’ll need to gather a few tools.
First, you’ll need to measure the dimensions of your toilet seat. Toilet seat measurements are crucial as they determine the size of the cover you’ll need to purchase.
There are different types of toilet seat covers available, such as plastic, wood, or cushioned seats. Once you have determined the correct measurements and chosen the desired type, you’ll need a screwdriver to remove the old seat cover.
A wrench may also be necessary if the bolts are tight. Additionally, having a pair of gloves and a disinfectant spray is recommended for hygiene purposes.
With these tools in hand, you are now ready to proceed with removing the old toilet seat cover and installing the new one.

Loszaral Universal Toilet Seat Hinges Replacement Kit – Chrome-Plated Metal Hinge Set with Bolts, Screws, Nuts for Most Wooden Toilet Seats – Easy Install Bathroom Hardware Fittings
🔩 【Premium Chrome-Plated Metal】Crafted from solid zinc alloy with advanced chrome plating, these hinges resist rust, corrosion, and…
As an affiliate, we earn on qualifying purchases.
As an affiliate, we earn on qualifying purchases.
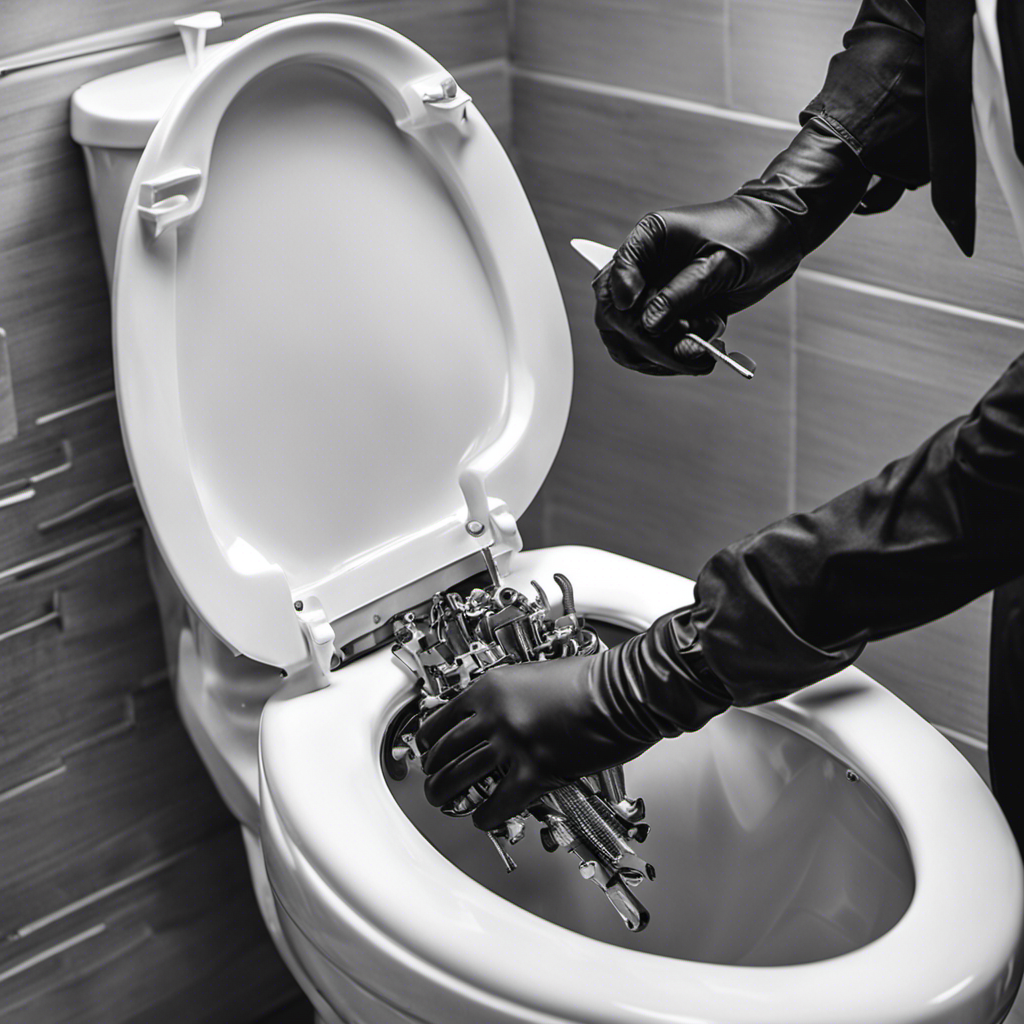
Removing the Old Toilet Seat Cover
First, you’ll need to locate the screws holding the old toilet seat in place. To remove the old toilet seat cover, follow these steps:
- Start by checking the back of the toilet bowl for any visible screws.
- Once you’ve located the screws, use a screwdriver to loosen them counterclockwise.
- Hold the nut under the toilet bowl with a pair of pliers to prevent it from spinning while you loosen the screw.
Once the screws are fully loosened, lift the toilet seat cover upward to remove it from the hinges.
Inspect the hinges for any signs of wear or damage. If necessary, replace the hinges before installing the new toilet seat cover.
When choosing a new design, consider factors such as durability, ease of cleaning, and compatibility with your toilet bowl shape.
Ensure that the new toilet seat cover comes with matching hinges or purchase them separately if needed.
Align the hinges with the holes on the toilet bowl, insert the screws, and tighten them clockwise until secure.
Test the new toilet seat cover to ensure it is securely in place before use.

Mayfair Padded Toilet Seat, Cushioned Soft Vinyl over Wood Core Seat, Secure Hinges, Easy Clean, Made in USA, Round, White
FEATURES THAT ENHANCE YOUR HOME : Padded vinyl cover is easy to clean and wood core adds durability;…
As an affiliate, we earn on qualifying purchases.
As an affiliate, we earn on qualifying purchases.
Installing the New Toilet Seat Cover
Once you’ve chosen a new design, make sure it comes with matching hinges or purchase them separately if needed. Installing hardware is an essential step in replacing a toilet seat cover. Before starting, gather the necessary tools: a screwdriver, adjustable wrench, and pliers. Begin by removing the old seat cover and cleaning the area. Next, place the new seat cover on the toilet bowl, aligning it with the holes. Insert the bolts through the holes, and secure them with the nuts provided. Use the screwdriver and wrench to tighten the nuts until the seat cover is secure. Finally, check for any wobbling or loose fittings and make adjustments as necessary. Choosing the right seat ensures a comfortable and functional bathroom experience.
| Tools Needed | Steps |
|---|---|
| Screwdriver | Remove old seat cover |
| Adjustable wrench | Clean the area |
| Pliers | Place new seat cover |
| Secure with bolts | |
| Tighten with nuts | |
| Check for stability |

VortecSys Upgrade Toilet Seat Fitting Tool, Toilet Seat Repair Wrench 10/13/17mm Professional Universal Plastic High-Strength Installation Tool (1 Pack)
【Universal swivel design】Adopting swivel connector design, no need to repeatedly adjust the angle of the wrist, you can…
As an affiliate, we earn on qualifying purchases.
As an affiliate, we earn on qualifying purchases.
Adjusting the Seat for Comfort
When adjusting the position of the new seat, make sure it is aligned with the toilet bowl for maximum comfort. Here are some important steps to follow while adjusting the seat:
-
Ensure that the seat is securely attached to the toilet bowl using the provided bolts and screws.
-
Sit on the seat to check if it is at the desired height. Adjust the seat by tightening or loosening the bolts accordingly.
-
To enhance comfort, consider adding extra padding to the seat. This can be achieved by using a cushioned toilet seat cover or by attaching foam padding to the underside of the seat.
-
Make sure that the seat is centered on the toilet bowl, allowing for equal weight distribution.
-
Test the seat’s stability by gently rocking it back and forth. If it wobbles, tighten the bolts further.
-
Finally, give the seat a thorough cleaning to remove any dust or debris before using it.
Cleaning and Maintenance Tips
To keep the toilet seat clean and well-maintained, it’s important to regularly wipe it down with a mild disinfectant. This helps to prevent the buildup of bacteria and germs that can cause stains and odors. When choosing cleaning products, opt for ones that are specifically designed for bathroom surfaces and are gentle enough to not damage the seat. Avoid using harsh chemicals or abrasive cleaners, as they can erode the finish and make the seat more susceptible to staining. Additionally, consider using a toilet seat cover or seat protector to provide an extra layer of defense against stains and odors. By following these cleaning and maintenance tips, you can ensure that your toilet seat remains clean, hygienic, and odor-free.
| Cleaning Products | Stain Prevention | Odor Prevention |
|---|---|---|
| Mild disinfectant | Seat protector | Air freshener |
| Bathroom cleaner | Regular wiping | Proper ventilation |
| Non-abrasive cleaner | Quick clean-up | Regular cleaning |
Conclusion
In conclusion, changing a toilet seat cover is a straightforward task that can be easily accomplished with the right tools and a little bit of patience. By following the steps outlined in this article, you can successfully remove the old seat cover, install the new one, and adjust it for maximum comfort.
Remember to clean and maintain your toilet seat regularly to ensure its longevity. With these simple instructions, you’ll be able to tackle this task like a pro in no time, making your bathroom experience a ‘throne fit for a king!’