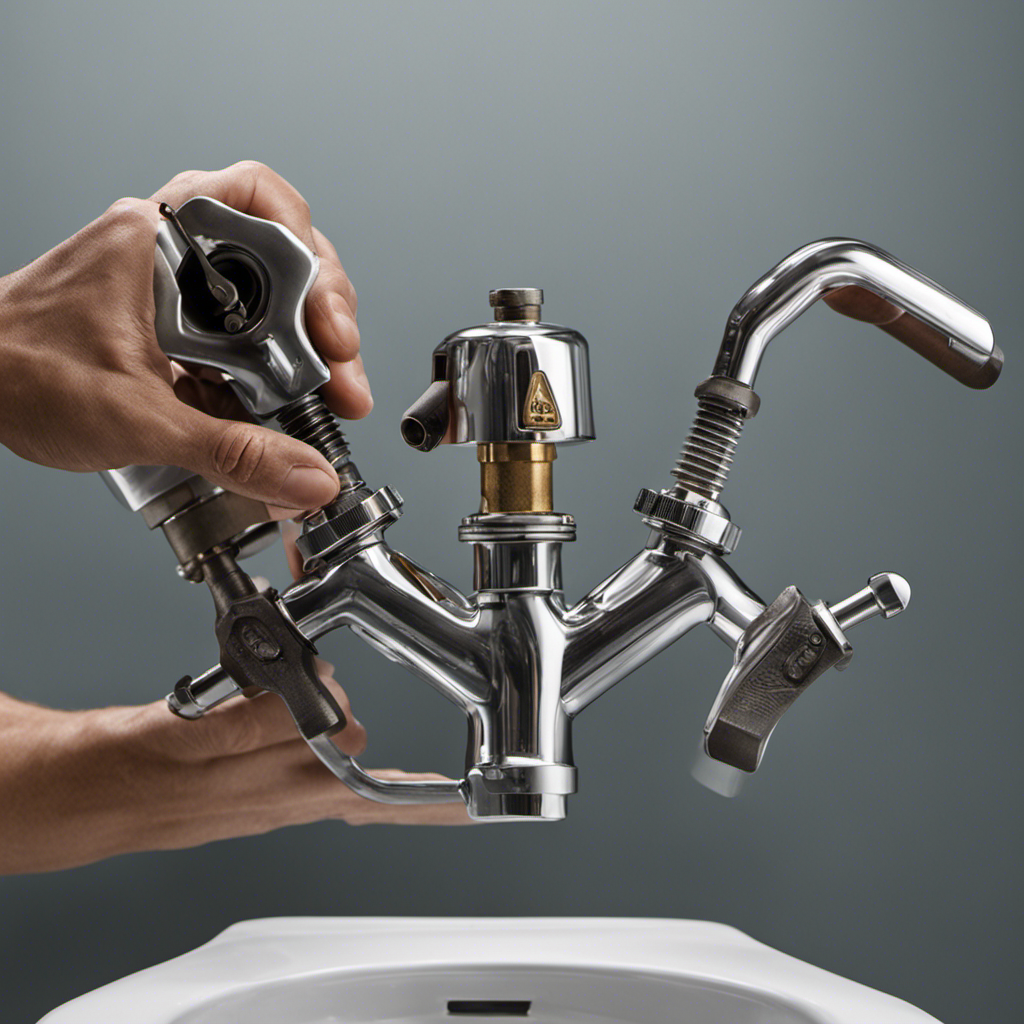
Hey there!
So, you know that feeling when your toilet shut off valve starts acting up? Yeah, it’s not fun. But don’t worry, because I’ve got your back!
In this article, I’m going to walk you through the step-by-step process of changing your toilet shut off valve. Trust me, it’s not as complicated as it sounds. With a few tools and a little know-how, you’ll have that new valve installed and your toilet back in working order in no time.
Let’s get started, shall we?
Key Takeaways
- Inspect the current shut off valve for any damage or corrosion and replace if necessary.
- Gather the necessary tools and materials, such as an adjustable wrench and a replacement shut off valve.
- Learn alternative methods for shutting off the water supply and consider using a dual valve shut-off system for more control.
- Install the new shut off valve by wrapping the threads with plumber’s tape, hand tightening it onto the water supply pipe, and checking for any leaks after turning on the water supply.
Assessing the Current Shut off Valve
Before starting the replacement, it’s important to assess the current shut off valve’s condition. Evaluating the shut off valve condition is crucial to determine if it needs to be replaced or if it can still function properly.
Begin by locating the shut off valve, which is typically found near the base of the toilet. Check for any visible signs of damage or corrosion, such as leaks or rust. Inspect the valve handle to ensure it turns smoothly without any resistance.
Additionally, check the valve’s connections to the water supply line and the toilet itself to ensure they are secure. If any issues are identified during this assessment, it is recommended to replace the shut off valve to prevent future plumbing problems.
Gathering the Necessary Tools and Materials
First, you’ll need to gather all the necessary tools and materials for the job. Here are the items you will need:
-
Adjustable wrench: This tool will be used to loosen and tighten the nuts on the shut off valve and supply line.
-
Bucket or towel: It’s important to have something to catch any water that may leak during the valve replacement.
-
Replacement shut off valve: You will need to purchase a new shut off valve that matches the size and type of your existing valve.
Toilet valve replacement can be a straightforward process if you have the right tools and materials.
Now that you have everything you need, we can move on to the next step of shutting off the water supply.
Shutting off the Water Supply
When it comes to shutting off the water supply, there are alternative methods that can be used. These methods can be useful in situations where the traditional shut-off valve is not accessible or functioning properly.
It is important to know these alternative methods because shutting off the water supply is crucial for performing repairs or maintenance tasks without causing flooding or further damage.
Alternative Water Shut-Off Methods
There’s another option for shutting off the water supply to the toilet. Instead of using a traditional shut-off valve, you can consider using a dual valve shut-off system. This alternative option provides more control and flexibility when it comes to turning off the water flow.
Here are three key features of dual valve shut-off options:
-
Separate controls: With a dual valve system, you have two separate controls for shutting off the water supply. One control is for the hot water line, while the other is for the cold water line. This allows you to shut off one line while keeping the other one running, providing convenience and versatility.
-
Quick and easy installation: Dual valve shut-off systems are designed for easy installation. They often come with clear instructions and require minimal tools. This means you can save time and effort when replacing or repairing your shut-off valves.
-
Alternative shut-off valve materials: In addition to traditional materials like brass or copper, dual valve shut-off options often come in alternative materials such as plastic or stainless steel. These materials offer durability and resistance to corrosion, ensuring a long-lasting and reliable shut-off solution.
Importance of Shutting off
It’s crucial to ensure the water supply is turned off before making any repairs or replacements. Understanding shut off valve maintenance is essential for the proper functioning of your plumbing system.
Regular shut off valve inspections are important to identify any potential issues and prevent water damage. A shut off valve is responsible for controlling the flow of water to a specific fixture or area in your home. Over time, these valves can become corroded or worn out, leading to leaks or malfunctions.
Removing the Old Shut off Valve
To remove the old shut off valve, you’ll need to use a wrench to unscrew it from the water supply line. Evaluating the condition of the valve is crucial as it can determine potential leaks and ensure a smooth replacement process. Here’s a step-by-step guide on removing the old shut off valve:
-
Turn off the water supply: Locate the main water shut off valve and turn it off to prevent any water flow during the removal process.
-
Drain the water: Flush the toilet to drain any remaining water from the tank and bowl.
-
Disconnect the supply line: Use a wrench to loosen the nut connecting the shut off valve to the water supply line. Once loosened, carefully unscrew the valve from the line.
Remember to inspect the valve for any signs of wear or damage, such as corrosion or cracks. This evaluation will help you determine if a replacement is necessary.
Installing the New Shut off Valve
Once you have removed the old shut off valve and inspected it for any damage, you can proceed with installing the new one.
To ensure proper positioning, start by wrapping the threads of the new shut off valve with plumber’s tape in a clockwise direction. This will create a tight seal and prevent any leaks.
Next, hand tighten the new shut off valve onto the water supply pipe, making sure it is aligned correctly. Use an adjustable wrench to give it a quarter turn to ensure a secure connection. Be careful not to overtighten, as this can damage the valve or the pipe.
Once the valve is securely in place, turn on the water supply and check for any leaks. If there are no leaks, congratulations! You have successfully installed the new shut off valve.
Testing the New Shut off Valve
Now that the new shut off valve is securely in place, you can test it for any potential leaks. Proper testing techniques are essential to ensure the valve’s reliability and performance. Here are three steps to evaluate its performance:
-
Turn on the water supply: Slowly open the shut off valve to allow water to flow into the toilet tank. Observe if there are any leaks around the valve or the connecting pipes.
-
Check for water pressure: Flush the toilet and observe the water pressure. The valve should allow sufficient water flow without any disruptions or pressure fluctuations.
-
Inspect for any leaks: After flushing, carefully examine the valve and surrounding pipes for any signs of water leakage. Pay attention to any drips or moisture buildup.
Troubleshooting Common Issues
If you are experiencing common issues with your plumbing system, there are several troubleshooting steps you can take to identify and resolve the problem.
One of the most common issues is a leak in your plumbing system. To fix leaks, start by inspecting all visible pipes and connections for any signs of water leakage. Tighten loose connections using a wrench and replace any damaged or worn out parts, such as O-rings or washers.
Another common issue is the need for replacing worn out parts. If you notice that your toilet is not flushing properly or is constantly running, it may be due to a worn out flapper or fill valve. In this case, you can easily replace these parts with new ones to restore the proper functioning of your toilet.
Frequently Asked Questions
How Long Does It Typically Take to Change a Toilet Shut off Valve?
It typically takes about 30 minutes to change a toilet shut off valve. However, it is important to troubleshoot and maintain the valve regularly to prevent any issues in the future.
Can I Change a Toilet Shut off Valve Without Turning off the Water Supply to the Entire House?
No, you cannot change a toilet shut off valve without turning off the water supply to just the toilet. However, there are alternative options for temporarily shutting off the water supply during the valve replacement.
What Are Some Common Signs That a Toilet Shut off Valve Needs to Be Replaced?
Some common signs of a faulty shut off valve include leaks, difficulty turning the valve, and water not fully shutting off. To troubleshoot a malfunctioning shut off valve, check for these signs and consider replacing the valve if necessary.
Is It Necessary to Hire a Professional Plumber to Change a Toilet Shut off Valve, or Can It Be Done as a DIY Project?
I can change a toilet shut off valve as a DIY project. The pros are saving money and gaining knowledge. The cons are potential mistakes and lack of experience. Tools needed are adjustable wrench, Teflon tape, and a bucket.
Are There Any Specific Safety Precautions to Take When Changing a Toilet Shut off Valve?
When changing a toilet shut off valve, it’s important to take specific safety precautions. Make sure to turn off the water supply, wear protective gloves, and use the necessary tools, such as a wrench or pliers.
Conclusion
In conclusion, changing a toilet shut off valve is a simple yet crucial task that any homeowner can accomplish.
By carefully assessing the current valve, gathering the necessary tools and materials, shutting off the water supply, removing the old valve, and installing the new one, you can ensure a smooth and leak-free operation of your toilet.
Remember to test the new valve thoroughly to avoid any unexpected surprises. And if you encounter any issues, don’t worry – troubleshooting common problems is a breeze.
So go ahead, take the plunge, and become a DIY plumbing hero in your own home!


