Have you ever wondered how to change the wax seal on your toilet? Well, look no further! In this article, I’ll guide you through the step-by-step process of replacing the wax seal, ensuring a secure and leak-free connection.
With just a few tools and a little know-how, you’ll be able to tackle this essential maintenance task with confidence.
So, let’s get started and keep your bathroom in top shape!
Key Takeaways
- Thoroughly clean the toilet before replacing the wax seal, ensuring the rim and under the seat are clean.
- Use a plastic scraper and warm, soapy water to remove the old wax seal without using abrasive materials or harsh chemicals.
- Regularly replace the wax seal every few years to maintain a proper seal and prevent leaks.
- When installing the new wax seal, ensure it is centered on the flange and apply even pressure to create a watertight seal.

Geberit G111902005 Duofix Carrier 2x6 Installation for 1.28 GPF Wall Hung Toilets with Concealed Dual Flush Tank
Tank and carrier covered by limited lifetime warranty
As an affiliate, we earn on qualifying purchases.
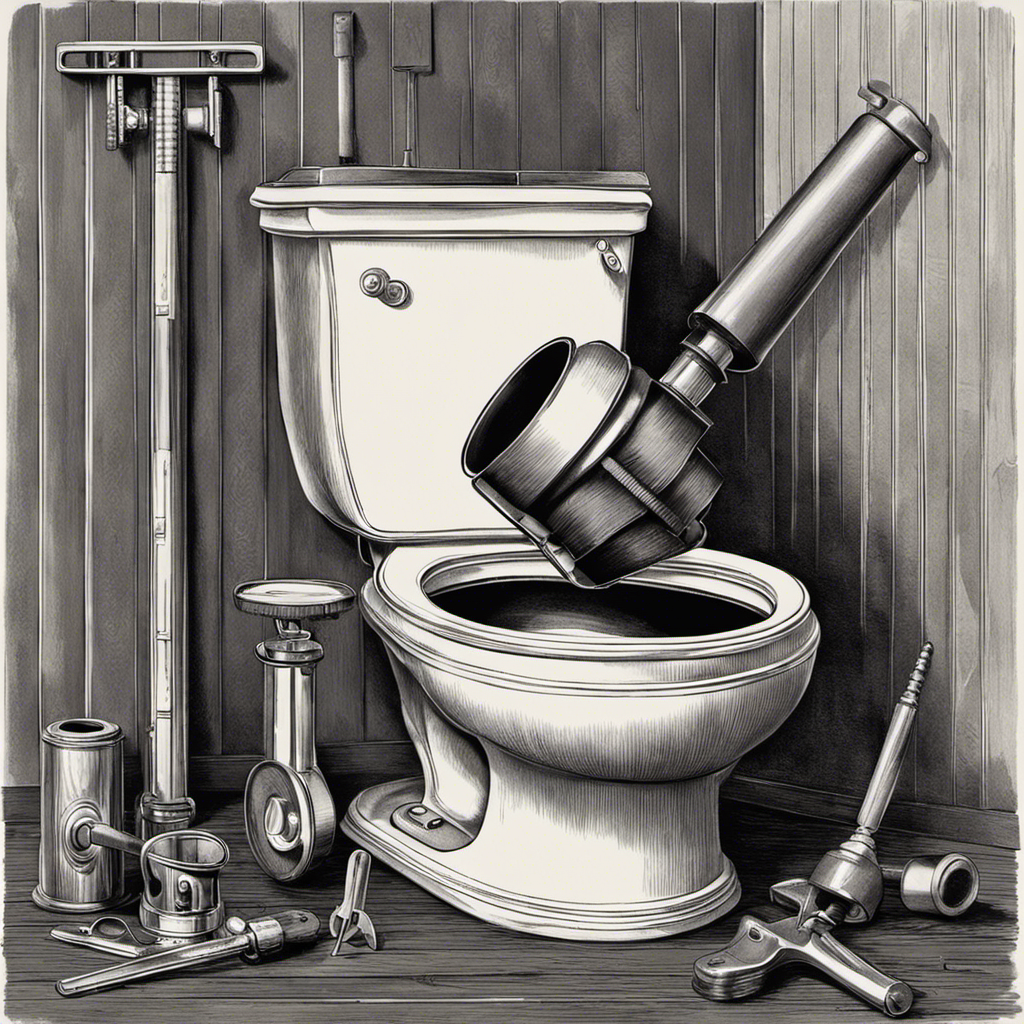
Tools Needed for Changing the Wax Seal
To change the wax seal on your toilet, you’ll need a few tools.
The first tool you’ll need is a putty knife or a scraper. This will help you remove the old wax seal from the base of the toilet.
Next, you’ll need a wrench to loosen and remove the bolts that hold the toilet in place. Make sure to have a bucket or a towel handy to catch any water that may spill out during the process.
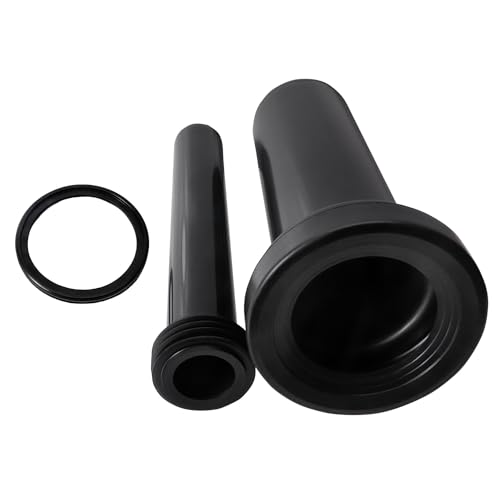
Once the toilet is removed, you’ll need a new wax seal to replace the old one. Alternatively, you can also use wax seal alternatives such as rubber gaskets or foam rings. These alternatives are easier to install and provide a more secure seal.
With these tools in hand, you’ll be ready to tackle your toilet installation with confidence.
HOROW Concealed Toilet Tank Carrier, In-Wall Carrier System for Wall Hung Toilets, Wall Mounted Toilet Carrier with Chrome Actuator Plate, 1.1 GPF / 1.6 GPF Dual Flush
Widely Compatible: Our HOROW wall mounted toilet tank carrier is compatible with most wall hung toilets.
As an affiliate, we earn on qualifying purchases.
Preparing the Toilet for Wax Seal Replacement
Before replacing the wax seal on a toilet, it’s crucial to thoroughly clean the toilet to ensure a proper installation. Cleaning the toilet involves removing any dirt, grime, and residue that may be present on the surface.
Once the toilet is clean, the next step is to remove the old wax seal. The old wax seal is typically located between the base of the toilet and the flange.
Toilet Cleaning Before Replacement
Cleaning the toilet thoroughly is essential when preparing to replace the wax seal. Here are some toilet cleaning tips and common mistakes to avoid:
-
Use an effective cleaner: Choose a toilet bowl cleaner that is specifically designed to remove stains and grime. Apply the cleaner to the inside of the bowl and let it sit for a few minutes before scrubbing with a toilet brush.
-
Pay attention to the rim and under the seat: These areas often accumulate dirt and bacteria. Use a disinfectant spray and a cloth or brush to clean them thoroughly.
-
Don’t forget the exterior: Wipe down the outside of the toilet, including the tank and base, with a disinfectant cleaner. Pay special attention to any visible stains or marks.
-
Rinse and dry: After cleaning, flush the toilet to rinse away any remaining cleaner. Then, dry the toilet with a clean cloth to prevent water spots and ensure a clean surface for the wax seal replacement.
Removing Old Wax Seal
Once the old wax seal has been removed, it’s important to clean any residue left behind.
To do this, I recommend using a few essential tools for removing the wax seal.
First, a plastic scraper can be used to gently scrape away any excess wax without scratching the toilet surface.
Next, a soft cloth or sponge soaked in warm, soapy water can be used to wipe away the remaining residue.
It’s crucial to avoid using abrasive materials or harsh chemicals that could damage the toilet.
Common mistakes when removing a wax seal include using excessive force, which can crack the toilet or cause leaks, and not thoroughly cleaning the residue, which can prevent a proper seal with the new wax ring.
With the residue cleaned, we can now move on to removing the old wax seal.
OasisFlow Wall Hung Toilet Extended Pipe Connector, Easy Installation and Leak Prevention Compatible with Geberit 152.438.46.1 Toilets and Bidets Parts, Reliable Wall Hung Toilet Gasket Included
Compatible with Geberit Wall-Hung Toilets: Specifically designed for use with Geberit wall-hung toilet hidden water tanks, this connector...
As an affiliate, we earn on qualifying purchases.
Removing the Old Wax Seal
When it comes to removing the old wax seal from a toilet, there are a few key points to keep in mind.
First, it’s important to ensure proper seal removal to avoid any damage to the toilet or the surrounding area.
Secondly, having the right tools for the job is essential, such as a putty knife or scraper and gloves to protect your hands.
Lastly, it’s crucial to be mindful of potential seal damage during the removal process, as this can affect the effectiveness of the new wax seal installation.
Proper Seal Removal
To properly remove the wax seal on your toilet, you’ll need to gently pry it away using a putty knife or similar tool. Here are the steps to follow:
-
Turn off the water supply: Before you begin, shut off the water supply to the toilet to prevent any leaks or spills.
-
Empty the tank and bowl: Flush the toilet to drain the water from the tank and bowl. Use a sponge or towel to soak up any remaining water.
-
Loosen the bolts: Locate the bolts that secure the toilet to the floor and loosen them using a wrench. This will allow you to lift the toilet off the wax seal.
-
Remove the wax seal: Carefully insert the putty knife under the wax seal and gently pry it away from the floor. Be cautious not to damage the toilet or the flange.
Tools Needed for Removal
You’ll need a putty knife or similar tool to gently pry away the wax seal on your toilet. This step is crucial in toilet repair and DIY plumbing.
The putty knife will help you lift the toilet off the floor without damaging the seal or the toilet itself. It’s important to be careful while using the tool to avoid any potential seal damage.
Once you have loosened the wax seal, you can proceed with removing the toilet and replacing the seal. Taking the time to properly remove the wax seal will ensure a successful repair job and prevent any future leaks or issues.
Now that you know how to remove the seal, let’s move on to the next step: checking for potential damage.
Potential Seal Damage
Carefully inspecting for any possible harm is essential after removing the wax seal on your toilet. Damage to the seal can lead to leaks and other plumbing issues. Here are four potential causes of seal damage and prevention methods to keep in mind:
-
Age and deterioration: Over time, the wax seal can wear out and become less effective. Regularly replacing the wax seal every few years can prevent potential damage.
-
Improper installation: If the wax seal is not installed correctly, it can cause leaks. Make sure to follow proper installation techniques or hire a professional to ensure a secure and watertight seal.
-
Toilet movement: Excessive movement or rocking of the toilet can cause the wax seal to break or become dislodged. Secure the toilet properly and avoid excessive force or weight on the fixture.
-
Chemical cleaners: Harsh chemicals can deteriorate the wax seal. Use gentle cleaners or natural alternatives to prevent damage.
Los Flexi Concealed In-Wall Toilet Tank Carrier for Wall Hung Toilets, 0.8/1.6 GPF Dual Flush, Adjustable Height Tank Carrier, Includes Flush Actuator Plate for Wall Mount Toilet Setup
Durable Steel Construction: This in-wall toilet tank system supports most wall hung toilets with a sturdy steel frame,...
As an affiliate, we earn on qualifying purchases.
Installing the New Wax Seal
First, remove the old wax seal from the bottom of the toilet. This step is crucial for a proper installation of the new wax seal.
To install the new wax seal, place it on the flange, making sure it is centered. Gently press down on the toilet, allowing the wax seal to create a watertight seal between the toilet and the flange. Apply even pressure to ensure a secure fit.
Once the toilet is in place, tighten the bolts evenly to secure it to the floor. If you encounter any leaks, check for misalignment or gaps between the toilet and the flange. Adjust the toilet as necessary and reapply pressure to the wax seal until the leak is resolved.
Reattaching the Toilet and Testing for Leaks
Once the toilet is back in place, check for any signs of leaks to ensure a proper reattachment.
Here are some toilet repair tips for troubleshooting common toilet problems:
-
Inspect the wax seal: Look for any cracks or damage to the wax seal. If necessary, replace it with a new one to prevent leaks.
-
Tighten the bolts: Make sure the bolts securing the toilet to the floor are tightened properly. Loose bolts can cause leaks and wobbling.
-
Check the water supply line: Ensure that the water supply line is securely connected and not leaking. Replace any damaged or worn-out parts if needed.
-
Test for leaks: Flush the toilet and observe if there are any leaks around the base or at the connection points. If you notice any leaks, address them promptly to prevent further damage.
Proper Maintenance of Wax Seals for Longevity
To ensure the longevity of your wax seal, regularly inspect it for cracks or damage and promptly replace it if necessary.
Wax seals are commonly used in toilets to create a watertight seal between the toilet and the floor. However, there are alternative options available such as rubber seals or foam gaskets that can be used instead.
If you notice any issues with your wax seal, such as leaks or a foul odor, troubleshooting the problem is essential. Common seal issues include improper installation, improper alignment, or damage to the seal itself.
Frequently Asked Questions
How Often Should the Wax Seal on a Toilet Be Replaced?
I replace the wax seal on my toilet every 5-7 years to ensure a proper seal and prevent leaks. Knowing how often to replace it and how to do it properly is essential for maintaining a functioning toilet.
Can a Wax Seal Be Reused After It Has Been Removed?
Yes, a wax seal can be reused after it’s been removed, though it’s not recommended. There are alternatives like rubber seals or wax-free gaskets that provide a more reliable and easier-to-install option.
Are There Any Signs or Symptoms That Indicate a Wax Seal Needs to Be Replaced?
There are several signs that indicate a wax seal needs to be replaced, such as water leaks around the base of the toilet or foul odors. To replace the wax seal without removing the toilet, follow these steps.
Is It Necessary to Remove the Entire Toilet in Order to Replace the Wax Seal?
No need to panic! Removing the toilet to replace the wax seal isn’t always necessary. With proper techniques and tools, you can change the wax seal without going through the whole toilet-removal process. Trust me, it’s doable!
Can a Wax Seal Be Replaced Without the Help of a Professional Plumber?
Replacing a wax seal on a toilet can be done without the help of a professional plumber. With the right tools and instructions, DIY wax seal replacement is a manageable task for most homeowners.
Conclusion
In conclusion, the process of changing a wax seal on a toilet is not as daunting as it may seem. By following the steps outlined in this article, you can successfully replace the old wax seal with a new one, ensuring a tight and leak-free seal.
Just like the wax seal acts as a barrier between the toilet and the floor, symbolizing protection and stability, this maintenance task will safeguard your bathroom from any potential water damage.
Remember to regularly maintain your wax seals to prolong their lifespan and maintain a well-functioning toilet.