I’ve always been amazed by the cleaning power of vinegar.
Did you know that vinegar can effectively clean your toilet tank?
In this step-by-step guide, I’ll show you how to clean your toilet tank using vinegar.
With just a few supplies and some simple steps, you’ll be able to keep your toilet tank clean and fresh.
Say goodbye to stubborn stains and unpleasant odors – vinegar is here to save the day!
Key Takeaways
- Vinegar is a natural and eco-friendly cleaning solution for the toilet tank.
- Vinegar effectively removes stains, mineral deposits, and unpleasant odors.
- Vinegar contains acetic acid, which acts as a powerful disinfectant and kills bacteria, mold, and mildew.
- Regular maintenance and cleaning with vinegar can prevent mineral buildup in the toilet tank.

GIOTOHUN Cat Water Fountain Filter: 12 Cat Fountain Filter Replacement - 12 Pet Fountains Filters Replacement - 6 Filters & 6 Sponges - Suitable for ATMZIQXR GIOTOHUN KOOGMOON UMOCUOY IHOUONE HOOISE
- Compatible with GIOTOHUN Stainless Steel Fountain: Fits GIOTOHUN 2.2L cat water dispenser
- Set of 12 Filters: Includes 6 carbon and 6 sponge filters
- Long-lasting Filters: Suitable for 3-6 months of use
As an affiliate, we earn on qualifying purchases.
Understanding the Benefits of Using Vinegar for Cleaning
You’ll be amazed at the benefits of using vinegar for cleaning your toilet tank. Not only is vinegar a natural and eco-friendly solution, but it is also highly effective in removing stains, mineral deposits, and unpleasant odors.
Vinegar contains acetic acid, which acts as a powerful disinfectant. It kills bacteria, mold, and mildew, making your toilet tank cleaner and safer.
Moreover, vinegar is versatile and can be used for other household cleaning tasks. It can be used to clean windows, countertops, and even laundry. The best part is that vinegar is inexpensive and readily available.
If you’re looking for an alternative cleaning solution to vinegar, you can try using baking soda, lemon juice, or hydrogen peroxide. However, vinegar remains the go-to option for many due to its numerous benefits.
Gathering the Necessary Supplies for Cleaning the Toilet Tank
To get ready for the task at hand, make sure you’ve gathered all the supplies needed for the job. Here is a list of things you will need:
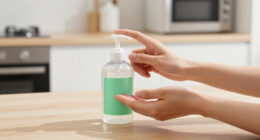
- Vinegar: A powerful cleaning agent that helps break down stains and remove bacteria.
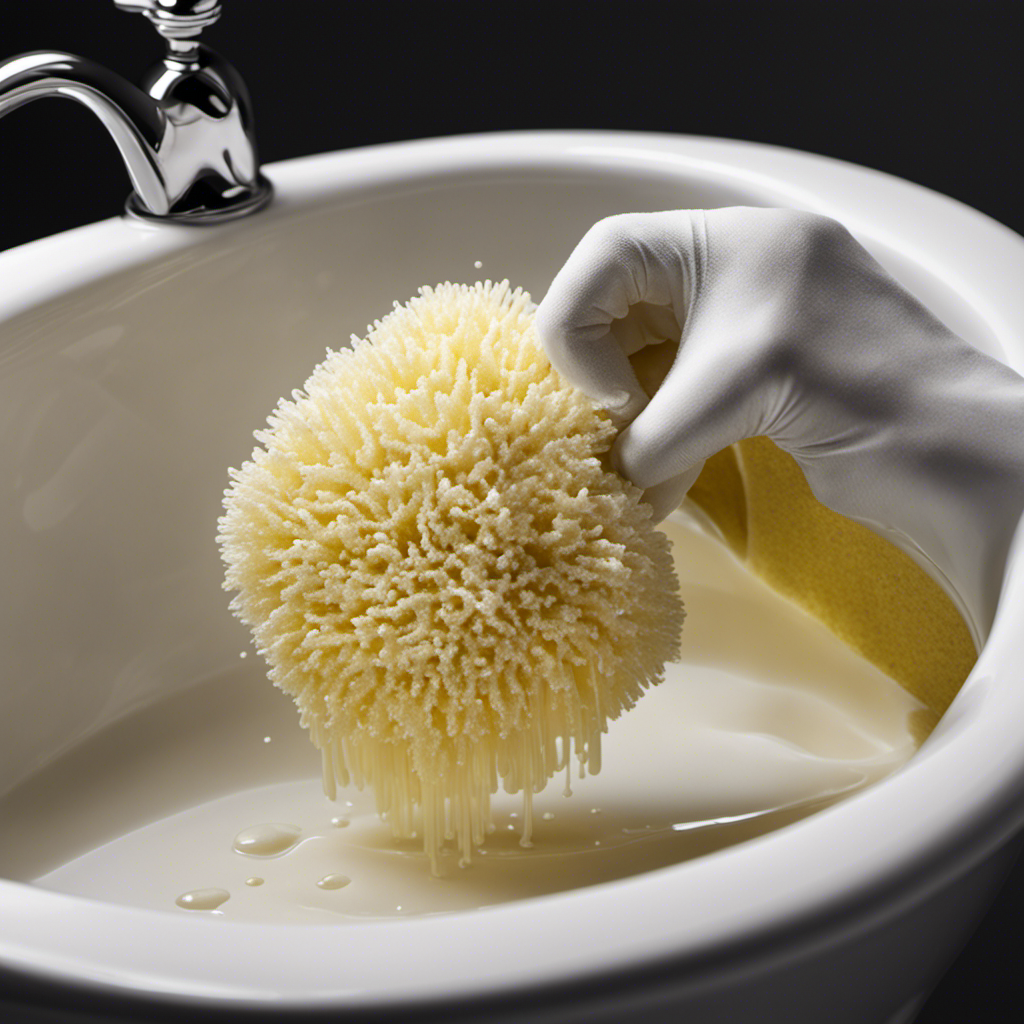
- Rubber gloves: Protect your hands from any potential irritants or chemicals.
- Scrub brush: Use a brush with stiff bristles to scrub away any dirt or grime.
Now that you have all the necessary supplies, you can proceed with the cleaning process.
However, before you begin, it is important to take some safety precautions. Make sure to ventilate the area by opening windows or turning on a fan. Also, avoid mixing vinegar with any other cleaning products, as it can create harmful fumes. Lastly, remember to follow the instructions on the cleaning products and any warnings or precautions mentioned on their labels.
With these precautions in mind, you are ready to start cleaning your toilet tank with vinegar.
Draining and Disassembling the Toilet Tank
Before draining and disassembling the toilet tank, gather a bucket and turn off the water supply valve. This step is crucial to ensure a smooth and hassle-free maintenance process.
To prevent mineral buildup in your toilet tank, regular maintenance is essential. Mineral deposits can affect the flushing mechanism and reduce the efficiency of your toilet.
To begin, place the bucket beneath the toilet tank to catch any water that may spill. Next, locate the water supply valve, usually located near the bottom left side of the toilet tank. Turn the valve clockwise until it is fully closed.
Once the water supply is turned off, flush the toilet to drain any remaining water from the tank.
Applying Vinegar to Clean the Toilet Tank
Once the water supply valve is turned off, it’s time to apply vinegar and eliminate any stubborn stains or odors in the toilet tank. Vinegar is a versatile and effective cleaning agent that can help remove dirt, grime, and mineral deposits from the tank. Here are some vinegar cleaning tips for removing toilet tank stains:
-
Pour vinegar into the tank: Start by pouring one to two cups of vinegar into the toilet tank. Make sure to cover the stained areas completely.
-
Let it sit: Allow the vinegar to sit in the tank for at least 30 minutes. This will give it time to break down the stains and eliminate any unpleasant odors.
-
Scrub and rinse: After the vinegar has had time to work its magic, scrub the tank with a brush to remove any remaining stains. Finally, flush the toilet to rinse away the vinegar and reveal a clean, fresh-smelling tank.
Reassembling and Maintaining a Clean Toilet Tank
When reassembling a clean toilet tank, it’s important to ensure all components are securely tightened to prevent any leaks. Follow these step-by-step reassembling instructions to maintain a clean toilet tank and prevent future buildup.
First, place the tank onto the bowl, aligning the mounting holes. Insert the tank bolts through the holes, securing them with the nuts provided. Use a wrench to tighten the nuts, but be careful not to overtighten and crack the tank.
Next, reattach the water supply line to the fill valve, ensuring it is screwed on tightly. Connect the flapper chain to the flush lever, ensuring proper positioning for a smooth flush.
Conclusion
In conclusion, cleaning your toilet tank with vinegar can be a game-changer in maintaining a fresh and hygienic bathroom. The benefits of using vinegar are numerous. It has disinfecting properties and is natural and non-toxic. By following the step-by-step process outlined in this article, you can easily drain, disassemble, and clean your toilet tank using vinegar.
The result will be a sparkling clean tank that not only looks great but also ensures a healthier and odor-free bathroom experience. So don’t wait any longer, grab your vinegar and get ready to revolutionize your toilet cleaning routine.
It’s time to say goodbye to those stubborn stains and hello to a toilet that shines brighter than the sun!