I’ve always wanted to update my bathroom with peel and stick tile, but I was unsure how to tackle cutting it around the toilet.
Well, fear no more! In this article, I’ll guide you through the step-by-step process of measuring, marking, and cutting peel and stick tile around your toilet.
With the right tools and a little patience, you’ll be able to achieve a professional and seamless finish that will transform your bathroom in no time.
Let’s dive in!
Key Takeaways
- Accurate measuring and marking are essential for a precise fit and professional-looking result when cutting peel and stick tile around a toilet.
- Choose the right adhesive specifically designed for peel and stick tiles to ensure proper installation and prevent adhesive failure.
- Utilize a tile cutter or the score-and-snap method for straight cuts, and consider using a wet saw or rotary tool for curved cuts around the toilet base.
- After installing the cut tiles, grout the gaps between them for a polished look, and select the appropriate grout based on factors such as color, texture, and durability.
Measuring and Marking the Tile
Before you start cutting the peel and stick tile, make sure to measure and mark the tile accurately. This is an essential step to ensure a precise fit and a professional-looking result.
When measuring the tile, use a tape measure to determine the dimensions needed for the specific area where the tile will be installed. Take into consideration any obstacles, such as the toilet, and make necessary adjustments to the measurements.
Once you have the correct measurements, use a pencil or marker to mark the tile accordingly. This will serve as a guide when cutting the tile, ensuring that you cut it to the correct size and shape.
Preparing the Tile for Cutting
Once you’ve measured and marked the area, you’re ready to start preparing the tile for cutting. Before you begin, it’s important to choose the right adhesive for peel and stick tiles. The adhesive you choose should be specifically designed for this type of tile and provide a strong bond to ensure the tiles stay in place.
To maintain the cleanliness of peel and stick tiles around the toilet, here are some helpful tips:
-
Clean regularly: Wipe the tiles with a damp cloth or mop to remove any dirt or spills.
-
Use mild cleaners: Avoid harsh chemicals that can damage the tiles. Instead, use mild soap and water or a gentle tile cleaner.
-
Dry thoroughly: After cleaning, make sure to dry the tiles completely to prevent water damage or mold growth.
-
Avoid excess moisture: Be mindful of any water spills around the toilet and promptly clean them up to prevent damage to the adhesive.
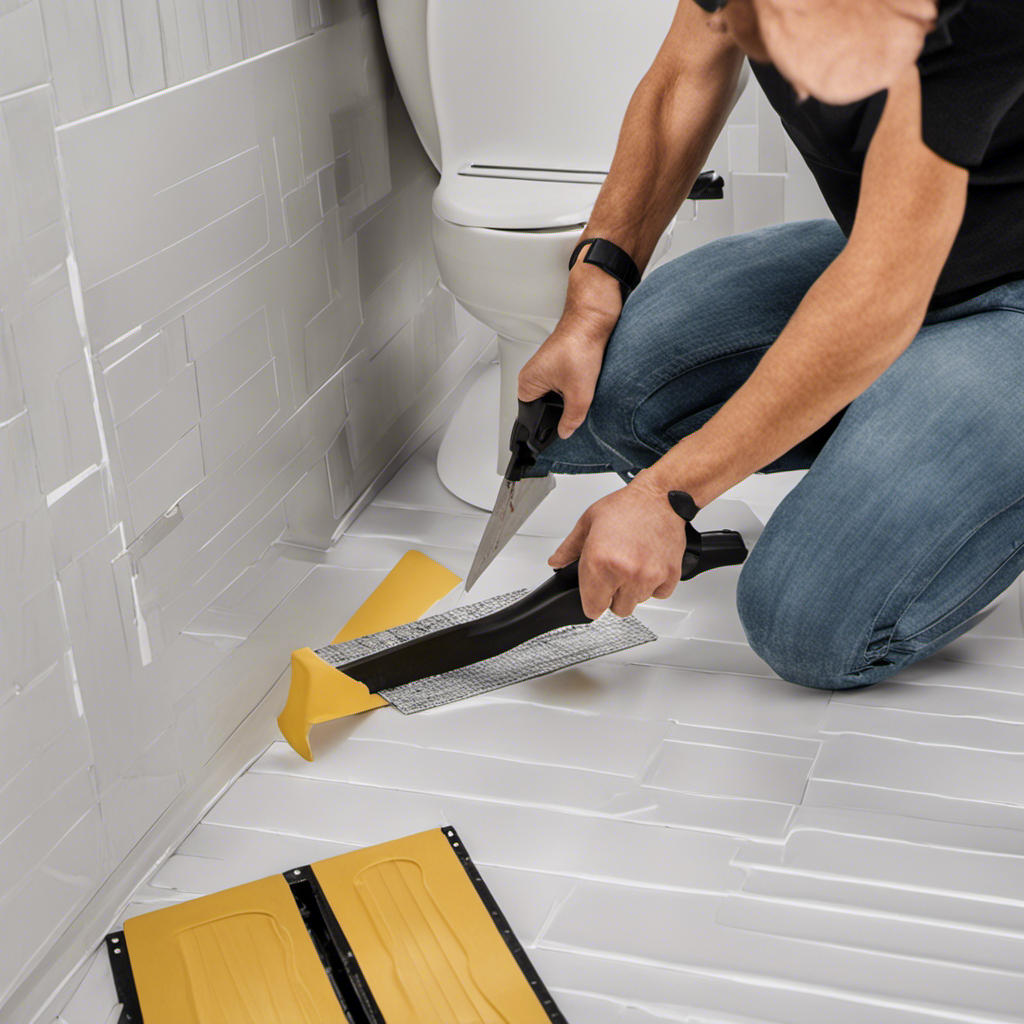
Using a Tile Cutter or Score-and-Snap Method
To achieve clean and precise cuts, you’ll want to utilize either a tile cutter or the score-and-snap method. These are two alternative cutting methods commonly used when working with peel and stick tile. Let’s discuss the pros and cons of each technique.
A tile cutter is a tool specifically designed for cutting tiles. It features a sharp cutting wheel that scores the surface of the tile, allowing for a clean break. This method is ideal for straight cuts and provides accurate results. However, it may not be suitable for small or intricate cuts.
On the other hand, the score-and-snap method involves scoring the tile’s surface with a utility knife and then snapping it along the scored line. This technique is more versatile and can be used for both straight and curved cuts. However, it may not produce as clean and precise cuts as a tile cutter.
Now, let’s move on to the next section and learn about making curved cuts for the toilet base.
Making Curved Cuts for Toilet Base
When using a tile cutter or the score-and-snap method to make cuts, it’s important to consider the shape of the toilet base. However, if you’re dealing with curved cuts around the toilet base, these traditional methods may not be the most effective.
In such cases, there are alternative cutting methods you can employ. One option is to use a wet saw with a diamond blade. This allows for more precise and intricate cuts, ensuring a seamless finish. Another alternative is to use a rotary tool with a diamond cutting wheel. This method is especially useful for small, intricate cuts.
When cutting peel and stick tile around the toilet, it’s crucial to take your time and measure accurately. Additionally, using a sharp utility knife or a pair of tile nippers can help achieve clean and precise cuts.
Installing and Finishing the Cut Tiles
After installing the cut tiles, it’s essential to grout the gaps between them for a polished look. Grouting not only enhances the overall appearance but also provides stability and prevents moisture from seeping through.
When it comes to troubleshooting common issues during tile installation, one of the most common problems is adhesive failure. Choosing the right adhesive for peel and stick tiles is crucial. Make sure to select an adhesive that is specifically designed for this type of tile and suitable for the surface you are working on.
Additionally, selecting the right grout is equally important. Consider factors such as color, texture, and durability when choosing the grout for your peel and stick tiles.
Following these guidelines will ensure a successful and long-lasting tile installation.
Frequently Asked Questions
Can I Use Regular Scissors to Cut Peel and Stick Tile Around a Toilet?
Regular scissors can be used to cut peel and stick tile around a toilet, but a tile cutter is often more precise. When cutting around tricky obstacles, like toilets, it’s helpful to measure carefully and make small, precise cuts.
What Type of Adhesive Should I Use to Secure the Cut Tiles Around the Toilet?
When securing cut tiles around a toilet, choosing the right adhesive is crucial. Properly measuring and cutting peel and stick tiles ensures a perfect fit. Take the time to research and find the best adhesive for your project.
How Long Should I Let the Adhesive Dry Before Applying Grout to the Cut Tiles?
I let the adhesive dry for at least 24 hours before applying grout to the cut tiles. This ensures that the tiles are securely in place and the grouting process goes smoothly.
Can I Use a Utility Knife Instead of a Tile Cutter for Making Straight Cuts on the Peel and Stick Tile?
Yes, a utility knife can be used instead of a tile cutter for making straight cuts on peel and stick tile. However, a tile cutter offers more precision and control. Regular scissors have the advantage of easily cutting curved or irregular shapes.
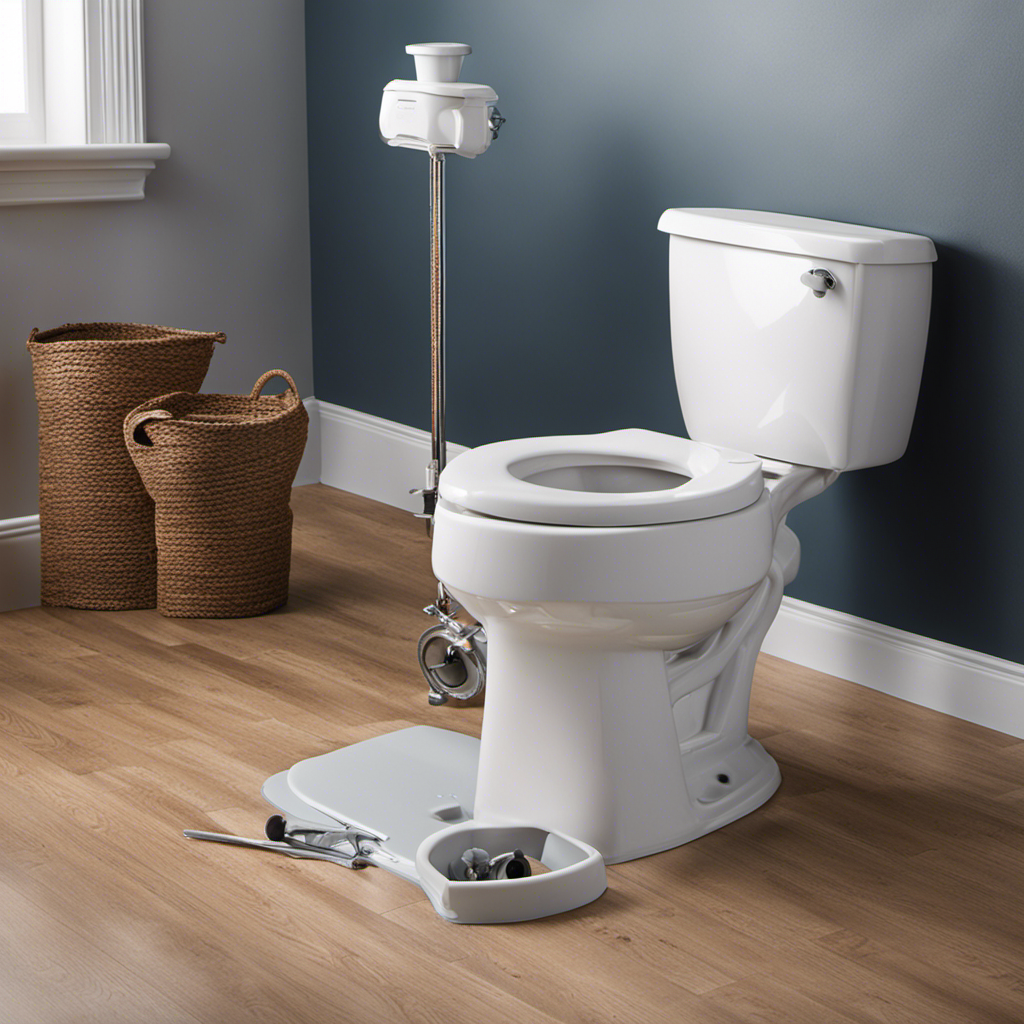
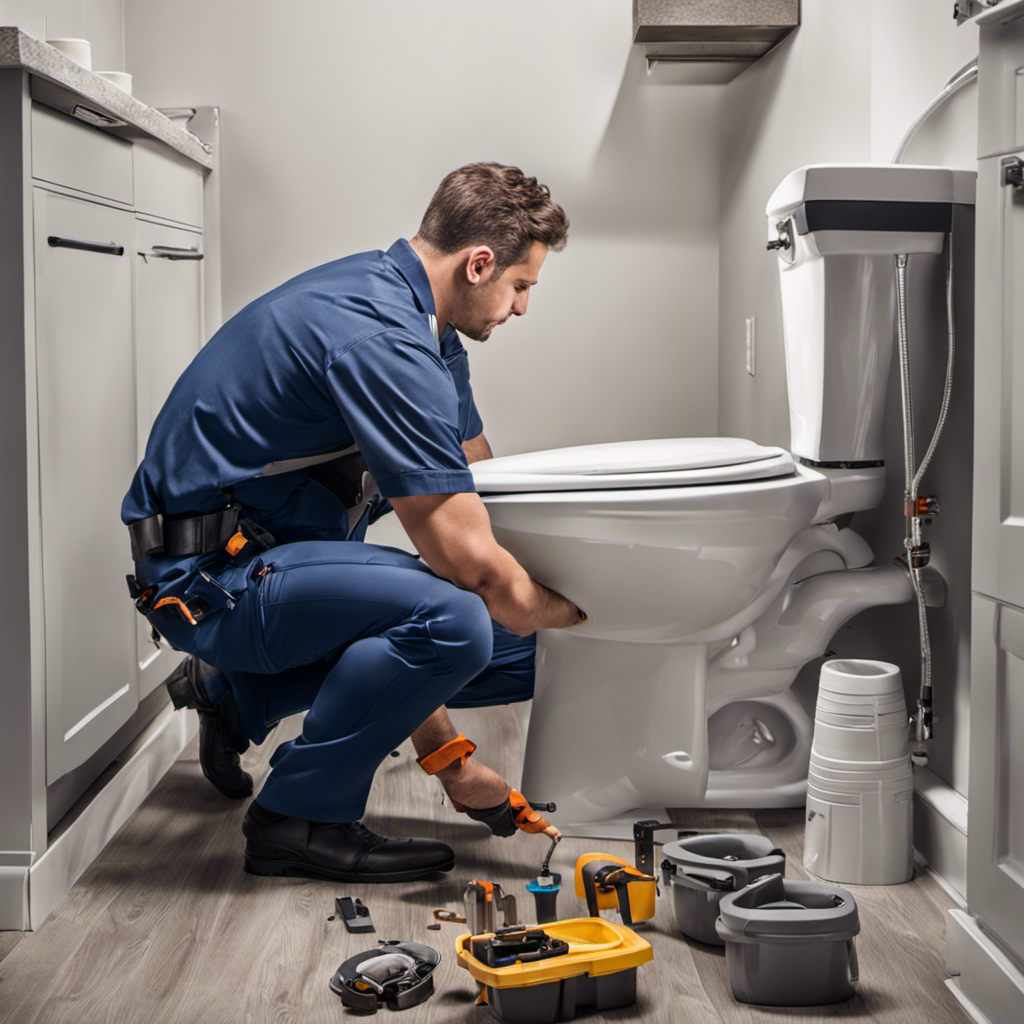
Should I Remove the Toilet Before Cutting and Installing the Peel and Stick Tile?
Before cutting and installing peel and stick tile around a toilet, it is not necessary to remove the toilet. However, it is important to measure and cut the tile carefully to ensure a proper fit.
Conclusion
In conclusion, cutting peel and stick tile around a toilet may seem like a daunting task, but with the right tools and techniques, it can be done smoothly.
Just like a skilled artist carefully crafting a masterpiece, measuring, marking, and cutting the tile requires precision and attention to detail.
By following the steps outlined in this article, you can achieve a professional-looking installation that will leave your bathroom shining like a polished gem.
So don’t be afraid to tackle this project and transform your space into a work of art.

Mateo’s flair for writing is matched only by his keen eye for design. As an interior designer turned writer, Mateo brings a unique perspective. He blends aesthetics with functionality in every piece he pens, providing readers with beautifully crafted content that’s also supremely useful.
Mateo loves exploring the latest bathroom tech trends and is our expert on smart toilets. When he’s not writing or designing, Mateo can be found sketching ideas for his next big project at local coffee shops.