Ever wondered how to drain a toilet for removal? Well, I’ve got you covered. In this step-by-step guide, I’ll show you exactly how to tackle this task with ease.
First, we’ll gather the necessary tools, including a bucket, pliers, and a sponge. These will come in handy throughout the process.
Next, it’s important to shut off the water supply. Locate the shut-off valve, usually located on the wall behind the toilet, and turn it clockwise to stop the flow of water. This will prevent any unwanted spills or leaks.
Once the water supply is shut off, it’s time to empty the toilet bowl. Put on a pair of gloves and use a sponge or a cup to remove any remaining water in the bowl. Squeeze out the excess water into the bucket.
With the toilet bowl emptied, we can now move on to removing the toilet tank. Start by disconnecting the water supply line from the bottom of the tank. Use a pair of pliers to loosen the nut and carefully remove the line.
Next, remove the bolts that secure the tank to the bowl. These are usually located on the bottom of the tank. Use a wrench to loosen and remove the bolts, being careful not to damage the tank or bowl in the process.
Once the tank is removed, it’s time to detach the toilet from the floor. Start by removing the caps covering the bolts at the base of the toilet. Use a screwdriver to pry off the caps and expose the bolts.
Using a wrench, loosen and remove the bolts that secure the toilet to the floor. Once the bolts are removed, carefully lift the toilet off the floor and place it on a tarp or old towel to prevent any mess.
By following these steps, you’ll be able to drain a toilet for removal like a pro. Remember to take your time and be cautious throughout the process. Good luck!
Key Takeaways
- Shut off the water supply by turning the valve clockwise to prevent leakage during toilet removal.
- Flush the toilet to empty the bowl and use a bucket or wet-dry vacuum to catch the water.
- Gently rock the toilet to loosen the seal with the floor and dispose of water and waste properly.
- Shut off the water supply, drain the tank, and use an adjustable wrench to disconnect the water supply line and unscrew the nuts on the mounting bolts to detach the toilet from the floor.

WITMYA Smart Toilet with Bidet Built In, One Piece Bidet Toilet with Auto Dual Flush, Foam Shield, Modern Elongated Tankless Toilet with Foot Sensor, Heated Bidet Seat, Warm Water & Dryer,LED Display
【Efficient Flush & Energy-Saving Design】There smart toilets feature a highly efficient 1.28 GPF water-saving dual flush system with...
As an affiliate, we earn on qualifying purchases.
Gathering the Necessary Tools
Before you can begin draining the toilet, you’ll need to gather all the necessary tools.
To remove a toilet, you will need a few specific tools to make the process easier and more efficient. First, you’ll need a pair of adjustable pliers to disconnect the water supply line.
Next, you’ll need a wrench or a screwdriver to remove the bolts securing the toilet to the floor.
You may also need a putty knife to scrape away any old wax sealant.
Additionally, it’s essential to have a bucket or a large container to catch any excess water that may spill during the removal process.
Once you have gathered all these tools, you are ready to move on to the next step of shutting off the water supply.

Brondell Bidet Toilet Seat Non-Electric Swash Ecoseat, Fits Elongated Toilets, White - Dual Nozzle System, Ambient Water Temperature - Bidet with Easy Installation
CLEAN AND REFRESHING: With Brondell’s Ecoseat 101 Bidet, you’ll experience a soothing, freshwater wash that leaves you feeling...
As an affiliate, we earn on qualifying purchases.
Shutting off the Water Supply
To shut off the water supply, you’ll need to turn the valve clockwise until it’s fully closed. This step is crucial when fixing a leaking shut off valve or preparing to remove a toilet. Shutting off the water supply prevents any water from flowing into the toilet tank and bowl, allowing you to work on the valve or remove the toilet without any unwanted water leakage.
There are different types of shut off valves, including compression, ball, and gate valves. Compression valves are commonly used in residential plumbing and can be easily shut off by turning the handle clockwise. Ball valves have a lever handle and are often found in commercial settings. Gate valves have a round wheel handle and are used for larger water supply lines.
Understanding the type of shut off valve you have is important in properly shutting off the water supply.

LUXE Bidet NEO 120 - Single Nozzle, Self-Cleaning, Non-Electric Bidet Attachment for Toilet Seat, Adjustable Water Pressure, Rear Wash (Blue)
THE ULTIMATE VALUE – With a sleek design and high-quality parts, Our Bidet Attachment will give your bathroom...
As an affiliate, we earn on qualifying purchases.
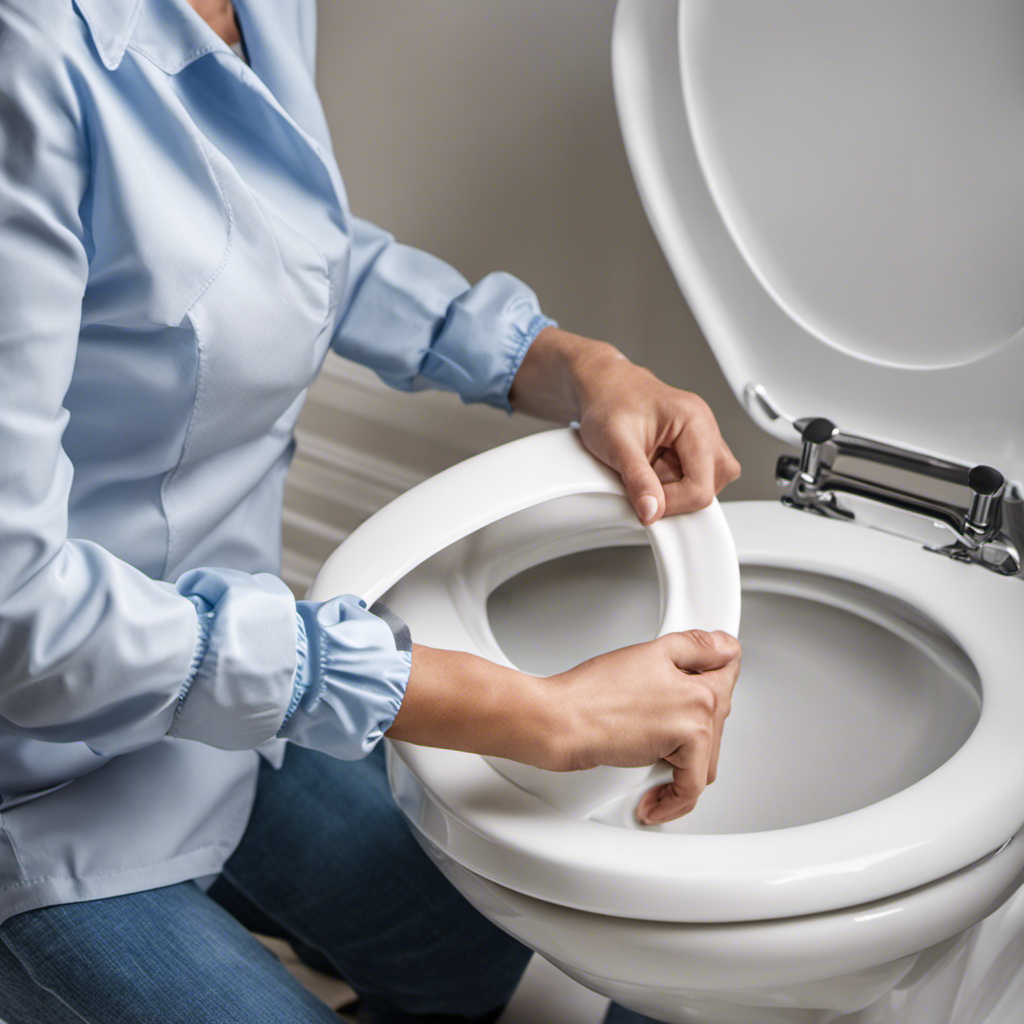
Emptying the Toilet Bowl
First, you’ll want to flush the toilet to empty the bowl of any remaining water. This step is essential before removing the toilet for repairs or replacement.
Once you’ve flushed the toilet, you can proceed with draining the bowl completely. To do this, you’ll need a bucket or a wet-dry vacuum. Place the bucket or vacuum at the bottom of the bowl, ensuring it is positioned to catch the water. Gently rock the toilet back and forth to loosen the seal with the floor. As you do this, any remaining water will start to flow into the bucket or vacuum.
Once the bowl is empty, you can disconnect the toilet from the floor. Remember to properly dispose of the water and waste according to local regulations.
If you need a temporary solution while your toilet is out of commission, consider using alternative options such as a portable camping toilet or a bucket with a seat and a bag-lined insert.

Smart Toilet with Warm Water Sprayer and Dryer, One Piece Bidet Toilet with Auto Dual Flush Foot Sensor Operation,Heated Seat Smart with Built In Fahrenheit LED Display
4-Level Heated Seat & Multi-Mode Warm Water Bidet - Adjustable seat/water temp with LED display, 3 personalized cleaning...
As an affiliate, we earn on qualifying purchases.
Removing the Toilet Tank
After you’ve emptied the toilet bowl, you can begin by disconnecting the tank from the base. This step is crucial when replacing the toilet tank or troubleshooting common toilet tank issues.
To disconnect the tank, start by shutting off the water supply valve located behind the toilet. Flush the toilet to drain any remaining water in the tank.
Next, use an adjustable wrench to loosen and remove the nuts securing the tank to the base. Be sure to support the tank with one hand while removing the nuts to prevent it from falling.
Once the nuts are removed, carefully lift the tank off the base and set it aside. Remember to inspect the tank for any cracks or leaks before proceeding with any repairs or replacements.
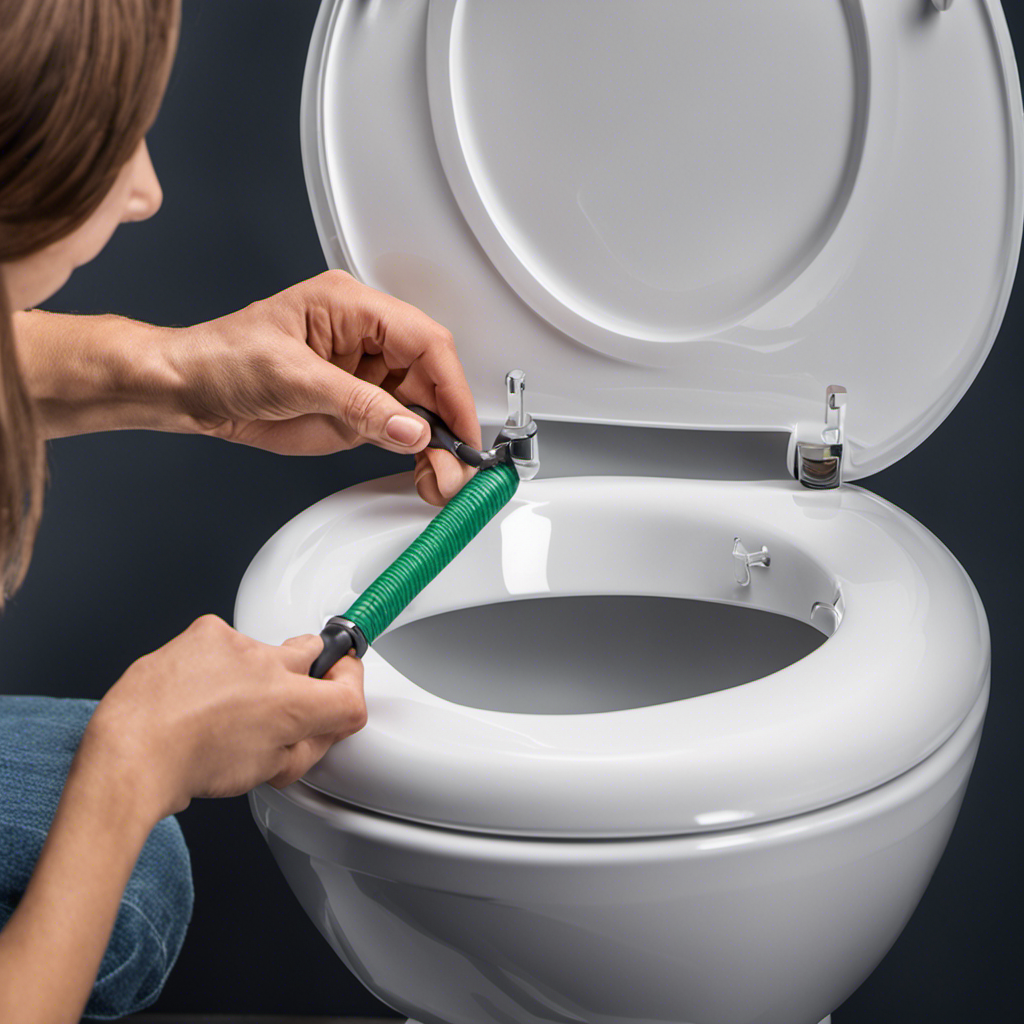
Detaching the Toilet From the Floor
Once you’ve disconnected the tank, the next step is to carefully lift the toilet off the floor. Make sure to follow these steps to safely remove the toilet from the floor:
-
Shut off the water supply: Locate the water shut-off valve behind the toilet and turn it clockwise to stop the water flow. Flush the toilet to drain any remaining water in the tank.
-
Disconnect the water supply line: Use an adjustable wrench to loosen the nut connecting the water supply line to the bottom of the toilet tank. Once loose, carefully remove the supply line.
-
Remove the mounting bolts: There are usually two bolts securing the toilet to the floor. Use a wrench to unscrew the nuts on these bolts. Once removed, lift the toilet straight up to detach it from the floor.
-
Safely remove the wax ring and flange: Carefully remove the old wax ring from the toilet flange on the floor. Clean the flange and inspect it for any damage. Replace the wax ring and flange if necessary.
Frequently Asked Questions
How Do I Prevent Water From Splashing Everywhere While Draining the Toilet Bowl?
To prevent water from splashing everywhere while draining the toilet bowl, I recommend placing a towel or cloth around the base of the toilet. This will help absorb any splashes and minimize the mess during the process.
Are There Any Specific Safety Precautions I Should Take When Removing the Toilet Tank?
When removing the toilet tank, safety precautions are crucial. Always turn off the water supply and disconnect the supply line. Use caution while lifting the tank to avoid strain or injury.
Can I Drain the Toilet Without Shutting off the Water Supply?
No, you cannot drain the toilet without shutting off the water supply. In order to drain the toilet, you will need to turn off the water supply valve located behind the toilet.
What Should I Do if the Toilet Bowl Doesn’t Completely Empty After Flushing?
If the toilet bowl doesn’t completely empty after flushing, there may be a clog or a problem with the flushing mechanism. To troubleshoot, check for blockages and ensure the flapper valve is functioning properly.
How Can I Dispose of the Water Removed From the Toilet Bowl in an Environmentally Friendly Way?
To dispose of the water removed from the toilet bowl, there are several eco-friendly alternatives. One option is to use a bucket or container to collect the water and then use it for watering plants or flushing toilets. Another option is to pour the water into a designated drain or outdoor area, avoiding any water bodies or sensitive areas. It’s important to consider local regulations and guidelines for proper disposal.
Conclusion
In conclusion, draining a toilet for removal is a straightforward process that can be accomplished with a few simple steps. By gathering the necessary tools, shutting off the water supply, emptying the toilet bowl, removing the toilet tank, and detaching the toilet from the floor, you can successfully remove a toilet.
Remember the adage, ‘Where there’s a will, there’s a way,’ as it inspires determination and resilience. With patience and careful execution, you’ll be able to complete this task efficiently and safely.