
Did you know that the average person flushes the toilet about 2,500 times a year? That’s a whole lot of water going down the drain!
If you’ve ever wondered how to empty a toilet properly, look no further. In this article, I will guide you through the step-by-step process of emptying a toilet, from shutting off the water supply to cleaning the bowl and tank.
So grab your tools and let’s get started!
Key Takeaways
- Rubber gloves are essential for protecting hands during the emptying process.
- A plunger is the most common tool for breaking up clogs and allowing water to drain.
- Regularly inspect and clean the toilet tank lid to prevent dirt buildup and potential leaks.
- Proper toilet maintenance, including checking for leaks and replacing worn-out parts, is important for a well-functioning and hygienic toilet.
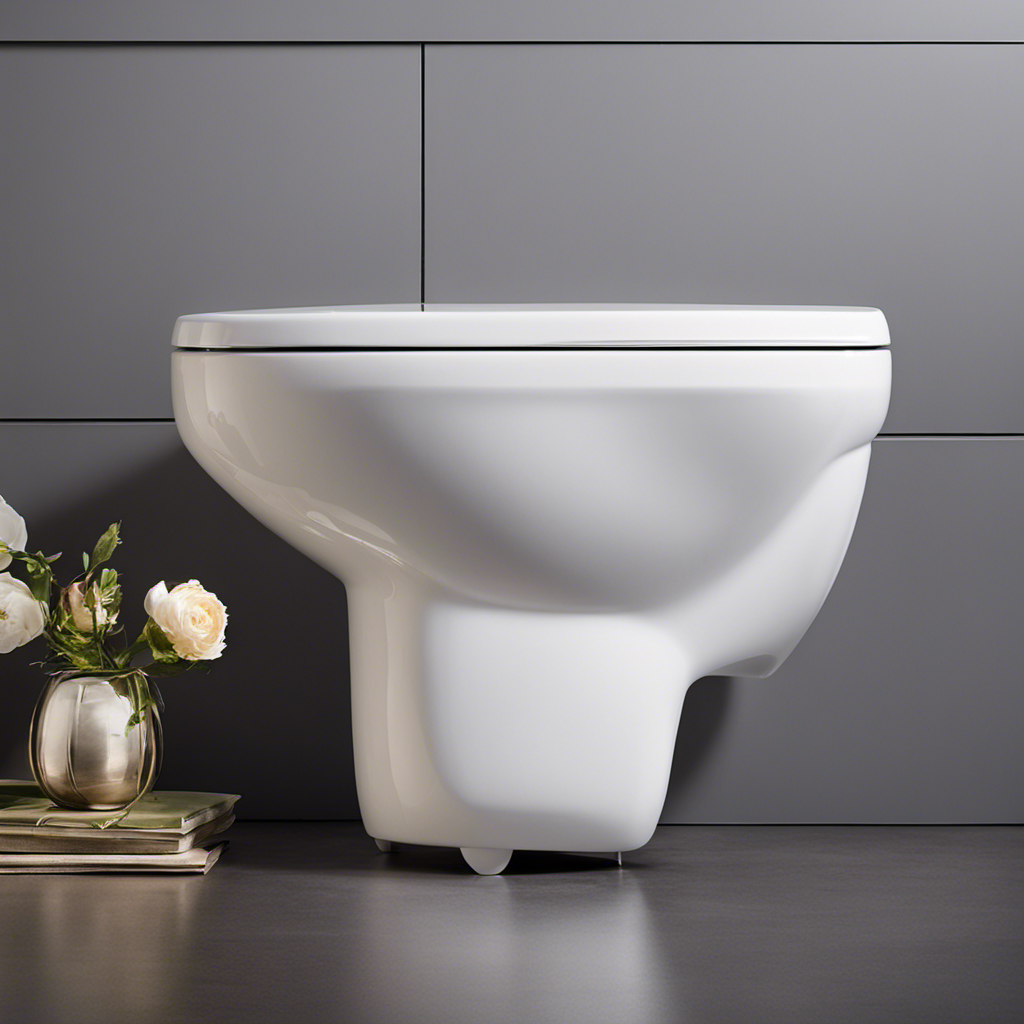
Preparing the Necessary Tools and Materials
Before you can empty a toilet, you’ll need to gather the necessary tools and materials. Toilet maintenance is an essential part of keeping your bathroom clean and functional. Troubleshooting common toilet issues can save you time and money in the long run.
To begin, you’ll need a pair of rubber gloves to protect your hands from germs and bacteria. You should also have a plunger on hand, as it is the most common tool for unclogging a toilet. Additionally, a toilet auger can be useful for more stubborn clogs.
Lastly, keep a bucket and old towels nearby in case of any spills or leaks during the process. With these tools and materials, you’ll be prepared to tackle any toilet maintenance task.
Shutting off the Water Supply
First, you’ll need to locate the water shut-off valve to stop the water flow. This is an essential step in preventing water damage and ensuring a smooth emptying process. The shut-off valve is usually located near the base of the toilet, either on the wall or on the floor. It is typically a small lever or knob that you can turn clockwise to shut off the water supply.
Once you have located the valve, simply turn it until the water stops flowing into the toilet tank. Make sure to turn the valve firmly but not forcefully to avoid any damage.
With the water supply shut off, you can now proceed to the next step of removing the toilet tank lid and flushing the water.
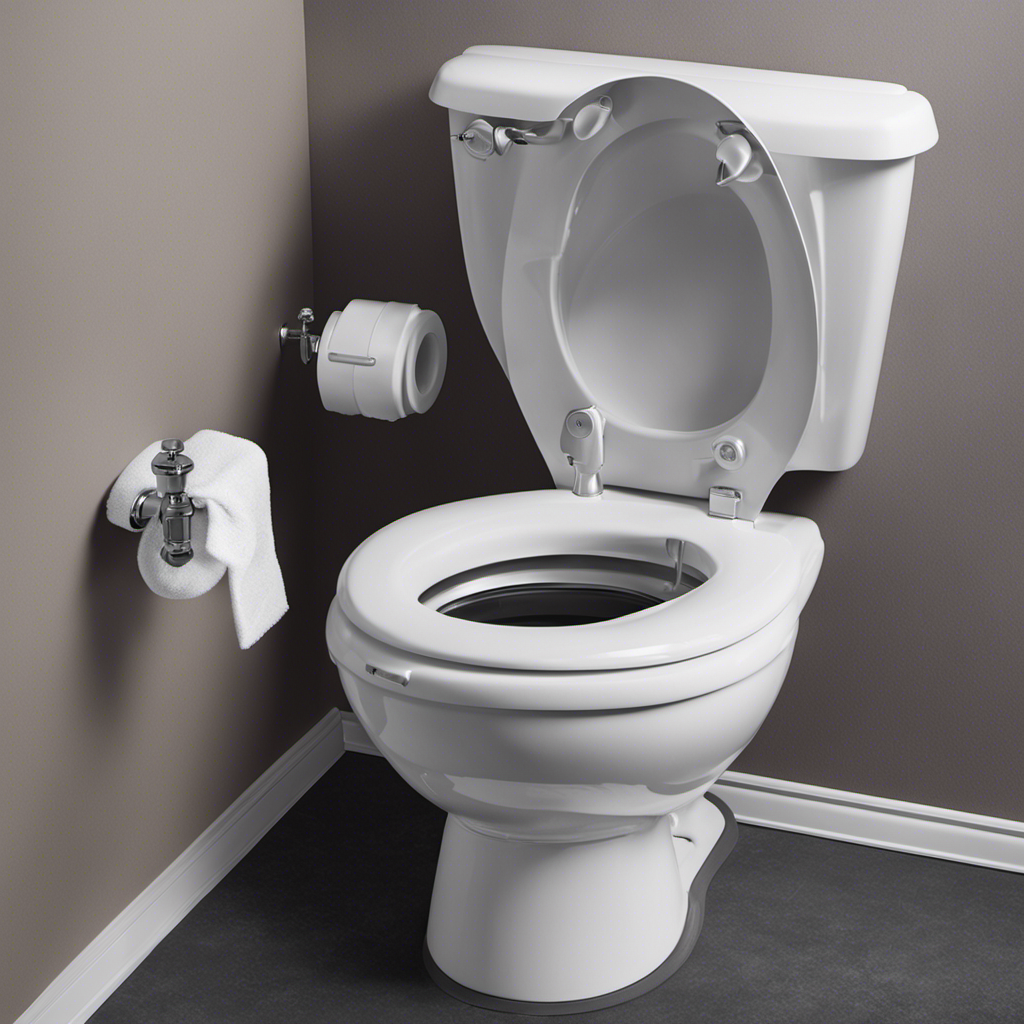
Removing the Toilet Tank Lid and Flushing the Water
First, I’ll explain how to remove the toilet tank lid. Locate the two screws or bolts at the back of the tank and use a screwdriver or wrench to loosen them. Once the screws are loose, carefully lift the lid straight up and set it aside in a safe place.
Next, let’s discuss how to properly flush the water from the toilet tank. Locate the flush handle on the front or side of the tank and give it a firm push or pull. This will activate the flushing mechanism and release the water from the tank into the bowl. Hold down the handle until all the water has been flushed out.
Lastly, I’ll explain the process of emptying the toilet bowl. Use a plunger to create a vacuum seal and push down forcefully. This will cause the water to be sucked out of the bowl and into the drain. Repeat this plunging motion a few times until the bowl is completely empty. Remember to dispose of any waste materials in a sanitary manner.
Tank Lid Removal
To remove the tank lid, you’ll need to carefully lift it off using both hands. Start by locating the two screws or bolts that secure the lid to the tank. Use a screwdriver or wrench to loosen and remove these fasteners. Once the screws or bolts are removed, grasp the lid firmly with both hands, making sure to support its entire weight. Lift the lid straight up, being cautious not to tilt it or apply excessive force.
To engage the audience, here are three important points about toilet maintenance and tank lid replacement:
- Regularly inspect and clean the tank lid to prevent buildup of dirt and grime.
- If the tank lid is cracked or damaged, it should be replaced to avoid potential leaks or accidents.
- When installing a new tank lid, ensure it fits securely and snugly on the tank to maintain proper functionality and prevent water leakage.
Flushing the Water
Once you’ve removed the tank lid, you’ll need to locate the flush valve and handle.
The flush valve is usually a large rubber flapper at the bottom of the tank. It is connected to the handle by a chain or rod.
To flush the water from the toilet, simply push down on the handle. This action lifts the flush valve, allowing water to rush into the toilet bowl and remove waste.
It is important to note that reducing water usage and practicing water conservation in toilets is crucial for environmental sustainability.
Older toilets use more water per flush, so consider upgrading to a newer, more efficient model.
Additionally, using a dual-flush system or installing a toilet dam can further reduce water consumption.
Emptying the Toilet
Now that we have successfully flushed the water, let’s move on to the next step: emptying the toilet. This step is crucial to prevent any overflow and handle the solid waste effectively. Here’s what you need to do:
-
Put on a pair of gloves to protect yourself from any potential germs.
-
Take a sturdy plastic bag or a bucket and position it near the toilet.
Carefully lift the toilet lid and seat, ensuring not to touch any surfaces with your bare hands.
- Dispose of any toilet paper or other waste that may be present in the bowl.
- Use a toilet brush to break up any solid waste, making it easier to remove.
- Gently scoop the waste into the plastic bag or bucket, being cautious not to spill anything.
-
Once the waste has been collected, tie the bag securely or cover the bucket to contain the odor.
With the toilet now empty, we can move on to the next step of disconnecting the water supply line.
Disconnecting the Water Supply Line
Before moving on to disconnecting the water supply line, it’s crucial to shut off the water to prevent any potential leaks.
To do this, locate the shut-off valve near the toilet and turn it clockwise until it’s fully closed.
Once the water is shut off, you can proceed with removing the water line by unscrewing the nut connecting it to the toilet tank.
Remember to have a bucket or towel handy to catch any residual water that may leak during this process.
Taking these steps will ensure a smooth and leak-free disconnection of the water supply line.
Shutting off Water
To shut off the water to the toilet, you’ll need to locate the water supply valve and turn it clockwise. The water supply valve is usually located on the wall behind the toilet or near the floor. Once you find it, follow these steps to shut off the water:
-
Locate the water supply valve: Look for a small lever or knob connected to a pipe near the toilet. It may be labeled or have a colored handle.
-
Turn the valve clockwise: Using your hand or a wrench, turn the valve clockwise until it stops. This will shut off the water flow to the toilet.
-
Test the shut-off: Flush the toilet to ensure that no water is running into the tank. If the tank doesn’t refill, you have successfully shut off the water.
Removing Water Line
To remove the water line, you’ll need to carefully unscrew it from the water supply valve. Before you begin, make sure to gather the necessary tools: an adjustable wrench and a bucket to catch any water that may spill.
Safety precautions should always be taken when working with water, so be sure to turn off the water supply valve completely before attempting to remove the water line.
Using the adjustable wrench, grip the nut connecting the water line to the valve and turn it counterclockwise to loosen it. Once it’s loose, you can use your hand to unscrew it completely. Remember to be gentle and avoid any excessive force to prevent damaging the valve or the water line.
With the water line removed, you can now move on to preventing water leaks.
Preventing Water Leaks
Make sure you check for any signs of water leaks after removing the water line. Preventing water leaks is crucial for proper toilet maintenance.
Here are some key steps to help you prevent water leaks and keep your toilet in good working condition:
- Regularly inspect the water supply line and connections for any signs of leaks or corrosion.
- Ensure that the toilet tank is securely fastened to the bowl to prevent any leaks from occurring.
- Check the toilet flapper regularly and replace it if it is worn out or not sealing properly.
By following these preventive measures, you can avoid water leaks and potential damage to your bathroom.
Emptying the Toilet Bowl
You’ll need to grab a pair of gloves before you can start emptying the toilet bowl.
The first step is to prevent overflow by turning off the water supply valve behind the toilet. This will stop the flow of water into the bowl.
Next, flush the toilet to remove as much water as possible. Using a plunger, push down gently to break up any clogs and allow the remaining water to drain.
Once the bowl is empty, it’s important to dispose of the waste responsibly. Scoop the waste into a plastic bag and tie it securely. Place the bag in a trash bin, preferably one with a lid.
Remember to wash your hands thoroughly after completing this task to maintain proper hygiene.
Cleaning the Toilet Bowl and Tank
Cleaning the toilet bowl and tank is an important part of maintaining a hygienic bathroom. To effectively clean these areas, there are several cleaning products and techniques that can be used.
-
Use a toilet bowl cleaner: Choose a cleaner specifically designed for toilet bowls. Apply the cleaner under the rim and around the bowl, allowing it to sit for a few minutes to break down stains and kill germs.
-
Scrub with a toilet brush: Use a toilet brush to scrub the bowl thoroughly, focusing on the stained areas. Make sure to scrub under the rim and around the waterline.
-
Clean the tank: Remove the tank lid and use a disinfectant or bleach solution to wipe down the inside of the tank. Pay attention to any hard-to-reach areas and ensure they are thoroughly cleaned.
-
Rinse and repeat: After scrubbing the bowl and cleaning the tank, flush the toilet to rinse away any residue. Repeat the process regularly to maintain a clean and hygienic toilet.
Reassembling the Toilet and Restoring Water Supply
To reassemble the toilet and restore the water supply, first, locate the tank bolts. These bolts are typically found at the bottom of the tank, connecting it to the bowl. Once located, use a wrench to tighten them securely. Next, place the rubber gasket between the tank and bowl, ensuring a tight seal. Carefully lower the tank onto the bowl, aligning the bolts with the corresponding holes. Tighten the nuts onto the bolts, alternating between them to ensure even pressure. Once the tank is securely in place, reconnect the water supply line, ensuring a watertight connection. Finally, turn the water supply valve back on and check for any leaks. If there are any issues, consult the troubleshooting table below:
| Issue | Possible Solution |
|---|---|
| Leak at base | Check wax ring |
| Weak flush | Adjust flapper |
| Constantly running | Adjust fill valve |
| Noisy flush | Replace flapper |
| Slow fill | Clean or replace fill valve |
Frequently Asked Questions
How Long Does It Take to Empty a Toilet?
Emptying a toilet depends on the severity of the clog. Cleaning the toilet bowl and removing clogs can be time-consuming. It may take anywhere from a few minutes to several hours to fully empty a toilet.
Can I Use Any Type of Plunger to Empty the Toilet Bowl?
Yes, you can use any type of plunger to empty the toilet bowl. However, it is recommended to use a toilet plunger specifically designed for toilet cleaning to ensure maximum effectiveness and cleanliness.
Is It Necessary to Wear Protective Gloves While Emptying the Toilet Bowl?
Wearing protective gloves while emptying the toilet bowl is necessary to avoid health risks. It’s like wearing armor in battle, protecting me from potential harm. Taking necessary precautions ensures safety and cleanliness.
Can I Use Bleach to Clean the Toilet Bowl and Tank?
Yes, you can use bleach to clean the toilet bowl and tank. It is an effective disinfectant and helps remove stains. However, if you prefer alternatives, you can try using vinegar or baking soda for cleaning.
Is It Possible to Empty a Toilet Without Removing the Toilet Tank Lid?
Toilet maintenance can be tricky, especially when troubleshooting. Wondering if it’s possible to empty a toilet without removing the tank lid? Let me break it down for you, step by step.
Conclusion
So there you have it, my friends! I hope this guide on how to empty a toilet has been helpful for you.
Remember, it’s always important to be prepared with the necessary tools and materials before tackling any plumbing task.
By shutting off the water supply and carefully removing the toilet tank lid, you can successfully flush out the water and disconnect the water supply line.
Don’t forget to empty the toilet bowl and give it a thorough cleaning before reassembling the toilet and restoring the water supply.
Happy plumbing!