
Are you tired of the constant sound of water dripping, like a never-ending symphony of annoyance?
Well, fear not, because I’m here to guide you through the process of fixing that pesky leaky toilet flapper.
With a few simple steps and some basic tools, you’ll be able to put an end to the incessant dripping and restore peace to your bathroom.
So, roll up your sleeves and let’s get to work!
Key Takeaways
- Troubleshooting tips can help identify signs of a faulty flapper.
- Proper flapper installation is crucial to ensure a leak-free toilet.
- Shutting off the water supply is essential to prevent water damage.
- Adjusting the chain length and testing for leaks are important steps in fixing a leaky flapper.

Wall Hung Toilet with Tank, Eridanus Wall Mounted Toilet Combo Set, 2x4 In-Wall Toilet Tank Carrier, Dual-Flush Plate Included, Floating Bowl With Soft-Close Seat, Glossy White, 2 Separate Packages
【Please Note】Toilet and tank are shipped in two separate packages and may not arrive at the same time.
As an affiliate, we earn on qualifying purchases.
Identifying the Problem
Now, you’ll want to take a look at the toilet flapper to see if that’s the source of the leak. Troubleshooting tips can help you identify the signs of a faulty flapper.
First, flush the toilet and observe if the water continues to run after it has refilled. If it does, chances are the flapper is not sealing properly.
Another sign is if you notice water dripping into the toilet bowl even when it hasn’t been flushed. This indicates a leak in the flapper.
To confirm, you can add a few drops of food coloring into the toilet tank and wait for a few minutes. If the colored water seeps into the toilet bowl without flushing, it’s a clear indication of a flapper problem.

MEJE #MZE014P - Intelligent Wall-Hung Toilet, One-piece Elongated Smart Toilet with Bidet Built in,Heated Seat, Warm Air Dryer,Auto Flush, Auto Open and Close, Remote Control, Night Light, White
【Smart Wall Hung Toilet 】: MEJE Wall Hung Smart Toilet comes with a comfortable Built-in Bidet, include the...
As an affiliate, we earn on qualifying purchases.
Gathering the Necessary Tools
First, you’ll need to gather the necessary tools for the job. Here’s what you’ll need:
- Adjustable pliers
- Screwdriver
Using the adjustable pliers, you’ll be able to easily remove the old flapper and install the new one. The screwdriver will come in handy for any additional adjustments that may need to be made during the installation process.
Proper flapper installation is crucial to ensure a leak-free toilet. Make sure the flapper is securely attached and properly aligned with the flush valve. Troubleshooting common flapper issues involves checking for any signs of wear or damage, such as cracks or tears. If you notice any problems, it’s best to replace the flapper entirely.
Now that you have your tools ready, it’s time to move on to the next step: shutting off the water supply.

Swiss Madison Well Made Forever SM-WT450, Ivy Wall Hung Elongated Toilet Bowl 0.8/1.28 GPF Dual Flush
Dual Flush: The buttons for dual flush allow you to choose between a low 0.8 GPF light flush...
As an affiliate, we earn on qualifying purchases.
Shutting Off the Water Supply
To properly shut off your water supply and prevent potential water damage, it’s important to follow the correct shut-off techniques.
First, locate the main water shut-off valve. This valve is typically found near the water meter or where the main water line enters your home.
Next, turn the valve clockwise until it is fully closed. This will ensure that no water can flow into your home.
Proper Shut-Off Techniques
Before you begin fixing the leaky toilet flapper, it’s important to learn the proper shut-off techniques.
Proper maintenance and troubleshooting techniques will ensure a smooth and hassle-free repair process. Follow these steps to shut off the water supply effectively:
- Locate the shut-off valve: It is usually located behind the toilet or on the wall nearby.
- Turn the valve clockwise: This will shut off the water flow to the toilet.
- Test the shut-off: Flush the toilet to ensure the water supply is fully cut off.
By following these simple steps, you can prevent any accidental flooding and safely proceed with fixing the leaky toilet flapper.
Preventing Water Damage
Proper shut-off techniques are essential to prevent water damage when dealing with plumbing issues, such as fixing a leaky toilet. When you notice a leaky toilet, taking immediate action is crucial to avoid further damage.
First, locate the shut-off valve, typically located behind the toilet near the wall. Turn the valve clockwise until it is completely closed. This will stop the water flow and prevent any potential flooding.
Once the water is shut off, you can move on to fixing the leaky toilet by removing the old flapper. By following these steps and being proactive, you can effectively prevent water damage and tackle the issue at hand.
Now, let’s move on to the next step: removing the old flapper.

American Standard 2882107.020 Glenwall VorMax Wall-Hung Elongated Toilet with Left Hand Trip Lever, 1.28 gpf, White
Elongated wall-hung, top spud flushometer valve toilet, less seat
As an affiliate, we earn on qualifying purchases.
Removing the Old Flapper
When it comes to removing the old flapper from your toilet, there are a few key points to keep in mind.
First, it’s important to know the proper technique for removing the flapper to avoid causing any damage to the toilet or surrounding parts.
Second, you’ll need a few specific tools to successfully remove the flapper, including a pair of pliers and a screwdriver.
Lastly, it’s worth noting that replacing the flapper is a common fix for a leaky toilet, so it’s a good skill to have in your DIY arsenal.
Proper Flapper Removal
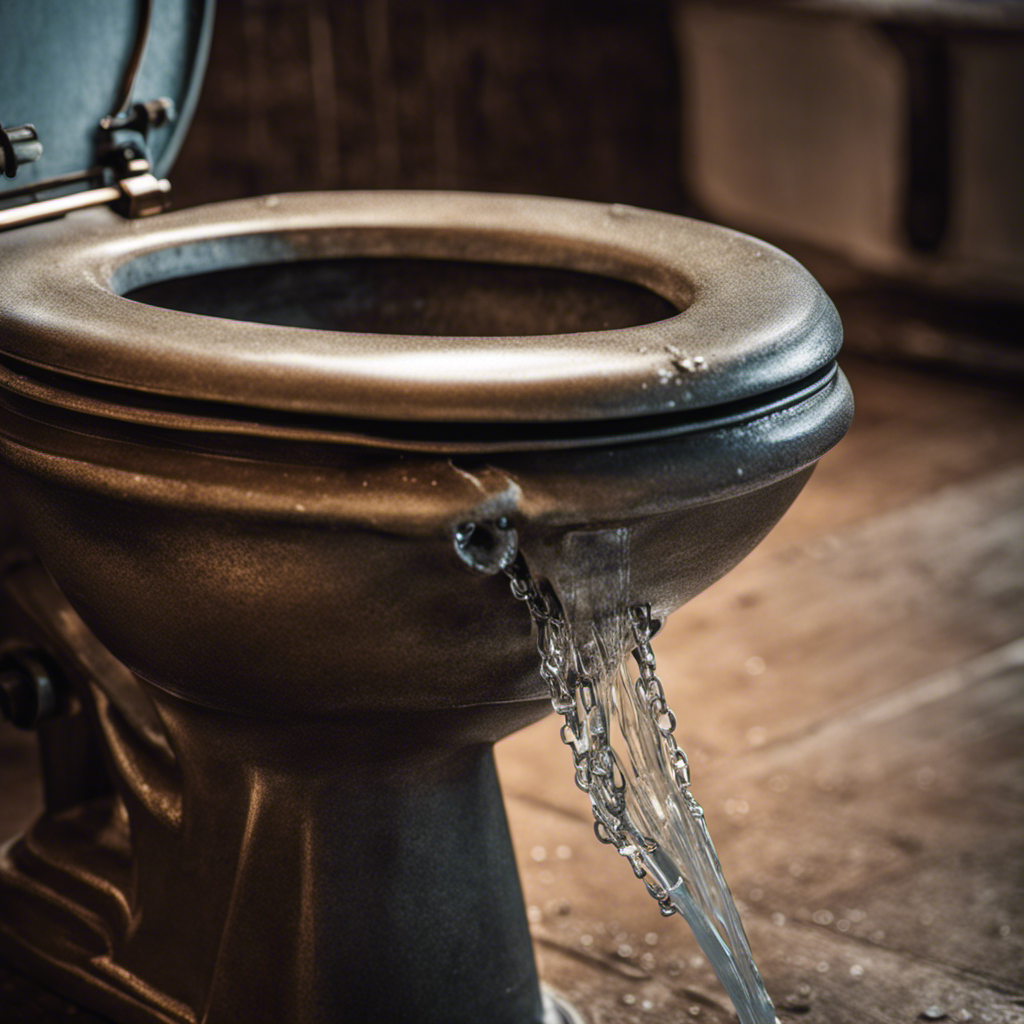
To remove the flapper, simply disconnect the chain from the flush lever. This is the first step in properly replacing a leaky toilet flapper. Here’s a step-by-step guide to help you with the process:
- First, locate the flush lever inside the toilet tank.
- Next, find the chain that connects the flush lever to the flapper.
- Use your fingers or a pair of pliers to disconnect the chain from the flush lever. Be careful not to damage the chain or any other components.
Once the chain is disconnected, you can easily lift the old flapper out of the toilet tank. Inspect the flapper for any signs of wear or damage. If necessary, replace it with a new flapper.
Before installing the new flapper, make sure to clean the flapper seat and the surrounding area to ensure a proper seal.
Tools Needed for Removal
You’ll need a pair of pliers to disconnect the chain from the flush lever when removing the flapper. This is an important step in the process of toilet flapper replacement.
Troubleshooting flapper issues can be a frustrating task, but with the right tools and knowledge, you can easily fix a leaky toilet flapper. When it comes to removing the flapper, having a pair of pliers is essential. These pliers will allow you to disconnect the chain from the flush lever, giving you the freedom to remove the flapper without any hassle.
Once you have successfully disconnected the chain, you can proceed with the common flapper replacement process. It’s important to follow the proper steps to ensure a successful replacement.
Common Flapper Replacement
Now that you have all the necessary tools, let’s move on to the next step: common flapper replacement. Flapper maintenance is crucial for preventing leaks in your toilet. If you’re experiencing leaks, it’s time to troubleshoot and replace the flapper. Here’s what you need to do:
- Start by turning off the water supply to the toilet.
- Flush the toilet to drain the tank completely.
- Remove the old flapper by detaching it from the flush valve chain.
- Inspect the flapper for any signs of wear or damage.
- If the flapper is worn or damaged, it’s time for a replacement.
By following these steps, you’ll be able to identify and replace a faulty flapper, ensuring a leak-free toilet.
With the old flapper removed, it’s time to move on to the next section: installing the new flapper.
Installing the New Flapper
Before installing the new flapper, make sure to turn off the water supply to the toilet.
Proper flapper installation is crucial for resolving common flapper issues and preventing leaks.
To begin, detach the old flapper from the flush valve by unhooking the chain and removing any retaining clips or screws.
Next, clean the flush valve seat to ensure a proper seal.
Then, align the new flapper with the flush valve opening and securely attach it using the appropriate method for your specific flapper model.
Adjust the chain length to ensure the flapper closes completely but without too much tension.
Finally, turn on the water supply and test the flapper’s performance.
Troubleshooting any remaining issues may involve adjusting the chain, replacing the flapper, or seeking professional assistance.
Adjusting the Chain Length
To ensure proper function, make sure the chain length is adjusted correctly. Adjusting the chain tension is crucial for troubleshooting common chain issues in your toilet’s flapper mechanism. Here’s what you need to do:
-
Ensure the chain is not too loose or too tight.
-
If the chain is too loose, it may prevent the flapper from sealing properly, causing water to continuously leak into the toilet bowl.
-
If the chain is too tight, it may cause the flapper to stay open, resulting in a weak flush or incomplete flush.
-
Adjust the chain length by either lengthening or shortening it.
-
Lengthen the chain if it is too short by moving the hook to a lower link.
-
Shorten the chain if it is too long by moving the hook to a higher link.
By properly adjusting the chain length, you can ensure that your toilet’s flapper functions smoothly and prevents any leaks.
Now, let’s move on to testing for leaks.
Testing for Leaks
Make sure you check for any leaks to ensure the proper functioning of your toilet. Testing for leaks is an essential step in troubleshooting a leaky toilet flapper.
There are a few testing methods you can use to identify any leaks and address them promptly.
One common method is to add a few drops of food coloring into the toilet tank. Wait for a few minutes without flushing, and then check the toilet bowl. If you see the colored water seeping into the bowl, it indicates a leaky flapper.
Another method involves using a dye tablet specifically designed for toilet leak detection. These tablets dissolve in the water and color it, making it easier to spot any leaks.
Conclusion
Congratulations! You’ve successfully fixed your leaky toilet flapper and saved yourself from the constant drip-drip-drip of wasted water. Your bathroom is now a haven of peace and tranquility, free from the annoying sound of a running toilet.
So go ahead, take a moment to pat yourself on the back and revel in your newfound plumbing prowess. You’ve conquered this household challenge like a true DIY hero.
Now, onto your next triumph!