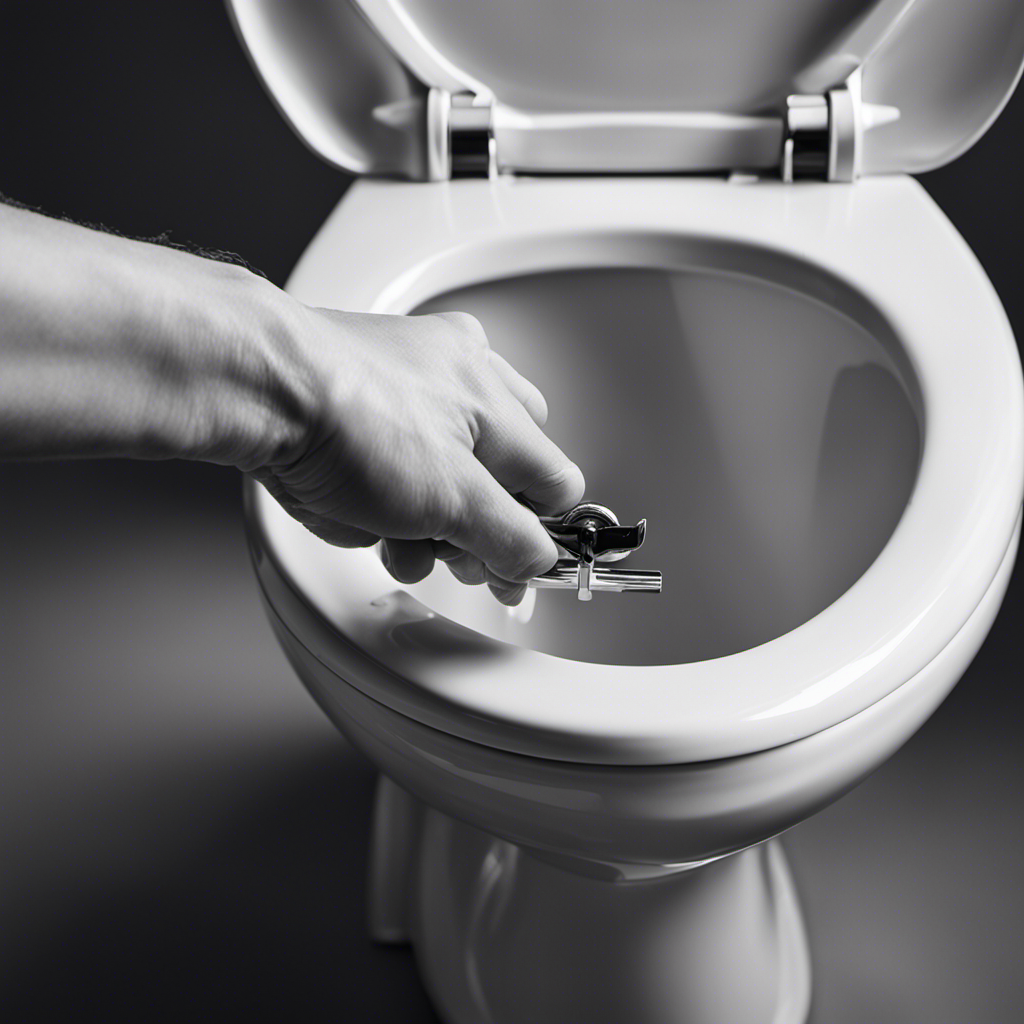
I’ve been dealing with a loose toilet handle for weeks now, and it’s been driving me crazy. Every time I go to flush, the handle wobbles and feels like it’s about to snap off. Thankfully, I’ve found a solution that has saved me from potential disaster.
In this article, I’ll walk you through the steps to fix a loose toilet handle. With just a few tools and a little bit of patience, you’ll have a sturdy handle in no time.
So let’s get started!
Key Takeaways
- Check if the toilet handle is securely attached
- Inspect the handle for loose or missing screws
- Tighten or replace any loose or missing screws
- Consider a worn-out or broken lever arm as a possible cause
Assessing the Problem
First, you’ll want to check if the toilet handle is securely attached. A loose toilet handle can be frustrating, but it’s a common problem that can be easily fixed.
There are a few troubleshooting tips to help you assess the problem. First, remove the lid of the toilet tank and inspect the handle for any loose or missing screws. If you find any, tighten or replace them as necessary.
Another common cause of a loose handle is a worn-out or broken lever arm inside the tank. In this case, you’ll need to purchase a replacement lever arm from a hardware store and follow the manufacturer’s instructions to install it.
Gathering the Necessary Tools
To gather the necessary tools for this task, you’ll need a screwdriver and an adjustable wrench. These tools will help you replace the toilet handle and ensure proper handle alignment. It’s important to have the right tools to make the job easier and more efficient. Here’s a table that outlines the steps to replace the toilet handle:
| Steps |
|---|
| Turn off the water supply to the toilet. |
| Remove the lid of the toilet tank. |
| Disconnect the old handle from the toilet lever. |
| Attach the new handle to the toilet lever. |
| Tighten the nut with an adjustable wrench. |
| Turn on the water supply and test the new handle. |
Tightening the Mounting Nut
After turning off the water supply, you’ll need to use an adjustable wrench to tighten the mounting nut. The mounting nut is located underneath the toilet tank, where the handle assembly connects to the tank.
It is important to ensure that the mounting nut is securely tightened to prevent the handle from becoming loose again. To do this, place the adjustable wrench around the mounting nut and turn it clockwise until it is snug. Be careful not to overtighten, as this could cause damage to the handle assembly.
Once the mounting nut is tightened, you can proceed to the next step of lubricating the handle mechanism. This will help the handle move smoothly and prevent any future issues with looseness.
Now, let’s move on to adjusting the handle arm.
Adjusting the Handle Arm
Now, you’ll want to make sure the handle arm is properly adjusted. This is important because if the handle arm is not aligned correctly, it can cause the toilet handle to become loose or not function properly.
To adjust the handle arm, start by loosening the nut or screw that holds it in place. Then, reposition the handle arm so that it aligns with the flush valve. Once the arm is in the correct position, tighten the nut or screw to secure it.
If the handle arm is still loose after adjusting it, it may be necessary to lubricate the handle mechanism or consider replacing the toilet handle altogether.
Now that the handle arm is properly adjusted, we can move on to testing and troubleshooting the toilet handle.
Testing and Troubleshooting
First, check if the flush valve is functioning properly by flushing the toilet and observing if the water drains completely.
A loose toilet handle can be annoying and may require some troubleshooting. There are a few common causes of a loose toilet handle. One possibility is that the mounting nut, which secures the handle to the toilet tank, has become loose. Another cause could be a worn or broken handle arm.
To fix a wobbly toilet handle, you can start by tightening the mounting nut using a pair of pliers. If the handle arm is worn or broken, you may need to replace it with a new one.
Remember to turn off the water supply before making any repairs.
Conclusion
In conclusion, fixing a loose toilet handle is a simple and straightforward task that can be done with just a few tools and a little bit of time. By assessing the problem and gathering the necessary tools, you can begin the repair process.
First, tighten the mounting nut to ensure that the handle is securely attached to the toilet. Use a wrench or pliers to tighten the nut, being careful not to overtighten and potentially damage the handle or toilet.
Next, adjust the handle arm if necessary. Sometimes, the arm may be misaligned or bent, causing the handle to be loose. Use your hand or a pair of pliers to straighten the arm or reposition it so that it aligns properly with the flush valve.
After making these adjustments, test the handle to ensure that it is now secure and functioning properly. Flush the toilet a few times and observe if the handle remains in place without any wobbling or loosening.
If the handle is still loose or if you encounter any other issues, troubleshoot the problem by inspecting the mounting hardware, the handle mechanism, and the flush valve. Make any necessary repairs or replacements to resolve the problem.
Remember, a loose toilet handle can be a nuisance, but with these easy steps, you can restore stability and silence to your bathroom in no time. So, don’t delay, fix that loose handle today!


