I’ve been there before – the frustration of a constantly running toilet. It’s like a leaky faucet, a never-ending drip that just won’t stop.
But fear not, because I’m here to guide you through the process of fixing that pesky fill valve. In this step-by-step article, I’ll show you how to:
- Identify the problem
- Shut off the water supply
- Disassemble and clean the fill valve
- Replace any worn-out parts
- Reassemble it all to ensure proper functioning.
So let’s dive in and put an end to that incessant running toilet once and for all.
Key Takeaways
- The fill valve controls water flow into the toilet tank and common issues include faulty valve seals, leaky float balls, and worn-out float arms.
- To fix a running toilet fill valve, inspect the valve seal and replace if necessary, and check the float ball and arm for damage or wear, adjusting or replacing them as needed.
- Shut off the water supply to the toilet by locating the shut-off valve on the wall near the toilet and turning it clockwise to close it completely.
- Disassemble and clean the fill valve by shutting off the water supply and draining the tank, removing the lid of the toilet tank, and inspecting the components for debris or mineral deposits.
Identify the Problem With the Fill Valve
To fix a running toilet, you’ll need to identify the problem with the fill valve. The fill valve is responsible for controlling the water flow into the tank and ensuring it shuts off properly when the tank is full.
There are a few common fill valve issues that may cause a toilet to run continuously. One possible issue is a faulty valve seal, which can cause water to leak into the bowl. Another issue could be a worn-out float ball or float arm, which may prevent the valve from closing properly.
To troubleshoot these problems, start by inspecting the valve seal and replacing it if necessary. Next, check the float ball and arm for any signs of damage or wear. Adjust or replace them as needed to ensure proper functioning of the fill valve.
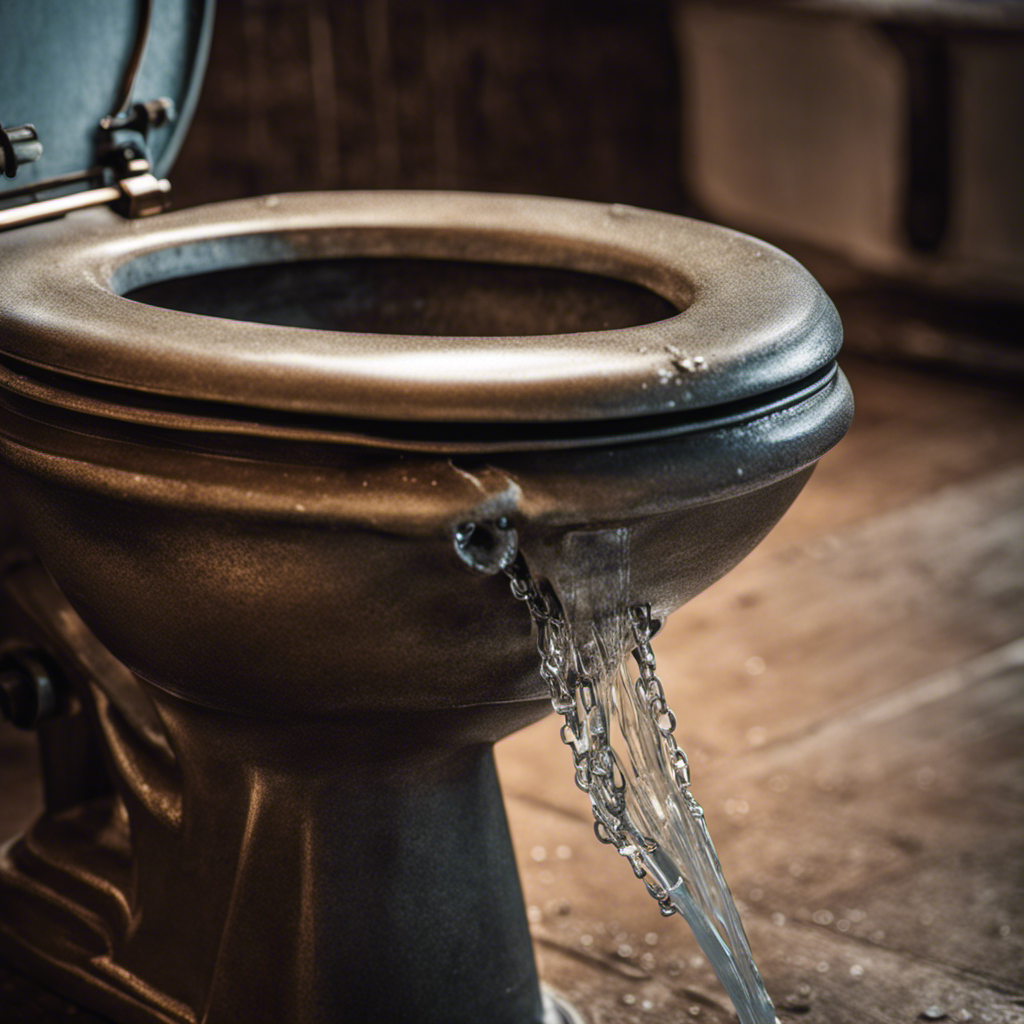
Shut off the Water Supply to the Toilet
First, you’ll want to locate the shut-off valve for the water supply to your toilet. This valve is usually located on the wall behind or beside the toilet. Once you’ve located it, follow these steps to shut off the water supply:
- Turn the valve clockwise to close it completely.
- Flush the toilet to drain the tank.
- Lift the lid of the tank and place it aside.
- Find the fill valve, which is usually located on the left side of the tank.
- Look for the adjustment screw on the fill valve to adjust the water level in the tank.
By shutting off the water supply and draining the toilet tank, you can safely proceed to the next step of disassembling and cleaning the fill valve.
Now, let’s move on to the disassemble and clean the fill valve section.
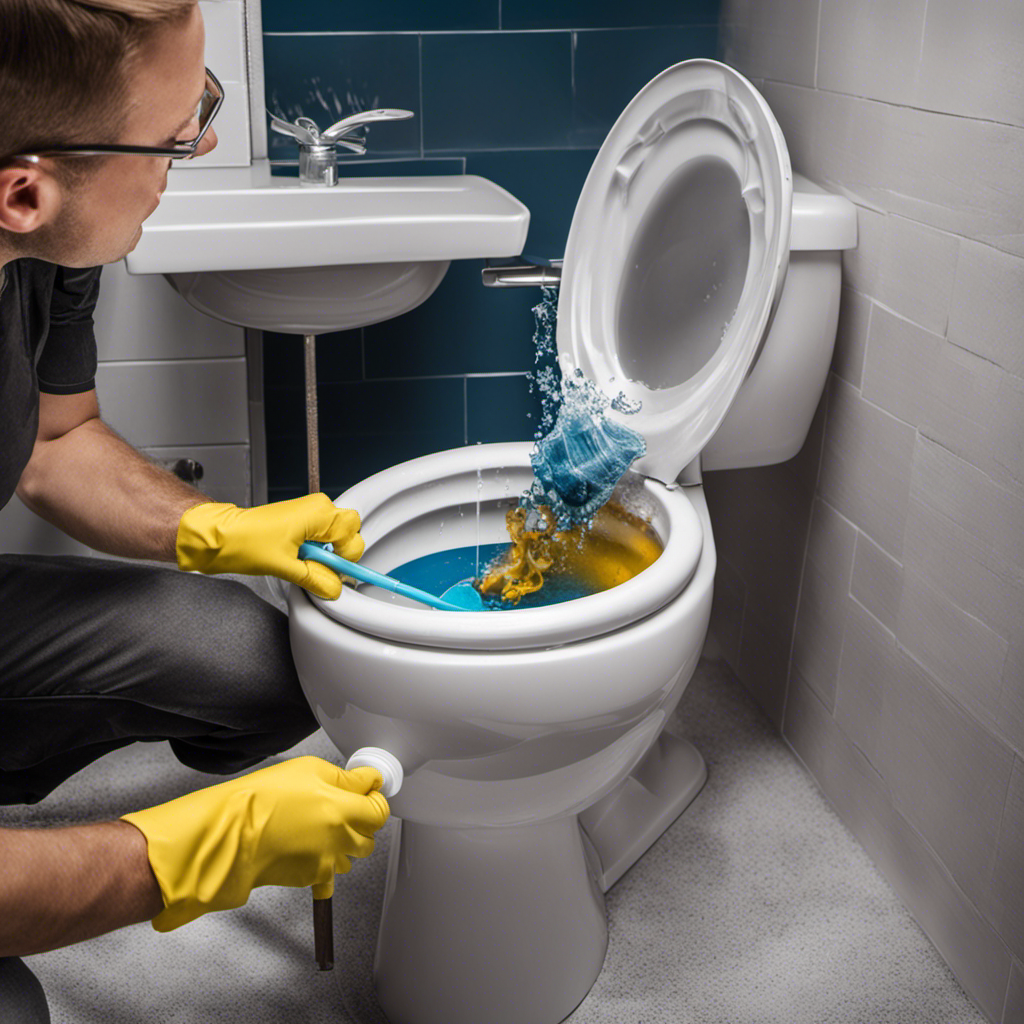
Disassemble and Clean the Fill Valve
Now you can start taking apart and cleaning the fill valve to ensure it functions properly. The fill valve plays a crucial role in regulating the water level in your toilet tank. If you’re experiencing common fill valve issues such as a running toilet or inconsistent water flow, troubleshooting fill valve problems is essential.
Follow these steps to disassemble and clean the fill valve:
- Shut off the water supply to the toilet.
- Flush the toilet to drain the tank.
- Remove the lid of the toilet tank.
- Locate the fill valve, usually on the left side of the tank.
- Refer to the manufacturer’s instructions and disassemble the fill valve.
- Inspect the components for any debris or mineral deposits.
- Clean the parts using a vinegar solution or a mild detergent.
- Rinse and reassemble the fill valve.
Replace Any Damaged or Worn-Out Parts
If you notice any damaged or worn-out parts while inspecting the fill valve, you should consider replacing them to ensure proper functioning. Here are some repair techniques and troubleshooting tips to help you with this process:
-
Identify the damaged parts: Look for cracks, tears, or signs of wear on components such as the flapper, float, or valve seal.
-
Purchase replacement parts: Visit a hardware store or plumbing supply shop to find suitable replacements for the damaged parts.
-
Shut off the water supply: Before replacing any parts, turn off the water supply to the toilet to prevent flooding.
-
Remove the old parts: Follow the manufacturer’s instructions or consult a repair guide to properly remove the damaged components.
-
Install the new parts: Carefully install the new parts, ensuring they fit correctly and are securely in place.
Reassemble the Fill Valve and Test for Proper Functioning
After replacing the damaged or worn-out parts, make sure to reassemble the fill valve and test it to ensure proper functioning. Start by following these step-by-step instructions:
- Place the rubber gasket onto the bottom of the fill valve.
- Insert the fill valve into the water tank, ensuring the gasket is properly aligned with the opening.
- Tighten the lock nut onto the fill valve from underneath the tank to secure it in place.
- Reattach the water supply line to the fill valve, making sure it is tightly connected.
Once the fill valve is reassembled, it’s time to test it. Here are some troubleshooting tips to help you adjust the water level:
- If the water level is too high, adjust the float height by turning the adjustment screw clockwise.
- If the water level is too low, turn the adjustment screw counterclockwise to increase the float height.
Frequently Asked Questions
How Can I Determine if the Fill Valve Is the Cause of My Running Toilet?
To determine if the fill valve is causing your running toilet, follow these steps: 1) Turn off the water supply. 2) Flush the toilet and observe if water continues to flow. 3) If it does, the fill valve may be the culprit.
What Tools Will I Need to Shut off the Water Supply to the Toilet?
To shut off the water supply to the toilet, you will need a pair of pliers or an adjustable wrench to turn the valve clockwise. This is one of the steps to diagnose if the fill valve is causing a running toilet.
Can I Use Any Cleaning Solution to Clean the Fill Valve, or Are There Specific Products I Should Use?
I can use a variety of cleaning solutions to clean the fill valve, but it’s important to use ones specifically designed for toilets. Alternative methods like vinegar and baking soda can also be effective.
Where Can I Purchase Replacement Parts for the Fill Valve?
I can purchase replacement parts for the toilet fill valve at any local hardware store or online. It’s important to find the right parts to fix a leaking fill valve and ensure proper functioning.
Is There a Specific Order in Which I Should Reassemble the Fill Valve, or Can I Do It in Any Order?
When reassembling the fill valve, it’s important to follow a specific order to ensure proper functioning. Doing it in any order can lead to common mistakes like leaks or improper water flow.
Conclusion
So there you have it, folks! By following these simple steps, you can easily fix a running toilet fill valve.
Just like a skilled plumber, you can now take charge and solve this pesky problem on your own.
With a little bit of effort and some basic tools, you’ll have your toilet back to its normal functioning in no time, just like a well-oiled machine.
Don’t let a running toilet dampen your spirits, tackle it head-on and triumph over the plumbing challenges!

Liam’s journey with us started as a consumer. Having faced challenges while setting up his own modern bathroom, he delved deep into research.
Recognizing his knack for simplifying complex information and his authentic writing style, we were thrilled to welcome him aboard. Liam’s articles often merge practicality with style, ensuring readers find the perfect fit for their homes. Liam is an avid hiker off-duty and often jokes about finding the best “natural toilets” Mother Earth has to offer.