
Tired of dealing with a toilet chain that constantly gets stuck? Fed up with the frustration of a weak flush? Well, you’re in luck! This article is here to save the day and teach you how to fix a toilet chain.
In just a few simple steps, you’ll have your toilet running smoothly again. So grab your tools, roll up your sleeves, and get ready to become a DIY plumbing pro.
Let’s dive right in and put an end to those toilet chain woes once and for all.
Key Takeaways
- Check the toilet chain length and connections to ensure proper function
- Remove the toilet tank lid and inspect the chain and flapper for damage or wear
- Adjust the chain length and attachment using pliers if necessary
- Test the flush multiple times to ensure smooth operation and proper closure of the flapper

Fluidmaster K-400H-039 High Performance Toilet Fill Valve with 2-Inch Adjustable Toilet Flapper Kit
The PerforMAX fill valve and 2 in. Flapper Kit is the premium solution to make your 2 in….
As an affiliate, we earn on qualifying purchases.
As an affiliate, we earn on qualifying purchases.
Assess the Problem
First, check if the toilet chain is too long or tangled. This is a common issue that can cause problems with the flushing mechanism.
To troubleshoot, start by removing the toilet tank lid and observing the chain. If it is too long, you can adjust it by hooking it onto a different hole in the flush handle arm. If it is tangled, carefully untangle it to ensure smooth operation.
While performing these troubleshooting techniques, it is important to take safety precautions. Make sure to turn off the water supply valve before working on the toilet to avoid any potential leaks or water damage. Additionally, be cautious when handling the chain and other parts to prevent any injuries.

Mudder Toilet Handle Chain Stainless Steel Toilet Flapper Lift Chain Replacement Fits Most Flappers(Silver,3 Pieces)
You will receive: 3 pieces toilet flapper chain, each has one hook end and one C-shaped ring end…
As an affiliate, we earn on qualifying purchases.
As an affiliate, we earn on qualifying purchases.
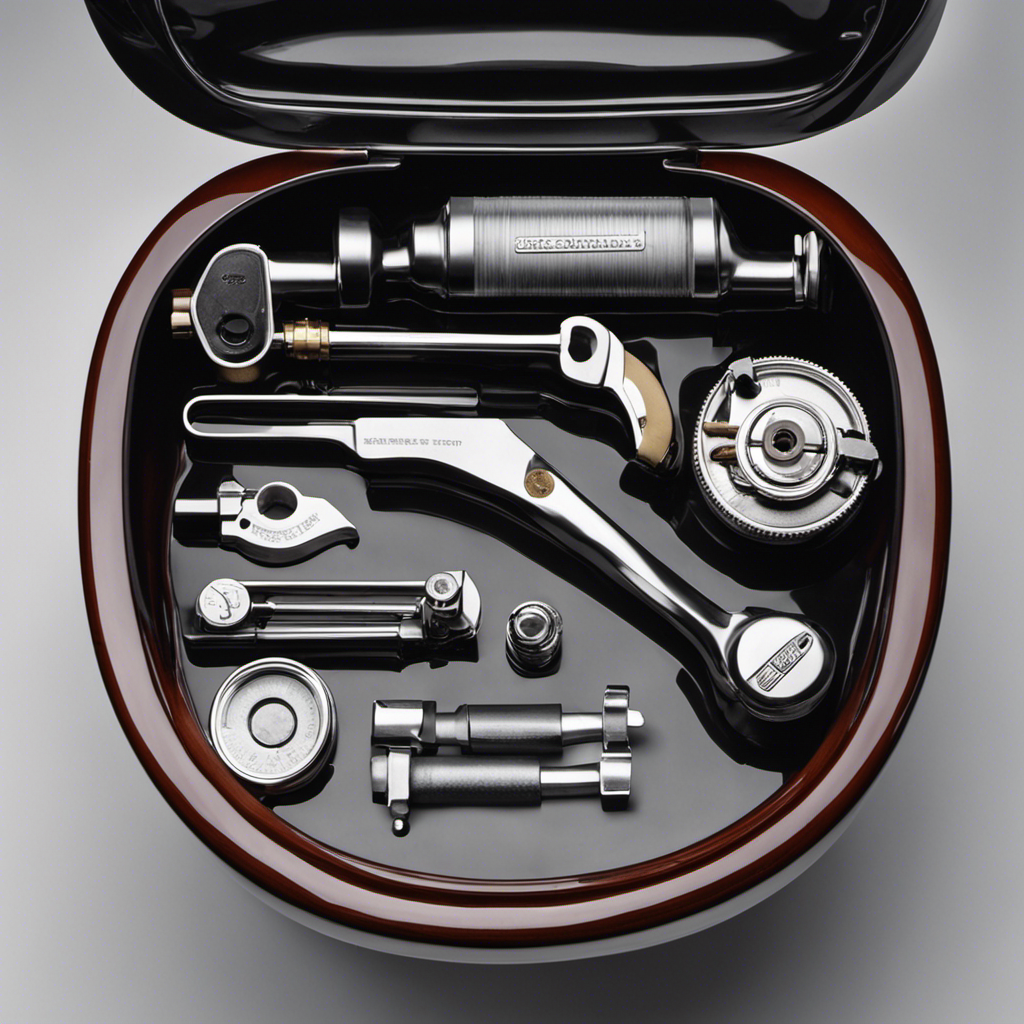
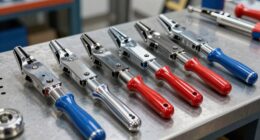
Gather the Necessary Tools
When it comes to fixing a toilet chain, it’s important to gather the necessary tools before getting started. To ensure a smooth and efficient repair process, make sure you have an essential tool checklist. This checklist may include items such as pliers, a wrench, and a screwdriver.
Additionally, it’s crucial to be aware of common troubleshooting techniques and safety precautions to consider. Some of these techniques may include turning off the water supply and wearing protective gloves. These precautions will help ensure your safety while working on the toilet chain.
Essential Tool Checklist
You’ll need a few tools on hand to fix a toilet chain. Here’s a checklist of essential tools you’ll need for toilet chain repair:
- Adjustable wrench: This will help you loosen and tighten nuts and bolts.
- Pliers: Use these to grip and manipulate small parts.
- Screwdriver: Choose a flathead or Phillips head screwdriver, depending on the type of screws in your toilet.
- Wire cutters: These are necessary for cutting or adjusting the length of the chain.
- Replacement chain: In case the existing chain is damaged beyond repair.
Having these tools ready will make troubleshooting toilet chains easier. Now that you have your tools, let’s move on to common troubleshooting techniques for fixing a toilet chain.
Common Troubleshooting Techniques
Now that you have the necessary tools, let’s explore some common troubleshooting techniques for repairing a toilet chain. Here are a few troubleshooting tips to help you address common issues with your toilet chain:
-
Check the chain length: Ensure that the chain is not too long or too short. A chain that is too long can get tangled or caught, while a chain that is too short can cause the flapper to close prematurely, resulting in incomplete flushing.
-
Inspect the chain connections: Make sure that the chain is securely attached to both the flush lever and the flapper. Loose connections can lead to poor flushing or a chain that falls off entirely.
-
Clean or replace the flapper: If the flapper is not sealing properly, it can cause water to continuously run into the bowl. Clean the flapper or consider replacing it if necessary.
-
Adjust the chain position: If the chain is getting stuck under the flapper, adjust its position so that it hangs freely without any obstructions.
-
Check for debris: Inspect the chain and surrounding areas for any debris or mineral buildup that could be affecting its function. Clean or remove any obstructions you find.
Safety Precautions to Consider
To ensure your safety, it’s important to consider a few precautions when working on your toilet.
When it comes to toilet chain maintenance and chain adjustment, there are a few things you should keep in mind.
First, always remember to turn off the water supply to the toilet before starting any work. This will prevent any potential water damage or accidents.
Secondly, make sure to wear protective gloves and goggles to protect yourself from any harmful substances or debris.
When adjusting the toilet chain, be gentle and make small adjustments at a time to avoid any damage to the flushing mechanism.
Lastly, always double-check your work and test the toilet before leaving the area to ensure everything is functioning properly.
Following these precautions will help keep you safe while working on your toilet.

Korky Ultra Standard 2-Inch Universal Toilet Flapper – Long Lasting Rubber – Easy to Install – Made in USA, 100BP
TOILET FLAPPER VALVE FITS MOST POPULAR 2 inch toilet brands including, but not limited to: American Standard, Kohler,…
As an affiliate, we earn on qualifying purchases.
As an affiliate, we earn on qualifying purchases.
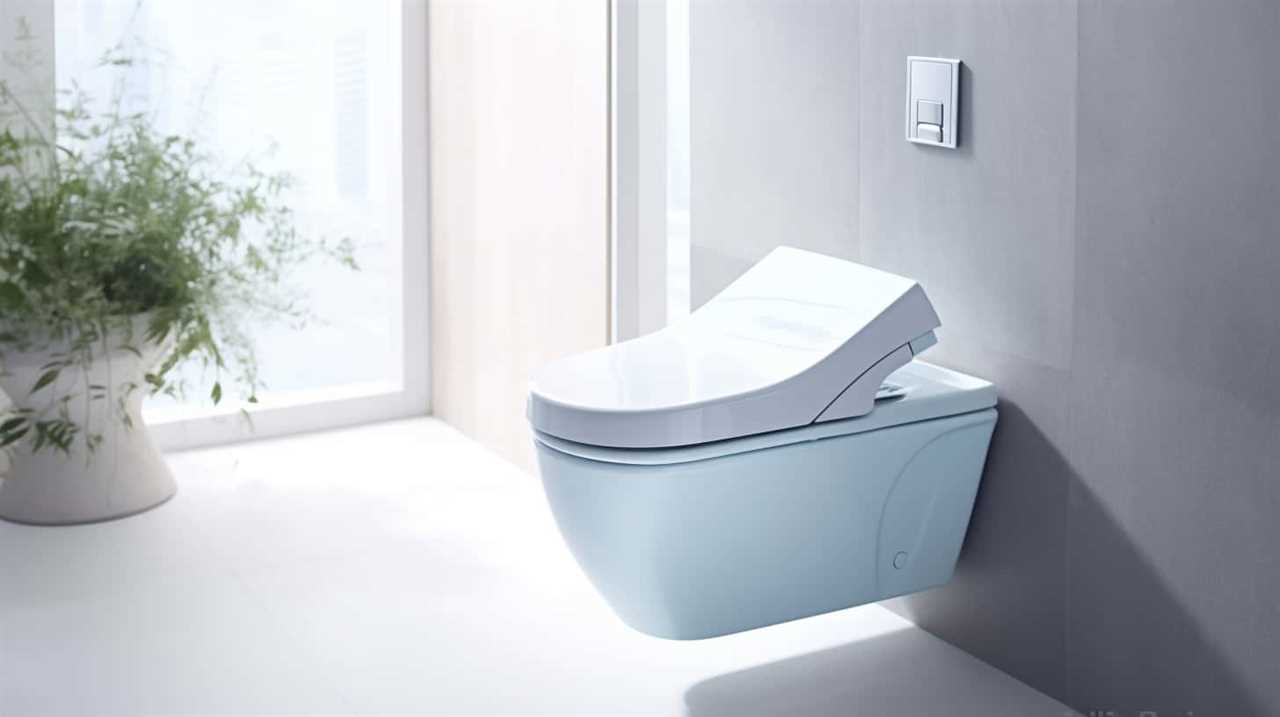
Remove the Toilet Tank Lid
First, take off the toilet tank lid to access the inside of the tank. This is an important step in troubleshooting toilet flush issues and replacing the toilet chain if necessary.
Here are some helpful tips to guide you through the process:
- Make sure to turn off the water supply to the toilet by closing the shut-off valve located near the base of the toilet.
- Carefully lift the tank lid straight up and set it aside in a safe place, making sure not to drop it.
- Take a moment to familiarize yourself with the inside components of the tank, including the flapper, fill valve, and flush handle.
- Inspect the toilet chain for any signs of damage or disconnection. If the chain is broken or too loose, it may need to be replaced.
- Remember to handle the tank lid with caution when placing it back on the tank after completing any repairs or adjustments.

Fluidmaster Universal Install/Uninstall Toilet Repair Tool
Fluidmaster’s universal install and uninstall toilet tool makes any toilet repair job simple
As an affiliate, we earn on qualifying purchases.
As an affiliate, we earn on qualifying purchases.
Examine the Chain and Flapper
After removing the toilet tank lid, take a closer look at the chain and flapper for any signs of damage or wear. The chain mechanism is an essential part of the toilet’s flushing system, as it connects the handle to the flapper valve. If the chain is too loose or too tight, it can cause problems with the toilet’s flushing action. Examine the chain to ensure it is properly connected and has the right amount of slack. If the chain is damaged or worn, it may need to be replaced. The flapper valve, on the other hand, controls the release of water from the tank into the bowl. Check for any cracks or leaks in the flapper and replace it if necessary. By examining the chain mechanism and replacing the flapper valve as needed, you can ensure the proper functioning of your toilet.
| Chain Mechanism | Flapper Valve |
|---|---|
| Check for damage or wear | Examine for cracks or leaks |
| Adjust slack if necessary | Replace if damaged |
| Ensure proper connection | Ensure proper function |
Adjust or Replace the Chain
Check if the chain is too loose or too tight and make any necessary adjustments. A properly adjusted chain is crucial for the optimal functioning of your toilet. Here are some steps to help you with chain adjustment:
-
Inspect the chain: Look for any signs of wear or damage. If the chain is broken or severely worn, it may need to be replaced.
-
Adjust the length: If the chain is too loose, it can cause the flapper to remain open, leading to continuous water flow. If too tight, it may prevent the flapper from closing properly, resulting in incomplete flushing.
-
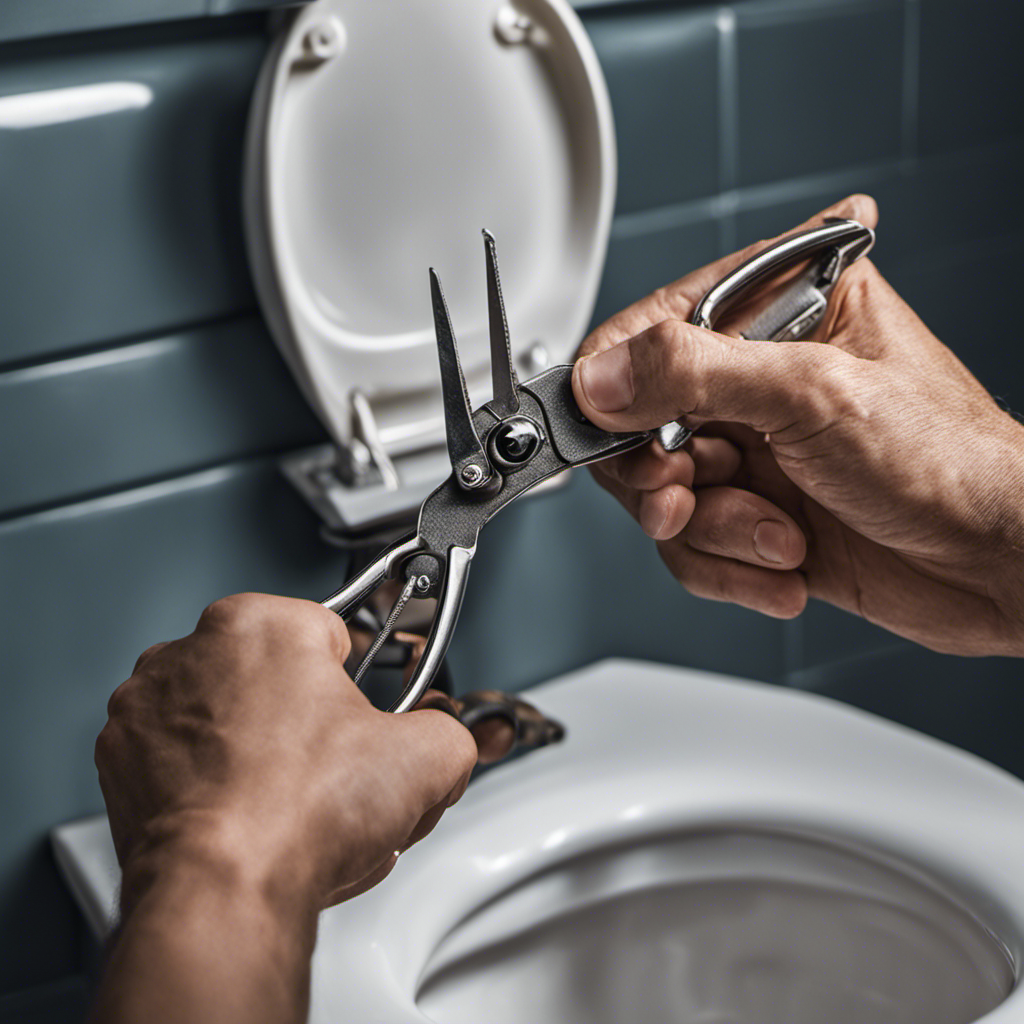
Use pliers: To adjust the chain length, use pliers to either loosen or tighten the chain’s attachment to the flush lever or the flapper.
-
Test the flush: After making adjustments, flush the toilet to ensure the chain operates smoothly and the flapper closes fully.
-
Replace the chain if necessary: If the chain is beyond repair or adjustment, it’s time to replace it. Simply detach the old chain and attach a new one of suitable length.
Test the Flush
Once you’ve made the necessary adjustments to the chain, it’s important to test the flush to ensure it operates smoothly and the flapper closes fully.
Testing the flush is an essential step in troubleshooting your toilet chain. To start, push down the toilet handle and observe the chain’s movement.
If the chain is too loose, it may get tangled or caught, preventing the flapper from closing properly. On the other hand, if the chain is too tight, it may not allow the flapper to open fully, resulting in a weak flush.
By testing the flush, you can identify any issues with the chain’s length or positioning. Make any necessary adjustments until the flush operates smoothly and the flapper closes fully.
Once you’re satisfied with the results, you can proceed to reattach the toilet tank lid.
Reattach the Toilet Tank Lid
To reattach the toilet tank lid, simply line up the notches on the lid with the corresponding slots on the tank and gently press down until you hear a click. It’s a simple task that anyone can do.
Here are a few tips to help you with this process:
- Make sure the lid is clean and free from any debris before reattaching it.
- Take your time and be gentle when pressing down on the lid to avoid any damage.
- Double-check that the lid is securely in place by giving it a light wiggle.
- If you’re having trouble lining up the notches and slots, try rotating the lid slightly until they align.
- Always replace the tank lid after completing any repairs or maintenance on your toilet to prevent any accidents or damage.
Conclusion
Congratulations! You’ve successfully conquered the treacherous world of toilet chain repair. With your trusty tools in hand, you fearlessly dismantled the toilet tank, examined the chain and flapper, and made the necessary adjustments.
The moment of truth arrived as you tested the flush, and behold, the mighty toilet responded with a powerful gush of water. With the toilet tank lid securely reattached, you can now bask in the glory of your triumph, knowing that you possess the skills to fix any toilet chain that dares to malfunction.
So go forth, my brave friend, and conquer the world, one toilet chain at a time!