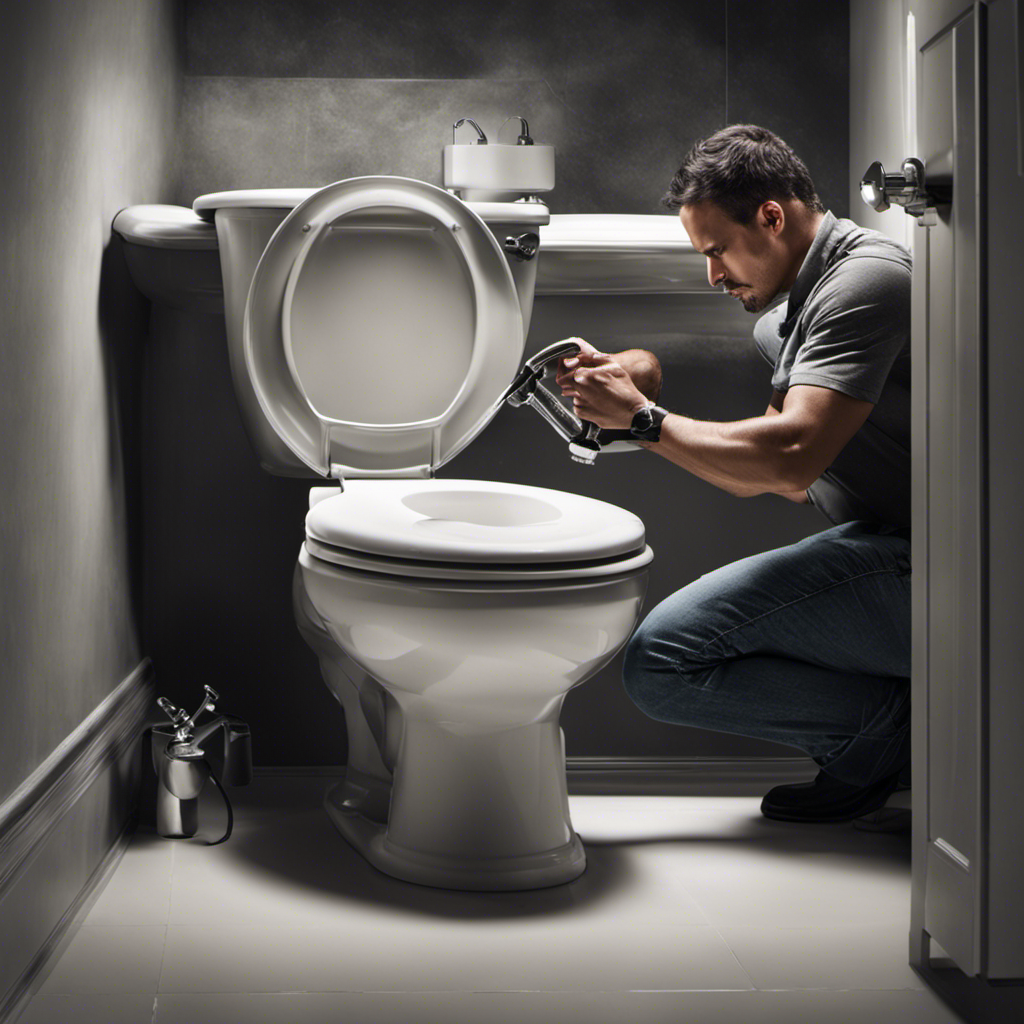
I’ll show you how to fix a toilet that won’t flush because there’s no water in the tank.
It’s a frustrating problem, but with a few simple steps, you can get your toilet working properly again.
First, we’ll check the water supply and make sure it’s turned on.
Then, we’ll inspect the fill valve and adjust the float level if necessary.
Next, we’ll clean or replace the flapper, which can often cause flushing issues.
Finally, we’ll clear any clogs in the drainage system and troubleshoot other possible issues.
Let’s get started!
Key Takeaways
- Checking and adjusting the water supply and fill valve is the first step in troubleshooting a toilet that won’t flush due to no water in the tank.
- Cleaning or replacing the flapper may be necessary to ensure proper sealing and flushing.
- Clearing clogs in the drainage system using a plunger can help restore proper water flow.
- Regular maintenance is important to prevent future issues, extend the toilet’s lifespan, maintain optimal flushing performance, save money on repairs, and promote hygiene and cleanliness.

Fluidmaster 400H-002 Performax Universal Toilet Fill Valve High Performance Tank and Bowl Water Control, 1-Pack, Multicolor
Fix noisy, or slow filling fill valves with the quietest, most powerful toilet fill valve available
As an affiliate, we earn on qualifying purchases.
As an affiliate, we earn on qualifying purchases.
Checking the Water Supply
First, you’ll want to make sure there isn’t any water in the tank. To do this, turn off the water supply valve located behind the toilet. Then, flush the toilet to drain any remaining water in the tank. Once the tank is empty, you can proceed with checking the water supply.
Start by inspecting the water line connected to the toilet. Look for any visible leaks or kinks in the line. If there are any issues, tighten any loose connections or replace the line if necessary.
Next, check the water pressure in your home. Low water pressure can prevent the toilet from flushing properly. You can test the water pressure using a pressure gauge, which can be purchased at a hardware store. If the pressure is low, you may need to contact a plumber to investigate and resolve the issue.

Korky Ultra Standard 2-Inch Universal Toilet Flapper – Long Lasting Rubber – Easy to Install – Made in USA, 100BP
TOILET FLAPPER VALVE FITS MOST POPULAR 2 inch toilet brands including, but not limited to: American Standard, Kohler,…
As an affiliate, we earn on qualifying purchases.
As an affiliate, we earn on qualifying purchases.
Inspecting the Fill Valve
Before we move on to inspecting the fill valve, it’s important to understand the key points of fill valve troubleshooting and repairing.
In this discussion, I will guide you through the process of identifying common fill valve issues, such as leakages or inadequate water flow, and how to resolve them effectively.
Fill Valve Troubleshooting
To troubleshoot the fill valve, first check if the water supply valve is fully open. If it’s not, turn the valve counterclockwise to open it completely. Once the water supply is fully open, observe if the toilet tank is filling up with water. If not, it could indicate a problem with the fill valve. In such cases, you may need to consider fill valve replacement or repair.
If you opt for fill valve replacement, start by turning off the water supply to the toilet. Then, disconnect the water supply line from the bottom of the fill valve. Next, remove the old fill valve by unscrewing it from the bottom of the tank. Install the new fill valve by screwing it tightly onto the tank.
Transitioning into the subsequent section on repairing the fill valve, let’s now explore some troubleshooting steps to fix common issues that can arise with the fill valve.
Repairing Fill Valve
Now let’s explore some troubleshooting steps to address common issues that can occur with the fill valve. If you’re experiencing fill valve leakage or if your toilet tank isn’t refilling properly, here’s how you can repair the fill valve:
-
Turn off the water supply: Locate the shut-off valve near the toilet and turn it clockwise to stop the flow of water.
-
Remove the fill valve cap: Unscrew the cap on top of the fill valve and lift it off to expose the inner components.
-
Adjust the float height: Use a screwdriver to adjust the float height to the specified level. This will control the amount of water that enters the tank.
-
Replace the fill valve: If adjusting the float height doesn’t solve the issue, you may need to replace the fill valve entirely. Follow the manufacturer’s instructions for installation.
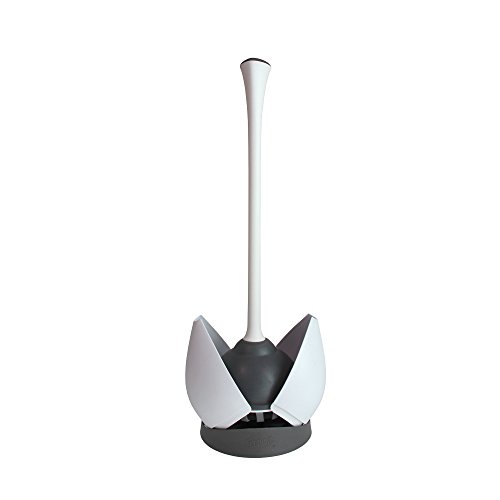
Clorox Toilet Plunger with Hideaway Holder Caddy Heavy-Duty Compact Design with Non-Skid Rubber Base for Bathroom Convenient Storage Toilet Unclogger, 6.5×19.5-Inch, White
TOILET PLUNGER WITH HOLDER SET: This toilet plunger set includes a coordinating hideaway caddy for convenient access and…
As an affiliate, we earn on qualifying purchases.
As an affiliate, we earn on qualifying purchases.
Adjusting the Float Level
You can easily fix a toilet that won’t flush by adjusting the float level. The float is responsible for controlling the water level in the toilet tank. If the water level is too low, the toilet won’t flush properly.
To adjust the float level, locate the adjustment screw or clip on the float arm and either tighten or loosen it to raise or lower the float. Make sure the water pressure is set at the correct level to ensure proper flushing.
If adjusting the float doesn’t solve the problem, you may need to replace the flush handle. A faulty handle can prevent the toilet from flushing.
Once you have adjusted the float level and replaced the flush handle, you can move on to the next step: cleaning or replacing the flapper.

Flow Doctor Water Pressure Glycerin Filled Gauge Kit, All Purpose, 6 Parts Kit, 0 To 200 Psi, Standard 3/4" Female Garden Hose Thread Plus 5 Adapters To Test in Multiple Locations Indoors and Outdoors
DISCOVER THE ONLY WATER PRESSURE GAUGE KIT YOU WILL EVER NEED. High Quality Glycerin Filled, 0 to 14…
As an affiliate, we earn on qualifying purchases.
As an affiliate, we earn on qualifying purchases.
Cleaning or Replacing the Flapper
When it comes to maintaining your toilet’s flapper, there are a few key tips to keep in mind.
Firstly, regularly inspect the flapper for any signs of wear or damage, such as cracks or deterioration.
Secondly, ensure that the flapper is properly seated on the flush valve to prevent any leaks or running water.
Lastly, if the flapper is beyond repair, there are various replacement options available, such as universal flappers or specific ones designed for your toilet model.
Flapper Maintenance Tips
To prevent water leakage, regularly check and replace the flapper in your toilet tank. Here are some maintenance tips to keep your flapper in good working condition:
- Inspect the flapper for any signs of wear or damage, such as cracks or warping.
- Clean the flapper and the area around it to remove any dirt or debris that may interfere with its sealing ability.
- Adjust the chain length to ensure proper flapper operation. It should have enough slack to allow the flapper to fully close but not so much that it gets tangled or prevents a tight seal.
- Test the flapper by flushing the toilet and observing if it closes completely and doesn’t allow water to leak into the bowl.
By following these maintenance tips, you can prolong the lifespan of your flapper and prevent potential water leakage issues.
Now, let’s explore some flapper replacement options.
Flapper Replacement Options
Consider exploring different flapper replacement options to ensure a proper fit and reliable performance for your toilet. When it comes to flapper repair, it’s crucial to address common flapper problems such as leaks and improper sealing. To help you choose the right replacement, I have compiled a table below with various flapper options and their features:
| Flapper Type | Material | Features |
|---|---|---|
| Rubber Flapper | Rubber | Provides a tight seal, durable, and affordable |
| Silicone Flapper | Silicone | Excellent sealing ability, resistant to chemicals and hard water |
| Adjustable Flapper | Plastic | Allows for customization of water flow and flushing power |
| Dual Flush Flapper | Rubber/Plastic | Provides both full and partial flush options for water conservation |
| Float Cup Flapper | Plastic | Utilizes a float cup mechanism for reliable sealing and efficient flushing |
Clearing Clogs in the Drainage System
If you’re experiencing a clog in the drainage system, you can try using a plunger to clear it. Here are some techniques to keep in mind when using a plunger:
-
Position the plunger: Place the plunger’s rubber cup directly over the drain opening, ensuring a tight seal.
-
Create suction: Push the plunger down firmly and then pull upwards quickly. This action creates suction to dislodge the clog.
-
Repeat the process: Continue pushing and pulling the plunger vigorously, maintaining a strong seal, to break up and remove the blockage.
-
Test the drain: After a few attempts, test the drain by running water to check if the clog has cleared. If not, repeat the plunging process.
Remember to exercise caution and avoid using excessive force, as this may damage the pipes. Using a plunger properly can be an effective way to clear clogs in the drainage system.
Troubleshooting Other Possible Issues
When troubleshooting other possible issues, it’s important to check for any leaks or drips in the plumbing system. These can cause a lack of water in the toilet bowl and prevent the flushing mechanism from working properly.
Start by inspecting the base of the toilet for any signs of water pooling or dampness. If you notice any leaks, tighten the connections or replace any faulty parts.
Additionally, check the water supply line leading to the toilet to ensure it is fully open and not blocked.
If there are no visible leaks or issues with the water supply, the problem may lie within the flushing mechanism itself. Inspect the flapper valve, chain, and fill valve to ensure they are functioning correctly.
Frequently Asked Questions
Why Is There No Water in the Toilet Tank?
I’ll discuss why there’s no water in the toilet tank. Several reasons could cause this problem. Let’s troubleshoot and find out what’s causing the water shortage in the tank.
How Can I Tell if the Fill Valve Is Faulty?
When troubleshooting a fill valve, observe for signs of a faulty one. Look for water leaks, inadequate water filling, or constant running. These indicators can help identify if the fill valve is the culprit.
Can I Adjust the Float Level to Solve the Flushing Problem?
Adjusting the float level is a potential solution to the flushing problem. However, there may be alternative solutions depending on the specific issue with the toilet. It is important to diagnose the problem accurately before attempting any adjustments.
How Often Should I Clean or Replace the Flapper?
I clean or replace the flapper every year to ensure proper toilet function. Neglecting this maintenance can lead to common problems, like leaks or incomplete flushes. It’s a simple task that keeps things flowing smoothly.
What Should I Do if None of the Suggested Solutions Fix the Toilet Flushing Issue?
If none of the suggested solutions fix the toilet flushing issue, there are alternative solutions to explore. However, if those don’t work either, it may be time to seek professional help.
Conclusion
In conclusion, fixing a toilet that won’t flush due to no water in the tank requires a systematic approach.
By checking the water supply, inspecting the fill valve, adjusting the float level, cleaning or replacing the flapper, and clearing clogs in the drainage system, you can resolve the issue effectively.
However, troubleshooting other possible issues may be necessary.
Just like a skilled plumber unclogs a pipe to restore the flow, following these steps will ensure your toilet functions smoothly again, flushing away any worries.