I know what you might be thinking – fixing a broken toilet seat sounds like a daunting task. But let me assure you, with a little know-how and the right tools, it’s actually quite simple.
In this article, I’ll guide you through each step of the process, from assessing the damage to installing the replacement seat.
With my experienced and precise instructions, you’ll have your toilet seat fixed in no time.
So let’s get started and make that broken seat a thing of the past.
Key Takeaways
- Assess the damage and determine if the toilet seat needs to be replaced or repaired.
- Gather the necessary tools such as a screwdriver, wrench, and replacement seat.
- Align and install the replacement seat according to the manufacturer’s instructions.
- Regularly clean and maintain the replacement seat for hygiene and appearance.
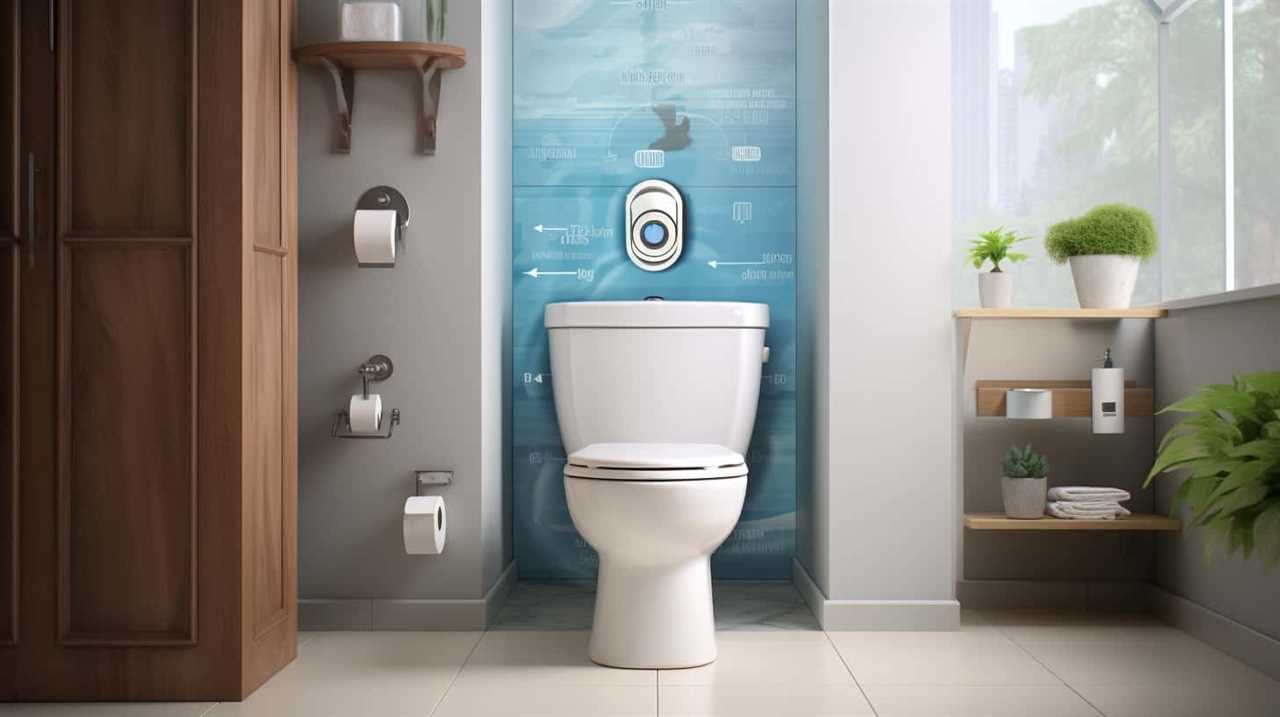
Assessing the Damage
First, you’ll need to check if the toilet seat is securely attached. Start by sitting on the toilet seat and wiggle around to see if it moves or feels loose. If it does, then it’s likely that the seat is broken or the screws holding it in place have become loose.
There are a few repair options you can consider depending on the extent of the damage. If the seat is cracked or broken, you may need to replace it entirely. However, if the issue is only with the screws, you can simply tighten them or replace them if necessary.
Potential causes of a broken toilet seat could be regular wear and tear, excessive weight, or improper installation. Once you have assessed the damage, you can move on to gathering the necessary tools for the repair.
Gathering the Necessary Tools
Once you’ve got all the tools you need, it’s time to start repairing the toilet seat. Finding alternative solutions and troubleshooting common issues are essential when it comes to fixing a broken toilet seat. Here are some key steps to follow:
- Screwdriver: Use a screwdriver to remove any screws or bolts holding the seat in place.
- Replacement seat: Find a new toilet seat that matches the dimensions of the old one.
- Wrench: If the bolts are rusted or difficult to remove, use a wrench for extra leverage.
- Rubber washers: Replace any worn-out or damaged rubber washers to ensure a secure fit.
- Adjustable pliers: Use adjustable pliers to tighten or loosen the bolts if needed.
By following these steps, you can easily fix your broken toilet seat.
Now, let’s move on to the next section about removing the broken seat.
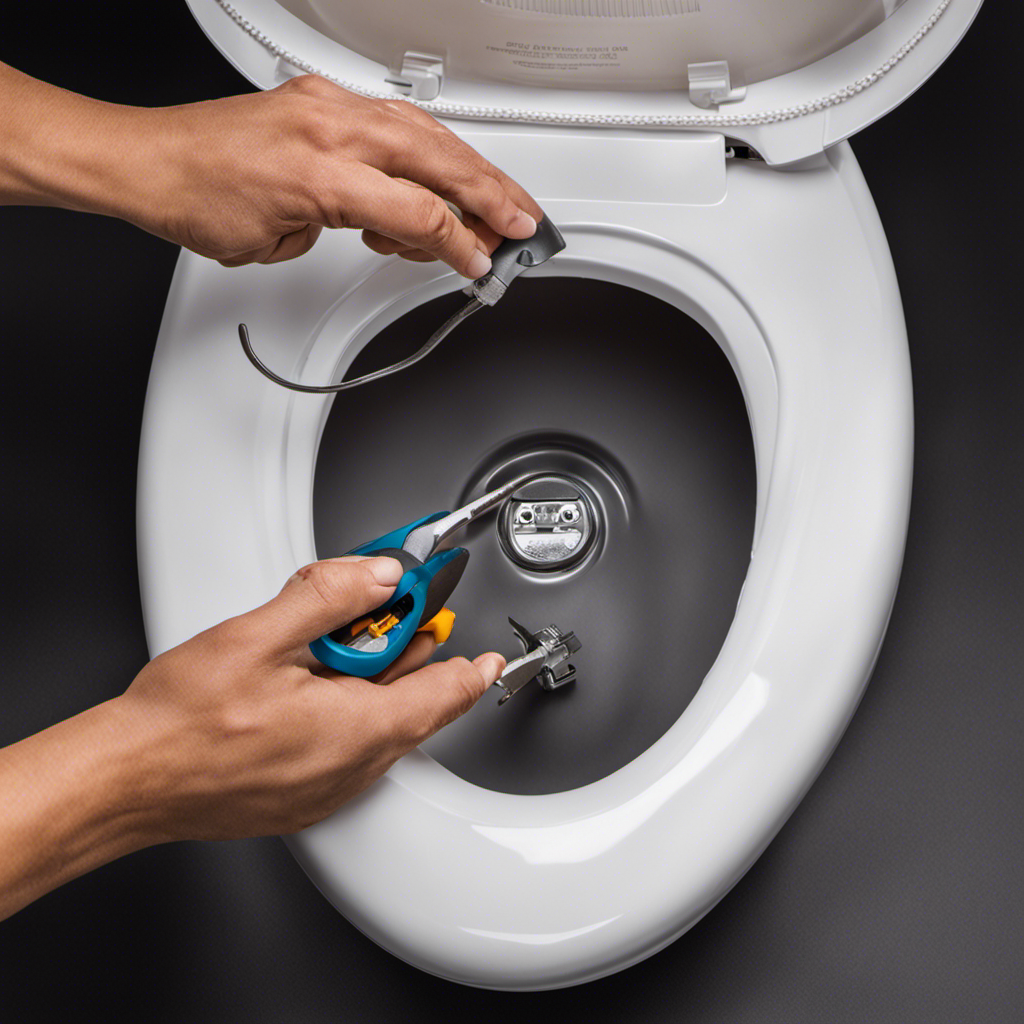
Removing the Broken Seat
To remove the broken seat, start by unscrewing any screws or bolts with a screwdriver.
Repairing vs. replacing the broken seat is a decision many homeowners face when dealing with a toilet seat breakage. As someone experienced in toilet repairs, I can guide you through the process.
Common causes of toilet seat breakage include excessive weight or pressure, accidental impacts, and wear and tear over time. Regardless of the cause, removing the broken seat is the first step in the repair process.
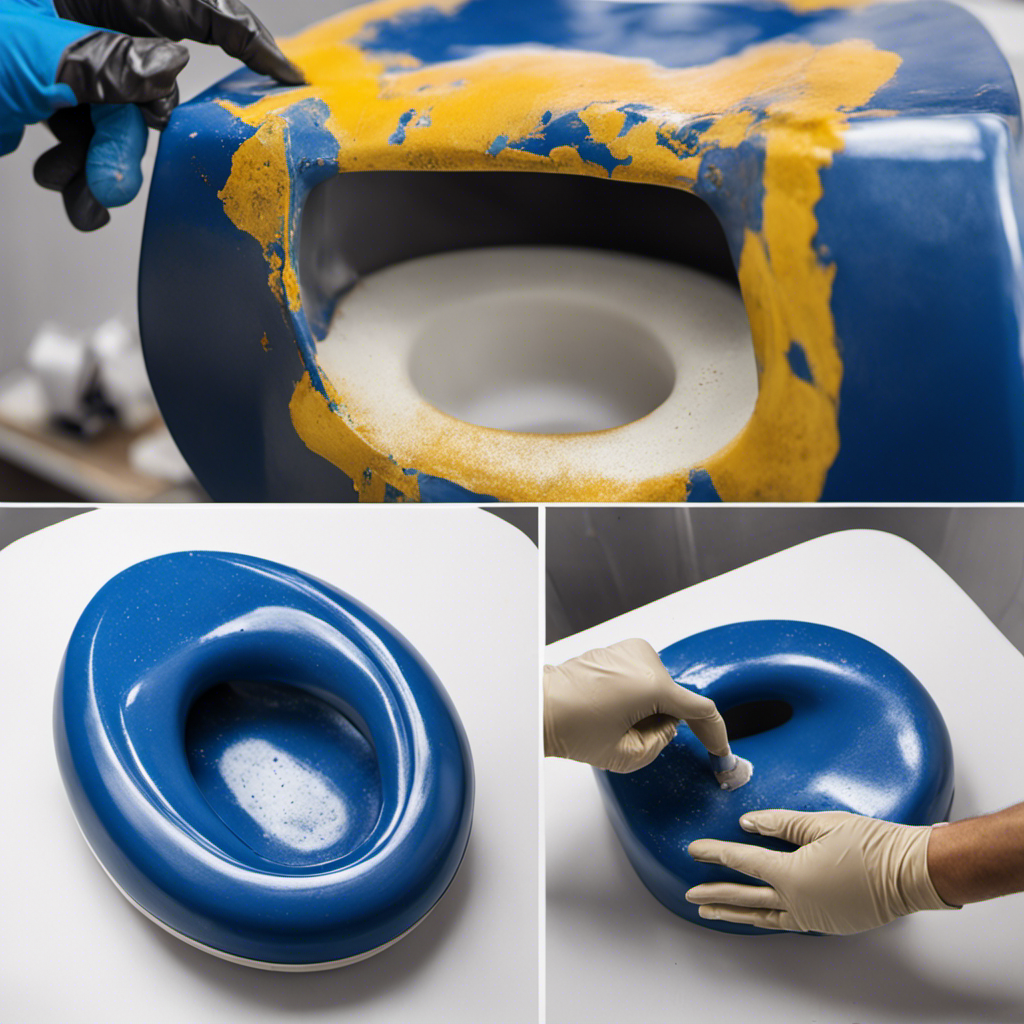
Installing the Replacement Seat
Now that you have the replacement seat, you can begin installing it. Align the holes on the seat with the holes on the toilet bowl. Make sure to position the seat in a way that it is centered and level on the bowl. This will ensure proper seat alignment and prevent any wobbling or instability.
When choosing the right seat material, consider factors such as durability, comfort, and ease of cleaning. Here are some options to consider:
- Plastic: Lightweight and affordable, plastic seats are easy to clean and resistant to stains and scratches.
- Wood: A classic choice, wood seats provide a warm and elegant look. Look for seats made from water-resistant materials like bamboo or oak.
- Soft-closing: These seats have a hinge mechanism that allows for a slow and quiet closing, preventing any accidental slamming.
- Quick-release: These seats have a convenient button or lever that allows for easy removal and cleaning.
- Bidet seats: These seats come with built-in bidet functions for added hygiene and comfort.
Finishing Touches and Maintenance
Don’t forget to regularly clean and disinfect the replacement seat to maintain its hygiene and appearance. Cleaning the toilet seat is an essential part of bathroom maintenance.
To keep your replacement seat in top condition, here are some cleaning tips that I’ve found useful. Firstly, use a mild soap and warm water to wipe down the seat regularly. Avoid using harsh chemicals or abrasive cleaners, as they can damage the surface. If there are any stubborn stains, you can try using a mixture of vinegar and water. Remember to rinse thoroughly and dry the seat after cleaning.
Additionally, troubleshooting common issues with the replacement seat is important. If you notice any loose screws or wobbling, tighten them with a screwdriver. If the seat becomes loose over time, you may need to replace the hinges.
Frequently Asked Questions
Can I Use Any Replacement Seat for My Broken Toilet Seat?
Yes, you can use any replacement seat for your broken toilet seat. However, it’s important to consider the materials used and opt for a reputable brand known for their quality and durability.
Is It Necessary to Turn off the Water Supply Before Removing the Broken Seat?
It’s important to turn off the water supply before removing a broken toilet seat. Using the proper tools is crucial to avoid damaging the toilet or injuring yourself. Common mistakes to avoid include using incorrect tools or not securing the new seat properly.
How Long Does It Usually Take to Install a Replacement Seat?
Usually, installing a replacement toilet seat takes about 15-30 minutes. It’s a straightforward process that involves removing the old seat and attaching the new one. The cost and materials for replacement can vary.
Can I Fix a Cracked Toilet Seat Instead of Replacing It?
I’ve had success repairing cracked toilet seats by using epoxy resin or super glue. It’s a cost-effective alternative to replacing the entire seat. Just make sure to follow the instructions carefully for a durable fix.
What Should I Do if the Bolts Holding the Seat Are Rusted and Difficult to Remove?
When the bolts holding the toilet seat are rusted and difficult to remove, I would suggest using a rust remover to loosen them. If they still won’t budge, try using alternative fasteners to secure the seat in place.
Conclusion
After successfully fixing a broken toilet seat, I can confidently say that it was a rewarding experience.
Assessing the damage and gathering the necessary tools set the stage for a precise repair job.
Removing the broken seat felt like removing a thorn from my side, while installing the replacement seat was like fitting a puzzle piece perfectly into place.
With some finishing touches and regular maintenance, my toilet seat now feels sturdy and reliable.
Don’t let a broken seat flush away your patience; take charge and fix it like a pro!

With an impeccable eye for detail and a passion for bathroom-related, Ava leads our editorial team gracefully and precisely.
Under her guidance, Best Modern Toilet has flourished as the go-to resource for modern bathroom enthusiasts. In her free time, you might find Ava exploring antique shops and looking for vintage bathroom fixtures to add to her collection.