I know what you’re thinking – fixing a constantly running toilet can be a real hassle. But fear not, I’m here to guide you through a step-by-step process that will have your toilet running smoothly in no time.
In this article, I will walk you through identifying the problem, checking the water level, adjusting the fill valve, inspecting the flapper, and even replacing the flapper valve if necessary.
So let’s get started and put an end to that annoying running toilet once and for all.
Key Takeaways
- Check the flapper valve for wear or improper sealing
- Inspect the float mechanism for proper adjustment
- Adjust the fill valve to control water flow into the tank
- Replace the flapper valve if necessary to ensure proper functioning
Identifying the Problem
You need to start by checking if the flapper valve is causing the constantly running toilet. This is one of the most common toilet issues that can be easily fixed with some troubleshooting techniques.
The flapper valve is responsible for sealing the tank and preventing water from continuously flowing into the bowl. If it is not properly sealing, water will constantly flow, causing the toilet to run non-stop.
To check the flapper valve, simply remove the tank lid and observe the rubber flap at the bottom of the tank. If it appears worn out or is not sealing properly, it may need to be replaced.
This can be done by purchasing a new flapper valve from a hardware store and following the instructions provided.
Checking the Water Level
To check the water level in your toilet, start by removing the toilet tank lid. This will give you access to the inner workings of the toilet and allow you to troubleshoot any issues that may be causing it to constantly run.
Here are four key steps to help you in checking the water level:
-
Inspect the float mechanism: Ensure that the float is properly adjusted and not obstructed. The float should rise and fall smoothly with the water level.
-
Check the fill valve: Make sure the fill valve is functioning correctly and not stuck open. If it is, adjust or replace it as needed.
-
Examine the flapper: Inspect the flapper for any signs of damage or warping. A faulty flapper can cause water to continuously leak into the bowl.
-
Troubleshoot the flush handle: Ensure that the flush handle is properly connected to the flapper chain and not loose or broken.
Adjusting the Fill Valve
Adjusting the fill valve is an important step in troubleshooting any issues with the water level in your toilet. The fill valve controls the flow of water into the tank, and if it is not adjusted correctly, it can cause the toilet to run constantly or have a low water level. To adjust the fill valve, you will need to locate it in the toilet tank and make sure it is properly aligned. Here is a table to help you understand the process:
| Step | Action |
|---|---|
| 1 | Shut off the water supply to the toilet. |
| 2 | Remove the tank lid and locate the fill valve. |
| 3 | Adjust the float arm or screw to adjust the water level. |
| 4 | Test the water level by flushing the toilet and observing the fill valve. |
Once you have adjusted the fill valve, you can move on to inspecting the flapper, which is another common cause of a constantly running toilet.
Inspecting the Flapper
Once the fill valve has been adjusted, it’s important to inspect the flapper to ensure proper functioning of the toilet. The flapper is a crucial component that controls the flow of water from the tank into the bowl.
Here are some key steps to follow when inspecting the flapper:
-
Check the chain length: Ensure that the chain connecting the flapper to the flush handle is properly adjusted. If it’s too long or too short, it can affect the flapper’s ability to seal properly and cause constant running.
-
Clean the flush valve: The flush valve is where the flapper sits when the toilet is not in use. Over time, debris and mineral deposits can accumulate, preventing the flapper from closing tightly. Use a brush or a cloth to clean the flush valve and remove any obstructions.
Replacing the Flapper Valve
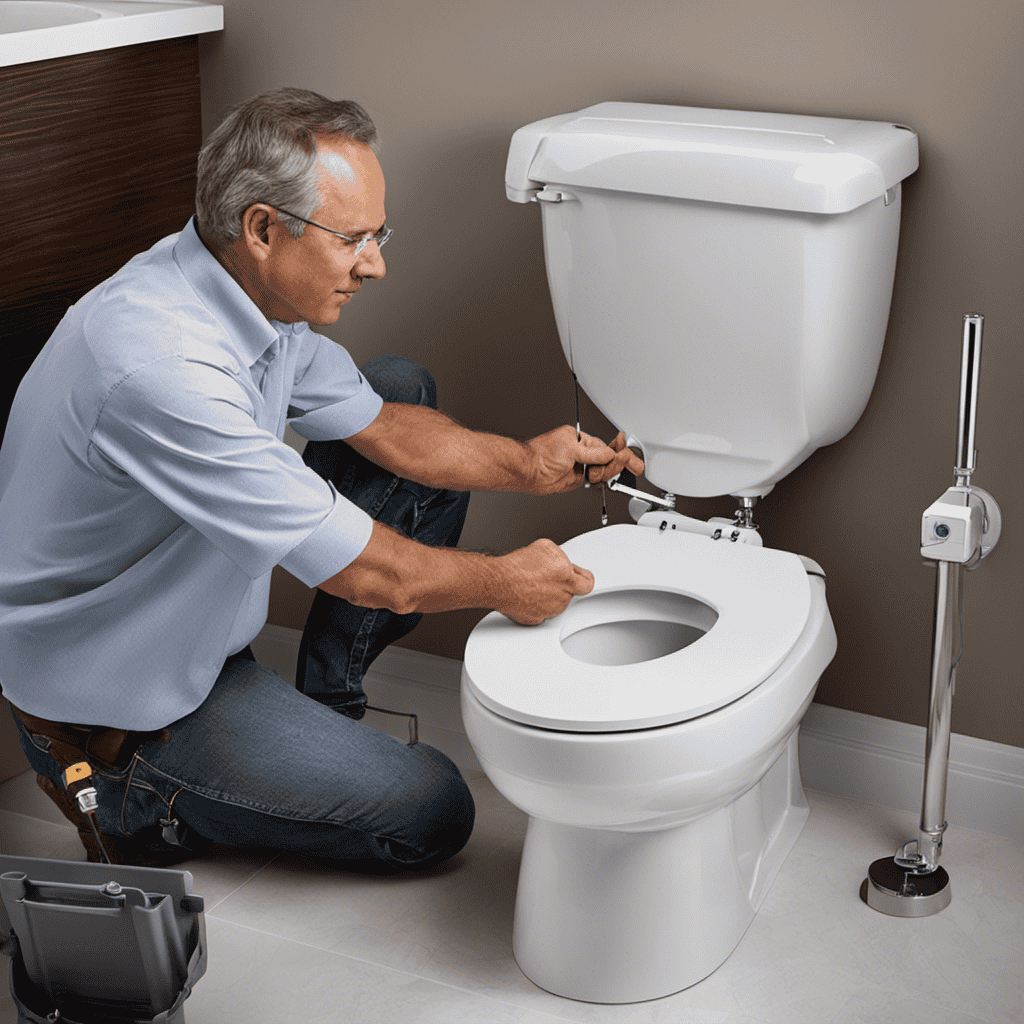
When replacing the flapper valve, it’s essential to turn off the water supply to the toilet. This step ensures that no water flows into the tank while you work on the valve.
To begin, locate the water shut-off valve near the base of the toilet. It’s usually a small knob or lever that you can turn clockwise to shut off the water. Once the water is off, flush the toilet to drain any remaining water in the tank.
Now you can easily access the old flapper valve and remove it by disconnecting the chain or strap. To install the new flapper valve, simply reverse the steps. Remember to check for proper alignment and secure the chain or strap.
With this simple replacement, you can upgrade the technology of your toilet and troubleshoot common issues like a constantly running toilet.
Frequently Asked Questions
How Do I Know if My Toilet Is Constantly Running?
I can easily determine if my toilet is constantly running by checking for continuous water flow and a constantly spinning water meter. These are common signs that indicate the need for toilet repair or troubleshooting.
Can a Constantly Running Toilet Cause an Increase in My Water Bill?
A constantly running toilet can definitely cause an increase in your water bill. It’s like a leaky faucet that never stops dripping, wasting water and impacting both your wallet and the environment’s water conservation efforts.
Is It Possible for a Faulty Fill Valve to Cause a Constantly Running Toilet?
Yes, a faulty fill valve can cause a constantly running toilet. It is one of the common causes of toilet leaks. Fill valve troubleshooting involves checking for proper water levels and replacing any worn-out components.
What Are Some Signs That My Flapper Valve Needs to Be Replaced?
Some signs that my flapper valve needs to be replaced include a constantly running toilet, water leakage into the bowl, and the toilet not flushing properly. To replace it, turn off the water supply, remove the old flapper, and install a new one.
Can a Constantly Running Toilet Lead to Water Damage in My Bathroom?
A constantly running toilet can cause serious water damage in your bathroom if not addressed promptly. It is essential to identify and fix the common causes of toilet leaks to prevent this potential disaster.
Conclusion
After following these steps, I was finally able to fix my constantly running toilet.
It took some detective work to identify the problem and a keen eye to spot the issue with the water level and the fill valve.
With a few adjustments and inspections, I was able to determine that the flapper valve was the culprit.
Replacing it was the final piece of the puzzle.
Now, as I flush the toilet, I can almost hear the satisfying silence as the water stops flowing.
The peace and tranquility in my bathroom have been restored.


