Ever wondered why your toilet keeps running? Have you ever had to jiggle the handle to make it stop?
Well, I’ve got good news for you – fixing a flapper in a toilet is easier than you might think! In this article, I’ll guide you through the step-by-step process of identifying and solving common flapper problems.
With a few simple tools and a little bit of know-how, you’ll have your toilet working like new again in no time.
Let’s get started!
Key Takeaways
- The flapper mechanism controls water flow in the toilet.
- Regular maintenance and cleaning of the flapper are necessary.
- Hissing sound when toilet is not in use indicates a faulty flapper.
- Holding down the flush lever for a long time means the flapper is not sealing properly.

Korky Ultra Standard 2-Inch Universal Toilet Flapper – Long Lasting Rubber – Easy to Install – Made in USA, 100BP
TOILET FLAPPER VALVE FITS MOST POPULAR 2 inch toilet brands including, but not limited to: American Standard, Kohler,…
As an affiliate, we earn on qualifying purchases.
As an affiliate, we earn on qualifying purchases.
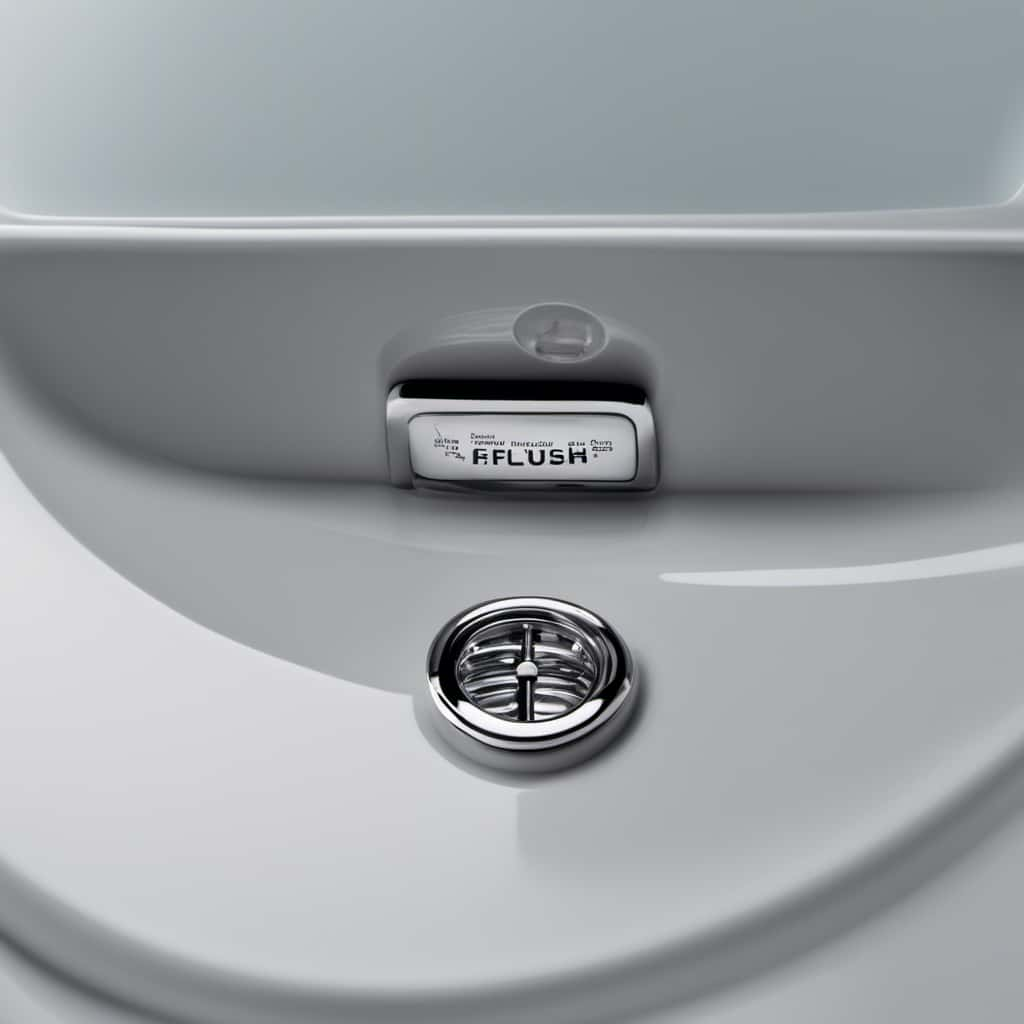
Understanding the Flapper Mechanism
The flapper mechanism is responsible for controlling the water flow in the toilet. It is essential to understand this mechanism for effective flapper maintenance and cleaning.
To keep your toilet running smoothly, regular maintenance and cleaning of the flapper are necessary. Start by turning off the water supply and removing the toilet tank lid.
Locate the flapper and inspect it for any signs of wear or damage. Clean the flapper with a mild detergent and a soft brush, ensuring that no debris or mineral deposits are left behind.
When choosing a new flapper, consider the size and compatibility with your toilet model. Different flappers have different designs and functions, so choose the right one that will provide a tight seal and proper water flow control.
toilet flapper repair tools
As an affiliate, we earn on qualifying purchases.
As an affiliate, we earn on qualifying purchases.
Identifying Common Flapper Problems
One way to identify common flapper problems is by listening for a hissing sound when the toilet is not in use. This sound indicates that the flapper is not sealing properly, allowing water to continuously leak into the bowl. Another sign of a faulty flapper is when you have to hold down the flush lever for an extended period of time to ensure a complete flush. To help you better understand these common flapper problems, below is a table summarizing the symptoms and possible solutions:
| Flapper Problem | Symptoms | Possible Solutions |
|---|---|---|
| Hissing Sound | Continuous hissing noise when toilet is not in use | Replace flapper |
| Incomplete Flush | Have to hold down the flush lever for a long time | Adjust flapper chain |
toilet tank flapper valve
As an affiliate, we earn on qualifying purchases.
As an affiliate, we earn on qualifying purchases.
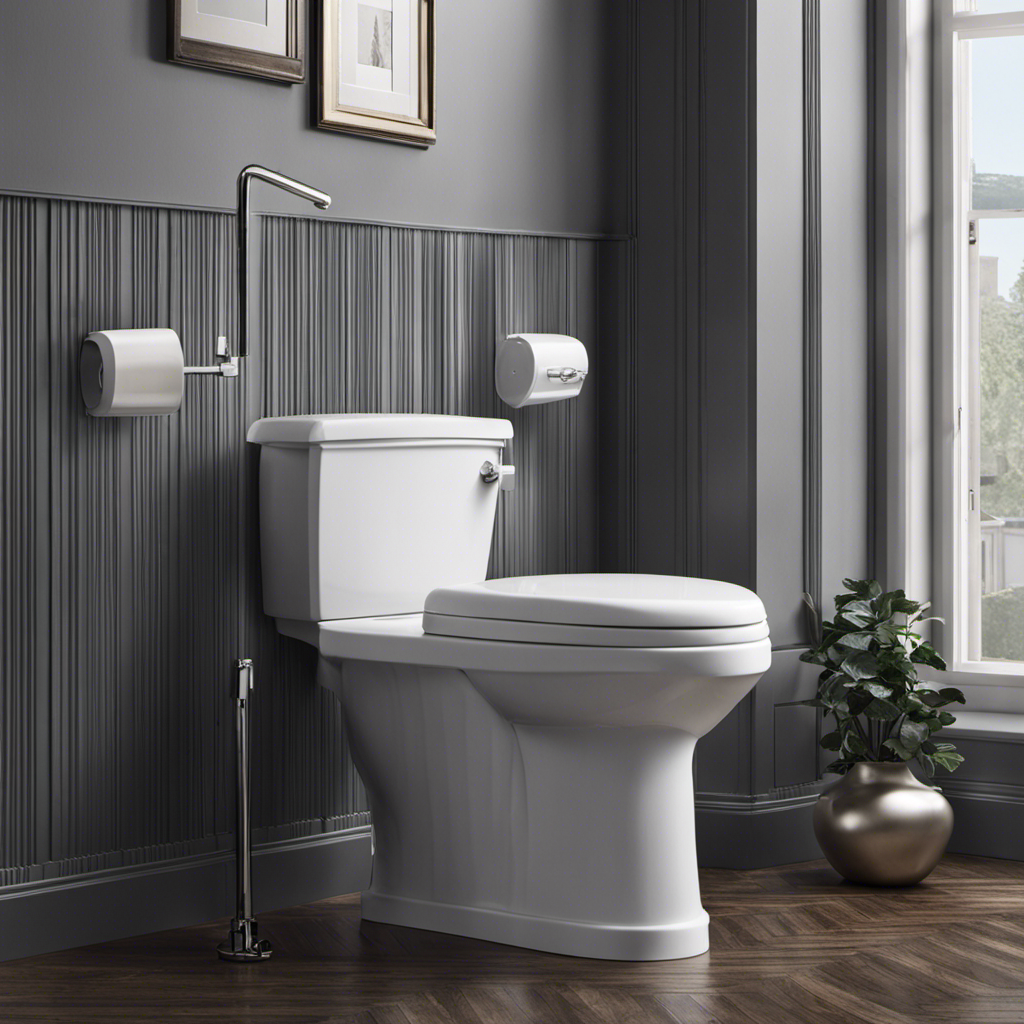
Gathering the Necessary Tools and Supplies
To get started, you’ll need to gather all the tools and supplies needed for the task. For this task, you’ll need a few items: a pair of pliers, a sponge or cloth, a bucket, and a replacement flapper. The pliers will help you remove the old flapper and install the new one. The sponge or cloth will come in handy for cleaning any debris or build-up around the flapper area. The bucket will be used to catch any water that may spill during the process.
Proper maintenance for toilet flappers is essential to ensure their longevity and prevent any issues with your toilet. Regular inspection of toilet flappers is also important to catch any potential problems early on.
best toilet flapper for slow leak
As an affiliate, we earn on qualifying purchases.
As an affiliate, we earn on qualifying purchases.
Step-by-Step Guide to Fixing a Flapper
Start by turning off the water supply valve to the toilet so you don’t have any leaks while working on it. Now, let’s dive into the step-by-step guide to fixing a flapper.
First, remove the tank lid and locate the flapper. Inspect it for any signs of wear or damage. If it looks worn out, it’s time to replace it. But before you do, let’s talk about proper maintenance techniques for prolonging the lifespan of a flapper. Regularly check for mineral deposits and clean them off to prevent clogs. Additionally, avoid using harsh chemicals that can deteriorate the flapper’s material.
Now, let’s compare different types of flappers and their advantages/disadvantages in the table below:
| Flapper Type | Advantages | Disadvantages |
|---|---|---|
| Rubber Flapper | Inexpensive, easy to install | Prone to warping, may need frequent replacement |
| Silicone Flapper | Durable, resistant to chemicals | Expensive, can be difficult to find |
| Adjustable Flapper | Versatile, allows for adjustment of water flow | More complex to install, higher cost |
In conclusion, understanding proper maintenance techniques and choosing the right flapper for your toilet can significantly prolong its lifespan. Now, let’s move on to troubleshooting tips and additional considerations.
NEXT SUBTOPIC: ‘Troubleshooting Tips and Additional Considerations’
Troubleshooting Tips and Additional Considerations
Now, let’s take a look at some troubleshooting tips and other important factors to consider when fixing a flapper in a toilet.
Here are some techniques that can help you resolve common issues:
-
Check the chain: Ensure that the chain connecting the flapper to the flush handle is properly adjusted. If it’s too loose or too tight, it can cause the flapper to malfunction.
-
Inspect the seal: Examine the flapper for any signs of damage or wear. If you notice cracks or leaks, it may be time to replace the flapper.
-
Clean the flapper and flush valve: Mineral deposits and debris can build up over time, affecting the flapper’s performance. Clean both the flapper and the flush valve to remove any obstructions.
-
Consider alternative flapper options: If you’re experiencing recurring issues with traditional flappers, you might want to explore alternative options, such as adjustable flappers or dual-flush flappers, which can provide more reliable performance.
Frequently Asked Questions
How Much Does It Cost to Replace a Flapper in a Toilet?
Replacing a flapper in a toilet can cost anywhere from $5 to $30, depending on the quality and brand. Consider whether you want to attempt a DIY fix or hire a professional for installation.
Can I Use Any Type of Flapper for My Toilet or Do I Need to Buy a Specific One?
I can use different types of flappers for my toilet, but it’s important to buy a specific one that fits properly. Some materials, like rubber, are more common and affordable, while others, like silicone, may last longer but be more expensive.
How Long Does a Flapper Typically Last Before It Needs to Be Replaced?
On average, a flapper typically lasts about 5 years before it needs to be replaced. Signs of a worn out flapper include water leaks, constant running, or difficulty flushing.
Are There Any Potential Risks or Dangers Associated With Fixing a Flapper in a Toilet?
There are potential risks and dangers associated with fixing a flapper in a toilet. It’s important to take safety precautions and prevent water damage. Let me explain in more detail.
Can a Faulty Flapper Cause Water Leaks or Damage to Other Parts of the Toilet?
Yes, a faulty flapper can cause water leaks and potential damage to other parts of the toilet. It’s important to address these issues promptly for water conservation and consider a DIY flapper replacement.
Conclusion
As I tightened the last bolt, I couldn’t help but feel a sense of accomplishment. Fixing the flapper in my toilet wasn’t just about repairing a simple mechanism; it was a symbol of my ability to conquer challenges and take control of my surroundings.
With each twist of the wrench, I reclaimed my power over a once troublesome toilet. Now, as I flush with confidence, I am reminded that sometimes, even the smallest victories can have a profound impact on our lives.
So go forth, my friends, and fearlessly tackle your own flapper problems, for you too can find empowerment in the most unexpected places.