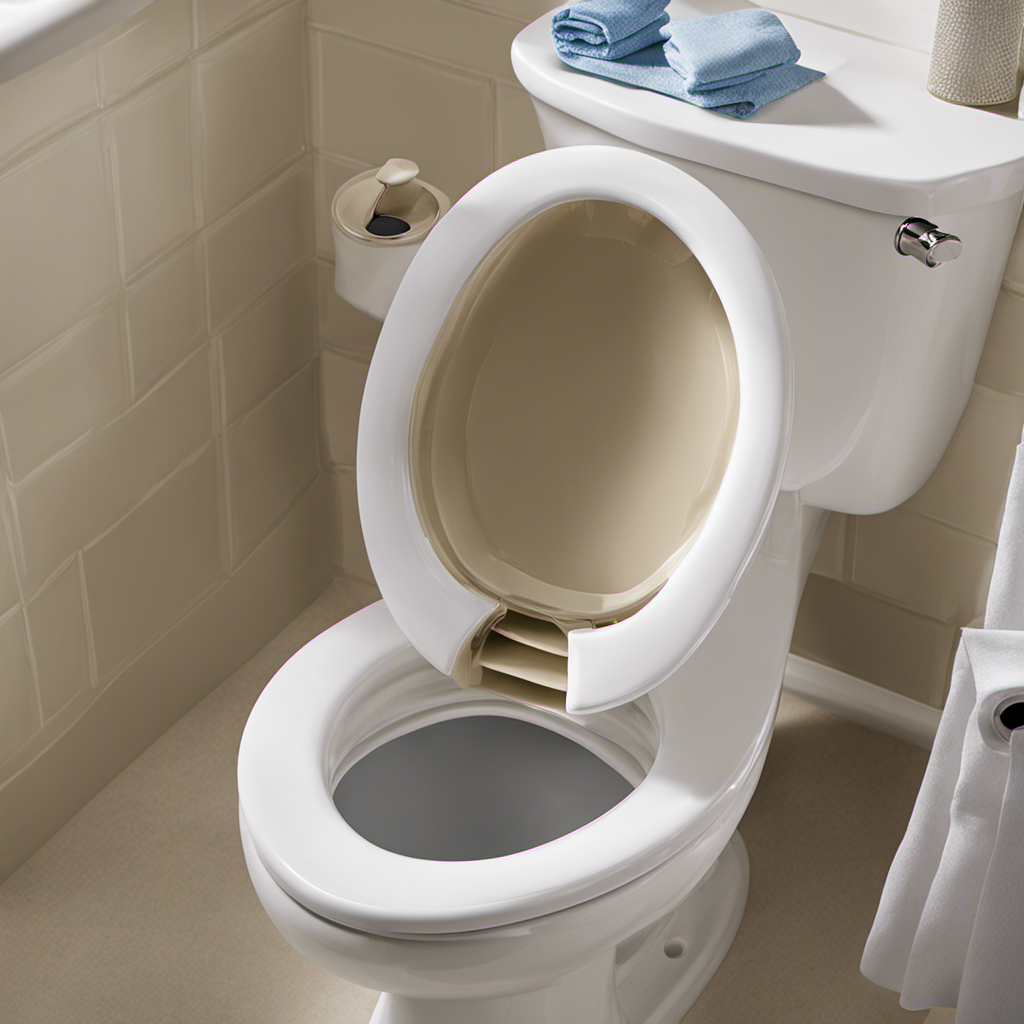
Are you tired of the constant drip-drip-drip from your toilet tank? It’s time to take matters into your own hands and fix that leak once and for all.
In this article, we will guide you through the step-by-step process of identifying the source of the leak, shutting off the water supply, draining the toilet tank, inspecting and replacing faulty components, and reassembling the tank.
With our expert tips and tricks, you’ll have a leak-free toilet in no time. Let’s get started!
Key Takeaways
- Identify the source of the leak by checking for cracks or damaged parts and inspecting the interior of the tank.
- Shut off the water supply by locating the water shut-off valve and turning it clockwise to prevent further water flow.
- Drain the toilet tank by turning off the water supply and using the drain valve to let out any remaining water.
- Inspect and replace faulty components such as the fill valve and flush valve if necessary, and contact professional repair services for assistance if needed.
Identifying the Source of the Leak
To identify the source of the leak, you’ll need to check the tank for any cracks or damaged parts. Start by removing the lid of the toilet tank and inspecting the interior. Look for any visible cracks or signs of damage on the walls or bottom of the tank.
Additionally, check the fittings and connections to ensure they are secure and not loose. If you are unsure about identifying the source of the leak or if the damage seems extensive, it’s recommended to seek professional help. They have the expertise and tools to assess the issue accurately and provide the necessary repairs.
Keep in mind that while temporary fixes such as using sealants or tapes can offer short-term relief, it’s essential to address the root cause of the leak for a permanent solution. Once you have identified the source of the leak, you can proceed to the next step of shutting off the water supply.
Shutting off the Water Supply
First, you’ll need to locate the water shut-off valve. This valve is crucial for fixing plumbing issues and troubleshooting leaks in your toilet tank. By shutting off the water supply, you can prevent further water damage and make the necessary repairs. To help you with this step, here’s a table that outlines the different types of shut-off valves and their locations:
| Valve Type | Location |
|---|---|
| Compression | Under the sink |
| Ball | Near the water heater |
| Gate | Basement or crawl space |
Once you’ve identified the type and location of your shut-off valve, turn it clockwise to shut off the water supply. It is important to ensure that the valve is fully closed to prevent any water from flowing into the tank. This will allow you to safely proceed with fixing the leaky toilet tank.
Draining the Toilet Tank
To properly drain the toilet tank, there are a few key points you need to keep in mind.
First, ensure that the water level is at the appropriate level, which is usually marked on the inside of the tank.
Next, make sure to turn off the water supply to the toilet to prevent any more water from entering the tank.
Finally, use the drain valve, typically located at the bottom of the tank, to let out any remaining water.
Proper Water Level
Check if the water level in your toilet tank is set at the recommended height. It is crucial to have the water level adjusted correctly to ensure proper functioning of your toilet.
Start by removing the lid of the tank and locate the float. The float is responsible for regulating the water level in the tank. If the water level is too high or too low, it can lead to various issues such as constant running or weak flushing.
To adjust the float, you can either bend the float arm or adjust the float screw, depending on the type of float mechanism you have. If troubleshooting techniques do not resolve the issue, it may be necessary to replace the float altogether.
Once you have adjusted the float to the recommended height, you can move on to the next step: turning off the water.
Turn off Water
Before adjusting the water level, it’s important to turn off the water supply to the toilet. This step is crucial for safety and to prevent water damage. To turn off the water, locate the shut-off valve, usually found on the wall or floor near the toilet. Turn the valve clockwise until it’s fully closed.
Once the water supply is shut off, you can proceed with repairing the leaky toilet tank.
When it comes to repairing a leaky toilet tank, there are several troubleshooting steps and repair techniques you can follow. From checking the fill valve to inspecting the flapper, each step is essential in identifying and fixing the issue. By following these steps, you can effectively address the problem and restore the proper water level in your toilet tank.
Next, let’s discuss how to use the drain valve to empty the toilet tank.
Use Drain Valve
Once the water supply is shut off, you can go ahead and use the drain valve to empty the toilet tank. The drain valve is a crucial part of your toilet’s functionality and helps in maintaining its proper operation.
However, if you are facing issues with your drain valve or if it is not functioning properly, there are some alternatives you can consider. One alternative is to use a bucket or a container to manually empty the tank. Another option is to use a wet-dry vacuum to suction out the water. It’s important to note that these alternatives should only be used temporarily until you can properly repair or replace the drain valve.
To ensure proper maintenance of the drain valve, it is advisable to regularly inspect it for any leaks, blockages, or damage. Additionally, lubricating the valve with silicone grease can help prevent corrosion and ensure smooth operation. By following these maintenance tips for drain valves, you can prolong their lifespan and minimize the chances of leaks or malfunctions.
With the drain valve emptied, it’s now time to move on to inspecting and replacing any faulty components. This will help in resolving the leaky toilet tank issue and restore its proper functioning.
Inspecting and Replacing Faulty Components
To start fixing a leaky toilet tank, you’ll need to first inspect and replace any faulty components. Troubleshooting techniques can help you identify the source of the leak.
Start by checking the fill valve, which is responsible for refilling the tank after each flush. Look for any signs of damage or wear, such as cracks or leaks. If the fill valve is faulty, it will need to be replaced.
Another component to inspect is the flush valve, which controls the release of water into the bowl. Check for any signs of deterioration or blockages. If necessary, replace the flush valve to ensure proper functioning.
If you’re not comfortable with DIY repairs, it’s always a good idea to contact professional repair services for assistance. They have the expertise and tools to resolve any toilet tank issues efficiently and effectively.
Reassembling the Toilet Tank
After inspecting and replacing faulty components, you can begin reassembling the toilet tank. This step is crucial to ensure that the tank functions properly and does not leak. To guide you through the process, here is a helpful table outlining the necessary steps for reassembling the toilet tank:
| Step | Description |
|---|---|
| 1 | Place the rubber gasket onto the flush valve opening at the bottom of the tank. |
| 2 | Carefully lower the tank onto the bowl, aligning the bolts with the corresponding holes. |
| 3 | Install the washers and nuts onto the bolts, ensuring they are tightened securely. |
| 4 | Connect the refill tube to the overflow pipe and the fill valve. |
| 5 | Finally, reconnect the water supply line to the fill valve, tightening the connection. |
Testing for Leaks
When it comes to testing for leaks in your plumbing system, there are several methods you can use. From visually inspecting your pipes and fixtures to using specialized leak detection equipment, these methods can help you identify the source of the problem.
Some common causes of leaks include loose or damaged connections, worn-out seals, and pipe corrosion. If you’re up for it, there are also some DIY leak repairs you can attempt, such as replacing a faulty valve or tightening a loose fitting.
Leak Detection Methods
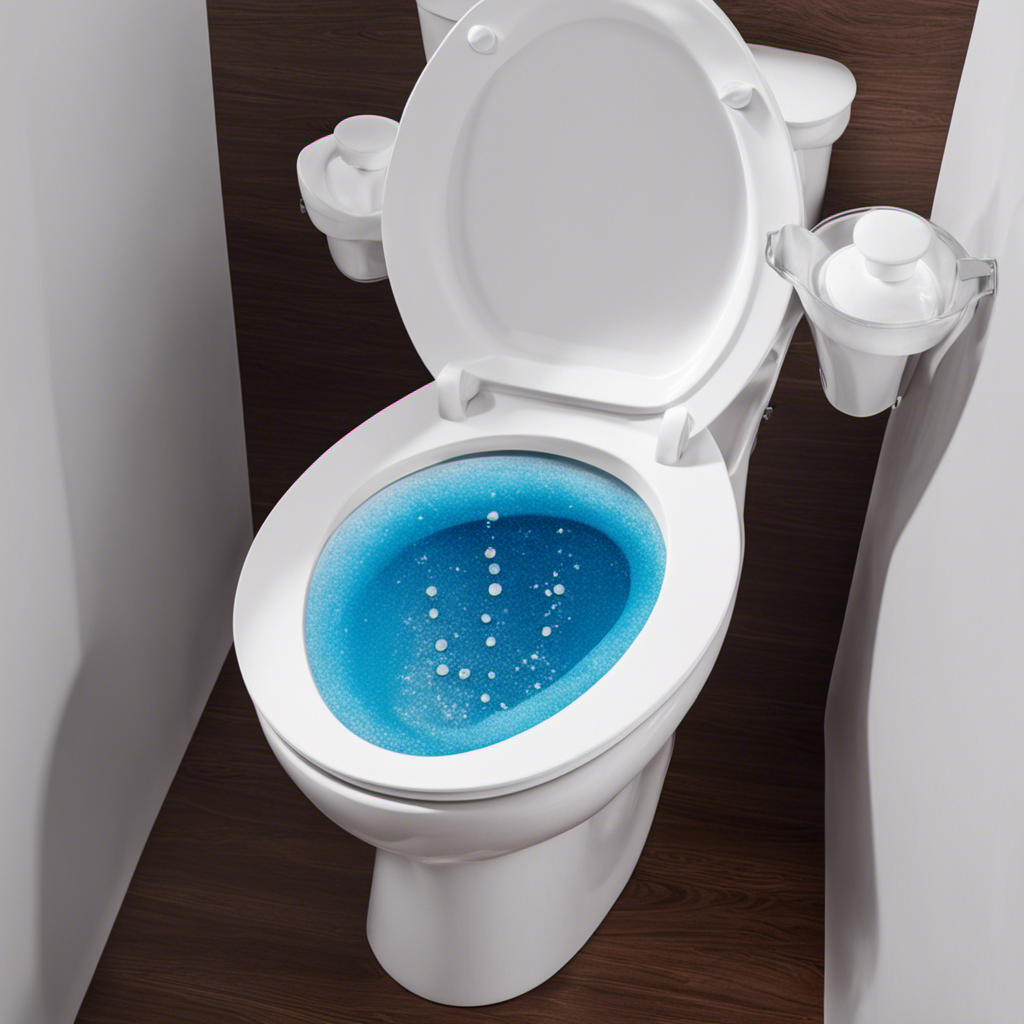
You can easily detect leaks in your toilet tank by using a dye tablet. This simple method allows you to identify any leaks and take the necessary steps to fix them promptly. Here are four leak detection methods that can help you tackle this issue effectively:
-
Dye tablet: Drop a dye tablet into the toilet tank and wait for a few minutes. If the water in the bowl changes color without flushing, it indicates a leak.
-
Toilet paper test: Place a few sheets of toilet paper around the base of the toilet. If the paper becomes wet or discolored, it suggests a leak from the base.
-
Professional leak detection: If you’re unsure about the source of the leak or need expert assistance, consider hiring a professional leak detection service. They have specialized tools and knowledge to identify and repair leaks effectively.
-
Leak repair products: There are various leak repair products available in the market, such as toilet flappers and fill valves. These can be used to fix common sources of leaks in your toilet tank.
Common Leak Causes
Now that you’ve learned about various leak detection methods, let’s delve into the common causes of leaks in a toilet tank. Identifying these causes is crucial for effective troubleshooting.
One common cause is a faulty flapper valve. Over time, the flapper valve can deteriorate or become misaligned, leading to water leaks.
Another culprit is a worn-out fill valve. If the fill valve fails to shut off properly, it can result in continuous water flow and a leaky tank.
Additionally, loose or damaged tank bolts and washers can lead to leaks around the tank area.
To troubleshoot these issues, start by inspecting the flapper valve and fill valve for any signs of wear or misalignment. Tighten or replace any loose or damaged bolts and washers.
If necessary, consider consulting a professional plumber to ensure a thorough inspection and accurate repair.
DIY Leak Repairs
If there’s a leak in your toilet, one option is to attempt DIY repairs before calling a professional plumber. Fixing leaks in your toilet tank can be a straightforward task if you follow the proper troubleshooting steps. Here are four simple DIY repairs you can try:
-
Check the flapper valve: Lift the lid of your toilet tank and inspect the rubber flapper valve at the bottom. If it’s worn or not sealing properly, it may be causing the leak.
-
Adjust the water level: The water level in your toilet tank should be about an inch below the top of the overflow tube. If it’s too high, it can cause leaks. Adjust the float or fill valve to regulate the water level.
-
Tighten bolts and connections: Over time, the bolts and connections inside the tank can become loose, leading to leaks. Use a wrench to tighten them carefully, but not too tight to avoid damaging the porcelain.
-
Replace the fill valve: If all else fails, the fill valve might be the culprit. Follow the manufacturer’s instructions to replace it with a new one to ensure a proper seal and stop the leak.
By following these troubleshooting steps, you can save money and resolve the leak in your toilet tank on your own.
However, if you’re unsure or the problem persists, don’t hesitate to call a professional plumber for assistance.
Preventative Maintenance Tips
To keep your toilet tank from leaking, make sure to regularly check and replace the flapper valve. This small rubber part is responsible for sealing the tank and preventing water wastage. Over time, the flapper valve can deteriorate or become misaligned, leading to leaks.
By performing routine maintenance on your toilet tank, you can save water and avoid costly repairs. Here are some preventive maintenance tips:
-
Inspect the flapper valve for any signs of wear or damage. If you notice cracks or tears, it’s time to replace it.
-
Check the water level in the tank. Adjust the fill valve if the water level is too high or low.
-
Clean the tank and flapper valve regularly to remove any debris or mineral buildup.
-
Avoid using harsh chemicals in the tank as they can damage the flapper valve and other components.
Conclusion
In conclusion, fixing a leaky toilet tank requires careful inspection, replacement of faulty components, and reassembling with precision.
By shutting off the water supply and draining the tank, you can identify the source of the leak and prevent further damage.
Remember to test for leaks and perform regular maintenance to ensure your toilet functions smoothly.
Just like a skilled surgeon mending a delicate heart, attending to your leaky toilet tank with expertise will restore harmony to your bathroom oasis.
