I remember the panic I felt when my toilet started overflowing, water rushing onto the bathroom floor. It was a mess, but I quickly realized I had to take matters into my own hands.
In this article, I’ll show you step-by-step how I fixed my toilet, so you can tackle any plumbing issue with confidence. From identifying the problem to reassembling the toilet, I’ll guide you through the process with informative and practical advice.
Let’s get started and get your toilet back in working order.
Key Takeaways
- Identify common toilet issues: clogged drains and running toilets.
- Gather essential tools and materials for troubleshooting, such as a plunger, toilet auger, adjustable wrench, and screwdriver.
- Shut off the water supply by locating and operating the valve near the toilet or in the basement.
- Troubleshoot water supply problems, including checking water pressure, inspecting for clogged pipes, and testing for leaks or kinks in the supply line.

Korky BeehiveMAX Heavy Duty Toilet Plunger – Seals All Bowl Shapes – Powerful Clog Removal
POWERFUL PLUNGE: This toilet plunger is the first plunger designed to fit old & new HET toilet bowls…
As an affiliate, we earn on qualifying purchases.
As an affiliate, we earn on qualifying purchases.
Identify the Issue
First, you’ll need to figure out what’s causing the problem with your toilet. Troubleshooting tips can help you identify the issue and determine the necessary steps to fix it.
One common toilet problem is a clogged drain. If water is not flowing properly or if you notice gurgling sounds, a clog may be the culprit. Try using a plunger to remove the blockage by creating a seal around the drain and applying firm pressure.
Another common issue is a running toilet, which can waste water and increase your utility bills. Check the flapper valve, fill valve, and float to ensure they are functioning properly. Adjust or replace any faulty components.

RIDGID 59787 Model K-3 Toilet Auger with Unclogging 3-Foot Snake and Bulb Head
K-3 TOILET AUGER: Provides fast, efficient, and safe clearing of even the toughest blockages in your toilet and…
As an affiliate, we earn on qualifying purchases.
As an affiliate, we earn on qualifying purchases.
Gather the Necessary Tools and Materials
Before you start, make sure you have all the necessary tools and materials. When it comes to toilet repair, having the right equipment can make all the difference. Here are some essential tools and materials you’ll need to fix common toilet problems:
| Tools | Materials | Safety Equipment |
|---|---|---|
| Plunger | Wax Ring | Gloves |
| Toilet Auger | Flapper | Safety Glasses |
| Adjustable Wrench | Toilet Fill Valve | Mask |
| Screwdriver | Toilet Tank Bolts |
Having these items on hand will save you time and frustration when tackling toilet repairs. Whether you’re dealing with a clogged toilet, a leaky flapper, or a faulty fill valve, having the right tools and materials will ensure a successful repair. Remember to always follow safety precautions and consult a professional if needed. With these toilet repair tips and the right tools in your arsenal, you’ll be able to fix common toilet problems with ease.

Fluidmaster 400H-002 Performax Universal Toilet Fill Valve High Performance Tank and Bowl Water Control, 1-Pack, Multicolor
Fix noisy, or slow filling fill valves with the quietest, most powerful toilet fill valve available
As an affiliate, we earn on qualifying purchases.
As an affiliate, we earn on qualifying purchases.
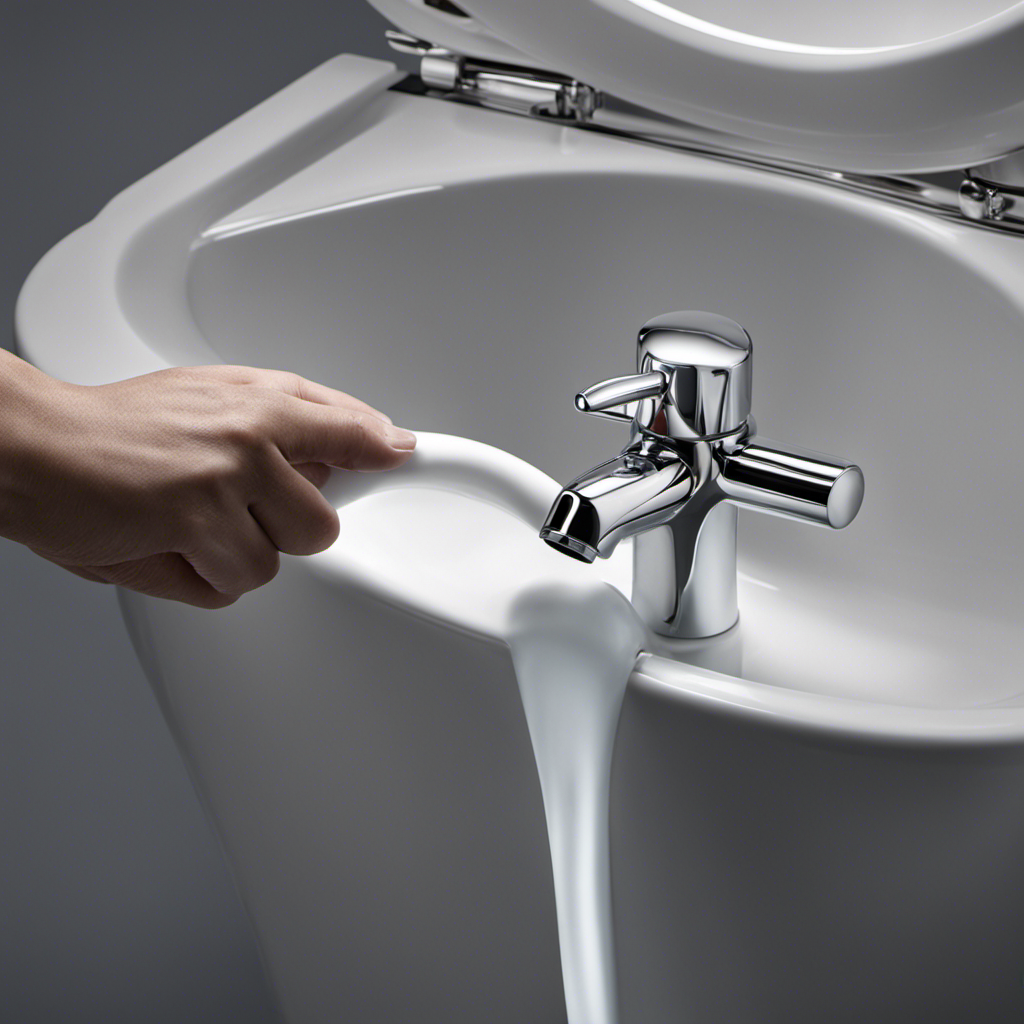
Shut off the Water Supply
When it comes to shutting off the water supply, it’s important to know the location and function of the valve. The valve is typically located near the toilet or in the basement, and it controls the flow of water to the toilet.
To shut off the water, simply turn the valve clockwise until it is fully closed. If you’re having trouble locating or operating the valve, there are troubleshooting steps you can take to ensure the water is properly shut off before proceeding with any repairs.
Valve Location and Function
To fix your toilet, start by locating the valve and understanding its function. The valve is an essential component of your toilet’s water supply system. It controls the flow of water into the tank and allows you to shut off the water in case of emergencies or repairs.
To locate the valve, follow these steps:
- Look for a small lever or knob usually located on the wall or floor near the toilet.
- Once you find it, turn the valve clockwise to shut off the water supply.
Visualize the valve as the gatekeeper of water, controlling its flow into the toilet tank. Imagine the valve as a switch that can be easily turned on or off. Picture the valve as the key to valve maintenance and repair.
Understanding the valve’s location and function is crucial before proceeding to the next step of the shut-off process explained.
Shut-Off Process Explained
The shut-off process is straightforward – simply turn the valve clockwise to stop the water supply.
When faced with a plumbing emergency or the need to fix a toilet, it is crucial to know how to shut off the water supply quickly. This is especially important in situations where there is a high water pressure issue.
In case of an emergency, it is essential to locate the shut-off valve, usually located near the base of the toilet or along the water pipe leading to it. To shut off the water, turn the valve clockwise until it is fully closed. This will prevent any further water flow and minimize the risk of damage or flooding.
Water Supply Troubleshooting
In case of a plumbing emergency, it’s important to locate the shut-off valve to quickly stop the water supply and prevent further damage.
When troubleshooting your water supply, there are a few key things to keep in mind:
-
Check the water pressure: Ensure that it’s at the right level for your toilet to function properly. Low water pressure can cause weak flushes and slow refills.
-
Inspect for clogged pipes: A clog in the pipes can restrict the water flow, leading to issues with the toilet’s performance. Look for any signs of blockage, such as slow draining or gurgling noises.
-
Test the supply line: Make sure that the water supply line is securely connected and not leaking. Also, check for any kinks or twists that may hinder the water flow.
By following these steps, you can troubleshoot common water supply issues and maintain a properly functioning toilet.
Now, let’s move on to the next step: removing the toilet tank lid.

Fluidmaster 400AKRP10 Universal, All In One, Complete Toilet Tank Repair Kit For 2-Inch Flush Valve Toilets
RESTORES OVERALL TOILET PERFORMANCE: All in one toilet repair kit replaces inefficient fill and flush valves, leaky flappers,…
As an affiliate, we earn on qualifying purchases.
As an affiliate, we earn on qualifying purchases.
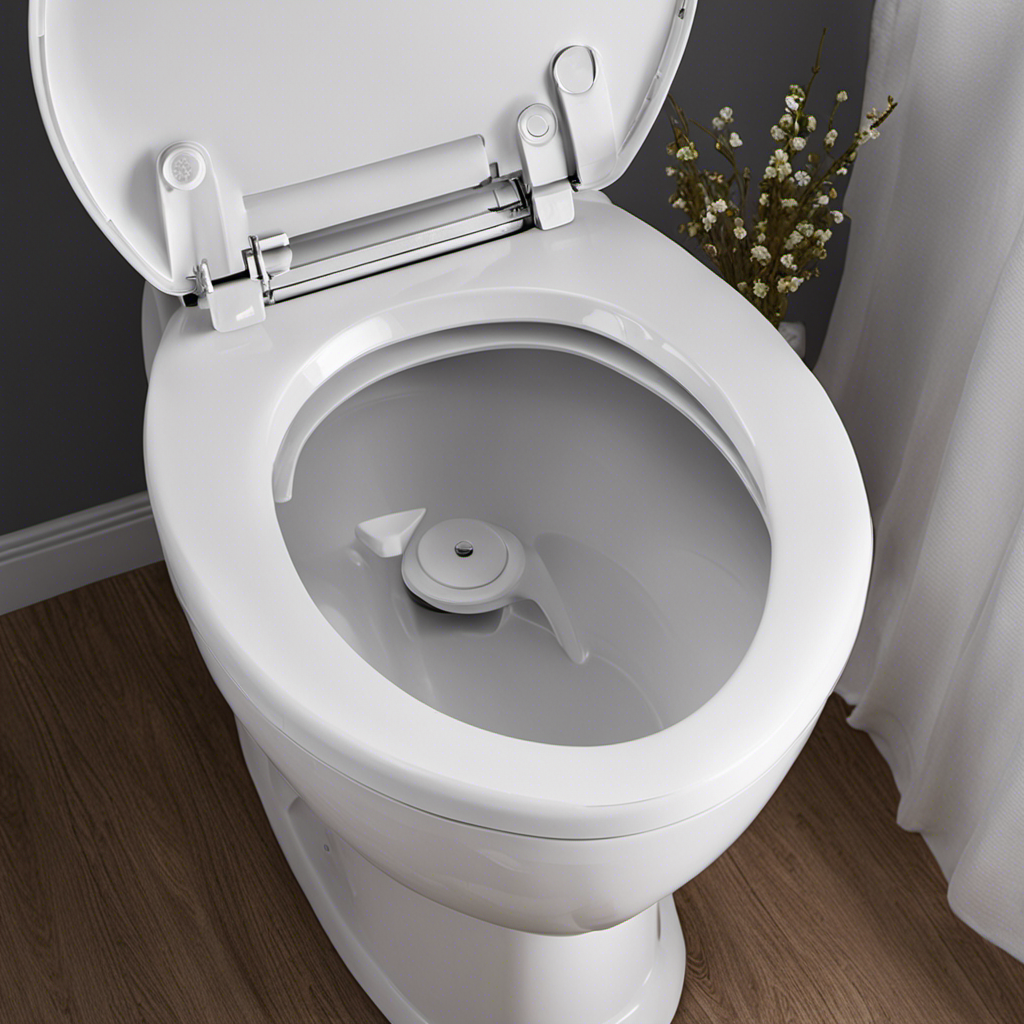
Remove the Toilet Tank Lid
When it comes to removing the toilet tank lid, there are a few techniques that can make the process easier and safer.
First, I recommend turning off the water supply to the toilet and flushing it to empty the tank.
Next, carefully locate and loosen the bolts or screws that secure the lid to the tank, being cautious not to apply too much pressure or force.
Once the lid is removed, you’ll have the opportunity to consider various replacement options. For example, you can purchase a new lid that matches the toilet’s design or explore alternative materials like plastic or wood.
Lid Removal Techniques
To remove the lid, you’ll need to unscrew the bolts on the sides.
Here are some techniques to help you with toilet seat replacement and lid installation:
-
Gather the necessary tools: Before you start, make sure you have a screwdriver, pliers, and a towel to protect the lid from scratches.
-
Locate the bolts: Look for the bolts on each side of the toilet tank. These bolts secure the lid in place.
-
Unscrew the bolts: Use a screwdriver or pliers to loosen and remove the bolts. Be careful not to apply too much force, as it may damage the lid or the tank.
-
Lift the lid: Once the bolts are removed, gently lift the lid off the tank. Be cautious, as it may be heavy or fragile.
Lid Replacement Options
You have several options for replacing the lid, such as choosing a different color or style that matches your bathroom decor. When it comes to toilet lid alternatives, the possibilities are endless. Not only can you find lids in different colors, but you can also choose from various materials like plastic, wood, or even cushioned seats for added comfort. To help you make an informed decision, here’s a table showcasing some popular lid color options:
| Color | Description | Emotional Response |
|---|---|---|
| White | Classic and clean | Neutral |
| Black | Sleek and modern | Sophisticated |
| Blue | Calming and serene | Relaxing |
| Green | Fresh and natural | Invigorating |
| Pink | Playful and feminine | Fun |
Fix the Problem
First, check if the water supply valve is fully open to fix the problem with your toilet. If the valve isn’t fully open, turn it clockwise until it stops.
Once the water supply is fully open, you can proceed with troubleshooting common toilet problems. Here are some toilet repair tips to help you fix the problem:
-
If your toilet won’t flush, check the flapper valve. It might be worn out or not properly sealing the flush valve. Replace it if necessary.
-
If your toilet keeps running, check the float ball or the fill valve. Adjust the float ball to the correct water level or replace the fill valve if it’s faulty.
-
If your toilet is clogged, try using a plunger to unclog it. If that doesn’t work, use a toilet auger to remove the obstruction.
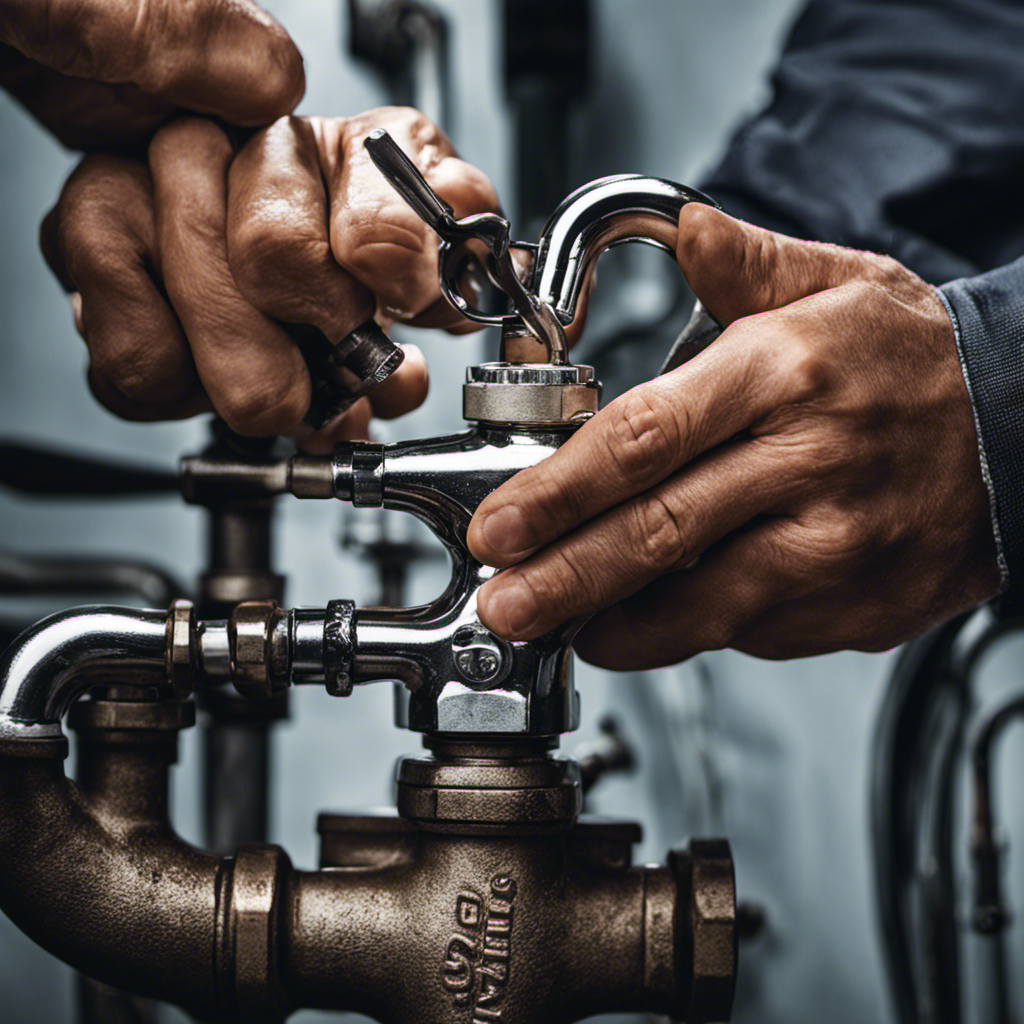
Reassemble the Toilet
Once the water supply valve is fully open, you can begin reassembling the toilet.
Here are some important toilet reassembly tips to keep in mind.
First, make sure to align the bolts on the base of the toilet with the holes on the floor. This will ensure a secure fit.
Next, tighten the nuts on the bolts evenly, alternating between them, to prevent any wobbling. Be careful not to overtighten, as this could crack the toilet.
Another common mistake is forgetting to reconnect the water supply line. Attach it securely to the fill valve and hand-tighten it.
Finally, don’t forget to place the tank lid back on top and secure it with the appropriate screws.
Now that the toilet is reassembled, let’s move on to testing it for proper functioning.
Test the Toilet for Proper Functioning
To ensure everything is working correctly, it’s important to flush the toilet and check for any leaks or issues. Here are some toilet repair tips and common toilet problems to watch out for:
-
When you flush the toilet, listen for any unusual sounds. A gurgling noise could indicate a clog in the drain or a problem with the flapper valve.
-
Watch the water level in the bowl. If it’s too high or too low, it could indicate a problem with the float valve or the fill valve.
-
Look for any leaks around the base of the toilet. A leak could be caused by a faulty wax ring or a loose connection.
-
Check the flush handle for proper functioning. If it’s loose or doesn’t flush smoothly, it may need to be adjusted or replaced.
Frequently Asked Questions
How Do I Identify if the Issue With My Toilet Is a Clogged Drain or a Faulty Flushing Mechanism?
When my toilet won’t flush properly, I first check for a clogged drain by pouring hot water and dish soap into it. If that doesn’t work, I inspect the flushing mechanism for any faults.
What Tools and Materials Do I Need to Fix a Leaking Toilet Tank?
To fix a leaking toilet tank, you’ll need a few tools and materials. This includes an adjustable wrench, a screwdriver, a replacement flush valve, a replacement fill valve, and some plumber’s tape.
Can I Shut off the Water Supply to My Toilet Without Shutting off the Water Supply to the Entire House?
Sure, I can shut off the water supply to my toilet without shutting off the water supply to the entire house. It’s a simple fix that can prevent any water damage while I work on the toilet repair.
How Do I Remove a Stubborn Toilet Tank Lid That Is Stuck or Difficult to Remove?
Removing a stubborn toilet tank lid can be frustrating. However, there are alternatives to fixing a toilet. One option is to gently tap around the lid with a rubber mallet to loosen it.
How Can I Test if My Toilet Is Functioning Properly After Fixing the Issue?
To test if my toilet is functioning properly after fixing the issue, I should check the toilet water level and the refill speed of the bowl. These indicators will help me ensure that everything is working as it should.
Conclusion
In conclusion, fixing a toilet may seem daunting, but with the right tools and a little bit of know-how, it can be as easy as pie.
Just like a skilled mechanic fixing a car engine, you too can become the master of your porcelain throne.
So roll up your sleeves, grab your wrench, and dive into the world of toilet repair.
Remember, with patience and determination, you’ll have your toilet running smoothly again, like a well-oiled machine.
Happy fixing!