So you’re sitting there, minding your own business, when you go to flush the toilet and…nothing. No water in the tank. Just great.
Well, fear not my friend, because I’ve got the solution for you. In this article, I’ll guide you through the steps to fix this pesky problem.
We’ll start by checking the water supply valve, inspecting the fill valve, and cleaning or replacing the float. Don’t worry, it’s not as complicated as it sounds.
Let’s get that water flowing again!
Key Takeaways
- Check the water supply valve near the base of the toilet and ensure it is fully open.
- Inspect and clean or replace the fill valve if there is no water in the tank or slow refill.
- Clean or replace the float if it is dirty or damaged, and adjust the float level.
- Examine and replace the flapper if it is worn out or damaged, choosing the right replacement option.
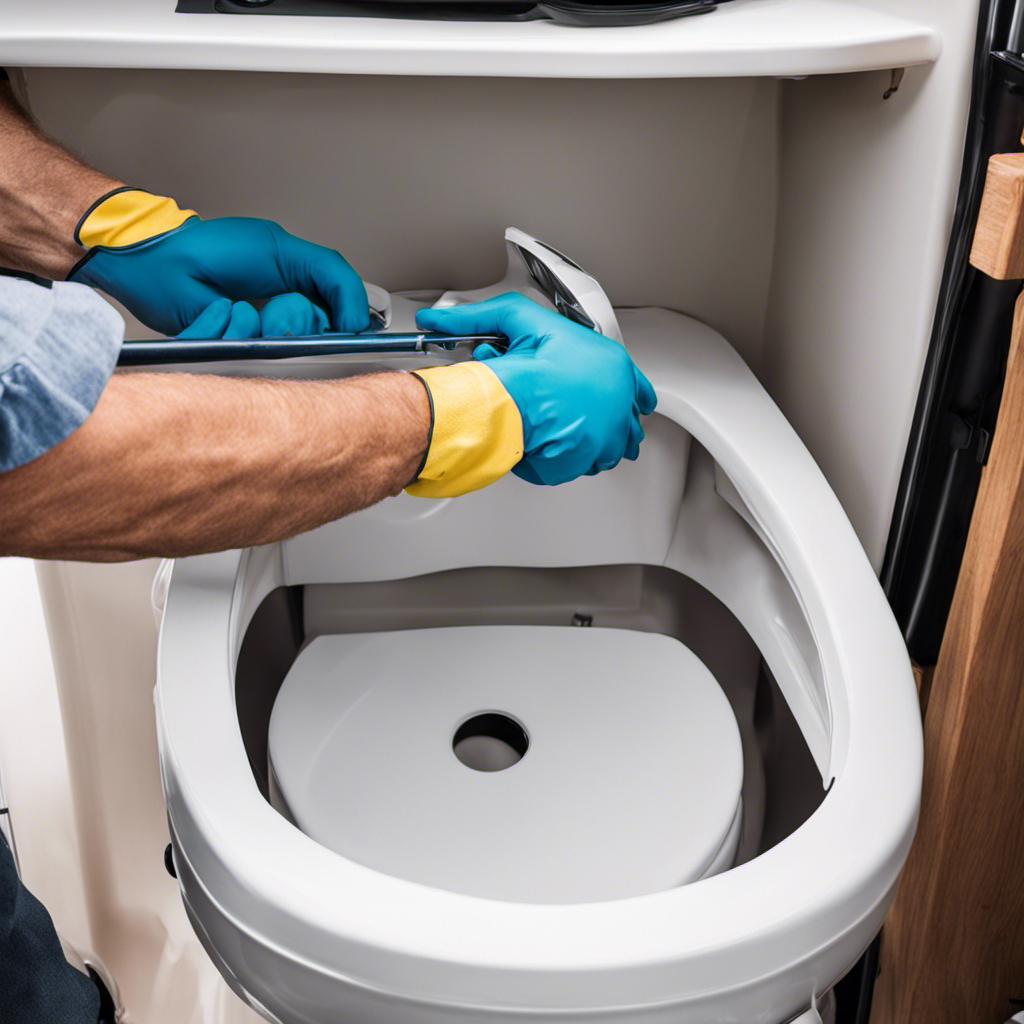
Check the Water Supply Valve
To fix the issue of no water in your toilet tank, you should first check if the water supply valve is fully open. This is a common problem that can be easily resolved by performing a simple check valve maintenance.
Start by locating the water supply valve, which is usually located near the base of the toilet. Ensure that the valve handle is turned all the way counterclockwise, indicating that it is fully open.
If the valve handle is already in the open position, you may need to troubleshoot the water supply further. Check for any leaks or blockages in the water line leading to the toilet tank. Additionally, make sure the main water supply to your house is not shut off.
Inspect the Fill Valve
Check if the fill valve is functioning properly. The fill valve is responsible for refilling the toilet tank after each flush. If it is not working correctly, it can cause issues such as a slow or no refill of water in the tank. To troubleshoot fill valve issues, there are a few maintenance steps you can take. First, check if the water supply to the fill valve is turned on. If it is, but there is still no water in the tank, you may need to clean or replace the fill valve. Here is a table summarizing common fill valve problems and their solutions:
| Problem | Solution |
|---|---|
| Slow refill | Clean or replace fill valve |
| No refill | Check water supply, clean or replace fill valve |
| Constant running | Adjust float or replace fill valve |
| Noisy operation | Clean or replace fill valve |
Clean or Replace the Float
If the float is dirty or damaged, it may need to be cleaned or replaced. The float is a crucial component in the toilet tank that helps regulate the water level.
To replace the float, first, turn off the water supply to the toilet. Then, flush the toilet to empty the tank. Next, disconnect the float from the fill valve by unscrewing it. Install the new float by screwing it onto the fill valve.
If the float is not damaged but needs adjustment, you can change the float level by adjusting the screw or clip on the float arm. This will control the water level in the tank.
Once the float is cleaned or replaced, you can move on to examining the flapper to troubleshoot the issue further.
Examine the Flapper
When it comes to maintaining a properly functioning toilet, one key component to examine is the flapper.
The flapper is responsible for controlling the flow of water from the tank to the bowl, and over time, it can wear out or become damaged.
In this discussion, we will explore the various options for replacing a flapper and highlight common problems that can occur with this crucial toilet part.
Flapper Replacement Options
There’s a few different options for replacing the flapper in your toilet tank. When it comes to flapper maintenance and troubleshooting, it’s important to choose the right replacement option for your specific toilet model.
The first option is to purchase a universal flapper, which is designed to fit most toilets. These flappers are easily adjustable and can be installed without any special tools.
Another option is to buy a flapper specifically made for your toilet brand and model. These flappers are often labeled as OEM (Original Equipment Manufacturer) and ensure a perfect fit.
Lastly, if you’re looking for a long-lasting and durable solution, you can opt for a high-performance flapper. These flappers are made of rubber or silicone and are designed to withstand heavy usage.
Overall, choosing the right flapper replacement is essential for maintaining a properly functioning toilet tank.
Common Flapper Problems
In the previous subtopic, I discussed various options for replacing a faulty flapper. Now, let’s delve into some common problems that can arise with flappers and how to troubleshoot them.
One of the most common issues with flappers is leakage. If you notice water continuously running into the toilet bowl, it could be due to a worn-out flapper. To fix this, start by inspecting the flapper for any signs of damage or deterioration. If you spot any issues, such as cracks or warping, it’s time for a flapper repair or replacement.
Another problem you might encounter is a flapper that doesn’t seal properly. This can lead to water leaking from the tank, resulting in a constantly running toilet. To solve this, check if the flapper is aligned properly and free from any debris or mineral buildup. If necessary, clean the flapper or adjust the chain length to ensure a tight seal.
Clear Any Clogs in the Supply Line
When it comes to troubleshooting issues with the toilet’s water supply, there are a few key points to consider.
First, it’s important to check for any blockages in the supply line that may be causing the problem. If a clog is detected, it must be removed in order to restore proper water flow.
Check for Blockages
You should first check if there are any blockages in the toilet tank. This is an important step in troubleshooting toilet tank issues and ensuring proper toilet tank maintenance. Here are three things to look out for:
-
Obstructed water inlet valve: Check if the water inlet valve is blocked by debris or sediment. This can restrict water flow into the tank, causing a lack of water. Clean the valve or replace it if necessary.
-
Clogged fill tube: Inspect the fill tube for any obstructions. The fill tube supplies water to the tank after flushing. If it’s blocked, water won’t fill the tank properly. Clear the blockage by gently pushing a flexible wire through the tube.
-
Faulty float mechanism: The float is responsible for regulating the water level in the tank. If it’s not functioning correctly, the tank may not fill up. Ensure the float is properly adjusted and moves freely.
Remove Supply Line Clog
After checking for blockages in the toilet tank and finding none, the next step is to remove any clogs in the supply line. This is a common issue that can prevent water from filling the tank.
To unclog the pipe, I recommend using some troubleshooting techniques.
First, turn off the water supply to the toilet by shutting off the valve. Next, disconnect the supply line from both the toilet tank and the water supply valve. Use a bucket to catch any water that may spill out. Inspect the supply line for any clogs or debris. If you spot a clog, use a small wire or a plumbing snake to gently remove it.
Once the clog is cleared, reassemble the supply line and turn the water supply back on.
Ensure Proper Water Flow
To ensure proper water flow, it’s important to regularly check the supply line for any clogs or blockages. Neglecting this step can lead to reduced water pressure or even a complete lack of water in your toilet tank. Here are a few troubleshooting tips and maintenance tips to help you maintain a steady water flow:
-
Inspect the supply line: Look for any signs of wear or damage on the supply line. If you notice any cracks or leaks, it’s important to replace the line to avoid future issues.
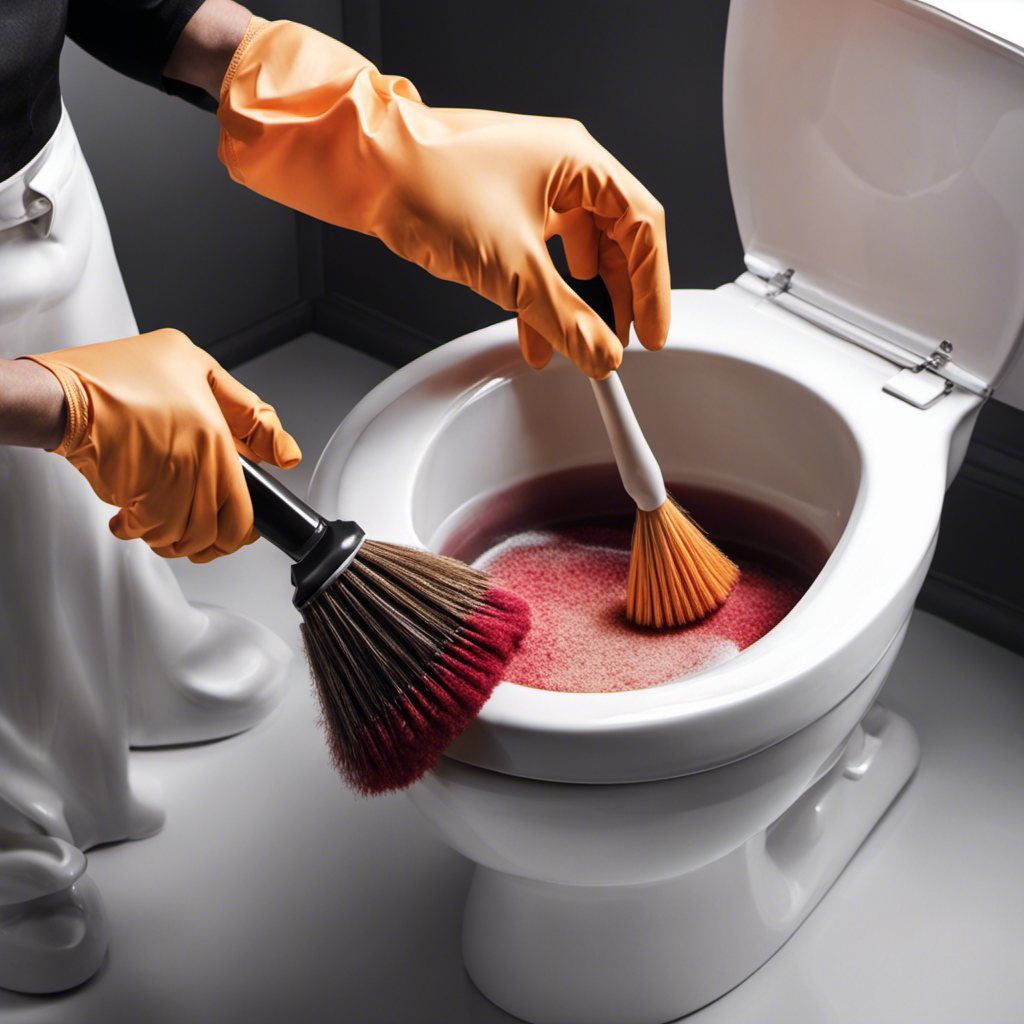
-
Clear any obstructions: Use a small brush or pipe cleaner to remove any debris or sediment that may be blocking the flow of water. Be sure to turn off the water supply before doing this.
-
Check the water pressure: If you’re experiencing low water flow, it could be due to inadequate water pressure. Consider installing a pressure regulator to maintain optimal water flow.
Adjust the Water Level
If the water level in your toilet tank is too low, simply turn the adjustment screw clockwise to raise it. This is a common issue that can easily be fixed without calling a plumber.
To increase water in your toilet tank, locate the adjustment screw, which is usually located on top of the fill valve. Using a screwdriver, gently turn the screw clockwise. This will raise the float and allow more water to enter the tank. Be careful not to turn the screw too much, as it can cause the tank to overflow.
Once you have adjusted the water level, flush the toilet to ensure that it is working properly. This simple adjustment can save you time and money on toilet repairs.
Conclusion
Well, there you have it folks! We’ve just uncovered the secrets to fixing that pesky problem of no water in your toilet tank.
By checking the water supply valve, inspecting the fill valve, cleaning or replacing the float, examining the flapper, clearing any clogs in the supply line, and adjusting the water level, you’ll be well on your way to a fully functioning toilet.
With these expert tips, you’ll never have to worry about a dry tank again. Happy flushing!

Mateo’s flair for writing is matched only by his keen eye for design. As an interior designer turned writer, Mateo brings a unique perspective. He blends aesthetics with functionality in every piece he pens, providing readers with beautifully crafted content that’s also supremely useful.
Mateo loves exploring the latest bathroom tech trends and is our expert on smart toilets. When he’s not writing or designing, Mateo can be found sketching ideas for his next big project at local coffee shops.