Ever wondered why your toilet flush isn’t working properly? Well, I’ve got the answers you need! In this article, I’ll show you step-by-step how to fix a weak flush, troubleshoot a constantly running toilet, and even repair a broken flush handle.
With just a few tools and some preventive maintenance tips, you’ll have your toilet flushing perfectly in no time.
So, are you ready to take control of your bathroom and solve those frustrating flush problems? Let’s dive in!
Key Takeaways
- Check if the water supply valve is fully open to ensure the toilet flushes properly.
- The flapper inside the tank may be the cause of the issue, so adjust or replace it to restore the flush function.
- If troubleshooting steps don’t work, it is recommended to call a professional for assistance.
- Essential tools for fixing a toilet flush include a plunger, adjustable wrench, screwdriver, wire hanger, and toilet auger.

Korky Ultra Standard 2-Inch Universal Toilet Flapper – Long Lasting Rubber – Easy to Install – Made in USA, 100BP
TOILET FLAPPER VALVE FITS MOST POPULAR 2 inch toilet brands including, but not limited to: American Standard, Kohler,…
As an affiliate, we earn on qualifying purchases.
As an affiliate, we earn on qualifying purchases.
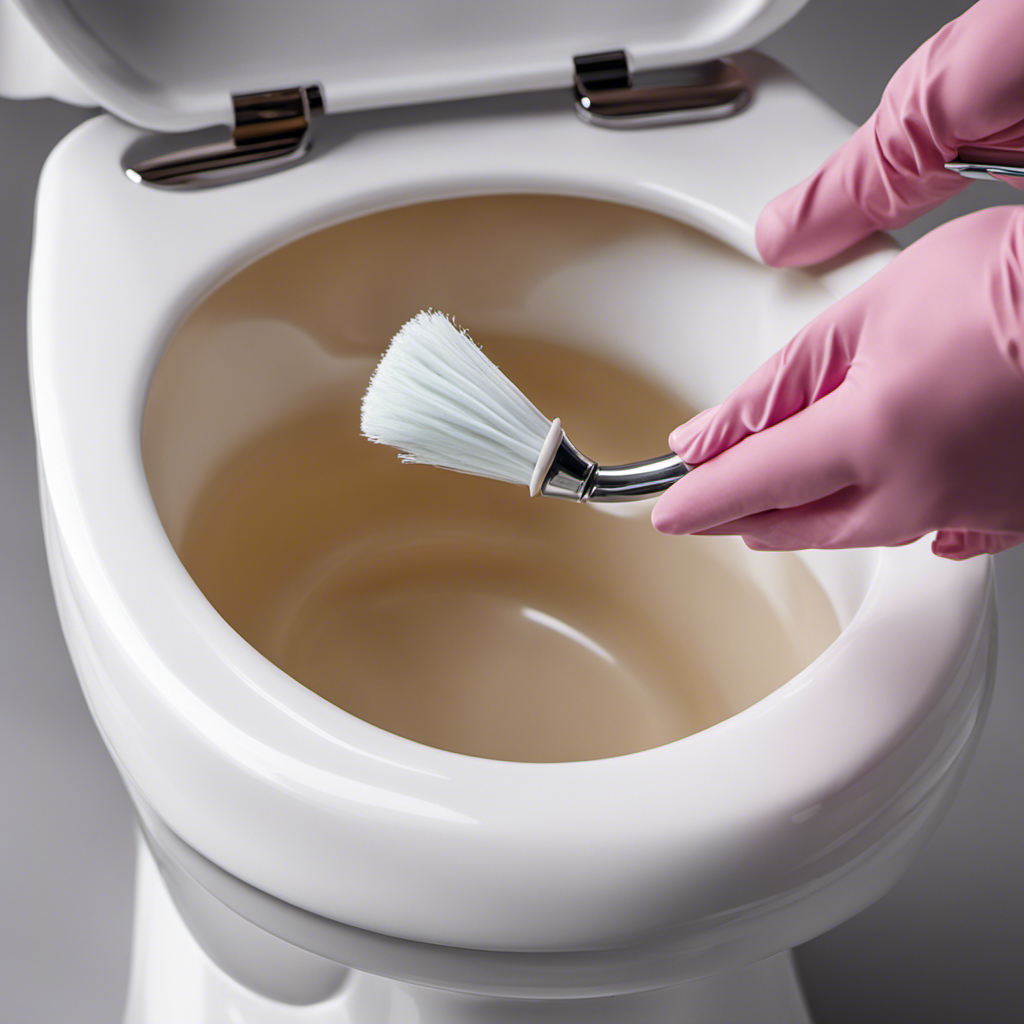
Common Toilet Flush Problems
One of the most common toilet flush problems is when it won’t flush at all. If you’re facing this issue, don’t worry, it can usually be fixed with some simple troubleshooting tips.
First, check if the water supply valve behind the toilet is fully open. Sometimes, it may have accidentally been turned off or partially closed.
If that’s not the problem, then the issue might be with the flapper inside the tank. This rubber piece can get worn out or misaligned over time, preventing a proper seal. In this case, you can try adjusting or replacing the flapper to restore the flush function.
If these steps don’t work, it’s best to call a professional for toilet flush repair.

Fluidmaster 400H-002 Performax Universal Toilet Fill Valve High Performance Tank and Bowl Water Control, 1-Pack, Multicolor
Fix noisy, or slow filling fill valves with the quietest, most powerful toilet fill valve available
As an affiliate, we earn on qualifying purchases.
As an affiliate, we earn on qualifying purchases.
Tools and Materials Needed
When it comes to fixing common toilet flush problems, having the right tools and materials is essential.
In order to successfully tackle these issues, a few key tools are necessary, such as a plunger and a toilet auger.
Additionally, it’s important to have some common materials on hand, like a new flapper or a fill valve repair kit.
Essential Tools for Flush
To fix the toilet flush, you’ll need a few essential tools. Here are the tools you’ll need to troubleshoot and fix a weak flush:
| Tools | Description |
|---|---|
| Plunger | Used to unclog the toilet |
| Adjustable Wrench | Helps in tightening or loosening nuts and bolts |
| Screwdriver | Used to remove and tighten screws |
| Wire hanger | Can be bent into a hook shape to remove any clogs |
| Toilet Auger | Used to remove stubborn clogs in the toilet trap |
These tools are essential for addressing issues with a weak flush. If you’re experiencing a weak flush, start by using a plunger to try and unclog any blockages. If that doesn’t work, you can use an adjustable wrench to tighten any loose connections. A screwdriver can help with removing and tightening screws if necessary. If the issue persists, a wire hanger can be used to remove any stubborn clogs. If all else fails, a toilet auger can help in removing clogs in the toilet trap. With these tools at hand, you’ll be able to troubleshoot and fix a weak toilet flush effectively.
Required Materials for Fix
If you want to address the issue of a weak flush, make sure you have the necessary materials on hand.
There are a few key items you will need to effectively repair your toilet flush.
First, you will need a plunger. This tool is essential for clearing any clogs that may be causing the weak flush.
Additionally, you will need a toilet auger or snake. This long, flexible tool can help dislodge any stubborn blockages that the plunger cannot handle.
Finally, you may need a toilet flapper or valve replacement kit. Over time, these components can wear out and cause a weak flush.

RIDGID 59787 Model K-3 Toilet Auger with Unclogging 3-Foot Snake and Bulb Head
K-3 TOILET AUGER: Provides fast, efficient, and safe clearing of even the toughest blockages in your toilet and…
As an affiliate, we earn on qualifying purchases.
As an affiliate, we earn on qualifying purchases.
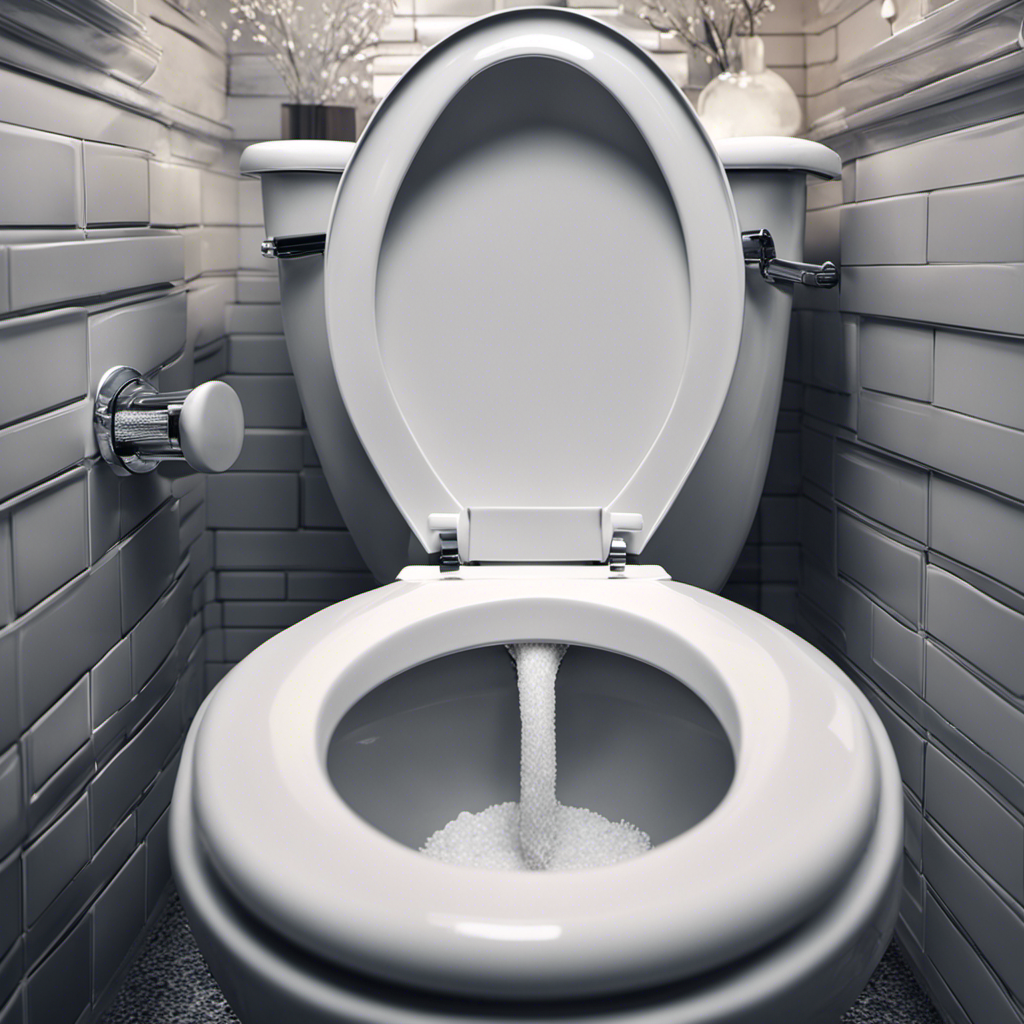
Step-by-Step Guide to Fixing a Weak Flush
One way you can fix a weak flush is by adjusting the water level in the toilet tank. Troubleshooting a clogged toilet can be a frustrating experience, but adjusting the water level is a simple solution that can often resolve the issue.
By increasing the water level in the tank, you can ensure that there is enough force to create a strong flush. To adjust the water level, follow these steps:
- Locate the water level adjustment screw or valve in the toilet tank.
- Turn the screw or valve clockwise to raise the water level, or counterclockwise to lower it.
- Flush the toilet to test the new water level.
- Repeat the adjustment process as needed until you achieve a satisfactory flush.
Adjusting the water level is a quick and easy fix that can help improve the flushing power of your toilet.

Hibbent Universal Metal Front Mount Toilet Handle Replacement Kit, Brass Toilet Flush Tank Lever with Stainless Steel Flapper Chains for Most Toilets, Chrome
Universal Front Mount Brass Toilet Tank Lever: This Front Mount Trip toilet tank lever handle is designed to…
As an affiliate, we earn on qualifying purchases.
As an affiliate, we earn on qualifying purchases.
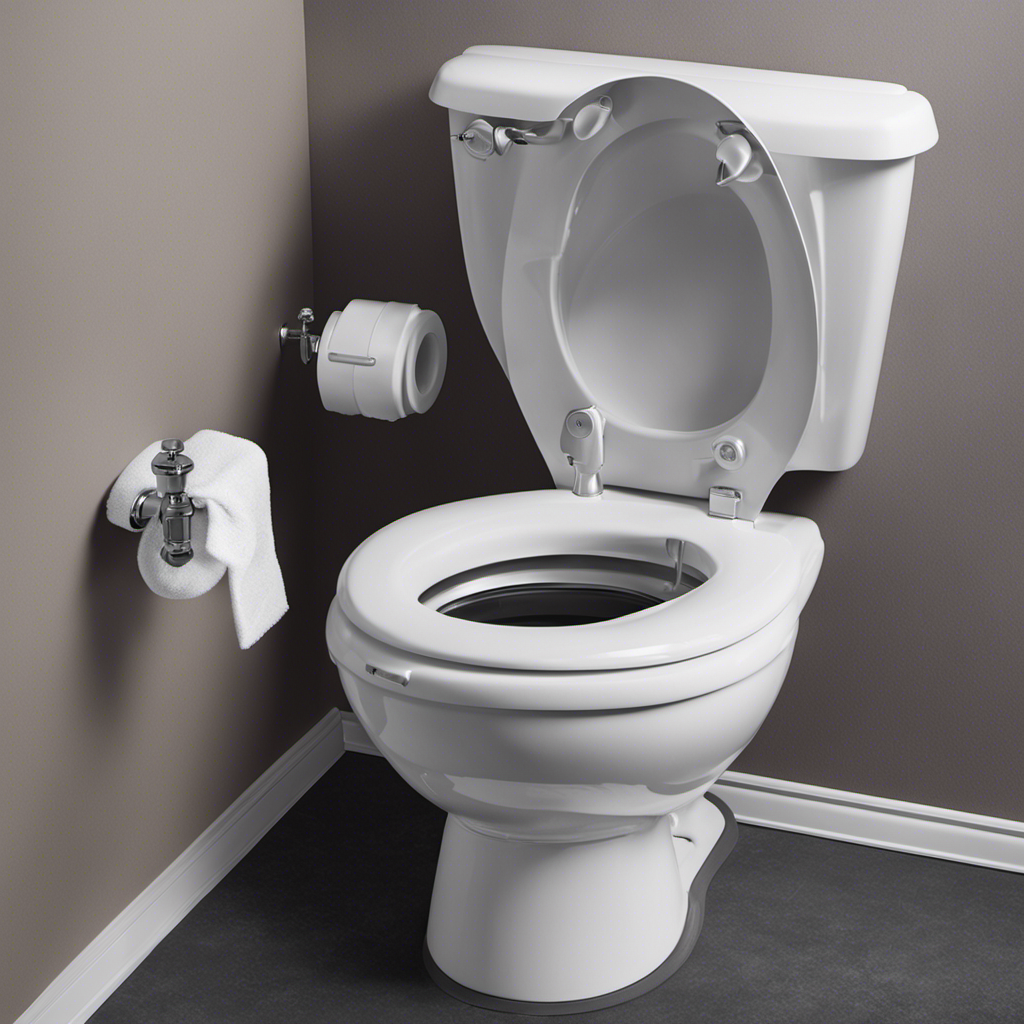
Troubleshooting a Constantly Running Toilet
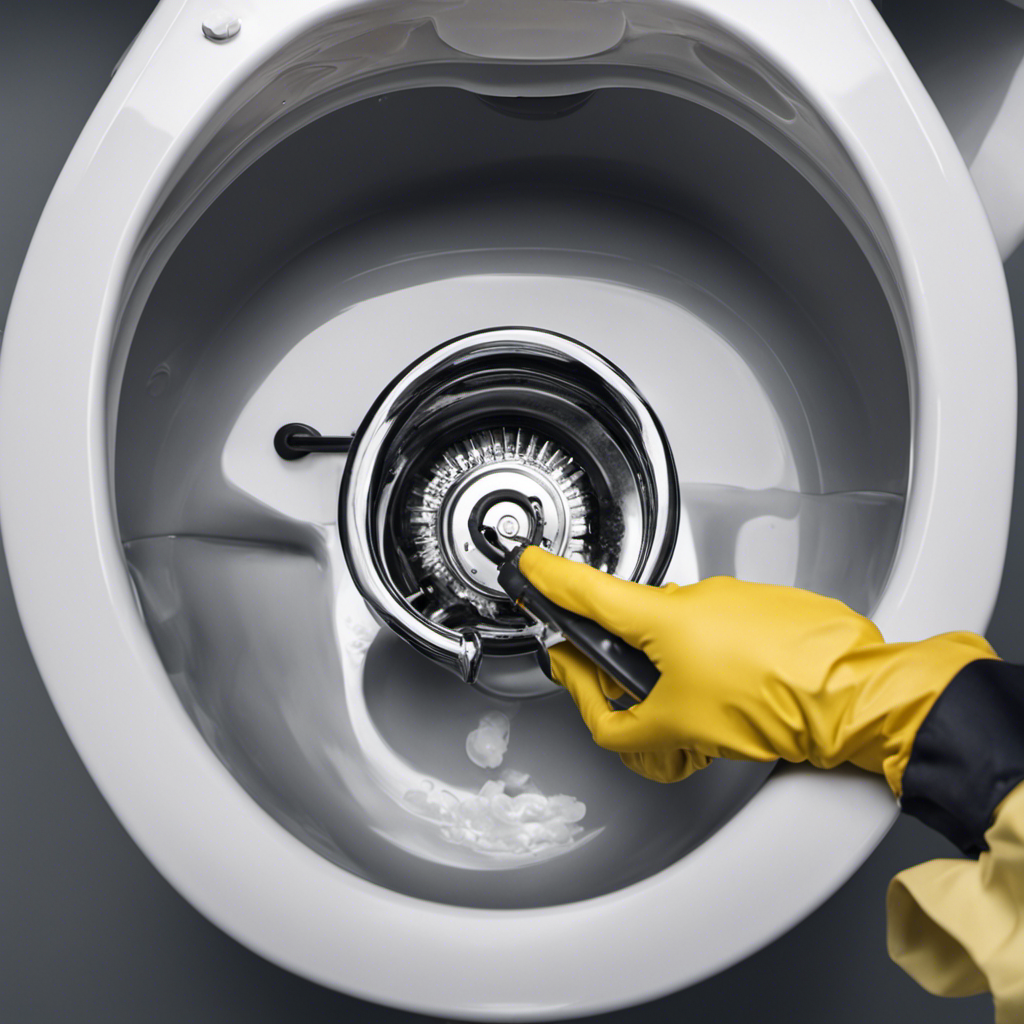
You can troubleshoot a constantly running toilet by checking the flapper valve for any damage or misalignment. The flapper valve is responsible for sealing the tank and preventing water from continuously flowing into the bowl. To inspect the flapper valve, simply remove the tank lid and locate the rubber flapper at the bottom of the tank. Make sure it is properly seated and not damaged. If you notice any cracks or tears, it’s time to replace the flapper valve.
Another common issue could be a faulty fill valve or float. These components control the water level in the tank. If they are not functioning properly, they may cause the toilet to run continuously. In such cases, consider replacing the fill valve or adjusting the float to the appropriate level.
Troubleshooting your constantly running toilet will save water, prevent water damage, and restore proper functioning to your toilet flush system.
How to Repair a Broken Flush Handle
In this discussion, I’ll provide you with a step-by-step guide on how to repair a broken flush handle in your toilet.
We will explore alternative options to fix the handle, the tools you’ll need for the repair, and the precise steps to take to ensure a successful fix.
Broken Flush Handle Alternatives
There’s a simple fix for a broken flush handle – just replace it with a new one. If your toilet’s flush handle is broken, it can be frustrating and inconvenient.
One alternative to replacing the entire handle is to repair the broken flush chain. This DIY handle repair is a cost-effective solution that can save you time and money.
To repair the broken flush chain, start by removing the old handle and inspecting the chain for any damage or kinks. If the chain is broken or damaged, it can be easily replaced with a new one. Simply attach the new chain to the flush lever and adjust the length as needed.
This quick and easy fix will have your toilet flushing smoothly again in no time.
Tools Needed for Repair
When repairing the broken flush handle, you’ll need a few tools to get the job done. Here are the essential tools for toilet flush repair and troubleshooting:
- Adjustable wrench: This versatile tool will help you loosen and tighten nuts and bolts.
- Screwdriver: You’ll need both a flathead and a Phillips head screwdriver for different parts of the repair process.
- Pliers: Pliers will come in handy for gripping and maneuvering small parts.
- Replacement flush handle: Make sure to have a new flush handle ready before starting the repair.
Having these tools on hand will make the toilet flush repair process smoother and more efficient. Now that we have the necessary tools, let’s move on to the step-by-step handle fix.
Step-By-Step Handle Fix
Now that you have gathered the necessary tools for toilet repair, let’s move on to troubleshooting a weak flush.
It can be frustrating when your toilet doesn’t flush properly, but there are a few common issues that you can easily fix.
First, check the water level in the tank. If it’s too low, adjust the fill valve until it reaches the correct level.
Next, inspect the flapper. If it’s worn or damaged, replace it with a new one.
Another potential problem could be a clog in the trapway or drain pipe. Use a plunger or a toilet auger to clear any obstructions.
If these troubleshooting steps don’t solve the issue, it may be time to call a professional plumber for further assistance.
Preventive Maintenance Tips for a Properly Functioning Toilet Flush
To keep your toilet flush functioning properly, you should regularly perform preventive maintenance tasks. Here are some tips to help you maintain a properly functioning toilet flush:
-
Check the water level: Make sure the water level in the tank is at the appropriate level. Adjust the float if necessary.
-
Clean the flush valve: Over time, the flush valve can become dirty or worn out. Clean or replace it as needed to ensure proper flushing.
-
Inspect the flapper: The flapper is responsible for sealing the tank and allowing water to flow into the bowl. Check for any signs of wear or damage and replace if necessary.
-
Test the handle and chain: Ensure that the handle and chain are properly connected and functioning. Adjust or replace if needed.
Conclusion
So there you have it – a simple guide on how to fix a toilet flush.
Who knew that such a seemingly insignificant part could cause so much frustration?
But fear not, with just a few tools and a little patience, you can tackle these common problems and restore your toilet to its former glory.
Remember, a functioning toilet is a true luxury, so don’t take it for granted.
Now go forth and conquer those flush issues, because nothing says power like a strong flush.