I’ve been there before – standing in front of a malfunctioning toilet, wondering what to do next. But fear not, because I’m here to guide you through the process of fixing your toilet flush valve.
In this article, I’ll share my expertise on understanding the flush valve, assessing the problem, and providing you with step-by-step instructions to get your toilet back in working order.
With a few tools and some determination, you’ll be a plumbing pro in no time. Let’s dive in!
Key Takeaways
- Regular maintenance is crucial for smooth operation of the toilet flush valve.
- A faulty flush valve seal can cause continuous water leakage, so it is important to replace it to prevent water wastage.
- Assessing and fixing the problem with the toilet flush valve involves checking for water leakage, shutting off the water supply, replacing the flush valve, and adjusting its height for proper water flow.
- Tools and materials needed for fixing the toilet flush valve include an adjustable wrench, screwdriver, pliers, rubber gloves, replacement flush valve, and Teflon tape.
Understanding the Toilet Flush Valve
To understand the toilet flush valve, you’ll need to know how it controls the flow of water.
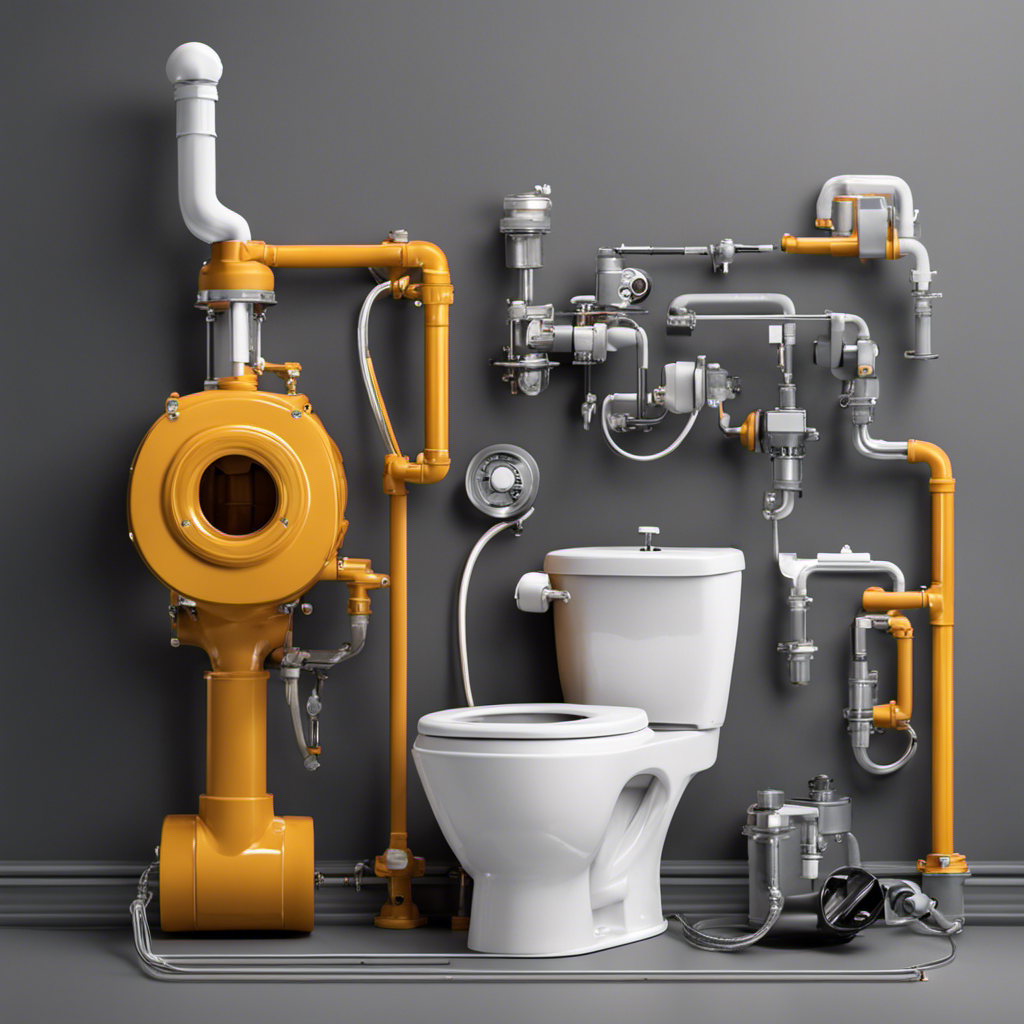
The toilet flush valve is an essential component of the toilet system, responsible for the efficient and effective flushing of waste. It works by controlling the release of water from the tank into the bowl.
Without proper maintenance, the flush valve can develop issues, leading to leaks and inefficient flushing. Regular toilet flush valve maintenance is crucial to ensure its smooth operation.
One common problem that can arise is a faulty flush valve seal, which can cause water to continuously leak into the bowl. In such cases, replacing the flush valve seal is necessary to prevent water wastage and restore optimal flushing performance.
Assessing the Problem With Your Toilet Flush Valve
First, you should start by checking if there is any water leaking from the base of your toilet. This could be a sign of a faulty flush valve, which is responsible for controlling the water flow during flushing.
To fix this issue, you may need to replace the toilet flush valve. Begin by shutting off the water supply to the toilet and draining the tank. Then, disconnect the water supply line and unscrew the old flush valve from the tank.
Install the new flush valve by screwing it into place and reconnecting the water supply line. Finally, adjust the flush valve height to ensure proper water flow and a strong flush. This can usually be done by adjusting the height of the overflow tube or the water level in the tank.
Tools and Materials Needed for Fixing the Toilet Flush Valve
You’ll need a few tools and materials to tackle the issue with your toilet’s flush valve. Here’s a list of everything you’ll need for a successful toilet flush valve repair:
| Tools | Materials |
|---|---|
| Adjustable wrench | Rubber gloves |
| Screwdriver | Replacement flush valve |
| Pliers | Teflon tape |
Before you start, make sure to turn off the water supply to the toilet and flush to drain any remaining water. Begin by removing the tank lid and locating the flush valve at the bottom of the tank. Use the adjustable wrench to loosen and remove the nut securing the flush valve. Take note of any gaskets or washers that may need to be replaced. Clean the area thoroughly and apply Teflon tape to the threads of the replacement flush valve. Install the new valve, ensuring it is tightly secured with the nut. Finally, turn on the water supply and test the flush valve for any leaks. Troubleshooting your toilet flush valve can be a simple and cost-effective DIY project with the right tools and materials.
Step-by-Step Guide to Disassembling the Toilet Flush Valve
Start by turning off the water supply to your toilet and flushing to drain any remaining water in the tank.
Troubleshooting leaks and adjusting the water level in your toilet flush valve can be a simple DIY task.
First, inspect the flush valve for any visible cracks or damage. If you notice any, it may need to be replaced.
Next, check the water level in the tank. If it is too high, it can cause constant running or leaking. Adjust the water level by turning the adjustment screw or lowering the float ball.
If the flush valve is not sealing properly, it may be due to a worn or misaligned flapper. In this case, replacing the flapper can resolve the issue.
Remember to turn the water supply back on and test the flush valve after making any adjustments.
Troubleshooting Common Issues With the Toilet Flush Valve
When it comes to troubleshooting common issues with the toilet flush valve, two key problems often arise: weak flush pressure and water leaking from the valve.
Weak flush pressure can be caused by a variety of factors, such as a clog in the toilet or a malfunctioning flush valve. To fix this issue, it’s important to check for any blockages and ensure that the flush valve is working properly.
Water leaking from the valve can be a sign of a worn-out seal or a faulty valve mechanism. It’s crucial to address this problem promptly to prevent water damage and conserve water.
Weak Flush Pressure
To improve weak flush pressure, check if the water supply valve is fully open. If it’s not, turn it clockwise to ensure maximum water flow. Here are three tips to increase flush power and improve water flow:
-
Clean the flush valve: Sediments and debris can accumulate on the flush valve, restricting water flow. Remove the tank lid and inspect the valve. If there is any buildup, gently clean it with a brush or cloth.
-
Adjust the water level: The water level in the tank should be set at the appropriate height to provide enough force for a powerful flush. Adjust the float or water level adjustment screw to achieve the desired level.
-
Check the flapper: The flapper is responsible for sealing the flush valve. If it is worn out or not sealing properly, it can cause weak flush pressure. Inspect the flapper and replace it if necessary.
By following these steps, you can increase the flush power and improve water flow in your toilet.
Now, let’s move on to the next common issue: water leaking from the valve.
Water Leaking From Valve
In my previous subtopic, I discussed the issue of weak flush pressure in toilets. Now, let’s move on to another common problem: water leaking from the valve. This can be quite frustrating, as it not only wastes water but can also cause damage to your bathroom floor. Fortunately, there are steps you can take to address this issue.
One effective solution is to replace the toilet flush valve. This is a relatively simple DIY repair that can be done with a few basic tools. First, turn off the water supply to the toilet and drain the tank. Next, remove the old flush valve by unscrewing it from the bottom of the tank. Install the new flush valve by following the manufacturer’s instructions. Once installed, turn on the water supply and test for any leaks.
Reassembling and Testing the Toilet Flush Valve
When it comes to reassembling the toilet flush valve, there are certain steps that must be followed in a proper and precise manner. These steps ensure that all the components are put back together correctly, allowing for smooth and efficient operation.
Once the reassembly is complete, it is crucial to test the functionality of the flush valve to ensure that it is working as it should and there are no issues or leaks.
Proper Reassembly Steps
Once you’ve cleaned all the parts, it’s time to carefully reassemble the toilet flush valve. Here are some reassembly tips to ensure a smooth process and avoid common mistakes:
-
Start by attaching the rubber flapper to the flush valve opening. Make sure it is aligned properly and securely attached.
-
Next, reattach the chain or lift wire to the flapper. Adjust the length so that there is a slight slack when the flapper is closed.
-
Finally, reattach the flush handle to the lever arm. Ensure it is tightly secured and aligned with the flush valve.
By following these reassembly tips, you can prevent leaks and ensure proper flushing functionality.
Now, let’s move on to the next step: testing for functionality and making any necessary adjustments.
Testing for Functionality
To ensure everything is working properly, you should now test the functionality of your reassembled toilet. Testing for functionality is an essential step in toilet flush valve maintenance.
Start by flushing the toilet and observing the water flow. If the water doesn’t flush properly or if there is a weak flush, it could indicate a problem with the flush valve.
Troubleshooting toilet flush valve problems can involve checking for any debris or mineral buildup that may be obstructing the valve’s operation. Additionally, make sure the flush valve seal is properly aligned and seated.
If you notice any leaks or abnormal sounds during the flushing process, it may be necessary to further inspect and potentially replace the flush valve components.
Frequently Asked Questions
How Do I Know if My Toilet Flush Valve Is the Problem?
To determine if my toilet flush valve is the problem, I can perform a simple test. By troubleshooting the toilet flush valve, I can identify any issues that may be causing the problem.
Can I Fix a Toilet Flush Valve Without Any Special Tools or Materials?
I can temporarily fix a toilet flush valve without any special tools or materials. It’s important to avoid common mistakes when tackling this task. Let me share some helpful tips and tricks.
What Are Some Signs That My Toilet Flush Valve Needs to Be Replaced?
When a toilet flush valve is faulty, there are several signs to look out for. These include weak flushes, constant running water, and water leaks. Troubleshooting common issues can help determine if replacement is necessary.
How Long Does It Typically Take to Disassemble and Reassemble a Toilet Flush Valve?
Disassembling and reassembling a toilet flush valve typically takes about 30 minutes. It’s important to have the right tools and follow the instructions carefully to ensure a successful repair.
Are There Any Alternative Methods to Fixing a Toilet Flush Valve if the Recommended Steps Don’t Work?
If the recommended steps don’t work, there may be alternative solutions to fixing a toilet flush valve. It’s important to troubleshoot the issue thoroughly, considering different techniques and seeking professional advice if needed.
Conclusion
In conclusion, fixing a toilet flush valve is a breeze! With just a few simple steps and the right tools, you can become a toilet repair expert in no time.
Don’t let a faulty flush valve ruin your bathroom experience any longer. Take charge, dive in, and fix that valve like a pro! You’ll be amazed at the difference it can make in your daily life.
So go ahead, grab your tools, and conquer that toilet flush valve with confidence!


