Did you know that a leaking toilet at the base can waste up to 200 gallons of water per day? That’s like flushing your money down the drain!
In this article, I will guide you through the step-by-step process of fixing this common and costly problem. By following these instructions, you’ll be able to:
- Identify the source of the leak
- Shut off the water supply
- Inspect and replace the wax ring
- Reconnect everything to ensure a leak-free toilet once again.
Let’s get started!
Key Takeaways
- Leaking toilet at the base can waste up to 200 gallons of water per day.
- Common causes of a toilet leaking at the base include a faulty wax ring seal, a cracked toilet base, or a loose connection between the tank and the bowl.
- Proper installation of the wax ring and regular inspection can prevent these issues.
- Shutting off the water supply is an important step in addressing the common causes of toilet leaks.
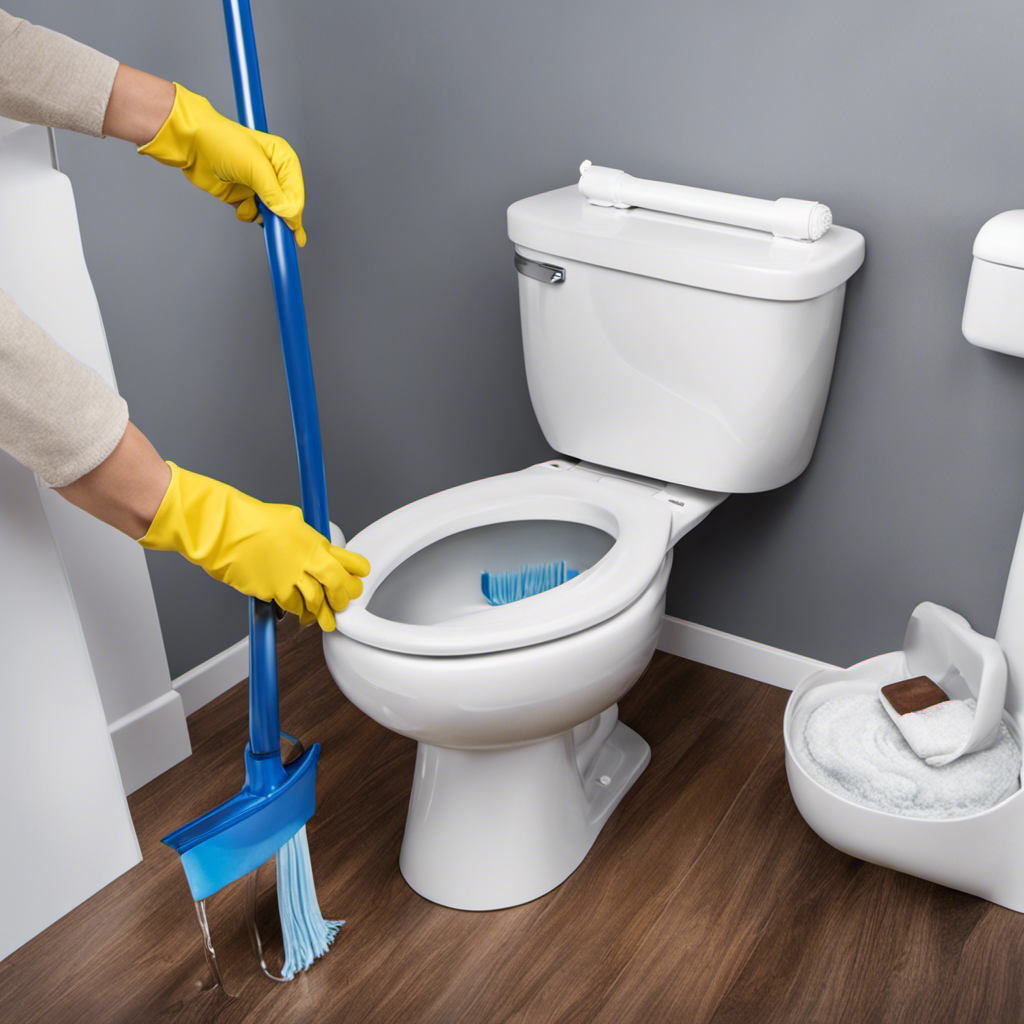
Identifying the Source of the Leak
To start troubleshooting the issue, you’ll need to identify where the leak is coming from.
When it comes to a toilet leaking at the base, there are a few common causes to consider.
One possibility is a faulty wax ring seal between the toilet and the flange. This can occur due to age or improper installation.
Another cause could be a cracked toilet base or a loose connection between the tank and the bowl.
To prevent these issues, it’s important to ensure proper installation of the wax ring and regularly inspect the toilet for any signs of damage.
Additionally, avoid over-tightening the bolts that secure the toilet to the floor, as this can lead to leaks.
Once you’ve identified the source of the leak, you can move on to shutting off the water supply.
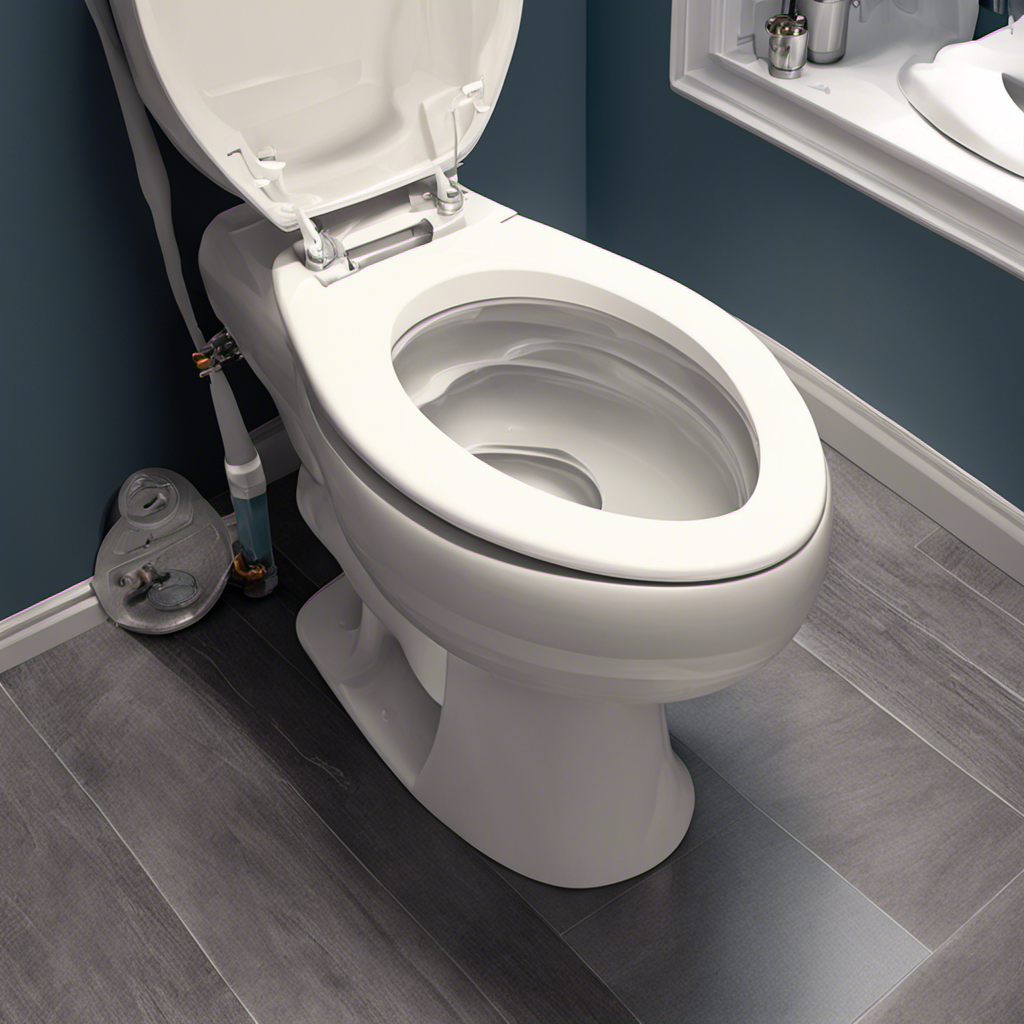
Shutting Off the Water Supply
Before shutting off the water supply, make sure you locate the shut-off valve. This is a crucial step in preventing future leaks and addressing the common causes of toilet leaks.
The shut-off valve is usually located behind the toilet, near the floor or on the wall. Once you locate it, turn it clockwise to shut off the water supply. This will stop the flow of water to the toilet and allow you to work on fixing the leak.
Removing the Toilet and Inspecting the Wax Ring
Once you’ve shut off the water supply, you can begin removing the toilet and inspecting the wax ring for any signs of damage or wear.
This step is crucial in troubleshooting toilet leaks at the base. Start by disconnecting the water supply line and unscrewing the bolts that hold the toilet to the floor. Carefully lift the toilet and set it aside.
Now, inspect the toilet flange, which is the pipe fitting that connects the toilet to the waste pipe. Look for any cracks, corrosion, or misalignment. If the flange is damaged, it may need to be replaced.
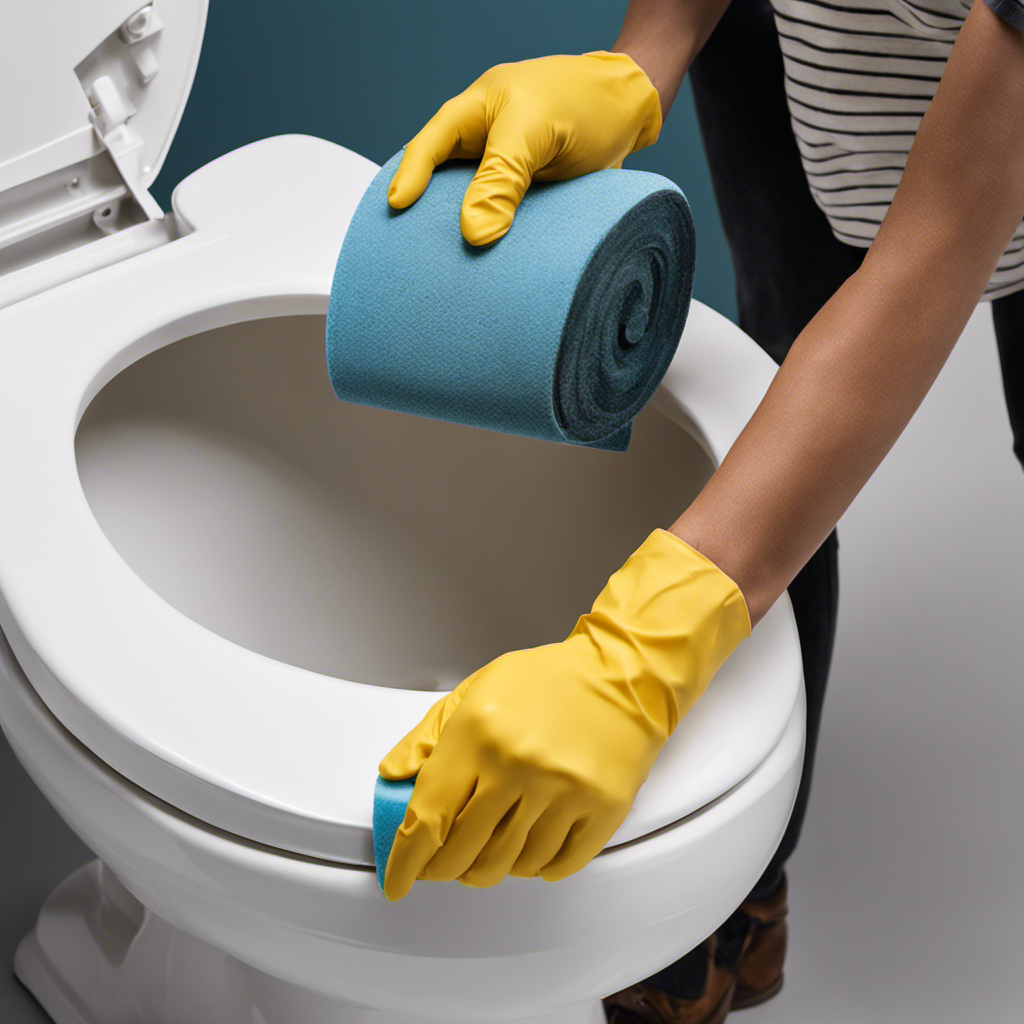
Next, check the wax ring for any signs of wear or deterioration. A worn-out wax ring can cause leaks. If necessary, replace the wax ring before reattaching the toilet.
Replacing the Wax Ring and Reinstalling the Toilet
Now that you’ve inspected the wax ring for any signs of wear or deterioration, it’s time to replace it and reinstall the toilet. Here are the steps to properly install a toilet and prevent future leaks:
- Turn off the water supply to the toilet by shutting off the valve located behind the toilet.
- Remove the old wax ring and clean the flange thoroughly.
- Place the new wax ring onto the flange, ensuring it is centered.
- Carefully lower the toilet bowl onto the wax ring, making sure it aligns with the bolts on the floor.
- Tighten the nuts onto the bolts, securing the toilet in place.
By following these steps, you can ensure a proper toilet installation and avoid common causes of leaks.
Now let’s move on to testing for leaks and reconnecting the water supply.
Testing for Leaks and Reconnecting the Water Supply
To check for leaks and restore the water supply, you’ll need to turn the valve back on and flush the toilet a few times. This will help you troubleshoot common toilet problems and prevent water damage. Here are some steps to follow:
- Turn the water valve clockwise to open it and allow water to flow back into the toilet tank.
- Flush the toilet a few times and observe if there are any leaks at the base or around the connections.
- If you notice any leaks, tighten the bolts connecting the tank to the bowl and check if the wax ring is properly sealed.
- If the leaks persist, you may need to replace the wax ring or call a professional plumber for assistance.
By taking these steps, you can effectively test for leaks and ensure that your toilet is functioning properly, preventing any potential water damage.
| Problem | Possible Cause |
|---|---|
| Leaks at base | Loose bolts or faulty wax ring |
| Leaks around connections | Loose or damaged seals |
| Continuous running | Faulty flapper or valve |
| Weak flush | Clogged or partially closed water supply valve |
Conclusion
Well folks, we’ve reached the end of our toilet leaking saga. Hopefully, armed with the knowledge and skills we’ve acquired, we can now conquer this pesky problem.
Remember, identifying the source, shutting off the water supply, inspecting and replacing the wax ring, and reinstalling the toilet are the keys to success. And don’t forget to test for leaks and reconnect that water supply!
Now go forth, my fellow DIY warriors, and may your toilets stay dry and leak-free!